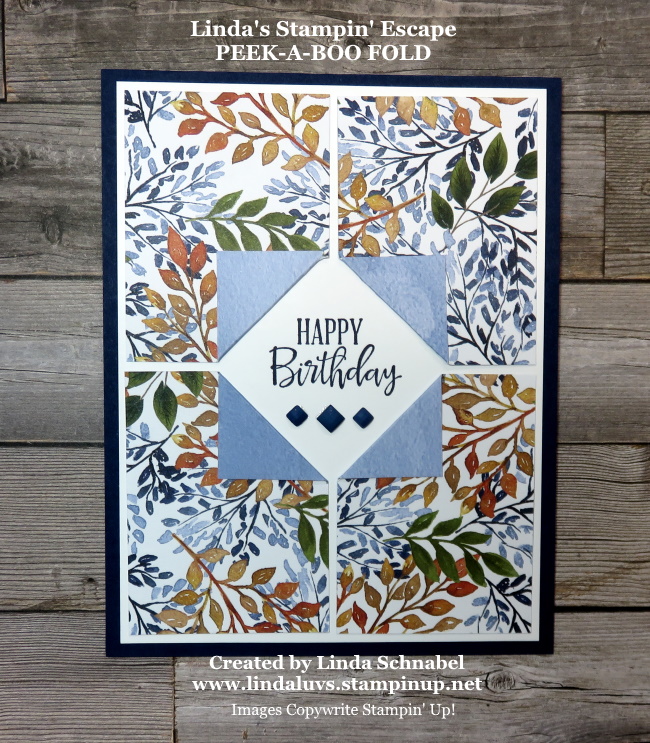
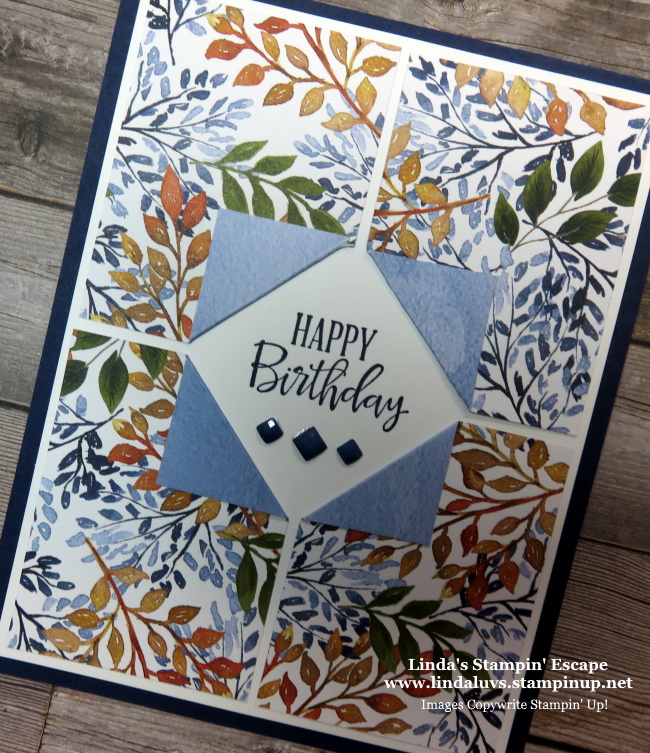
Hello Stampin’ Friends ~
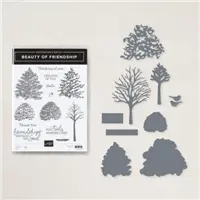
I have a treat for you today … a simple yet beautiful Slim Line card and a parade of other cards that were created from the amazing Beauty of the Earth Suite. I will also be sharing some fun techniques on these cards so, grab a cup of coffee and sit back with me while we go through these creative gems!
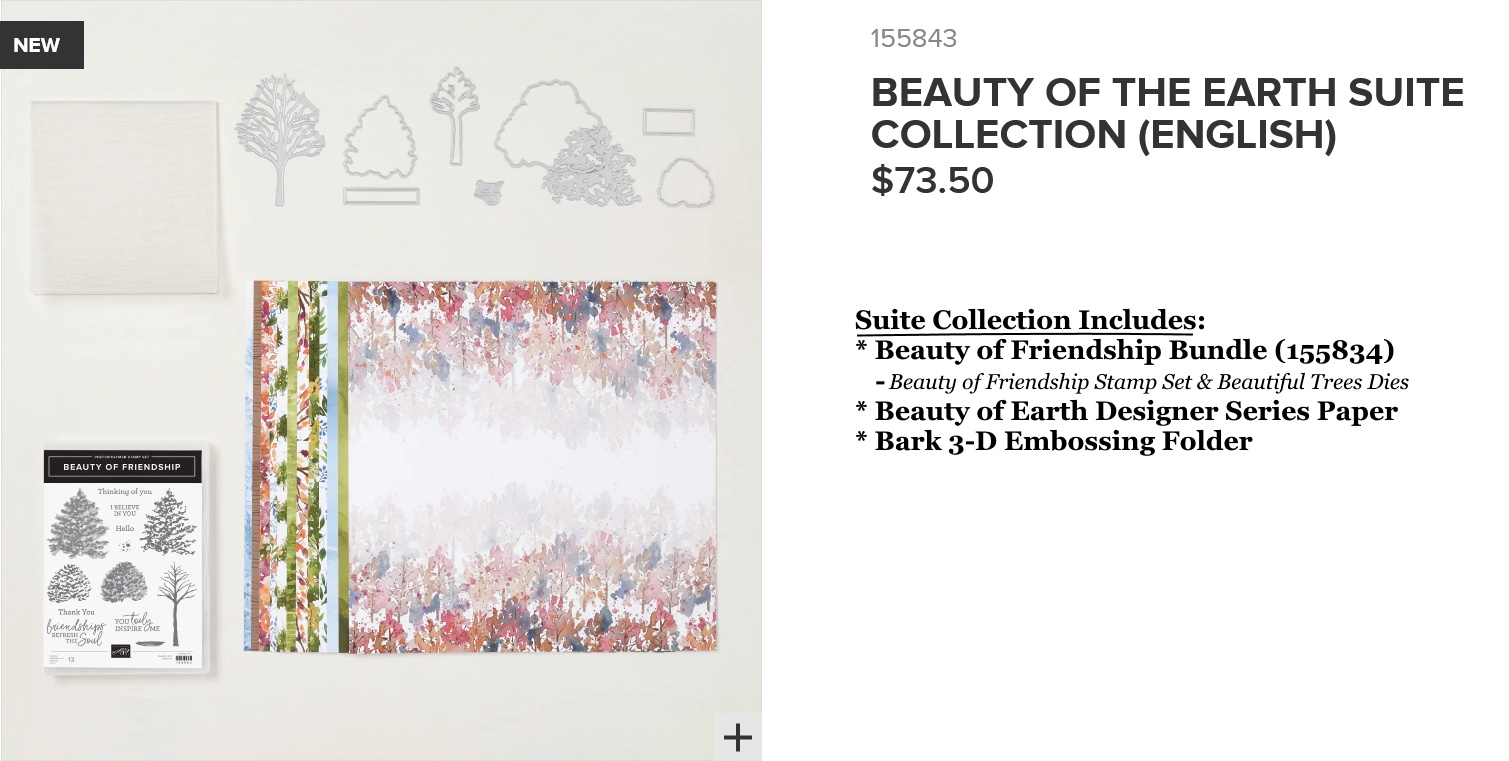
I share these because the Beauty of Friendship Bundle is part of the Savings in Bloom promotion. I will share “all” of the items on sale at the bottom of my post.

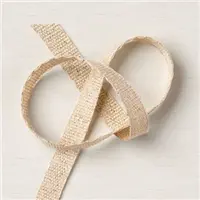
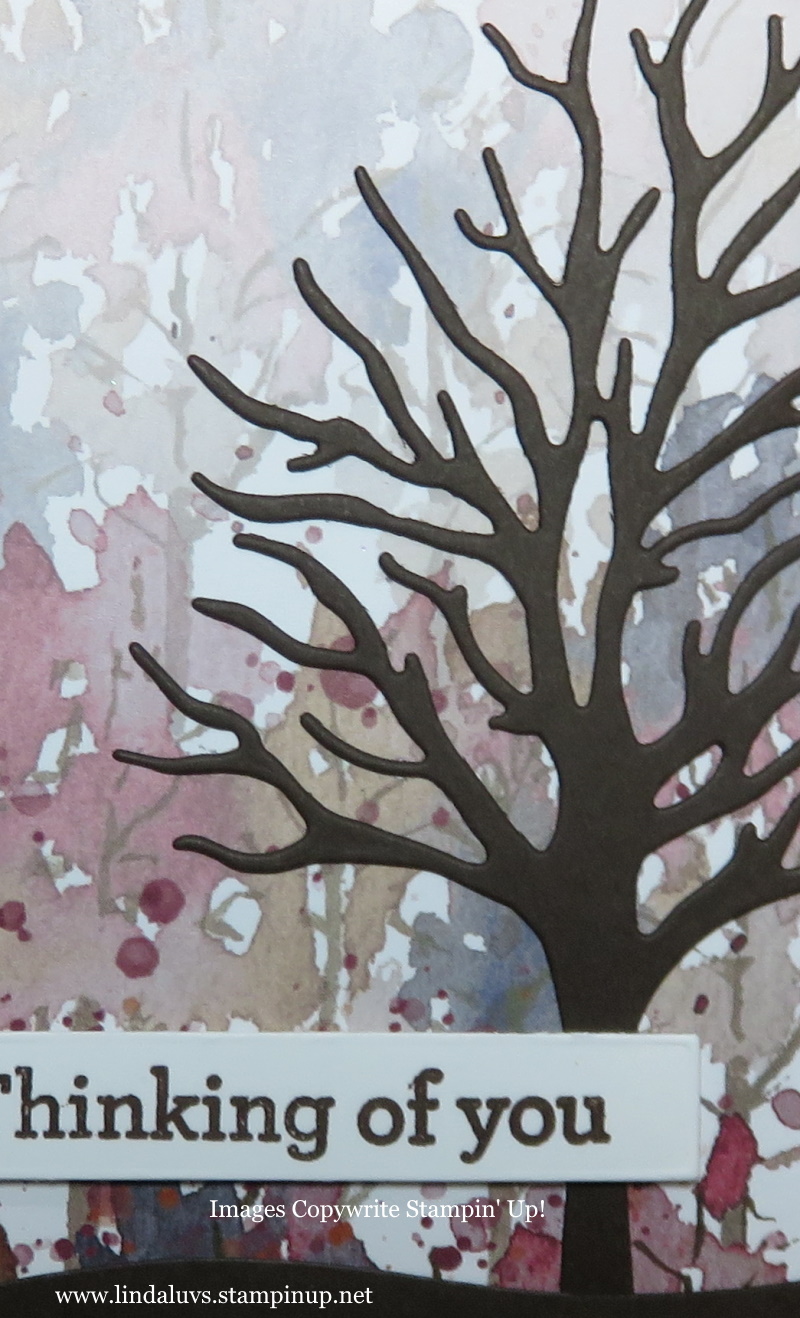
First up is my Slimline cards, this card fits in a business size envelope … I’m using two different patterns from the Beauty of the Earth Designer paper and joined them together with the pretty Gold Fine Art Ribbon; it has a touch of sparkle, so I had to add the Genial Gems to keep the sparkle going.
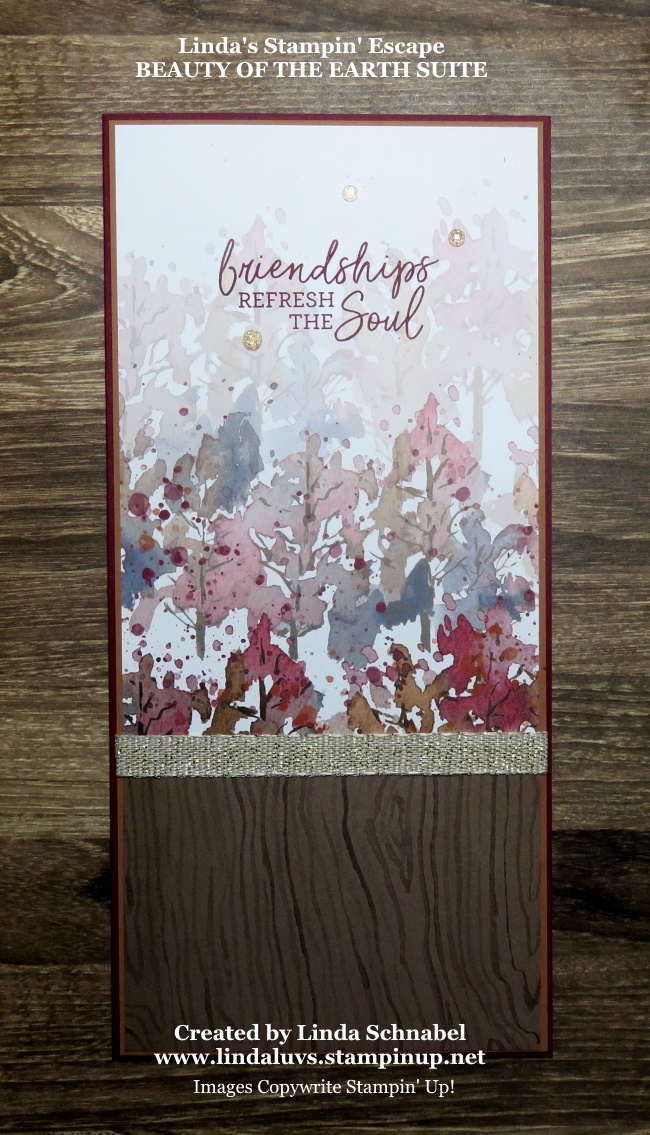
The greeting comes from the Beauty of Friendship stamp set / bundle. I chose the Cinnamon Cider as a mat and Merry Merlot as my card base … they pull those colors out of the designer paper. I find this suite / bundle very gender neutral … who wouldn’t love these cards!
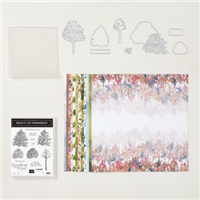
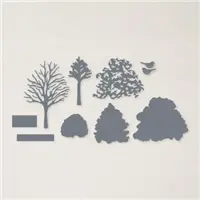
My second card I’m using the same pattern of the Beauty of the Earth Designer Series paper and the Beautiful Trees dies. Another simple card when using your Stampin’ Cut & Emboss machine. The greeting comes from the Beauty of Friendship stamp set included in the bundle.
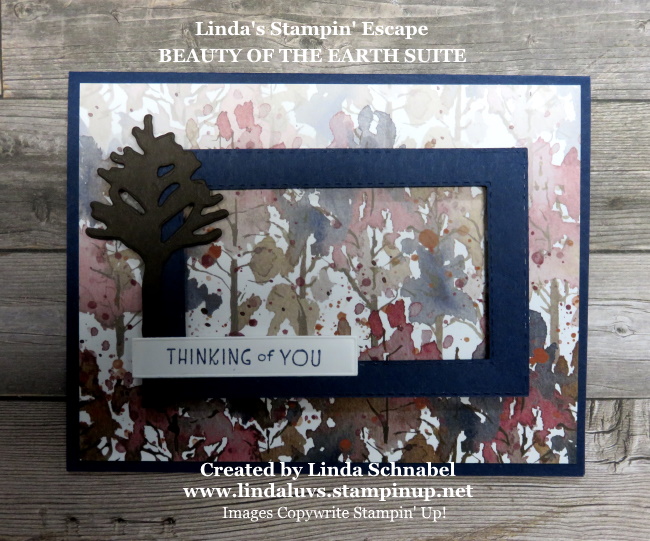
Ready to see another card using the same paper? The amazing thing is that each one looks sooo different! I used a landscape layout verses the portrait as I did on the first two cards and created this unique card. I also used Night of Navy on this card to pull out the blue in the designer paper.
I created the frame with the Stitched Rectangle Dies … I love this look, it’s new and fresh and highlights the designer paper. I added the tree and greeting from the bundle …

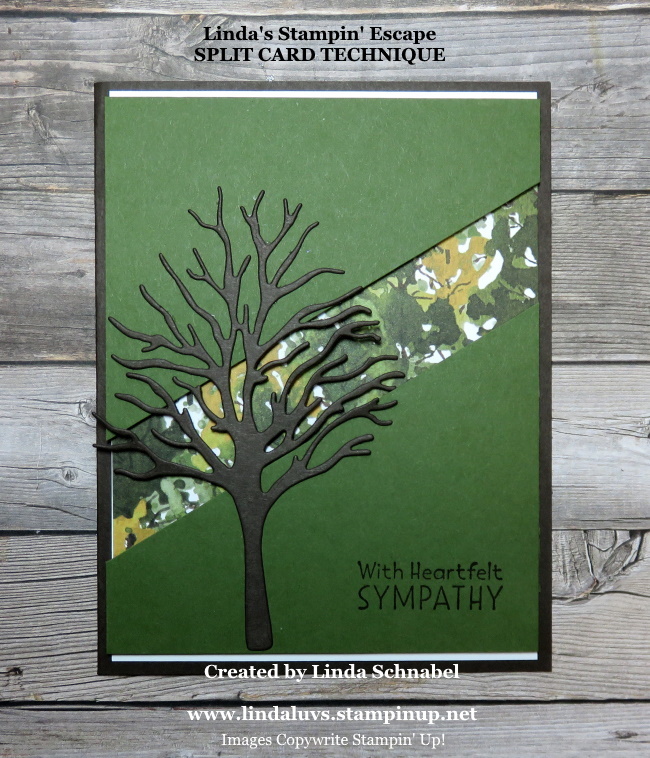
Now lets change things up a little by using a different pattern from our Beauty of the Earth Designer paper and a fun technique … the “Split Card Technique”. I’m using Old Olive and Early Espresso to coordinate with my designer paper. You can watch the video to see how to create this card yourself by CLICKING HERE!
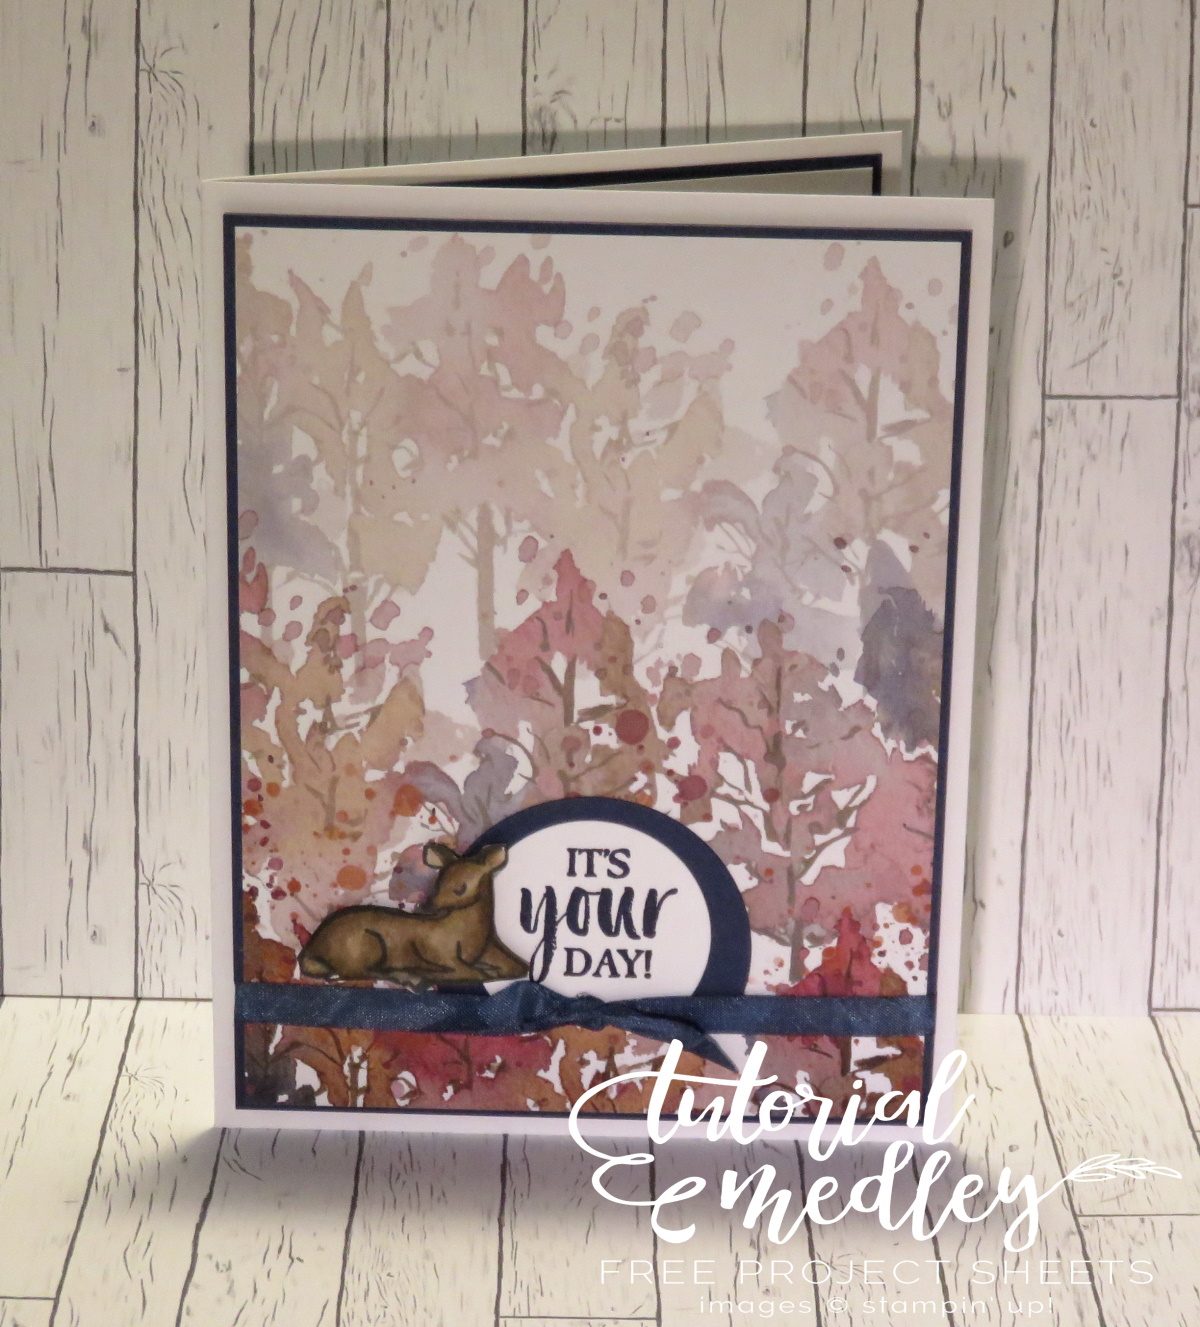
Now I would like to bring in one of the “hottest designer papers” right now, and that is the NEW HORIZONS Designer paper … so many pretty patterns would work perfectly with the dies from the Beauty of the Earth bundle. The watercolor landscapes look so cool with the tree.

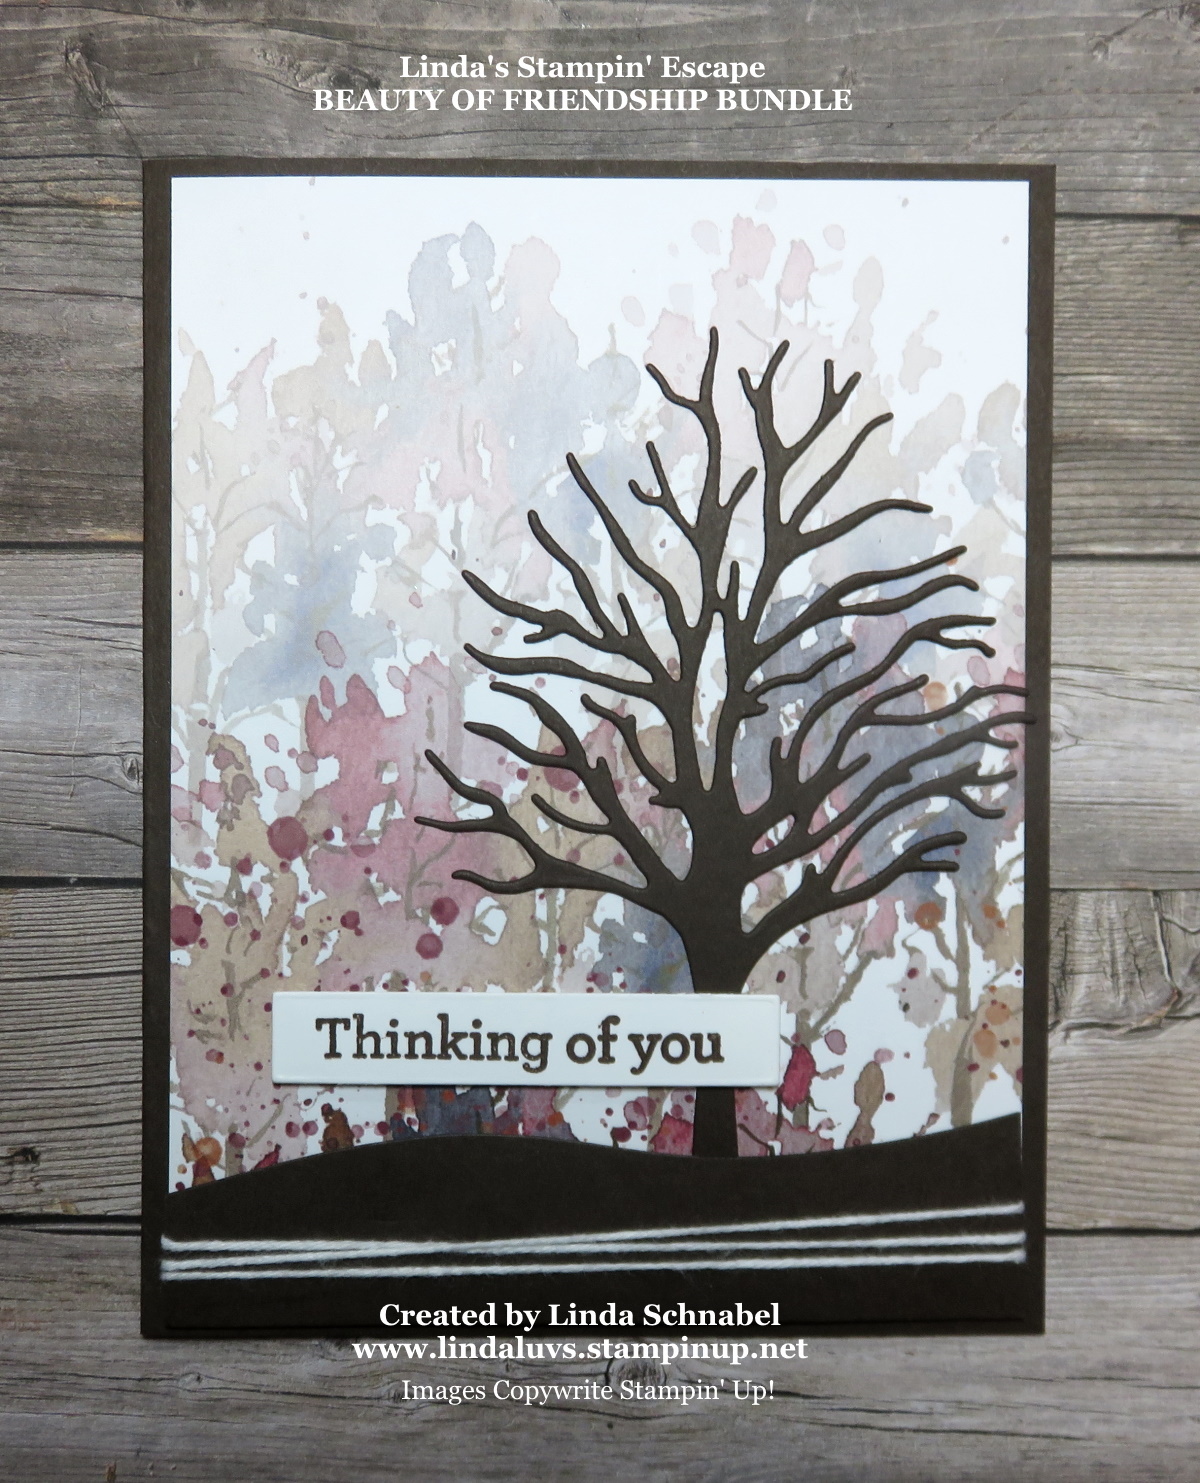
The next card I share with you has a card base is Early Espresso …. so is the tree itself, it made the Misty Moonlight designer paper from the Beauty of the Earth Designer paper really pop, and when I added the leaves to the trees … WOW! The leaves on the bottom are just another die cut of the top … just cut up into smaller pieces to lay upon the ground. So pretty!

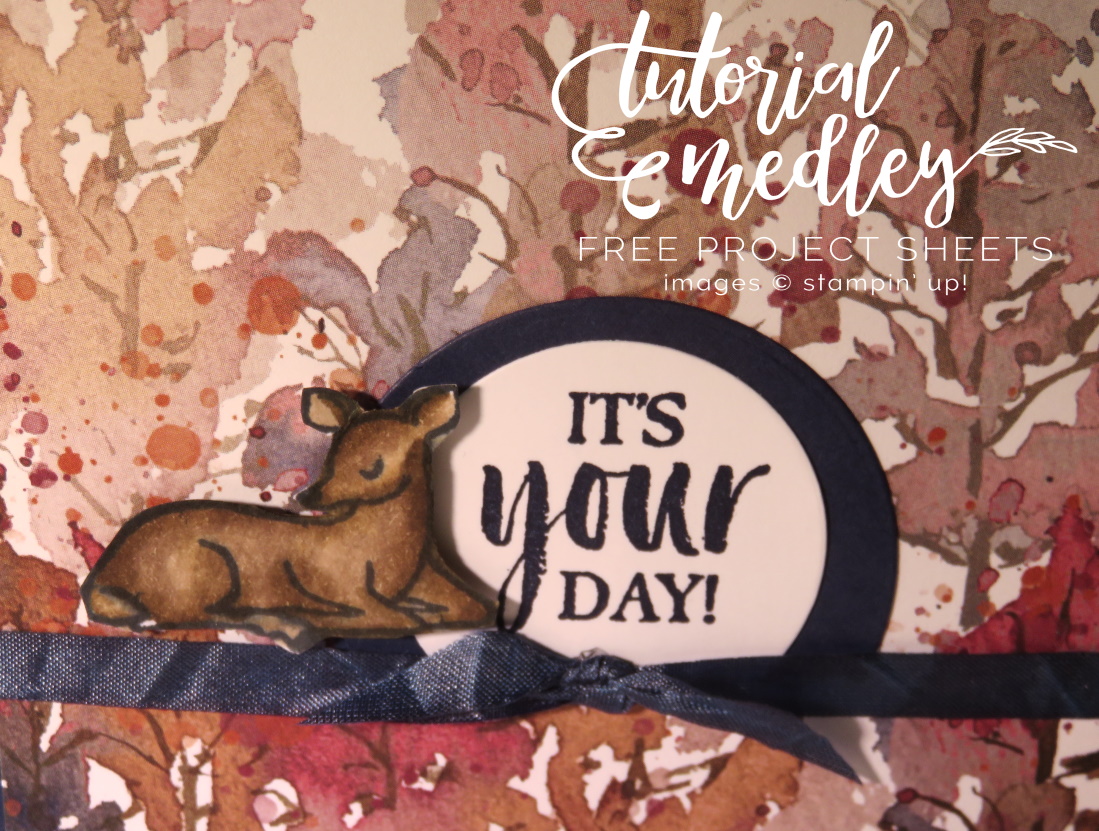
The last card I have to share with you, has the same watercolor background paper that I used on the “You Inspire Me” card but I’m changing up the seasons. Once the leaves are gone … well, winter comes next, and it makes for the perfect Christmas card …

I just love this card and I used the Chalk pen and Wink of Stella to add snow to my tree! How fun is that! I just wanted to show you that this is not just another tree set, but a bundle / or suite that can be used for any season … or any reason!!

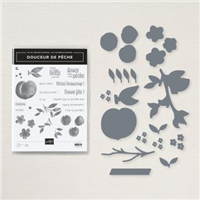
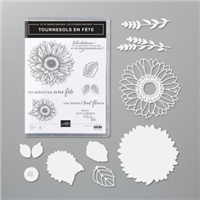
The Beauty of the Earth Suite is still available, but if you are just looking for the bundle … it’s 20% Off right now. I always wonder if Stampin’ Up! will retire a stamp set when they put it on sale … so if this is on your “Wish List”, you may want to consider getting it now and enjoy the extra savings!! You can click on any of the images below for details on the bundles or to begin shopping … it takes you directly to my store.
Thank you for joining me this Sunday for my card parade, I hope you enjoyed the many styles of cards. Please let me know if you have any questions.

TODAY’S STAMPIN’ SUPPLY LIST … If you liked the products used in todays projects, I have links for you below. Just click on the item you would like more information on, or to begin your shopping. It will take you directly to my website. Thank you ♥