
Hello Stampin’ Friends ~
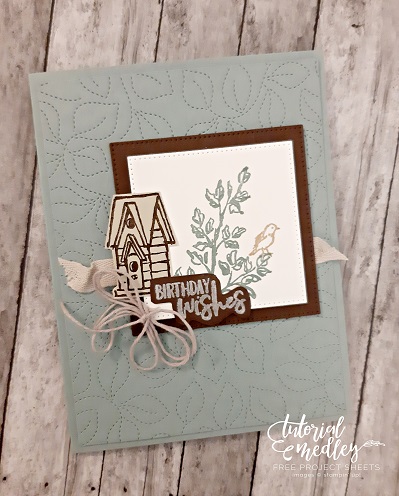
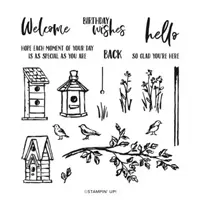
I’ve got the cutest card to share with you today along with a full set of dimensions and the step by step instructions!! If you don’t have the Garden Birdhouse stamp set, substitute it with something else because this is a “great layout”!
Measurements:
- Card Base: Soft Succulent – 5 ½” x 8 ½”
- Cardstock #2: Soft Succulent – 4” x 5 ¼”
- Cardstock #3: Early Espresso – 3 ½” x 5”
- Cardstock #4: Basic White – 2 ¾” x 2 ¾”
- Cardstock #5: Sahara Sand – 1 ½” x 2 ½”
Instructions:
- Cut a 5 ½’ x 8 ½” Soft Succulent card base. Fold in half.
- Cut a 4” x 5 ¼” Soft Succulent panel and die cut using the Stitched Greenery die.
- Adhere the panel to the card front.
- Cut a 4 ¼” piece of Sahara Sand ribbon and adhere to the center of the card front.
- Cut a 2 ¾” x 2 ¾” Early Espresso stitched square and adhere to the card front using Stampin’ Dimensionals.
- Cut a 2 3/8” x 2 3/8” Basic White stitched square.
- Stamp the top of the tree onto the square using Soft Succulent ink.
- Stamp the bird onto the leaves using Sahara Sand ink.
- Adhere the stamped square to the card front using Stampin’ Dimensionals.
- Stamp the birdhouse onto Sahara Sand cardstock using Early Espresso ink. Cut.
- Adhere the birdhouse to the square.
- Stamp the sentiment onto Early Espresso cardstock using Craft White ink. Let dry completely. Cut.
- Adhere the sentiment to the square.
- Wrap the Baker’s Twine 3x around two fingers and tie in a knot.
- Gently remove the twine and adhere to the frame using a glue dot.
Thank you my friends for joining me today. Have a wonderful Sunday ~

Here is a list of the items used in today’s card ….


Another great layout. Can be used with a lot of sets. Thanks Linda!