Hello Stampin’ Friends ~
Last night I hosted my “Designer Paper” class. It was a fun night with wonderful ladies … lots of laughs but we still managed to make our cards!! The focus was on paper techniques and folds because of the Buy One Get One FREE promotion from Stampin’ Up!

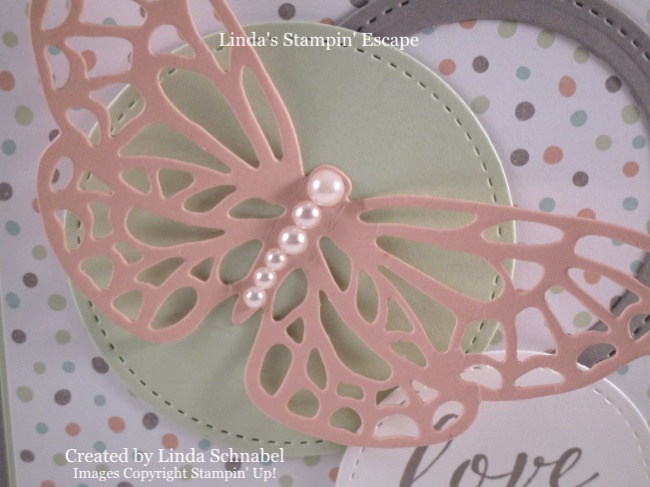
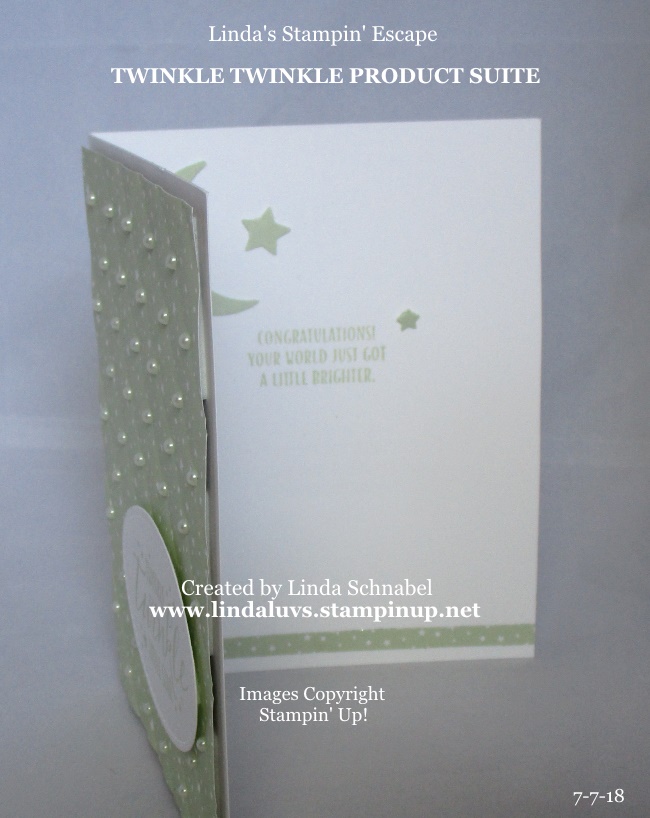
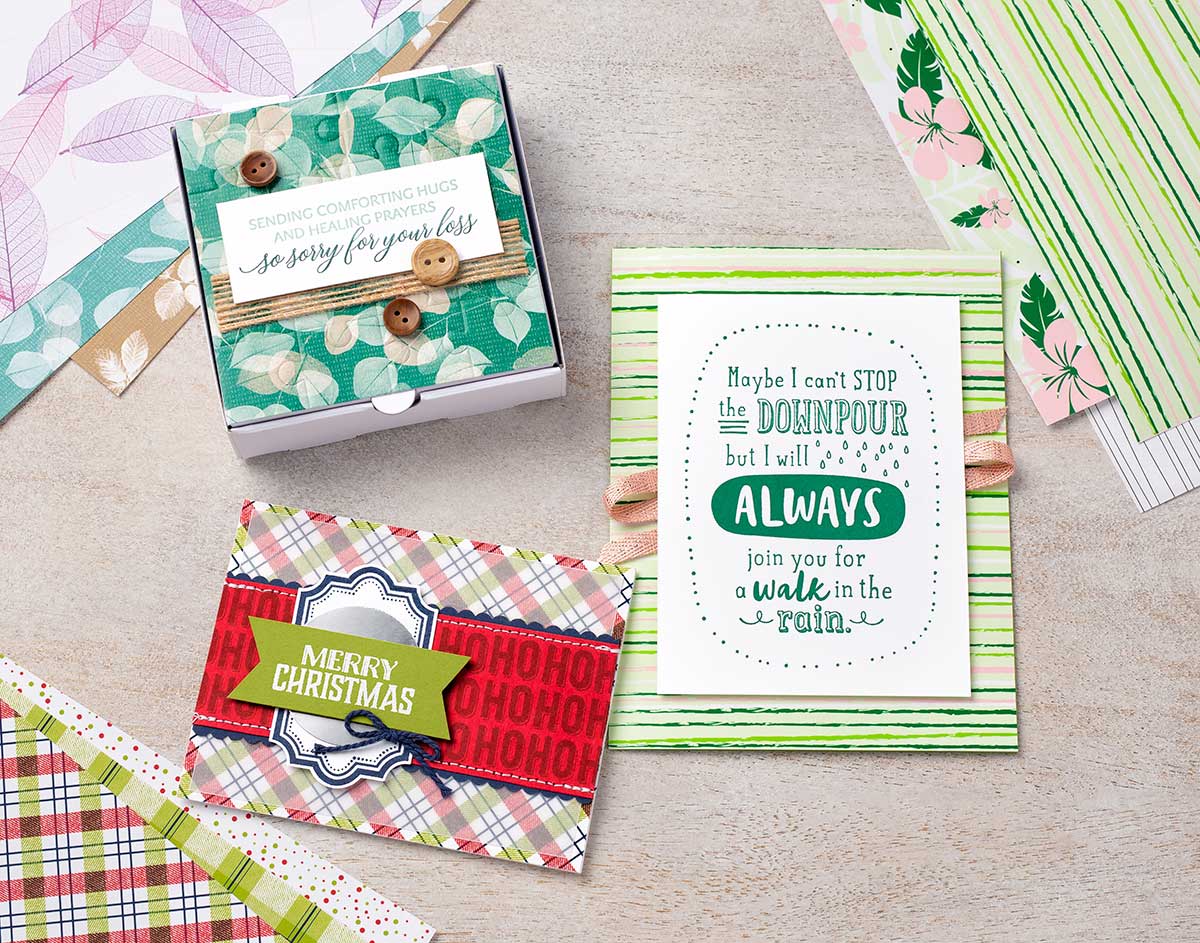
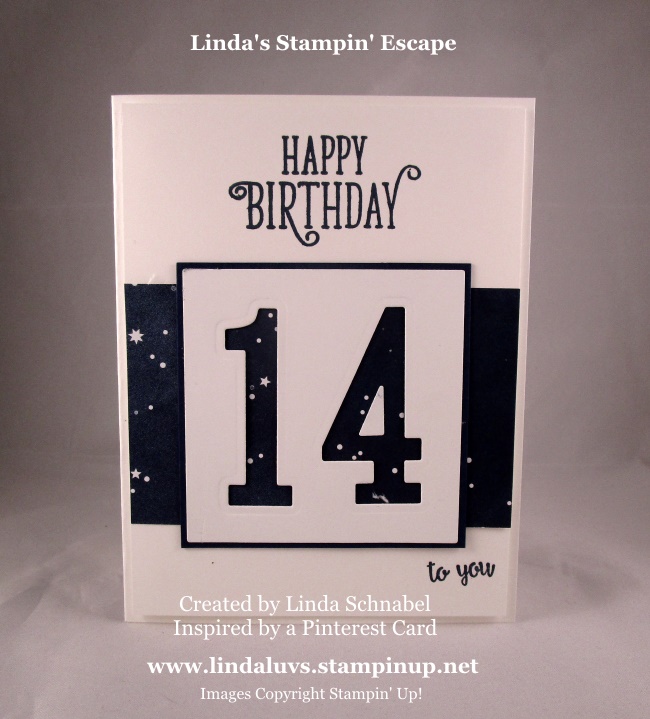
I love using designer paper … it can take you from Quick -n- Easy (still beautiful) to Upscale -n- Elegant!! Here is a card that we made last night, and if there is a name for this technique I don’t know what it is, what I do know is that I’ve been wanting to try this for a long time … and it’s EASY!!
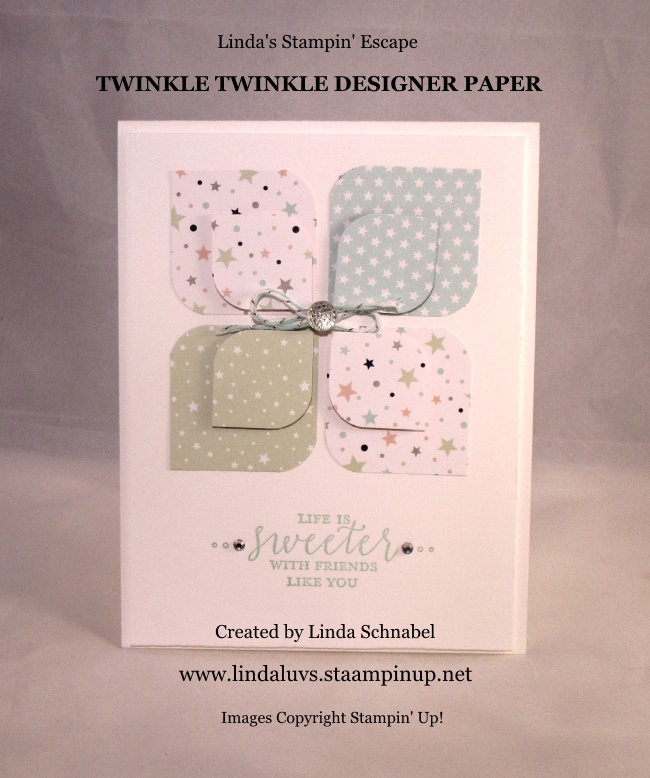
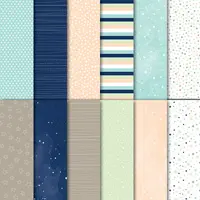
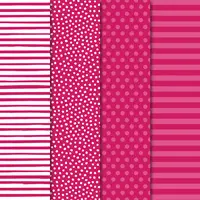
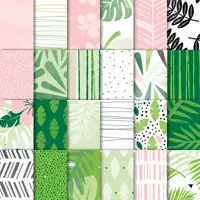
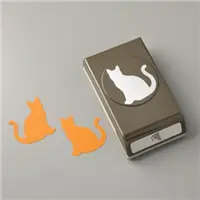
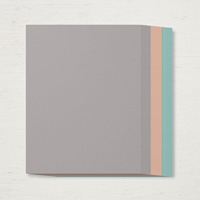
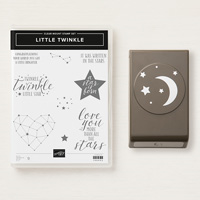
This is another great way to use up your scraps!! Cut them into squares, use the new triple punch which has the corner rounder and viola … a quick and cute card!! The pretty patterns in the Twinkle Twinkle Designer paper are perfect for any style card … I love babies, but let’s think outside of the box. I think it’s perfect for birthday”s, graduations and more – why I bet you could even make a Christmas card out of it!!
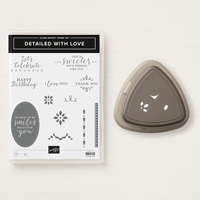
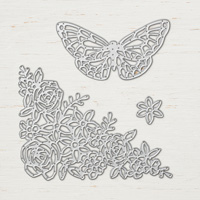
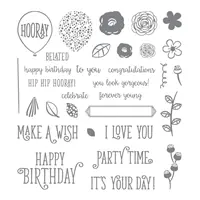
The greeting comes from the “Detailed With Love” stamp set, you’ve seen me use this before and you can find it on page 39 of the Annual Catalog. It has great sentiments and pretty elements in it! Better yet, it’s part of the bundle with the punch!! When you purchase the Detailed Trio Punch and the Detailed with Love stamp set as a bundle … you can save 10%!!

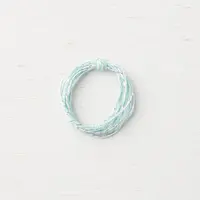
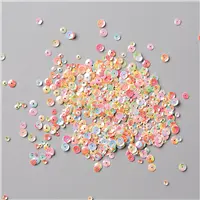
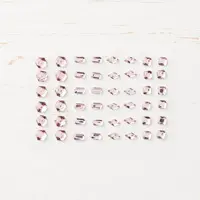
Love this shot …it really shows the dimension on this card. I’ve also added a little bling to the card … of course! The new Silver Bakers Twine (Pool Party) and the Faceted Gems, which I think are fabulous and so happy they stayed in the catalog another year 🙂
I thank you for stopping by today and I hope you enjoyed the card!
Have a great day ~

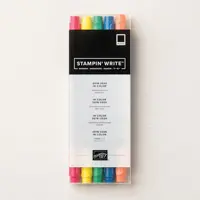
TODAY’S STAMPIN’ SUPPLY LIST …