Fold it Back … and See What Blooms!

Hello Stampin’ Friends ~

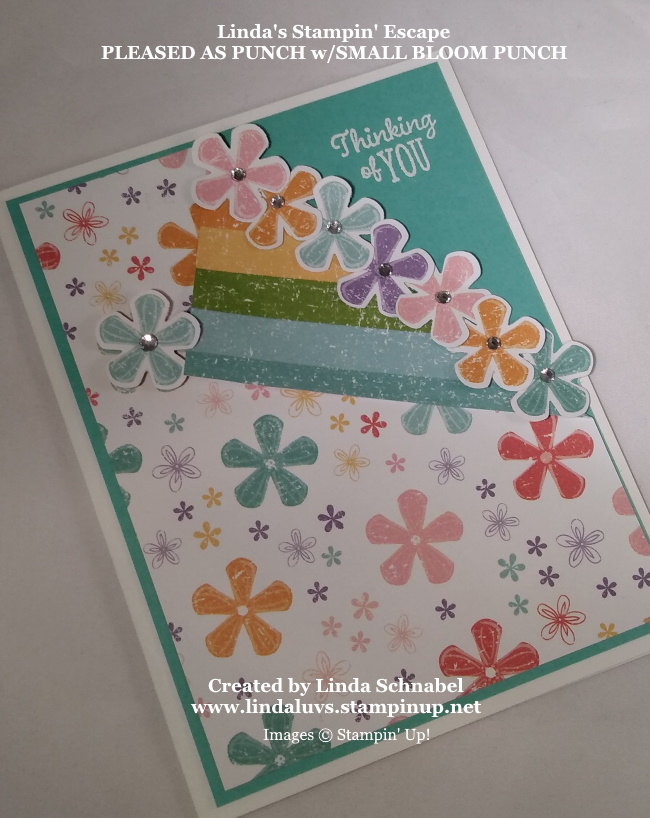
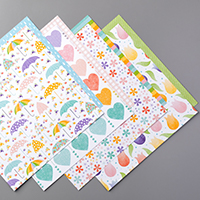
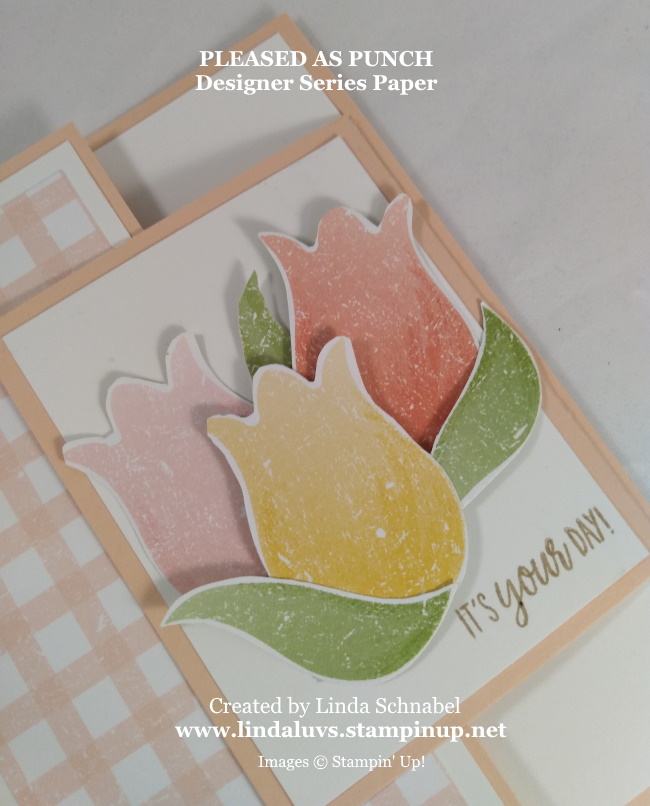
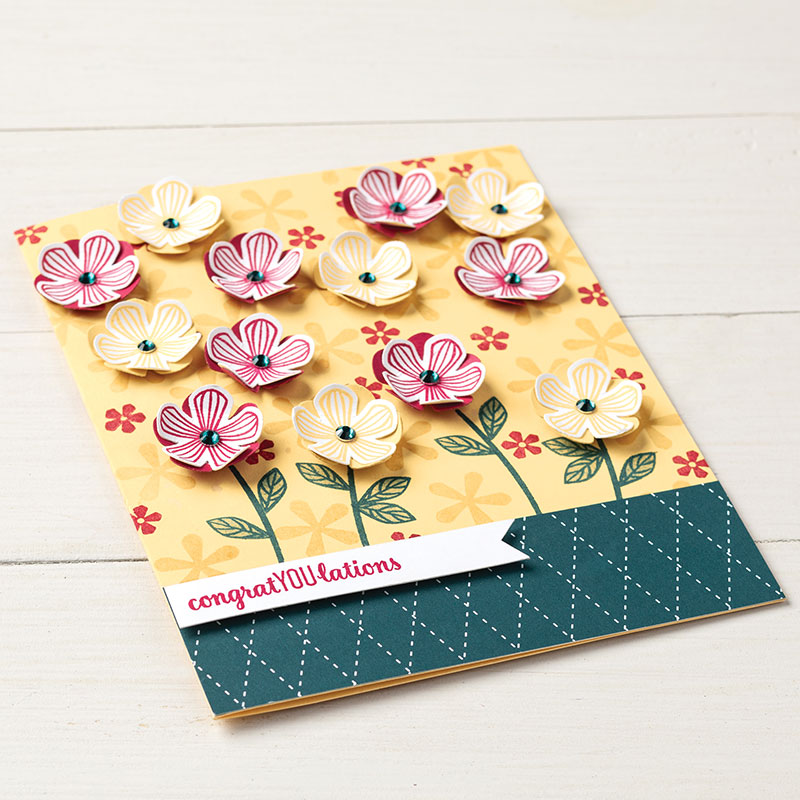
Today I have another sweet -n- simple card created with the Pleased As Punch Designer Series paper.  Let’s Fold it Back and See What Blooms!!  I’m using the cute little flower pattern and when you fold back the right hand corner, you will see the stripped pattern on the other side.

This gave me the idea to embellish the fold by punching out the sweet little flowers on the designer paper. Not all of the flowers I punched out are “full” … some are cut off by the edges of the paper but I simply tucked those edges under a full flower to hide ’em!  What you are left with is a beautiful row of blooming flowers …


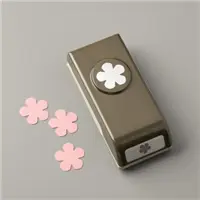
The flowers are punched using the Small Bloom Punch which you can earn FREE during Sale-a-bration with a qualifying amount.  Each bloom is adorned with a Rhinestone gem in the center.

The flap this is pulled back is attached with a simple Stampin’ Dimensional so the tip sits up slightly. Then I added another bloom to embellish that spot.  The bloom is also attached with a Stampin’ Dimensional.  The entire piece of designer paper is attached to a Coastal Cabana piece of carstock …

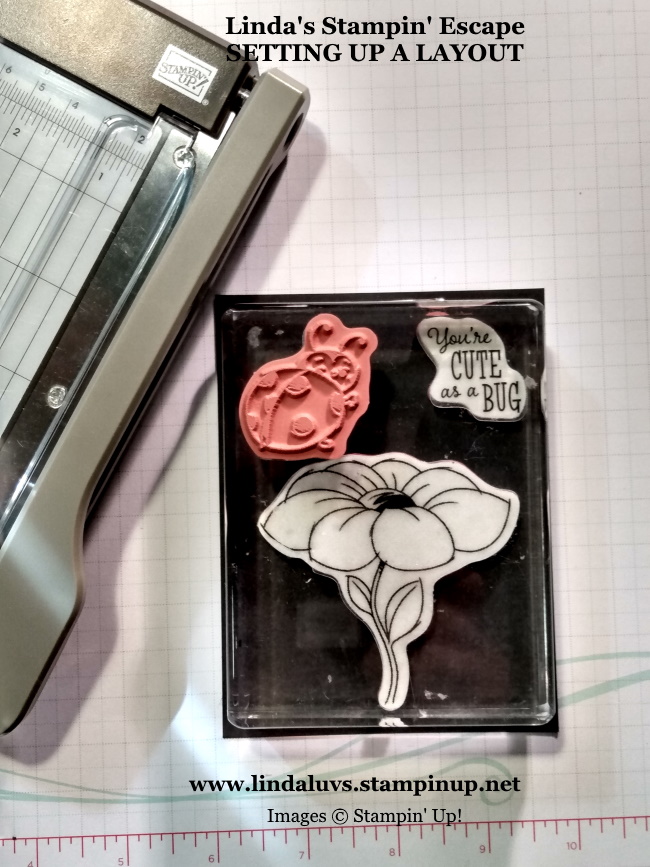
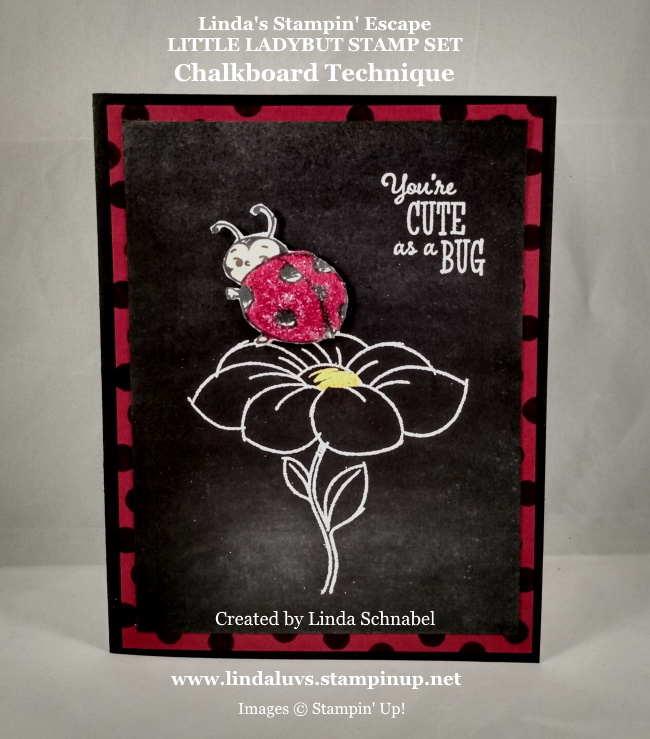
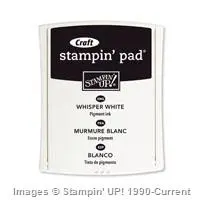
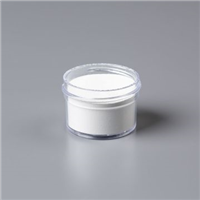
Our greeting is stamped onto the corner using the Whisper White Craft Ink and then White Emboss Powder and heat set.  I love the look of White on White … it creates a more vivid look.  The greeting comes from the Little Lady Bug stamp set.  This is also a FREE item … a special gift to our Hostesses who have sales or a party of $300 or more.

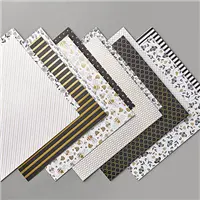
Here are the items I used to create this card … Click on any image for more information.


Today’s card is another example of how easy it is to create cute cards when using your favorite designer papers.  This technique can be used wit so many different papers … have fun with it.

Thanks for stopping back today and checking out another card sample using the Pleased As Punch Designer Series paper.

So … when you are working with your favorite designer paper, don’t forget to fold it back and see what blossoms. Have a great day, Linda.

Simply Sunday: Pretty Cards that are Easy to Create

Hello Stampin’ Friends,

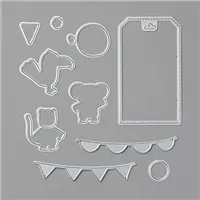
Hope you’re having a great weekend and enjoying the warming weather … at least here in Wisconsin. We may hit 50 Degrees!  It’s got me thinking Spring … put away the snow shovels and bring out the umbrella’s!  Today’s Simply Sunday card features the Under My Umbrella Bundle and the coordinating Pleased As Punch Designer Series Paper.

The quickest and simplest way to create a card is to used your favorite designer paper…

Now that you have the Pleased As Punch designer series paper that coordinates with the Under My Umbrella bundle you can make cute cards in no time at all.  If you still don’t have these products yet, you can order them by clicking on the links below. I would love to help you if you do not have a demonstrator already.

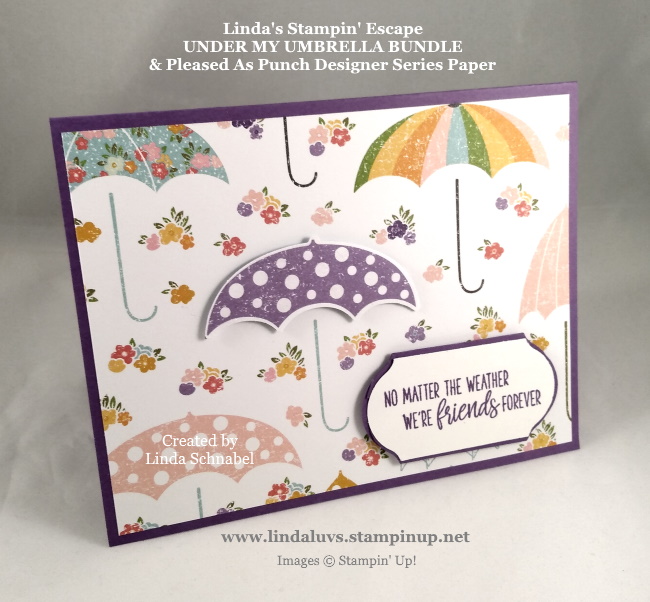
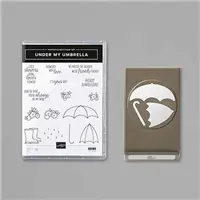
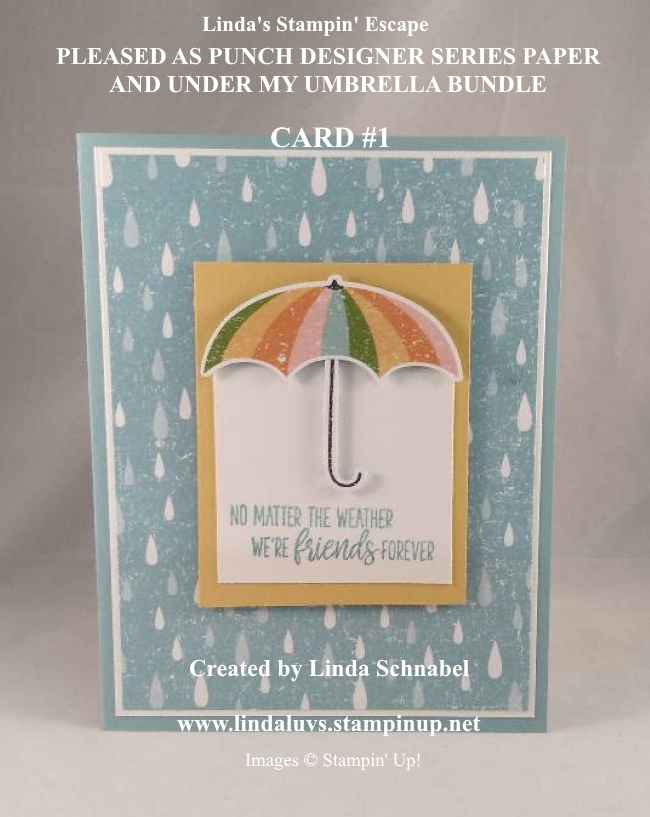
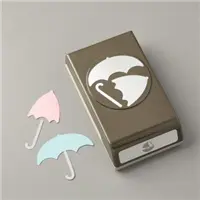
My designer paper is cut 4″ x 5-1/4″ and is adhered to Gorgeous Grape cardstock.  I then took my Umbrella Builder punch and punched out another umbrella top … I popped the punched umbrella piece over the top of the umbrella  on the designer paper with our Stampin’ Dimensionals.

I actually added a thin layer of the Wink of Stella onto the umbrella I popped up but the camera did not pick it up … it really adds a nice touch to the card.

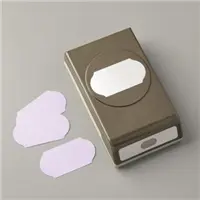
The greeting comes from the Under My Umbrella stamp set and was stamped with Gorgeous Grape.  I then punched it out using the Timeless Label Punch.  I punched out a couple pieces in the Gorgeous Grape and used it to mat my greeting… then I popped the entire piece up using the Stampin’ Dimensionals.

This is such a cute and simple card … it is easy to create with our designer papers, and the Pleased As Punch is the right choice as it coordinates with the Under My Umbrella bundle.

Here is the supply list …

If you don’t have a demonstrator and would love any of the items shown today, I’d be honored to have you as a customer. I do offer a Virtual Rewards Point for each $50 purchase (before Ship/Tax).

Stop back tomorrow as I will be sharing a quick little change to your card that create a whole new look!

Thanks so much for stopping by today, and my wish is to inspire you to create pretty cards that are easy to make.

Have an awesome day!  Linda


Vintage Designed Card by Guest Stamper: Marilyn B.

Hello Stampin’ Friends,

Today I’d like to share with you a beautiful card that I received from one of my team members from our Star’s Card Swap.  If you like the “vintage” look, you will love this card … Marilyn brought together the Very Versailles stamp set and the Magnolia’s.

The Vintage style used on Marilyn’s card creates a soft elegant look …

The neutral color pallet adds to the vintage look.  Marilyn used Very Vanilla and Crumb Cake.  The layering of the verbiage in the background with the foliage stamped over the top, really creates added depth to the card.  The tearing adds texture to the card, while the sponging of the edges “ages” the card which coordinates nicely and adds to the vintage look.

Speaking of “vintage” … the Very Vanilla 3/8″ Scalloped Lace Trim really ties the card together and adds to that vintage look.  Who wouldn’t love receiving this beautiful card in the mail … or in a swap!!  I love gathering with my team.

During Sale-a-bration is a great time to join my team and the Stampin’ Up! family.  When you join during Sale-a-bration, you will get the $125 worth of product for only $99 PLUS a FREE Stamp set of your choice, a wonderful designer paper sampling and the cute little paper cutter (I love it and it travels well).

Stampin’ Up! and I both offer training and inspiration…. and so much more, so if you’d like to hear more about it, just message me and we’ll chat.

Oh yes, and we swap … Thanks Marilyn for the beautiful card.

Thank you so much for joining me today, let me know if you have any questions on the information I shared today.  Hope Marilyn’s card inspired you to try out a “vintage” style on your next card.

I’ll see you tomorrow for my Simply Sunday series.

Have a wonderful weekend.  Linda


Using Left Overs to Create Beautiful Cards …

Hello Stampin’ Friends ~

Well it’s finally Friday and I am excited about that! I’m also excited to share a solution to using up the left overs in your Paper Pumpkin kits to create beautiful cards … let nothing go to waste 🙂

If you recall Wednesday’s post, I shared the video on the A Lovely Day kit that illustrated how each of the three cards were made. I’m using the “pop out” piece that came out of the Birthday Cake card.

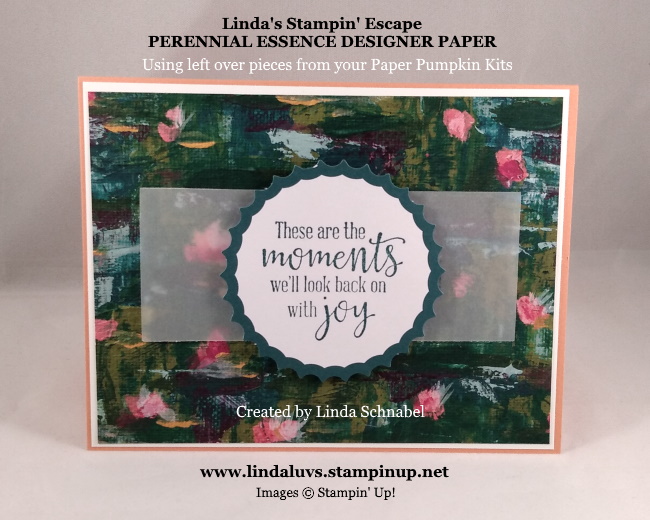
A simple solution to left over pieces is to take a piece of your favorite designer paper … I used the Perennial Essence Designer Series Paper.  I love the Perennial Essence Designer Series Paper because of the hand-painted impressionistic imagery in rich colors. 

When you layer the designer paper onto coordinating colors of cardstock … the imagery on the designer paper really comes alive. I used Grapefruit Grove to which pulls out the same color in the reflection.

I stamped the greeting onto the “pop out” piece from the Peaceful Moments stamp set.  This stamp set has the words you need to express your thoughts… so versatile.  I did add a piece of vellum cardstock behind the greeting to really make it pop.

So, a simple solution to use up those extra pieces in your Paper Pumpkin kits. There is always plenty of left overs that you can keep your creative juices flowing.  A real bang for your buck.

Thank you for stopping in and my hope is you’ve been inspired to use up all those left over pieces in your Paper Pumpkin kits to create beautiful cards!

Have a great day!  Linda

 

Rain or Shine; You’re On My Mind Fun Fold Card

Hello Stampin’ Friends ~

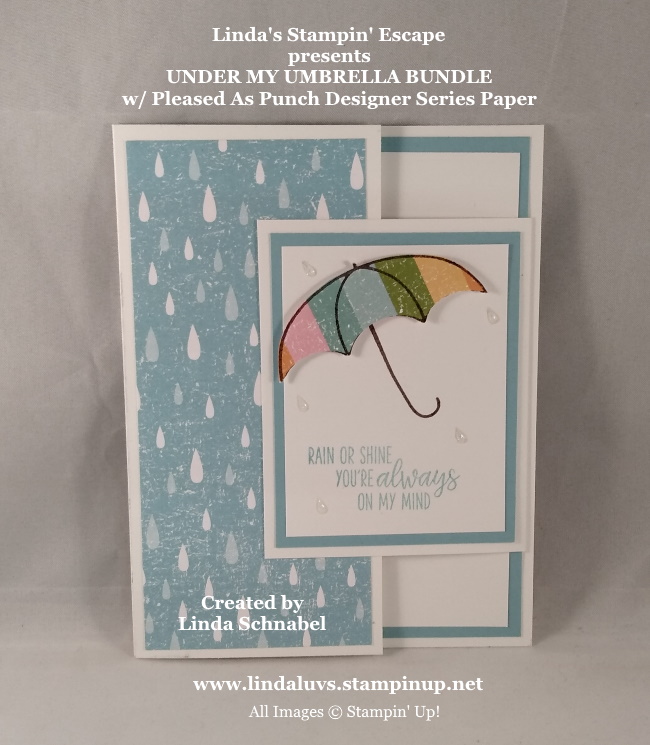
We made it through another Monday! I hope you got a chance to check out my card yesterday, those little boots just touch my heart ❤  Today I have another Under My Umbrella card for you created with the fun fold I shared with you on February 13th … my tulip card.  I am using the Pleased As Punch Designer Series paper again too …

We used the stamp set to stamp the designer paper with the stripes and then punched it out… stamped the handle and used dimensionals to secure the envelope.  Our greeting was stamped in Balmy Blue (and my little rain drops are a retired SU product).

The right flap overlaps our rain drop designer paper and when opened …

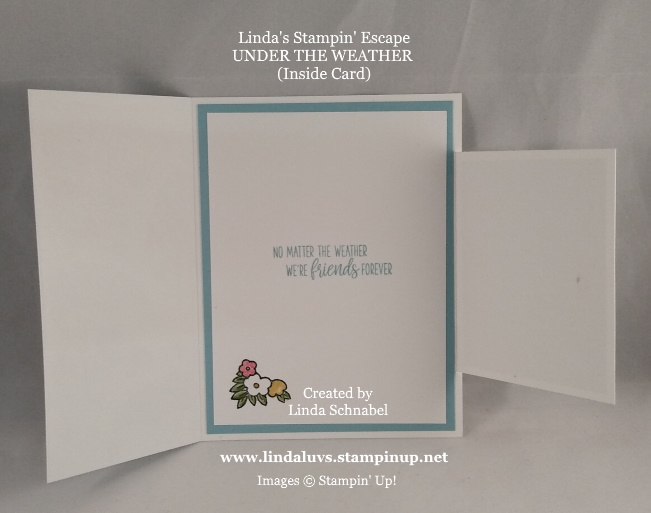
It looks like this.  Both sentiments on the outside and inside of the card come from the stamp set included in the Under My Umbrella Bundle… even the pretty little flowers on the inside come from this fab stamp set.  Layers are fun and when you can add the unique fold to your card creations, you’ll create a winner for sure.

I hope you enjoyed today’s card, and if you’d like the tutorial for the fun fun just head on over to my online store and purchase any one of the coordination bundles (see below). I will send you not only the tutorial for the fun fold but the other 3 cards as well, and a special hand stamped card from me. Hopefully you will also get one of those amazing Sale-a-bration items as well.

Thanks much for joining me today, it’s appreciated. Let me know if you have any questions on today’s card or anything else.

Have an awesome day ~

TODAY’S STAMPING SUPPLY LIST:   If you don’t have a demonstrator and would love any of the items shown today, I’d be honored to have you as a customer. I do offer a Virtual Rewards Point for each $50 purchase (before Ship/Tax).


Life’s Showers, Bring Loves Flowers ….

Hello Stampin’ Friends ~

Sorry I’m late today with my post … bad router 😦  But I’m back and can’t wait to share today’s card with you.  Yesterday I said I would share cards from the “Under My Umbrella” stamp set … a must have on my Wish List. It was the little “boots” that got me.

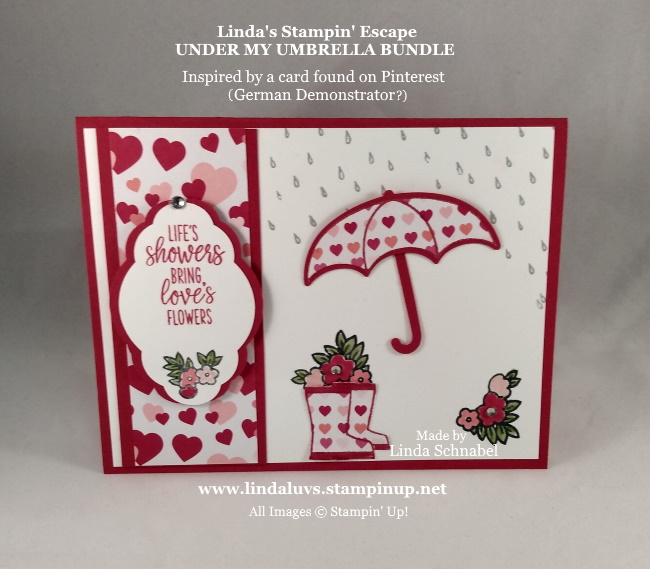
Today’s card was inspired by a card I found on Pinterest.  She used the small hearts paper from the “From the Heart” Specialty Designer paper, I used the same. I changed the orientation and a few other things to make it my own ….

This is one of the cards that my February Stamp Club made … this card ties in with the products we used last month and introduces the Under My Umbrella bundle.  The bundle includes the stamp set and a punch that punches the umbrella.

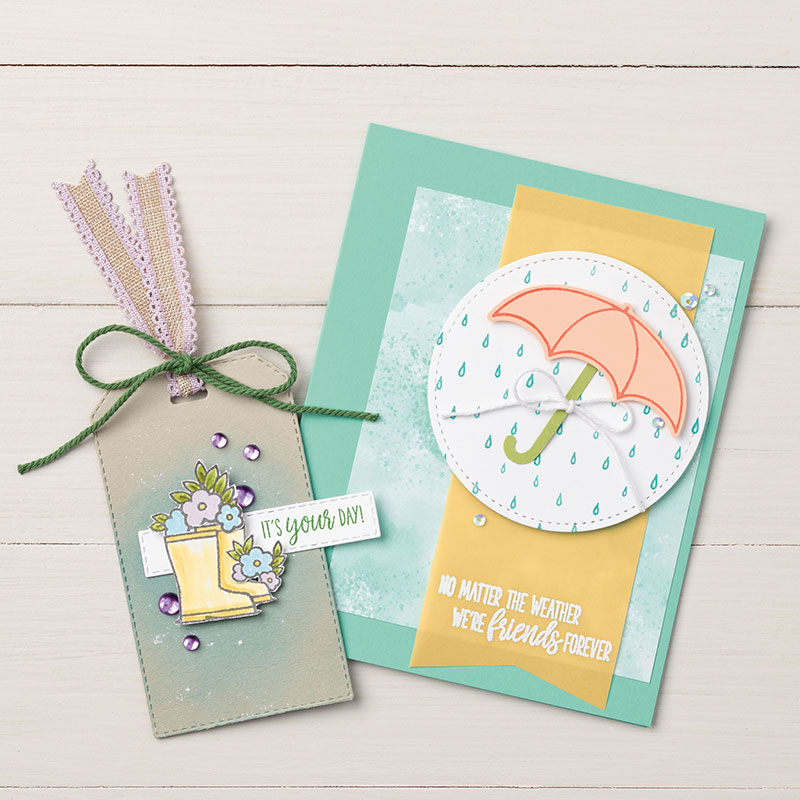
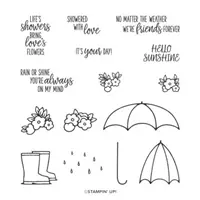
Shower your loved ones in good wishes and flowers with the Under My Umbrella Stamp set. Line art images are fun to color and easy to customize for any occasion. The greetings in the stamp set work perfectly for thinking of you, sending love, wedding, or baby projects. Stamp the raindrop or flower images repeatedly to create backgrounds. You can also use them to decorate the umbrellas or the rain galoshes.

We used the stamp set and Real Red ink to stamp onto our designer paper.  We then punched out our umbrella and trimmed it to the stamped lines.  Then we punched an umbrella and handle out of Real Red cardstock and used it to mat the designer paper punched umbrella.  The little boots were fussy cut and then colored with the Real Red Marker.

The greeting and floral stamps were stamped with Momento Ink and colored with our Stampin’ Write Markers (see colors below). Our greeting was punched using the Pretty Label Punch … which also has a Real Red mat.  Rain was stamped in Smoky Slate.

I wish I could tell you the talented demonstrator who inspired me to make this card but her link was not working properly, in other words, it did not direct me to her site. I just had her verbiage translated and discovered it was German.

Hope you enjoyed today’s card … I have another to share with the Under My Umbrella again tomorrow.

Thanks for stopping by ~

TODAY’S STAMPING SUPPLY LIST:   If you don’t have a demonstrator and would love any of the items shown today, I’d be honored to have you as a customer. I do offer a Virtual Rewards Point for each $50 purchase (before Ship/Tax).


Simply Sunday: Gettin’ Punchy

Hello Stampin’ Friends ~

I hope you are enjoying your weekend. Today I’d like to share a few cards with you that highlight the beautiful “Pleased as Punch” Designer Series Paper.  This little tour of cards will lead you to the “Under My Umbrella” stamp set … this will set you up for the cards I will be sharing with you tomorrow and Tuesday.

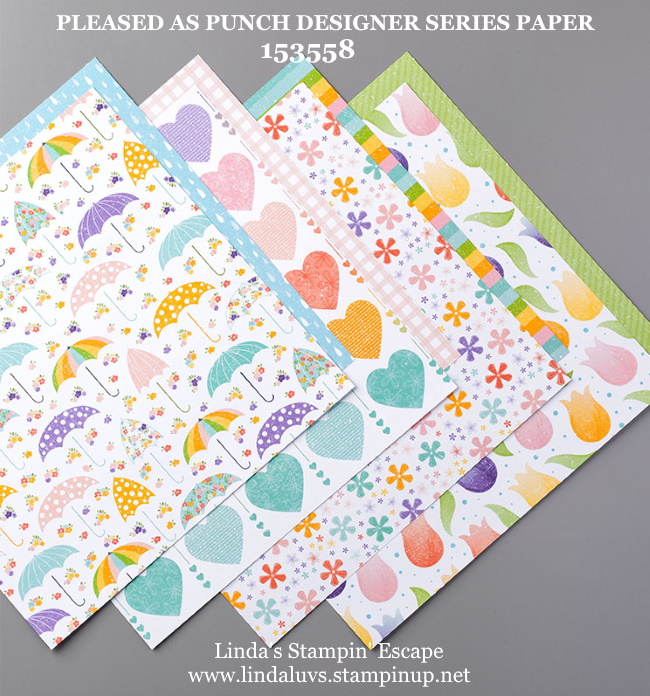
The “Pleased As Punch” Designer paper was introduced with the Coordination Product release.  These are special products created to coordinate with our favorite products from the January–June 2020 Mini Catalog and Sale-A-Bration.

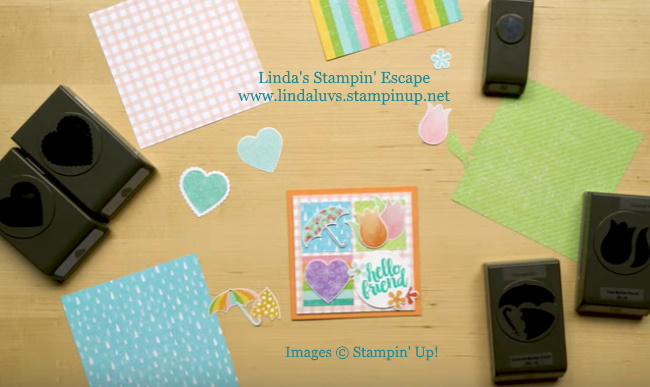
The “Pleased As Punch” Designer paper coordinates with the Heart Punch Pack, Tulip Builder and Umbrella Builder punches all from the Mini Catalog and the Bloom Punch which you can earn FREE during Sale-a-bration!

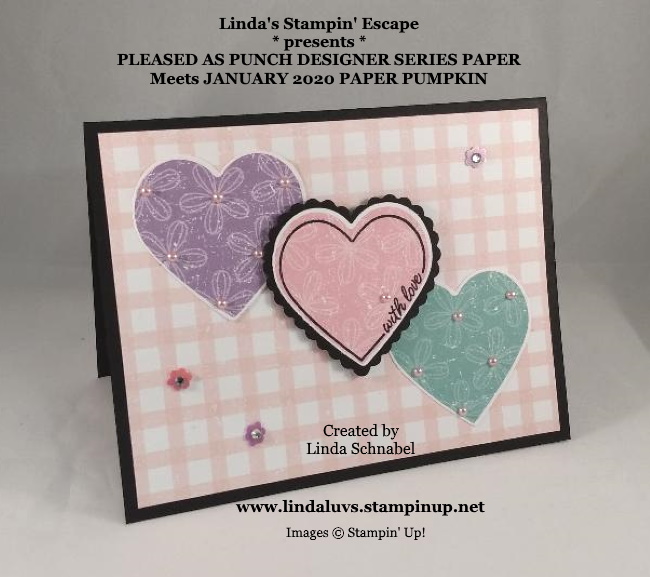
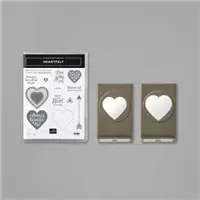
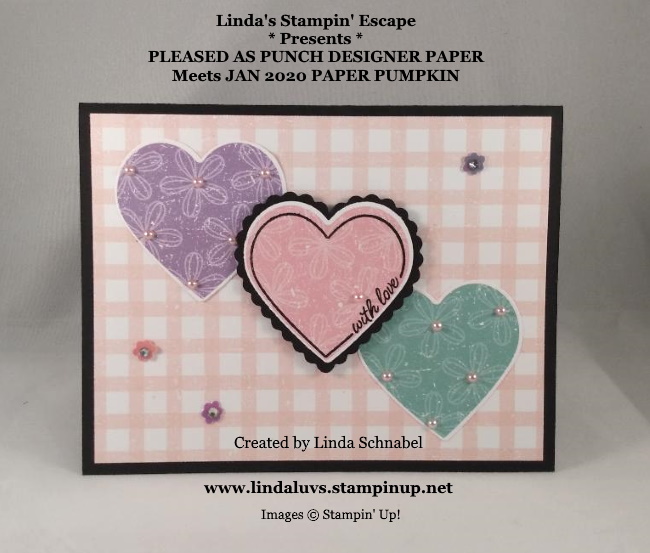
Here is a simple and cute card that I created with the Heart Punch Pack that is part of the Heartfelt Bundle found in the NEW Spring Mini Catalog. I embellished my punched hearts with pearls and the little flowers and greeting is part of the January 2020 Paper Pumpkin….

The pretty gingham background paper is included in the Pleased as Punch Designer Series paper!

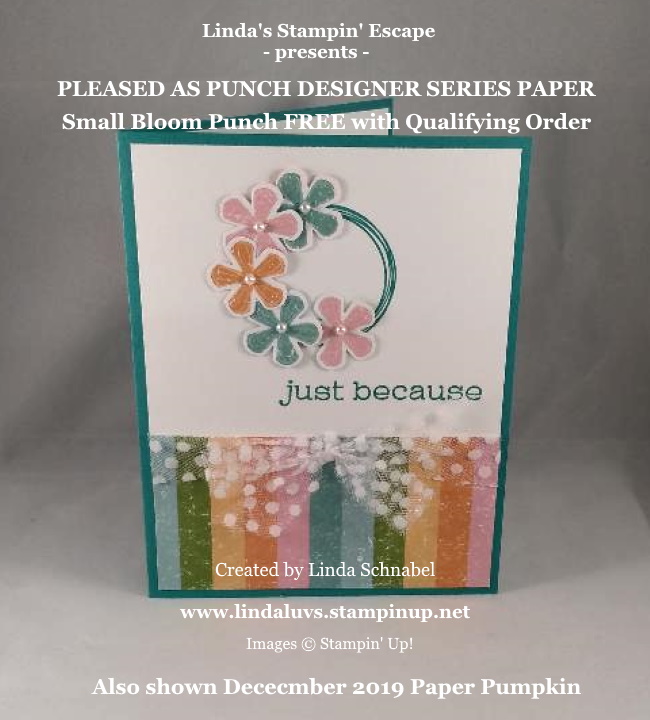
This sweet card was created with the Small Bloom Punch that you can get for FREE during Sale-a-bration.  I teamed it up with two patterns from the Pleased as Punch Designer paper. You can actually punch out the flowers from the designer paper making this card super simple to recreate …..

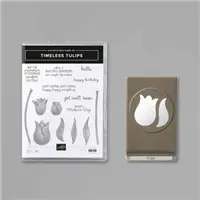
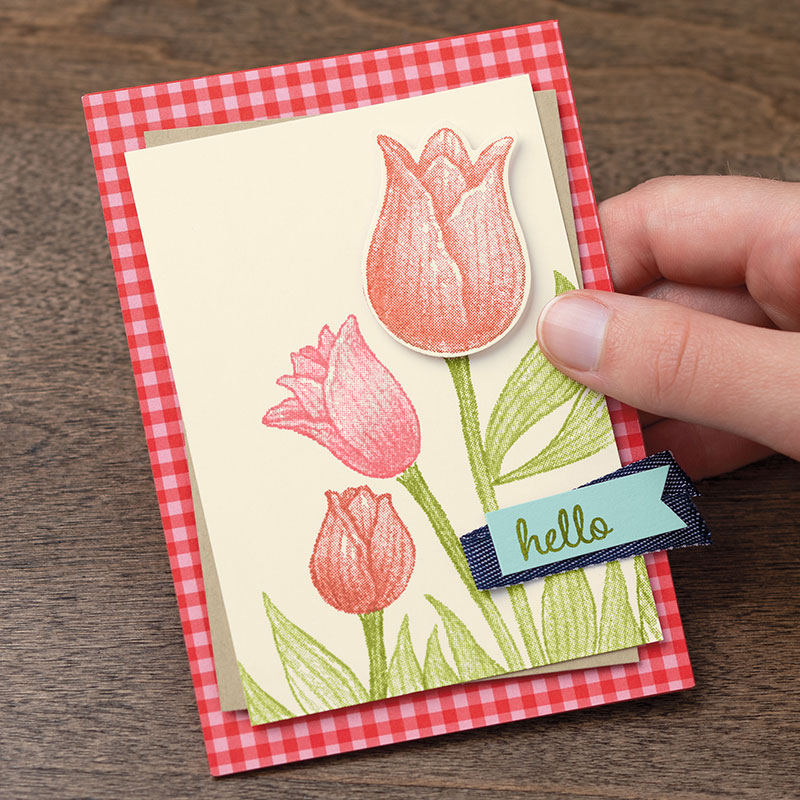
You have just seen 4 patterns used in two different cards … the versatility of this amazing paper is endless.  Let’s move on to yet another card.  This card also featured that pretty pink gingham paper and highlights the tulips that coordinate with the Timeless Tulips Bundle

If the winter has you a bit punchy, then the Pleased as Punch Designer paper should be on your Wish List.  It coordinates with four different punch packs / punches yet can be used for any card and any occasion.

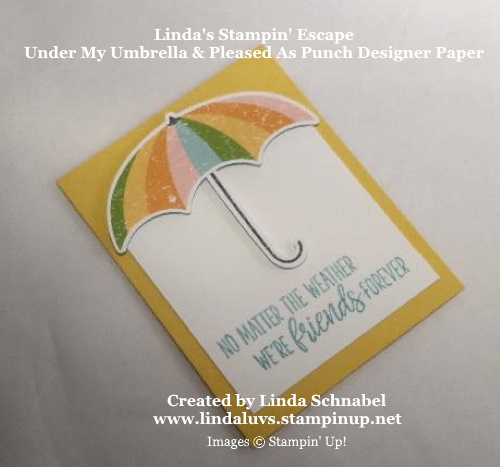
My last card comes from the Under My Umbrella bundle …

This pattern in the Pleased as Punch Designer Series Paper allows you punch both the open and closed umbrellas. I fell in love with this paper while creating all these cards but it was the “Under My Umbrella” bundle that inspired me to purchase it.

And it was those little boots that pulled at my heart strings … There was nothing stopping me for purchasing the Under My Umbrella stamp set.  You will see more in the next few days.

Until then … I hope you enjoyed see how versatile the Pleased As Punch Designer paper is.  Please note that this is a special product introduction that will only be available during Sale-a-bration … OR Until Supplies Last!

Thank you for hanging out with me this Sunday, and I’ll see you tomorrow.

Enjoy the rest of your day ~

TODAY’S STAMPING SUPPLY LIST:If you don’t have a demonstrator and would love any of the items shown today, I’d be honored to have you as a customer. I do offer a Virtual Rewards Point for each $50 purchase (before Ship/Tax).


Fun Fold with Guest Stamper Cathy C.

Hello Stampin’ Friends ~

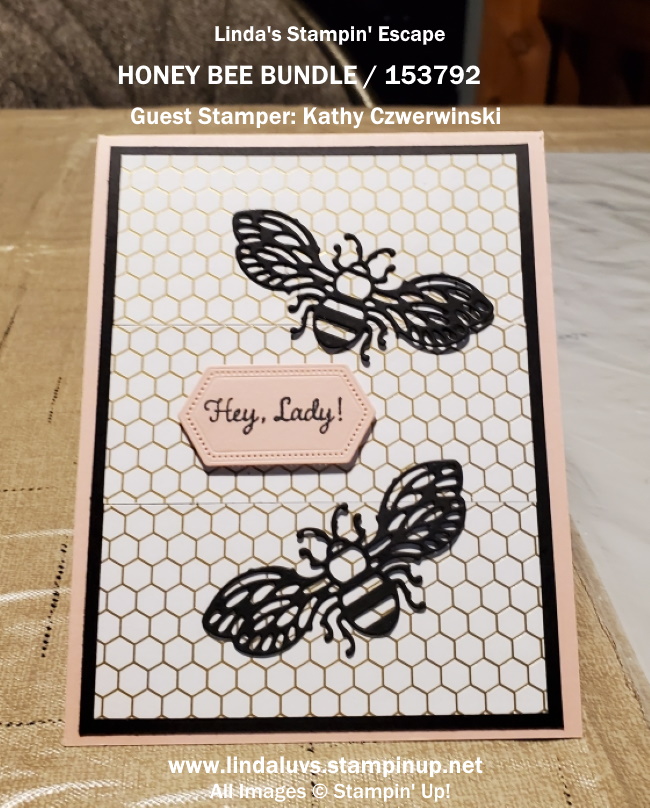
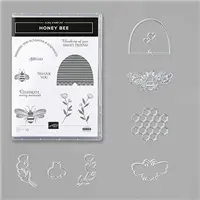
Happy Valentines Day!!  It’s a bit chilly here in Wisconsin … -9° Burr!! However, today’s card will warm your heart. It was created by my friend and Star’s team member Kathy Czerwinski and she’s sharing it with all of us. She made a “fun fold” card to showcase the Honey Bee Bundle!!

Kathy’s top flap or front of the card highlights the Sale-a-bration Paper the “Golden Honey Specialty” Designer Series Paper …

and you will also see the die cut bee’s from the bundle.  The sweet little greeting “Hey, Lady” comes from our Hostess Stamp Set “Little Ladybug”. Get the adorable Little Ladybug Host Stamp Set FREE when you host a qualifying party or place a personal order totaling $300 or more during our Sale-A-Bration promotion (January 3–March 31, 2020).

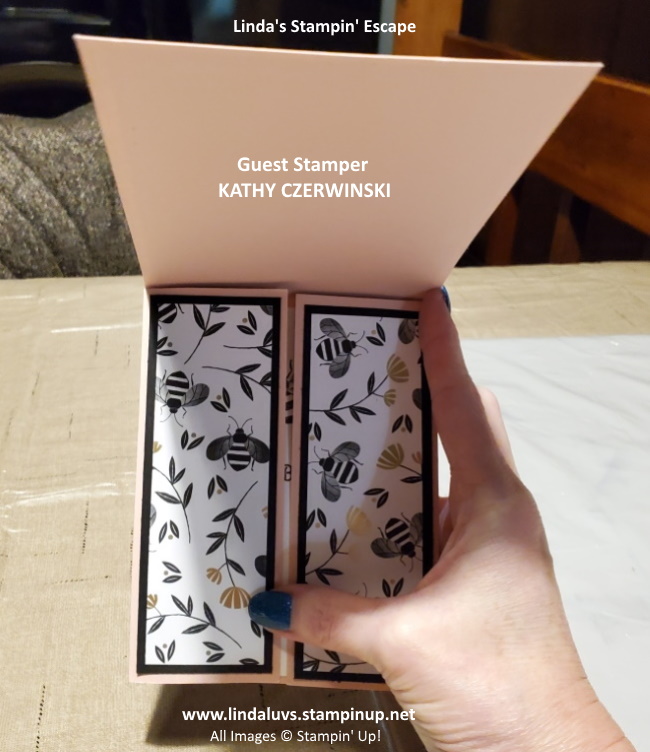
Once you open the front of Kathy’s card …

You will find a “gate front” to the inside, decorated beautifully with another pattern from the “Golden Honey Specialty” Designer Series Paper … This is a FREE Sale-a-bration item with a qualifying purchase of $50 (before shipping and taxes).  I do want to mention the reason it’s called “Golden” and “Specialty” is because it has gold foil accents on some designs.

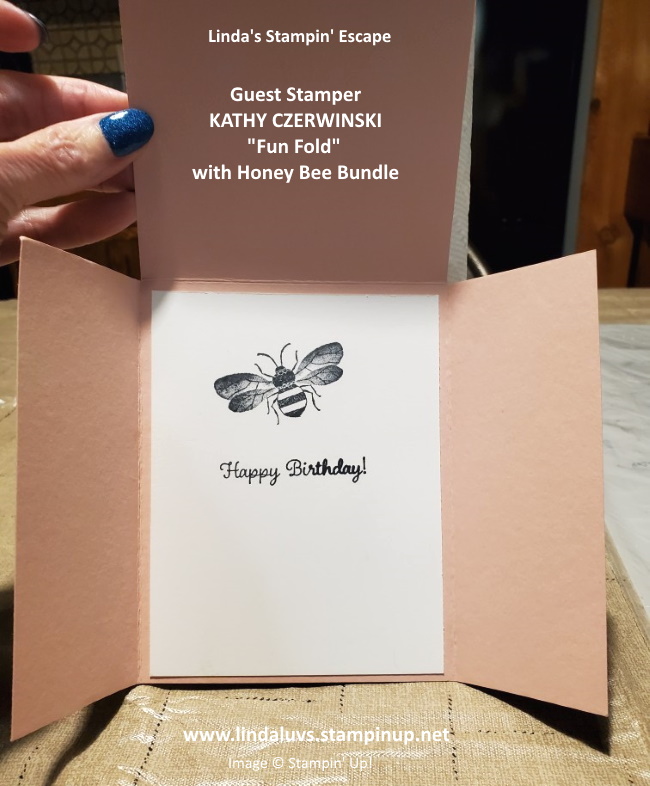
Let’s go through the gate ….

Kathy finishes off her card by stamping the bee from the Honey Bee Bundle and wishing a Happy Birthday.  I loved this card and was thrilled when Kathy said I could share it with you.

Hope you enjoyed it as much as I do.  If you have any questions, you can email me at lindaluvs2stamp@aol.com or just put your question in the message box below.  Someone else may have the same question as you 🙂

Thank you so very much for stopping in to see me today.  I hope you enjoy this Valentines Day ❤

Have a great weekend ~

TODAY’S STAMPING SUPPLY LIST:If you don’t have a demonstrator and would love any of the items shown today, I’d be honored to have you as a customer. I do offer a Virtual Rewards Point for each $50 purchase (before Ship/Tax).

Pleased As Punch “Fun Fold” Card …

Hello Stampin’ Friends ~

Well this one took a little while but it’s finally here … my 4th “Pleased As Punch” Designer Series paper  card, and I combined it with a fun fold!  So have you guessed yet?  You got it … this card features the tulips. Although I do not have the Timeless Tulips Bundle yet, I am still enjoying playing with this design.

I love that you get 12 sheets of this patterned paper: 3 each of 4 double-sided designs!  You can view the Under My Umbrella Card, the Heart Punch card and the Small Bloom Punch card just by clicking on the link.  Now … lets check out our tulip card …

Our fun fold card starts with the flap on the right showcasing my bouquet of tulips. I really wish I had the punch because it would have been much quicker than fussy cutting my tulips and leaves out!  I layered these onto this flap to create my focal point … Some are popped up to create some added dimension.

I’ve been arranging flowers since I was 19 years old and we won’t say how long that has been … lol.  So that made this card fun to make.  My greeting was taken from the Under My Umbrella stamp set and tucked gently under my tulip bouquet.

The pretty pink gingham paper comes from the same paper pack … the “Pleased As Punch” Designer Series paper.  It is on the reverse side of the hearts.  I thought the two paired nicely together.

I hope you enjoyed today’s card, and if you’d like the tutorial for the fun fun just head on over to my online store and purchase any one of the coordination bundles (see below).  I will send you not only the tutorial for the fun fold but the other 3 cards as well, and a special hand stamped card from me.  Hopefully you will also get one of those amazing Sale-a-bration items as well.

Thanks much for joining me today, it’s appreciated. Let me know if you have any questions on today’s card or anything else.

Have an awesome day ~

Pleased As Punch Coordinating Products …


National Wear Red Day® – Cards dressed in Red!

Hello Stampin’ Friends ~

On the first Friday of every February, which is designated as American Heart Month, the nation comes together, igniting a wave of red from coast to coast. From landmarks to news anchors and neighborhoods to online communities; this annual groundswell unites millions of people for a common goal: the eradication of heart disease and stroke. (Taken from the heart.org site)

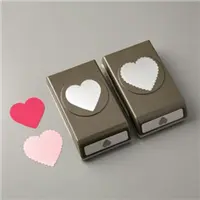
So … as I wear my red today, I thought it would be fun to share a couple cards dressed in red and highlighting our hearts.  Let’s start sweet -n- simple, this easy to create card uses only 4 items with your cardstock!!  I began with Real Red cardstock for my base and pulled out the “From My Heart” Specialty Designer Series paper.  I choose the red & pink heart pattern.

I love the Heart Doilies and decided to use them for this card.  You get pink and red doilies in the pack, and if you flip them over … they are white! So the base is the red doily, then I cut down one down and used the white side to stamp my greeting. The greeting comes from the Heartfelt Stamp Set.  I finished this card off with a pretty red bow.

For my second card, I took the red & pink pattern from the “From My Heart” Specialty Designer Series paper and flipped it over!  The flip side reveals this cute red foil with pink & white polka dots.

You can easily see that I incorporated the doilies in my second card as well. The pretty foil heart was punched out from another sheet of the “From My Heart” Specialty Designer Series paper.  You can use either of the punches in the punch pack on these hearts, I used the scalloped heart punch.

I added a piece of vellum cardstock to highlight the punched heart, and the greeting comes from the Heartfelt Stamp Set which bundles with the Heart Punch Pack. A little strip of Whisper White cardstock cut into a banner highlights the greeting.

Our Heartfelt Bundle and coordinating “From My Heart” Specialty Designer Series paper is not just for Valentines, it’s great for your friends, for weddings, baby showers and more. Today it’s to celebrate life … to bring awareness to the fight against heart disease.

Thank you so very much for sharing a part of your day with me today… enjoy the rest of your Friday.

TODAY’S STAMPING SUPPLY LIST …

Create Flowers Quickly & Easily with this punch …

Hello Stampin’ Friends,

Last week I shared a cute card that featured the “Pleased As Punch” Designer Series paper … I also incorporated the Small Bloom Punch which made it easy to quickly create the flower cut outs.  You can use these blooms for your cards, scrapbooks, and other paper projects … You’ll love the Small Bloom Punch and it’s versatility.

If you love small paper flowers then you will love the small blooms punch. Easily create as many flowers as you want for all of your projects. These small blooms punch is easy to use and FREE with qualifying amount during Stampin’ Up!s Sale-A-Bration Promotion.

Take a minute and watch this short video and learn more about this fun punch … and see some great samples. My favorite is the pretty gift bag adorned with a rainbow of flowers.

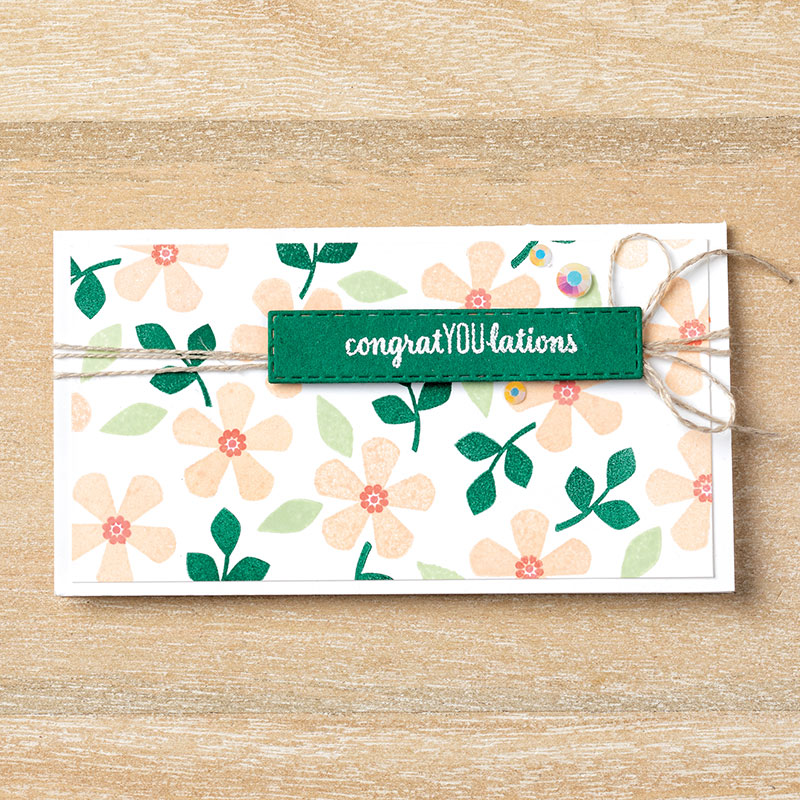
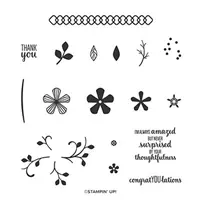
Earn this flower punch FREE (and / or the coordinating stamp set) with a qualifying purchase January 3–March 31, 2020, during our Sale-A-Bration promotion!  Here is the cute card that was shown in the video and features the Thoughtful Blooms stamp set …

The Thoughtful Blooms Stamp Set is a perfect floral stamp set for cards. Make thank you cards and congratulations cards with the sentiments in this set, or mix and match this set with other stamp sentiments to make cards for any occasion. This Two-Step Stampin’ set lets you layer images to create more depth and interest. Get the stamp set with its coordinating punch, and make piles of cards in a snap! Earn this stamp set FREE with a qualifying purchase January 3–March 31, 2020, during our Sale-A-Bration promotion!

So pull out your WISH LIST and let’s get these great products into your stamp room!

Thanks for stopping by and have a great day!

It’s “Meerly” Irresistible ….

Hello Stampin’ Friends ~

Sale-A-Bration is a great time to gather for a fun night of stamping. I’ll prepare a couple of projects using Annual catalog, Mini catalog and / or Sale-A-Bration products and help your friends “escape” from their reality for a few hours.

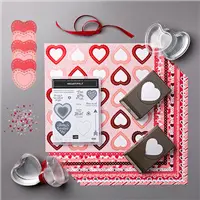
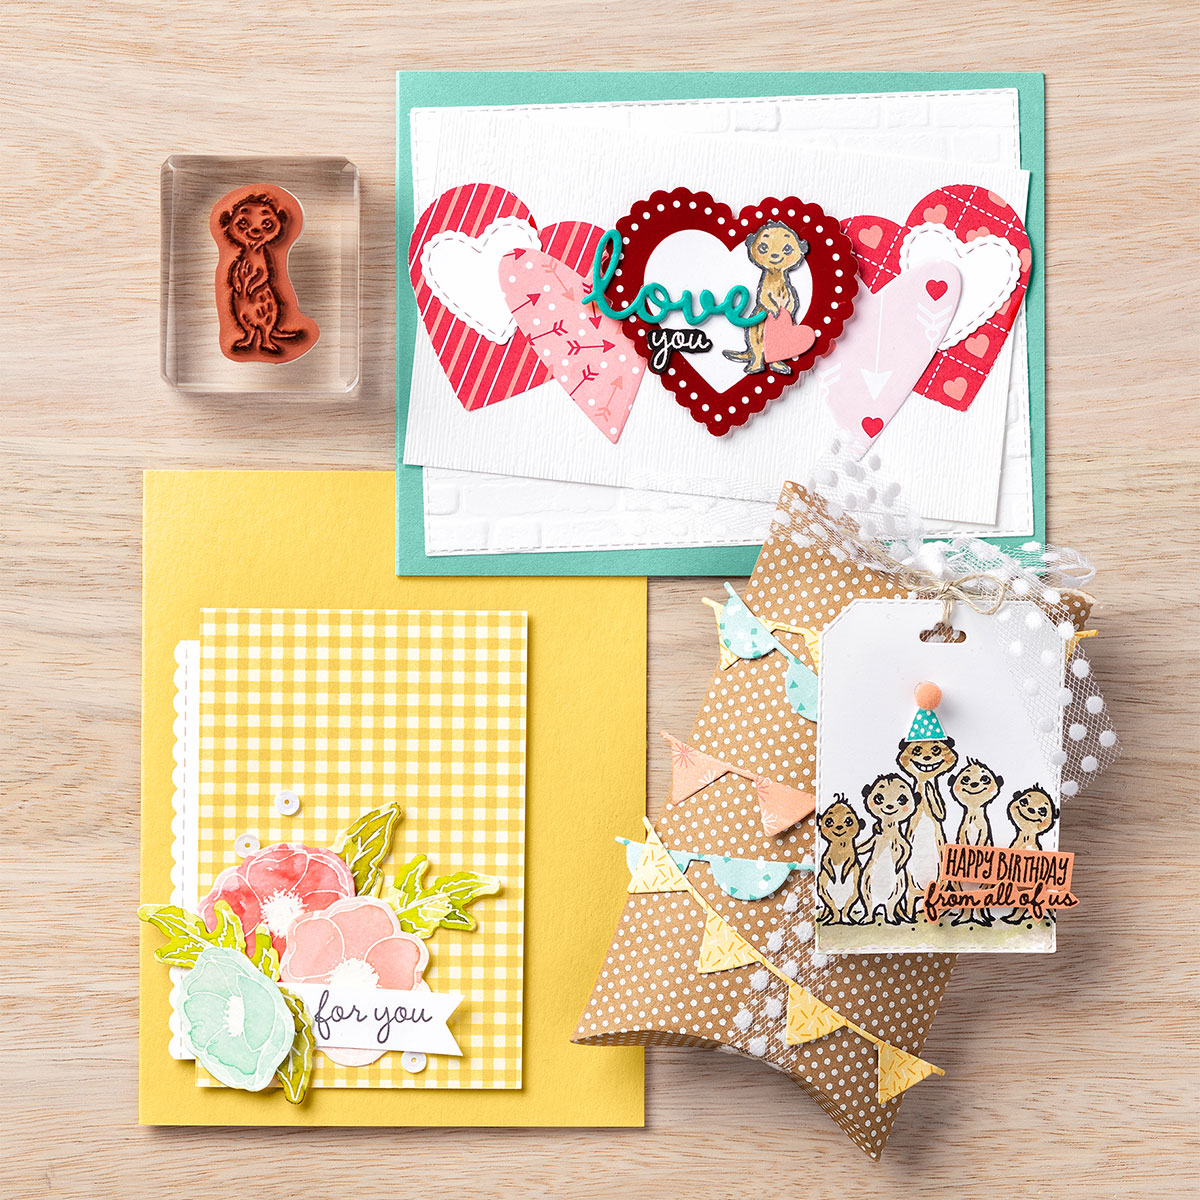
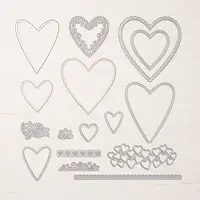
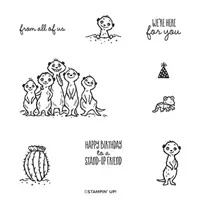
The Gang’s All Meer Stamp Set is a fun one to bring out the smiles and you can show its versatility with our projects here. To create a darling valentine, Stampin’ Up! paired the set with From My Heart Specialty Designer Series Paper, the Heart Punch Pack, and the Stitched Be Mine Dies.

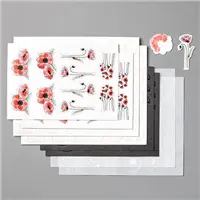
The beautiful For You card shows the opportunity to pair sentiments with embellishments, in this case, the Peaceful Poppies Elements. And on the cute birthday box, Stampin’ Up! combined the stamp set with the Bonanza Dies.

Gathering your friends together for a fun afternoon or evening is the best “escape” that I can imagine.  I’ll bring along some fun Make & Takes along with plenty of other samples to share from the NEW Spring Mini and the Sale-a-bration catalogs.

If you are interested just email me at lindaluvs2stamp@aol.com or leave me a comment below and I will contact you to set up your fun stamping party.

Thank you for stopping by my blog today, and I hope your day is a good one.

TODAY’S STAMPING SUPPLY LIST …


Reflections of the Past … Sprinkled with New

Hello Stampin’ Friends ~

I’m not sure if you team won the SuperBowl or not but I do know that Card #1 with the image centered WON hands down; here and on Facebook!  Thank you to all that joined in on the fun and voted ❤

Today I’m sharing the cards I created with the “Pleased As Punch” Designer paper along with cards that were made using the bundles that coordinate with this amazing paper.  Enjoy the card parade.

First up is the WINNER  of our card contest …

I’m always ready to try something new but I kind of favored the centering of the image too.  I’d like to share another project that was created using the Under My Umbrella bundle …

One of the items from the Coordinating”Pleased As Punch” designer paper were the tulips so I’ll just share a cute card that was created by Stampin’ Up! using the  “Timeless Tulips” bundle …

If you remember a couple days ago when I shared this card that featured both the “Pleased as Punch” Designer paper and the Small Bloom Punch…

You can quickly create flower cut outs for your cards, scrapbooks, and other paper projects using the Small Bloom Punch. Earn this flower punch FREE with a qualifying purchase January 3–March 31, 2020, during our Sale-A-Bration promotion! Here is another sample …

You can also get the coordinating stamp set for FREE during Sale-a-bration and here is a cute card created by Stampin’ Up! …

Wow … Three totally different style of cards!  And when you think of versatility … think of the Heartfelt Bundle. Here is my card that kicked off the entire series …

Then I have another card to share that highlights this bundle …

Wasn’t that fun to see how versatile these bundles are and how quick it is to create these cards when teamed up with the designer paper.

Thank you for hanging out with me today. I appreciate it.

Have yourself a beautiful day!

TODAY’S FEATURED BUNDLES …

.


Simply Sunday: Card Superbowl …

Happy Sunday Stampin’ Friends ~

Hope you are enjoying your weekend, they seem to go by so fast! Some of you will be watching the Superbowl today … Good Luck if you’re cheering on either the 49ers or the Chiefs.  I thought we could have a little fun today … Battle of the cards!! A cardbowl of sorts!

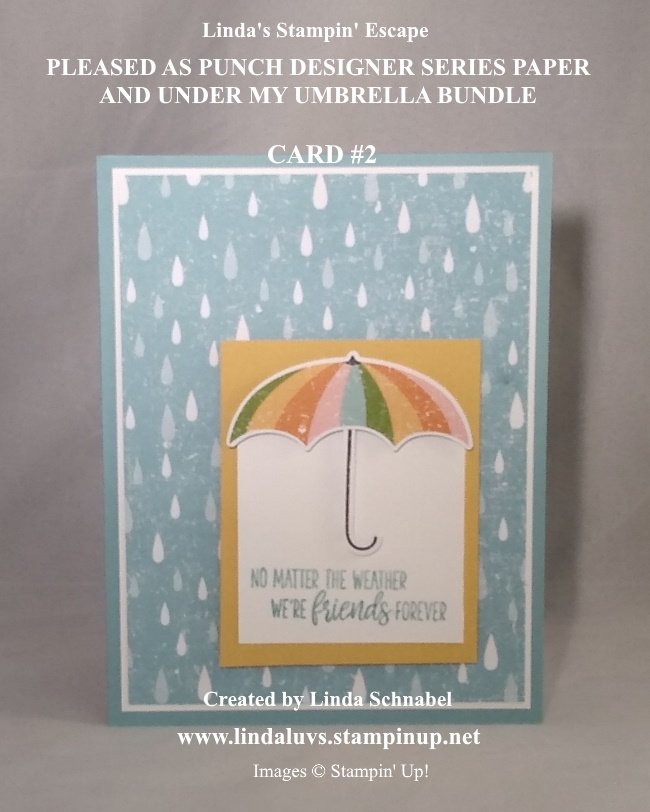
It’s Day 3 of my “Pleased As Punch” Designer Series paper and today I’m using the umbrella design.  I have created 2 cards slightly different because I couldn’t decide which way I liked it best, so I’m asking for your vote; which card layout do you like best.

Both card bases are the same, I started with the “rainy” side of the designer paper and then matted it with Whisper White and finally mounted that onto the Balmy Blue base. Next I punched out the “open” umbrella and the handle …

STAMPIN’ TIP: The pattern on the paper does not align with the punch, so I pre-cut my images out and then punched them. If you find it hard to get the cut piece into the punch, put it onto a sticky note and then slide it in. Easy breezy!

I used Mini Dimensionals to attach my assembled umbrella to a 2-3/8″ x 3-1/4″ piece of Whisper White cardstock.  The greeting from the coordinating “Under My Umbrella” stamp set was stamped in Balmy Blue.  I then trimmed the Whisper White around the top of the umbrella … I just thought this looked neat!  It highlights the umbrella but gives you a spot to stamp a greeting.

At this point I mounted my umbrella onto a piece of 3″ x 3-1/2″ Daffodil Delight cardstock … I wanted to add a little “sunshine” onto my card. This really creates a fun., bright focal point to the card.  NOW is where I couldn’t make up my mind … do I mount it in the center or do I off set the umbrella piece of my card?

WHICH ONE DO YOU LIKE BETTER?  Card #1 with the umbrella centered …

Or Card #2 with the umbrella off set …

I would love to hear which one you like best … Vote in the comment box below and let’s see which card WINS the Card Superbowl 🙂

Let me introduce you to the Under My Umbrella Stamp set …

Shower your loved ones in good wishes and flowers with the Under My Umbrella Stamp set. Line art images are fun to color and easy to customize for any occasion. The greetings in the stamp set work perfectly for thinking of you, sending love, wedding, or baby projects. Stamp the raindrop or flower images repeatedly to create backgrounds. You can also use them to decorate the umbrellas or the rain galoshes. This can also be purchased in a bundle with the coordinating Umbrella Builder Punch.

Thank you for taking time out of your day to hang out with me for a bit, and don’t forget to comment below.

Have a winning day!!

TODAY’S STAMPIN’ SUPPLY LIST …  Click on any item for more information or to begin shopping. Let me know if you need any help.


Spring Flowers … Just Because!

Hello Stampin’ Friends ~

Welcome to February 1st … and only a few more days until the Coordination Product Release! I have another cute card that you can create using the Pleased As Punch Designer Series paper.  Today we’ll coordinate this lovely paper with the Small Bloom Punch.

Again, I’m giving you a peek at both sides of the designer paper… one side is the cute flowers that coordinate with the punch and the other is these fun stripes.  This is a fun and simple card for you to recreate.  I thought it would be fun to share why I chose the images I used.

I wanted to bring the lines from the striped bottom into the top area so I chose the Swirly Frames stamp set and used the “circular” line image … I knew my pretty little flowers were going to embellish this image to create a wreath appearance.

Now that I have a circle image, I decided to bring in the Whisper White 5/8″ Polka Dot Tulle Ribbon and tied a bow. The little polka dots on the ribbon not only tie into our circular image but actually highlights the pearls on the flower as well. 

STAMPING TIP: Did you know that you can actually “dye” the Polka Dot Tulle Ribbon?  With a little water, a few drops of your refill ink in a bowl, you can soak this ribbon until it reaches the desired color … pull it out and let it dry. How cool is that!!

The greeting I used came from the December 2019 Paper Pumpkin kit.  This was an amazing stamp set (one of the main reasons I subscribe to Paper Pumpkin … to get the exclusive stamp sets!!) It was filled with greetings you could use year round.  It’s a perfect time to try out Paper Pumpkin because with a 3 month, 6 month, or a 12 month Pre-Paid subscription … YOU Qualify for FREE Sale-a-Bration items.

All the elements used together to create this card blend together so beautifully and you end up with a cute, fun card that your friends or loved ones would be happy to receive … just because!

Thank you for your visit today, stop back tomorrow with yet another “Pleased As Punch” card.

Have fun today!!

TODAY’S STAMPING SUPPLY LIST …