Hello Stampin’ Friends ~
I hope you are enjoying this beautiful weekend. I had the pleasure of going to my grandsons soccer game yesterday. I had a nice time chatting with my daughter and watching Aiden’s game … and they won!!
We all have to remember to slow down every now and then and enjoy the little things in life, because they are truly the important things. Many of us have very busy lives and find it hard to do all the things we want, our intentions are good!
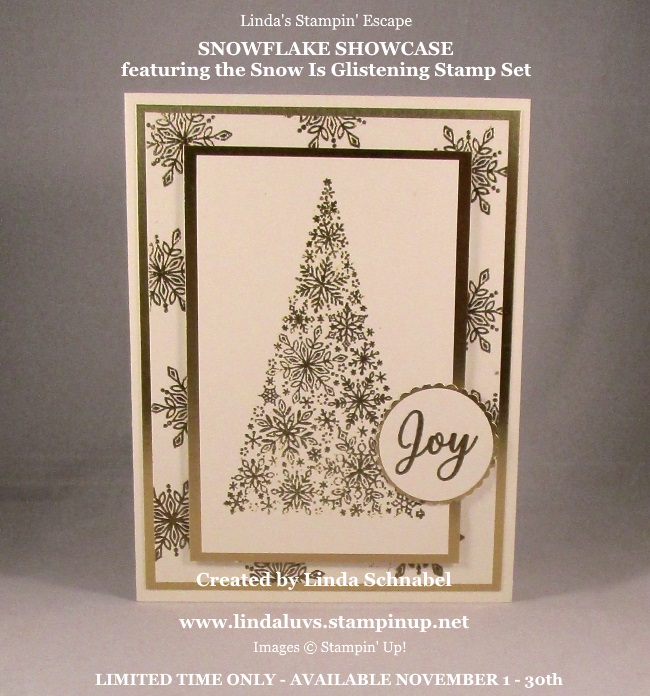
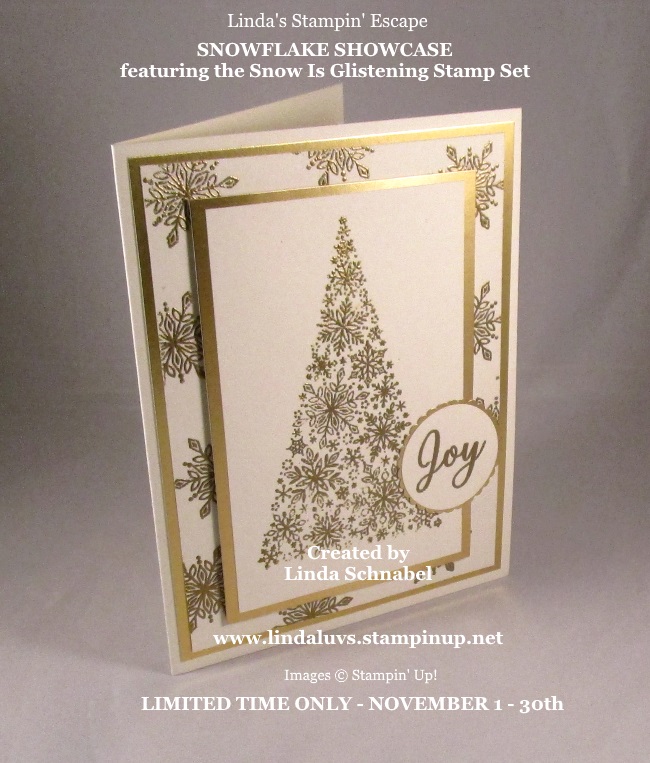
Lets say you’ve been meaning to make Christmas cards year after year but you just run out of time or you don’t get as many made as you’d like to, let me help … Today my Simply Sunday post is to share a beautiful yet simple card that will be easy for you to get those cards done.

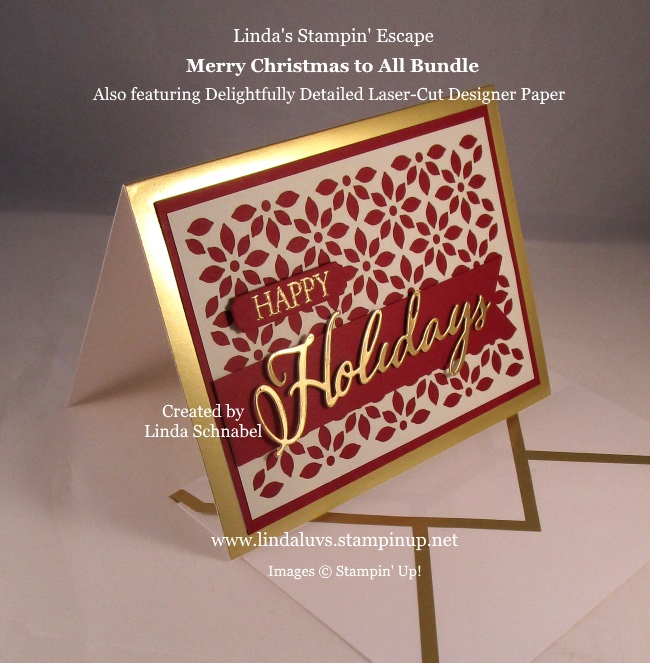
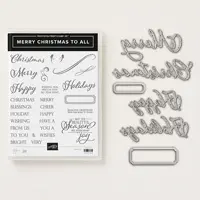
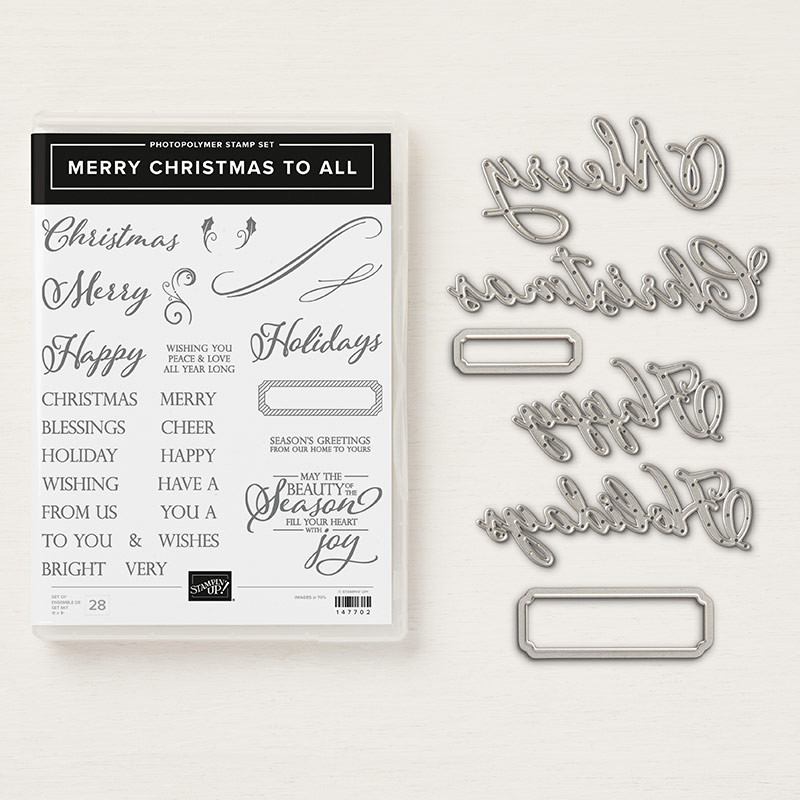
Pretty right!? The base of the card is the Gold Foil Edge Cards & Envelopes!! You can find these on page 11 of the Holiday Catalog and you get 20 of each (card base & envelope). Then I simply cut a front to emboss, you don’t have to … you can go directly to the greetings which are from the “Merry Christmas to All” bundle. It can be that easy!
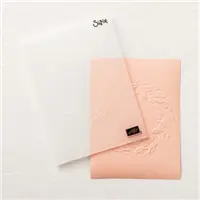
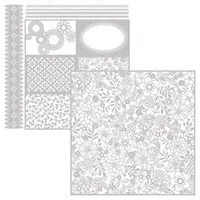
If you do want to step it up and create some texture on the card, the front is 5″ x 3-3/4″ then run it through the BigShot with your favorite embossing folder. I used the “Tufted” but the new “Swirls and Curls” embossing folder that is part of the All is Bright product suite, either would work great! The new Seasonal Wreath would be pretty too!

The “Happy” is heat embossed in gold and the “Holidays” is cut from the Gold Foil paper, again both are from the Merry Christmas to All Bundle from the All is Bright product suite found on pages 4 and 5 of the Holiday Catalog.
So whether you chose the card front to emboss and add texture of just adhere the greeting directly to the front, it will get you on the fast track to your cardmaking this holiday season.
If you would like to see this layout stepped up just a bit more … stop back tomorrow, it’s a beauty!!
I’m so happy and grateful that you’ve taken time out of your Sunday to sit with me a while.
Enjoy the rest of your day, and I’ll see you tomorrow.

TODAY’S STAMPIN’ SUPPLY LIST …
Please feel free to share or save ...