Category Archives: 2019 Holiday Catalog
Christmas Countdown …
Hello Stampin’ Friends ~
Get ready for Christmas with the Christmas Countdown Project Kit. Brought back because it was such a hit…. This Christmas craft kit let’s you create your own hand-crafted advent décor.
Fill the boxes with small gifts, and let the countdown begin! Kit includes enough supplies to create 25 mini boxes, plus a sturdy outer box to hold them all. Complete using the Christmas Countdown Stamp Set.
You and your family will love our new project kit over the Holidays. You can create your own countdown kit or join me and your fellow stampers for a fun evening out, and coming home with this fun 3-D Calendar! Stop back tomorrow as I will be posting all the details for this class.
As Christmas inches closer, you will enjoy the Christmas Countdown Project Kit by Stampin’ Up! to keep track of what day it is and watch as the little ones discover some fun gifts or treats.
Have a wonderful day and thank you for stopping by today.
TODAY’S STAMPIN’ SUPPLY LIST … If you liked the products used in today’s projects, I have links for you below. Just click on the item you would like more information on, or to begin your shopping. It will take you directly to my website. Thank you ♥
Today is the last day … Take a look back at my Fav’s!
Hello Stampin’ Friends ~
It’s here … that last day we can order from the Holiday catalog! It’s a sad day to see some of our favorites leaving us, so if there is something you just have to have, let’s do it today…. or it won’t be there tomorrow.
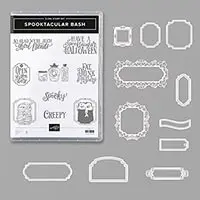
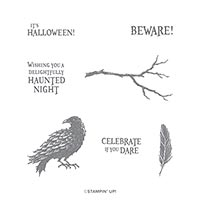
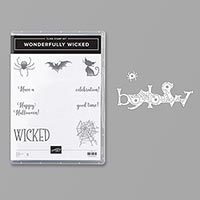
What was your favorite? I know … there are too many to name but I will share one of my fav’s. Oh you knew it would be one of the Halloween sets. Actually .. it’s an entire suite! MONSTER BASH … I just love it!! There are so many fun projects and cards you can make with this one, and here are a few …
Let’s start with the fun little Coffin Boxes …
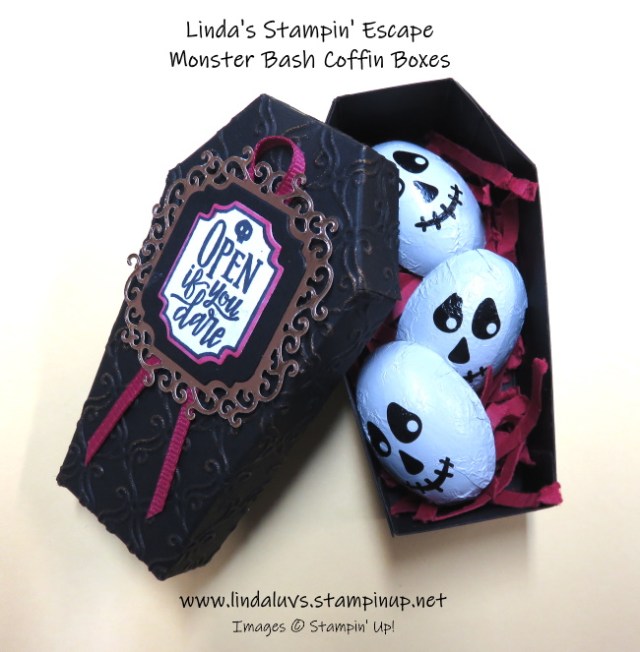
My grandkids got a thrill out of these little treat boxes. What a cute way to stash a treat!
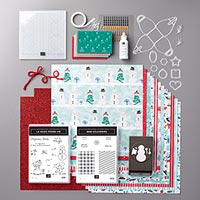
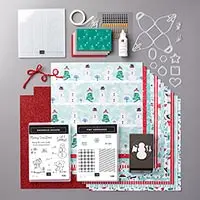
Here are a couple of the quick -n- easy cards that I made with the suite contents … stamps, paper, fun!
Are you ready to step it up a bit?
Here is one of the “Double Z-Fold Technique” cards I made with my stamp clubs …
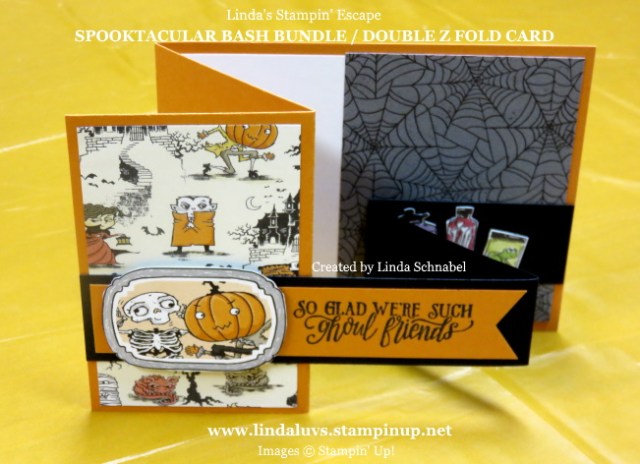
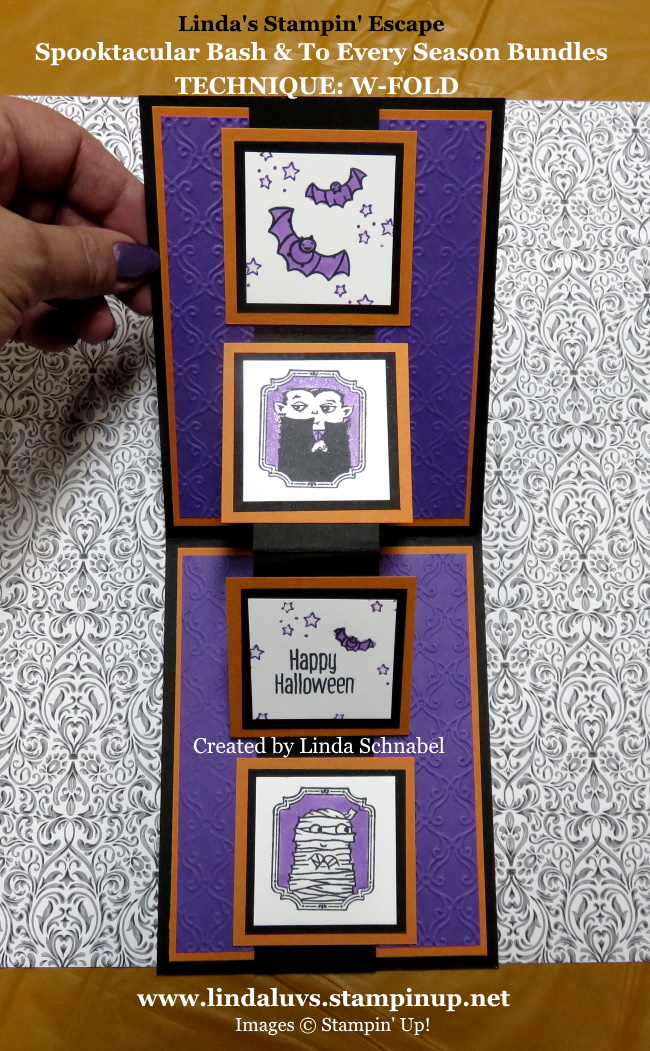
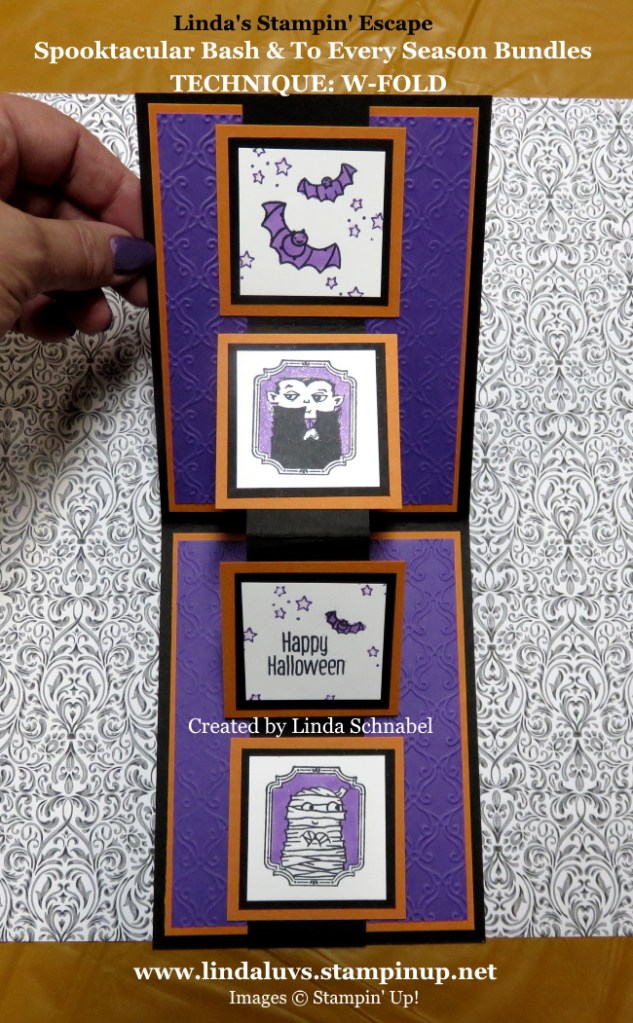
We also did a couple “W-Fold Technique” cards in my stamp clubs. These are so cool and a fun way to display all of the cute images from this bundle …
Fully open …
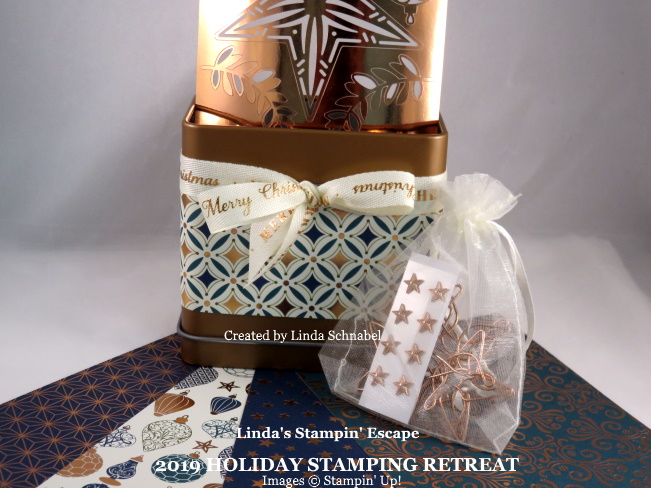
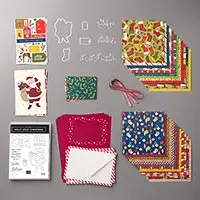
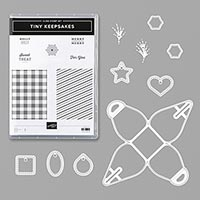
We even used the Monster Bash Designer paper with the Mini Curvy Keepsake boxes to create more little treat giving projects! Fun little gifts to give the kiddo’s for place on your co-workers desk…
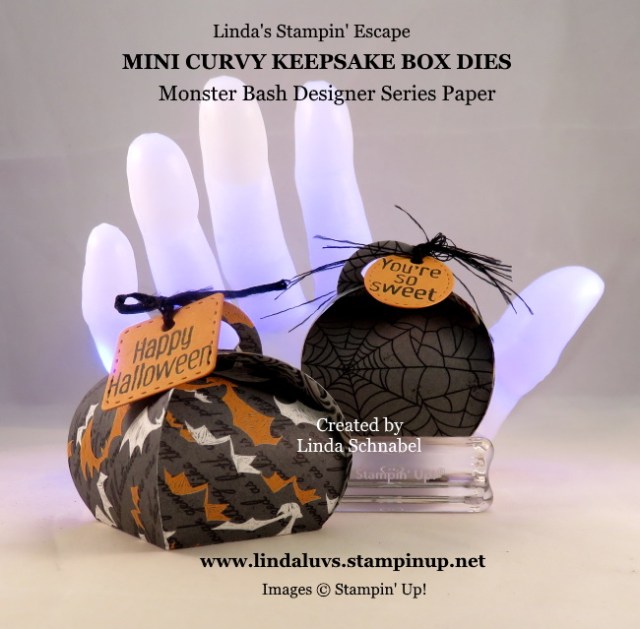
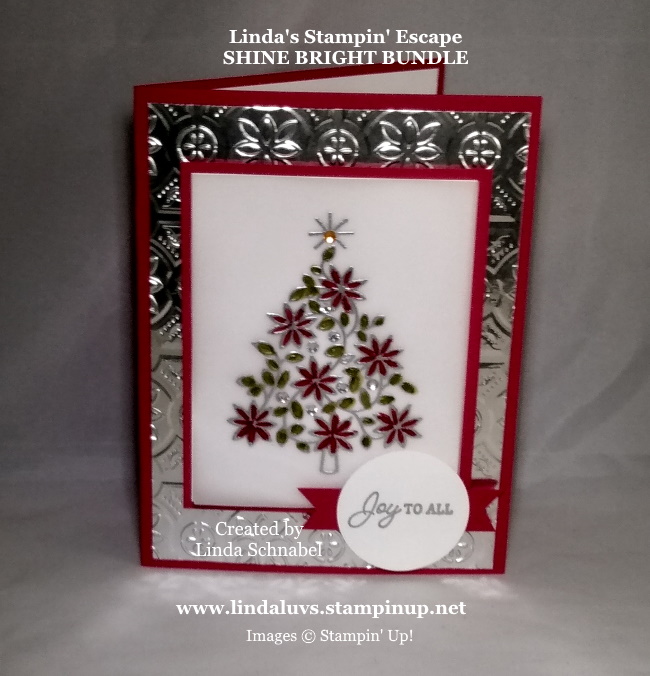
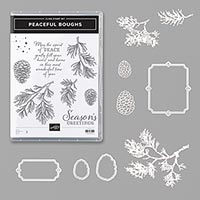
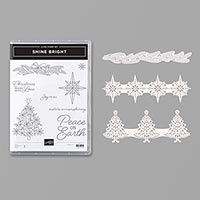
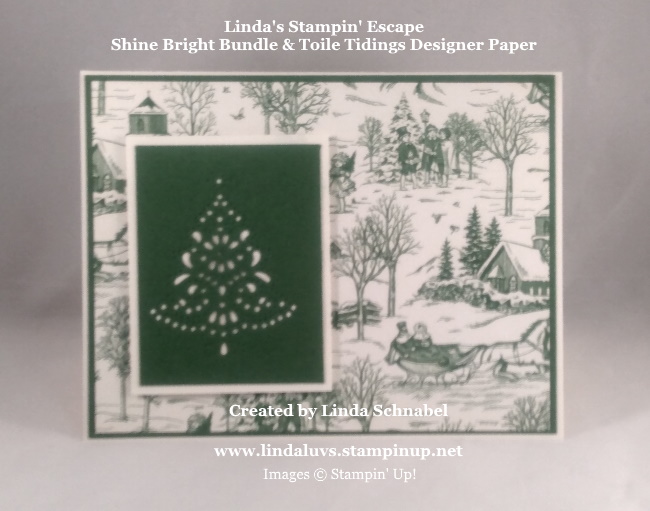
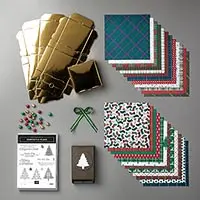
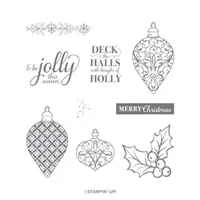
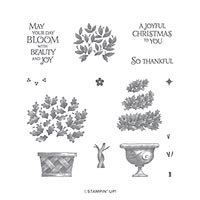
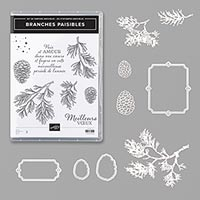
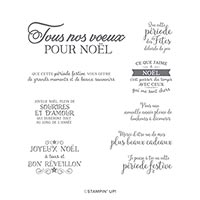
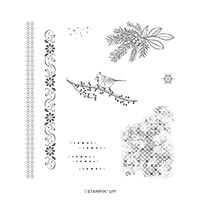
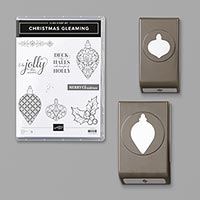
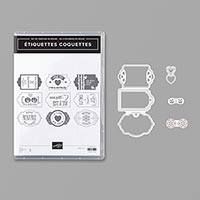
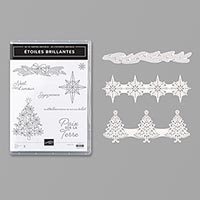
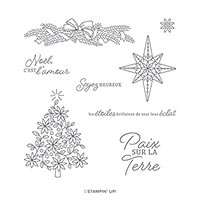
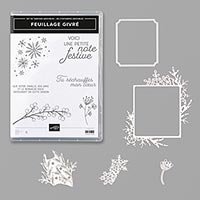
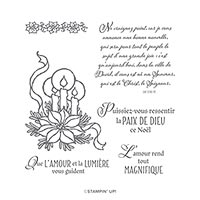
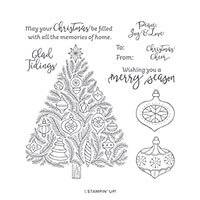
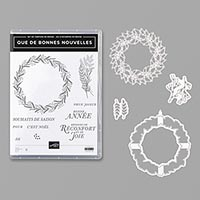
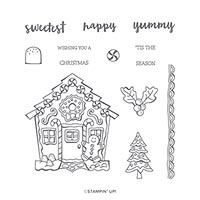
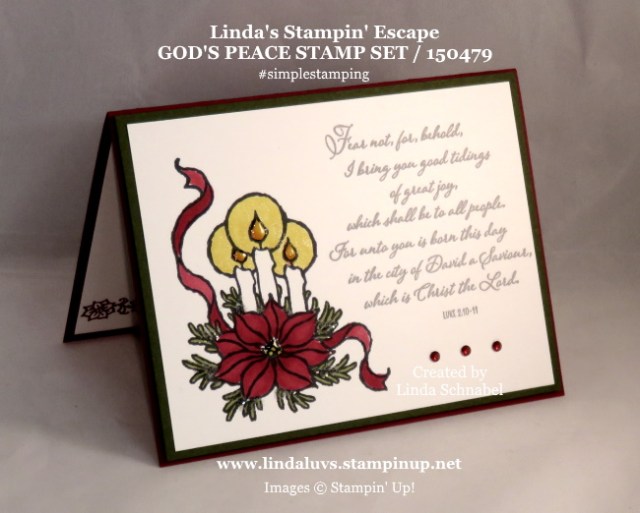
I must say that I love the glitz and beautiful holiday bundles they had this year, so many to choose from. One of my favorite stamp sets that is leaving for good is one that was on my “Must Have” list. Here are a few that I created with the GOD’S PEACE Stamp set …
Thanks for taking the time to check out my favorites today. Please let me know if I can help you pick up your favorites before they are gone for good.
Have a great day, I’ll see you tomorrow with a great card I created with another of my fav’s… this one from the NEW Jan-June 2020 Holiday Catalog.
Twas the Night Before Christmas …
Hello Stampin’ Friends ~
Thought it would be fun to share the Night Before Christmas Memories & More Card Pack. It includes fun Christmas images and designs: 54 total double-sided cards (6 each of 9 designs) in 3″ x 4″ (7.6 x 10.2 cm) and 4″ x 6″ (10.2 x 15.2 cm) sizes / 6 sticker sheets / Plus it’s Acid free and lignin free making it great for scrapbooking and cardmaking!
Watch as Santa works with our Night Before Christmas Suite to complete all of his projects. With a memories and more card pack, note cards and envelopes, and more…
Here is one of the cards that I created with the Night Before Christmas Memories & More …
Did you know…
… that yesterday was the Christmas Poem Day? The poem A Visit from St. Nicholas by Clement C. Moore (‘Twas the night before Christmas…) was published in 1823. The poem, which has been called “arguably the best-known verses ever written by an American,” is largely responsible for some of the conceptions of Santa Claus from the mid-nineteenth century to today.
I would like to wish you and your family a very Merry Christmas, and thank you for being part of my stamping circle. Life is so much better when your surrounded by friends.
Merry Christmas ~
Christmas Card Parade …
Hello Stampin’ Friends ~
Sorry for the lack of posts the past few days but just like you I’m getting my Christmas preparations done (and working…lol). So today I wanted just to share some of my favorite cards from this season … Enjoy.
My Wrapped in Plaid (Perfectly Plaid Bundle) card below is my #1 Pinned card on Pinterest right now! Amazing … such a simple card. This tells me a lot about what stampers want … Pretty cards that are easy to recreate.
Below is a picture of the Mantle Gifts close up … A Gift Box filled with coordinating Gift Cards created from the Wrapped in Plaid Bundle. That Tree Punch has been a big hit this year!
I hope you enjoyed revisiting some of my favorites this past season … Looking forward to sharing a few more with you, and kicking off then new Spring/Summer catalog!! Hope you got yours, if not, let me know!
Thank you so much for joining me today … I have a little something special for you tomorrow.
Have a wonderful day.
Peaceful Boughs bundle …
Hello Stampin’ Friends ~
Today I have a beautiful Christmas card to share with you today that came in the mailbox … via my sister Rita! I love when people send me cards made from stamp sets I don’t have. Rita used the Peaceful Boughs bundle …
The Peaceful Boughs Bundle includes the Peaceful Boughs Cling Stamp Set and the Beautiful Boughs Dies.
Deck your projects with pretty pine cones and beautiful boughs. The images in the Peaceful Boughs Stamp Set are so realistic you can almost smell the fresh pine in the air!
Rita paired the Peaceful Boughs Bundle with the Wrapped in Plaid Designer paper and the gold foil paper to create this stunning holiday look.
This bundle is perfect for our nature lovin’ stampers or looking for that masculine touch… a very versatile stamp set for sure. This card would also make a perfect birthday card!!
Hope you enjoyed Rita’s card as much as I did, and thanks for stopping by today.
TODAY’S STAMPIN’ SUPPLY LIST … If you liked the products used in todays card, I have links for you below. Just click on the item you would like more information on, or to begin your shopping. It will take you directly to my website. Thank you ♥
Thank you ♥ for choosing me as your demonstrator.
Christmas Begins with Love
Hello Stampin’ Friends ~
Today I’m going to share with you a stunning card created with a technique I shared earlier and a bundle I have shared with you recently …. My Christmas Begins with Love card marries them both together.
Back in November I shared a card with you highlighting the “Stained Glass Glitter Window” technique …
and last week I introduced you to the Shine Bright bundle and another form of a “Stained Glass” look ….
Today, I’d like to combine the two and show you a stunning card! I love how this turned out …
The image and greeting are stamped directly onto the Window Sheet using the StazOn™ Ink and colored from the back with our Stampin’ Blends. I used the Dark Cherry Cobbler and Dark Old Olive Blends.
I colored a few layers to give it the deep rich color you see … laying it on top of the Sparkle Glimmer paper created that stunning stained glass glitter effect. I used Glue Dots to adhere the Window Sheet to the Glimmer paper.
I used the Holiday Rhinestones and the Basic Rhinestones to add even more shine to the card. I place my rhinestones in the little circles on the image … and the a few under the greeting to highlight it and coordinate the color rhinestones from the top of the tree.
An easy card to make … but elegant to look at. I hope these cards inspired you to give the “stained glass” technique a try.
I’m so happy that you came over to my blog today … Thanks!
Have a great day.
TODAY’S STAMPIN’ SUPPLY LIST … If you liked the products used in todays card, I have links for you below. Just click on the item you would like more information on, or to begin your shopping. It will take you directly to my website. Thank you ♥
Holiday Gift Tins …
Hello Stampin’ Friends ~
Looking for a cute way to “gift” your crafting friends … try one of our Copper Tea Tins! You can decorate these metal tins any way you’d like … I used designer paper and a coordinating ribbon to decorate my tin.
Once decorated you can fill it with all sorts of goodies. I filled mine with designer paper cut 4-1/4″ x 5-1/2″ … I choose this size because with just a little trimming it’s the perfect card front. I also added embellishments that coordinated with the paper.
There are so many items you could tuck into your tins … and they are cost effective as you get 4 tins for $15 / Perfect for friends, teachers gifts, a little something to the Sunday School teacher … anyone you just want to say thanks and show a little Christmas cheer too.
What would you tuck into your little Christmas Gift Tins? Hope this inspired you to create some fun gifting tins for your friends, family or co-workers … anyone!!
Thank you for joining me today, hope yours is a good one.
The Stars were Brightly Shining Card …
Hello Stampin’ Friends ~
Today I’m sharing another sample from the Shine Bright bundle and some great news! I wanted to show how the other dies in the bundle look …
These are great samples to illustrate this bundle … the stars are brightly shining card uses the die used several times on the cardstock to create a beautiful background with dimension and texture. I like that the used the coordinating stamp and added the stars to highlight the greeting.
The Peace on Earth card uses the tip of the Christmas tree as a light background behind the greeting. You can also see how the pine foliage die is used … it leaves impressions and little cuts to show the glimmer paper below.
Here are the two cards I have shared in the past two days! First the Christmas Tree die …
and then the Christmas Tree stamp …
NOW … for the big news!
Get your Wish List out …
Time for you stock up and save on your favorite Stampin’ Up! products! What’s the occasion? Starting tomorrow and for one day only, everyone is eligible for FREE SHIPPING on orders of $50 or more (before tax). So don’t wait another minute! You can place your order through me … or direct from my on-line store.
Prepaid Paper Pumpkin subscriptions are eligible for FREE shipping under the same rules as all other Stampin’ Up! items during the promotion.
MORE NEWS …. Cutting Plates Now Available
As Stampin’ Up! continues development on a new die-cutting & embossing machine, we encourage you to use the machine you already own. To help support your die-cutting and embossing experience, we’re Stampin’ Up! is offering Cutting Plates for purchase.
Item |
Description |
Price |
150815 |
Cutting Plates (2-Pack) |
$11.00 |
Let me know if you have any questions … and Thanks for stopping by!
Have a great day.
Joy to All …
Hello Stampin’ Friends ~
Today I have another card to share with you that I created with the Shine Bright Bundle. This one is all about the colors of Christmas with silver, green and red. Let me show you …
We first heat embossed our pretty tree in silver on Vellum cardstock … we used the Stamparatus to get perfect placement on our vellum. Once embossed we used the Real Red and Old Olive Stampin’ Blends to color our images. Regular markers would take a long time to dry on vellum and that is why we used the Stampin’ Blends… they dry quicker. We also heat embossed our greeting in Silver and punched it out using the 1-1/2″ Circle Punch.
After coloring our tree, we attached it with Glue Dots onto the Whisper White so it would show up better on our card, and then matted it with a piece of Real Red cardstock … which was also the base of our card.
Our background was created by embossing a piece of Silver Foil cardstock using the Tin Tile 3-D embossing folder … I love that this pattern added some nostalgia (an old fashioned look) to our card. Now our tree was attached on top using Stampin’ Dimensionals, as was our greeting … after added a Real Red banner behind it to make it pop.
A touch of bling is all it needed now so we added the Holiday Rhinestone on the top of the tree and our regular Rhinestones where the little circles were on the stamped image. That completed our card.
Hope you enjoyed this card as much as my Stamp Club enjoyed making it. This is another form of the “Stained Glass” technique. Usually I color on the back but we wanted the brightness of the color on this card.
Thank you for joining me today … I’ll see you back here tomorrow!
TODAY’S STAMPIN’ SUPPLY LIST … If you liked the products used in todays projects, I have links for you below. Just click on the item you would like more information on, or to begin your shopping. It will take you directly to my website. Thank you ♥
Simply Sunday: Shine Bright
Hello Stampin’ Friends ~
Sorry I missed you yesterday, no issues … just took the day off. With the holidays coming up and new staff to train, I don’t get too many days off lately, but I did spend the morning stamping with my Stamp Clubs … a little holiday gathering. Cookies, hot chocolate, more sweets and of course stamping, and today I’m going to share with you a simple card that we made using the Shine Bright bundle.
The Shine Bright Bundle includes the Shine Bright Cling Stamp Set and the Jolly Season Dies. You can create custom die-cut Christmas trees, stars, and holly boughs in record time using the Stitched Brightly Dies.
On our first card, we only used the die strip that has the trees which were cut in Garden Green. I began with a 2-3/4″ x 5-1/4″ piece and ran it through my die cut machine. Then I trimmed each tree piece down to 2-3/4″ x 2″. We matted the tree with Very Vanilla cardstock but before we attached it … we painted a little Wink of Stella in the center so it would show through the tree … so subtle but pretty.
Our background comes from the Toile Tidings Designer Series Paper … it features traditional toile designs in classic Christmas colors–the perfect paper for a cozy Christmas. There are 12 sheets of designer paper: 2 each of 6 double-sided designs. This paper is so pretty … our greeting was stamped inside!
We used the pattern with the sleigh and carolers … now you can see why we did not want to cover any of this pretty paper up, even with a greeting!
This bundle can do so much more, so for the next few days, I will be sharing additional samples with you. It unfortunately is on the discontinued list … but, if you purchase this bundle through me, you will not only get your Virtual Rewards point but you’ll receive a Hand Stamped Thank you card from me along with a special little gift.
Please let me know if you have any questions … I’ll be back tomorrow with another beautiful card that is totally different from todays! You’ve got to love the versitility.
Thank you for joining me … Have an amazing day!
TODAY’S STAMPIN’ SUPPLY LIST … If you liked the products used in todays projects, I have links for you below. Just click on the item you would like more information on, or to begin your shopping. It will take you directly to my website. Thank you ♥
Price: $8.75
Thank you for choosing me as your demonstrator ♥
Wrapped in Plaid Bundle …
Hello Stampin’ Friends ~
Today I am sharing some cute Christmas cards featuring the Wrapped in Plaid bundle! That Pine Tree punch makes cardmaking quick -n- easy! I will be sharing several samples that I created, some from the Greek Isles Incentive Trip and from our Holiday Stamping Retreat … all to show the versatility of this bundle.
This little beauty was created from scraps …
I had the squares left over as well which I layered onto a gold background to pull the gold out of the Wrapped in Plaid Designer paper. Since I wanted the tree to be my focal point of my card, I added a piece of Vellum Cardstock cut from the Stitched Framelits Dies. I then embossed my Christmas tree with the Country Floral embossing folder.
Check out all the goodies include in the product suite ….
This card was created for the Greek Isles Incentive Trip swap and shared for all of us to see ….
I created this card in a jiffy … This little cutie is my #1 card for views & saves on Pinterest! I always said that “simple” works … we all have busy lives, so whatever helps us is a win, win!
I used the Gold Edged-Foil and Envelopes set for the base of my card … and the gold trim is already on there to enhance the gold strips in the Wrapped in Plaid Designer Series paper so it’s the perfect choice. Once the Wrapped in Plaid Designer paper was attached, I die cut a circle and punched the tree into it.
This next card is one that we made at our Holiday Stamping Retreat … It’s so cute!
Another one from retreat using the Wrapped in Plaid but stamped in Non-Traditional colors …
Oh my … I found another from our Greek Isles cruise …
I have one more that I’d like to share with you. This card was one of the swap cards at my Holiday Stamping Retreat … This bundle can really create a wonderful array of card styles! What’s Your Style?
Thank you for hanging out me today!
I hope you enjoyed all these samples, and if this bundle is on your wish list … don’t let it slip through your fingers, it’s on the retirement list.
Today’s Stamping Supply List … Click on any of the items for more information or to begin your shopping. Thank you.
YIKES … I got one more to share!! This is the cute little gift that I created using the Wrapped in Plaid product suite for my Holiday Stamping Retreat Attendees! It’s a Gift Box filled with 3 Gift Tags!
The Itty Bitty Christmas Bundle …
Hello Stampin’ Friends ~
Today I am sharing cards I created with the Itty Bitty Christmas bundle and a couple from Stampin’ Up! It is amazing how different each card turned out … I wanted to show the different elements of the stamp set and dies to demonstrate how versatile this bundle is.
The first card is bursting with holiday flair and is decked out in gold. The floral pattern really highlights the greeting and ties in the gold throughout the card so nicely. The Shades Spruce and Cherry Cobbler look so regal together and are compliments of the Wrapped in Plaid Specialty Designer paper.
Here is another sample that highlights the floral dies cuts … I love these, they actually look more like a metal embellishment than a die cut piece of cardstock!! They also used the die cut image to create a fun background on this card.
My second card is so different from the first in that we have created our own “Shimmer” paper by spritzing the beautiful Seaside Spray from our 2019 – 2021 In Color collection. For a little more sparkle, the snowflakes are cut from the Sparkle Shimmer Paper! But wait … there is one more layer of sparkle when I added the Rhinestones to the snowflakes.
My last card of the three is just simply elegant and done with White and Silver … and yes, graced with a touch of glitter. Instead of die cutting the image and adhering it to the base as I did in the first card, I actually cut it out of the front and used it to impose a second layer to the card… stunning.
I have another samples the highlights the foliage die …
If you didn’t know these cards were from the same stamp set/dies … you might not know that they were! Stop back tomorrow and I will show you how these holiday cards will be turned into everyday cards!!
Thanks for checking in with me today … meet you back here tomorrow.
Have some fun today!
TODAY’S STAMPIN’ SUPPLY LIST … If you liked the products used in todays projects, I have links for you below. Just click on the item you would like more information on, or to begin your shopping. It will take you directly to my website. Thank you ♥
Retiring Favorites …
Hello Stampin’ Friends ~
Yesterday I shared the big news about the Year End Clearance Sale along with the links, today I’d like to share the actual product … I know those links are hard to read. Always remember I’m here to help if you have any questions or would like to place an order.
In the next couple days, I will be sharing samples from some of my retiring favorites!