Two Beautiful Cards with the Addressed to You Stamp Set

Hello Stampin’ Friends ~

One of the easiest ways to elevate your handmade cards is by pairing beautiful designer paper with a versatile greeting stamp set. Today I’m sharing two creative cards made with the Addressed to You Stamp Set, and I think you’ll love how simple yet elegant these designs are.

The Addressed to You stamp set is perfect for creating greeting-focused cards. The sentiments are clean, stylish, and work beautifully as the focal point of a card. This makes it a wonderful set to have on hand when you want to create something special without needing lots of extra stamping.

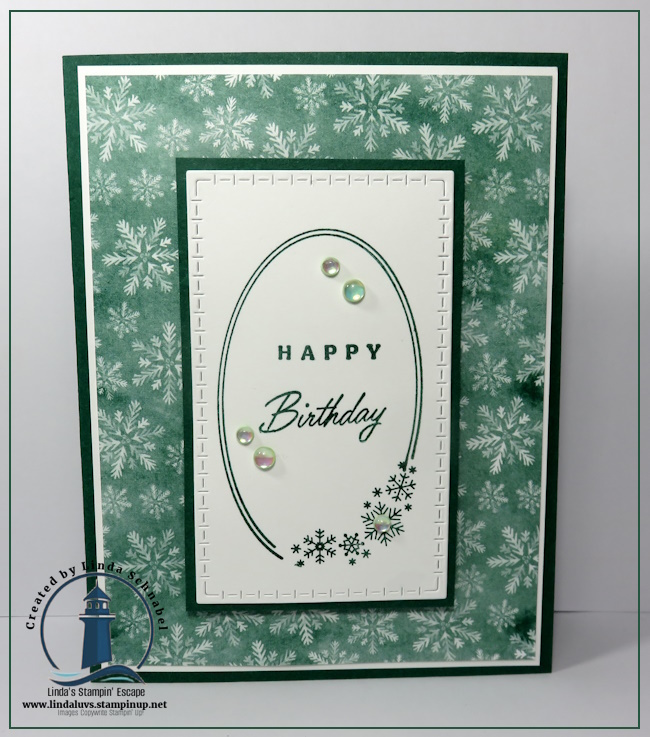
This first card highlights a classic birthday sentiment framed with a stitched oval and layered over softly patterned snowflake designer paper from the Elegant Pine Snowflakes. A few embellishments add just the right amount of sparkle.

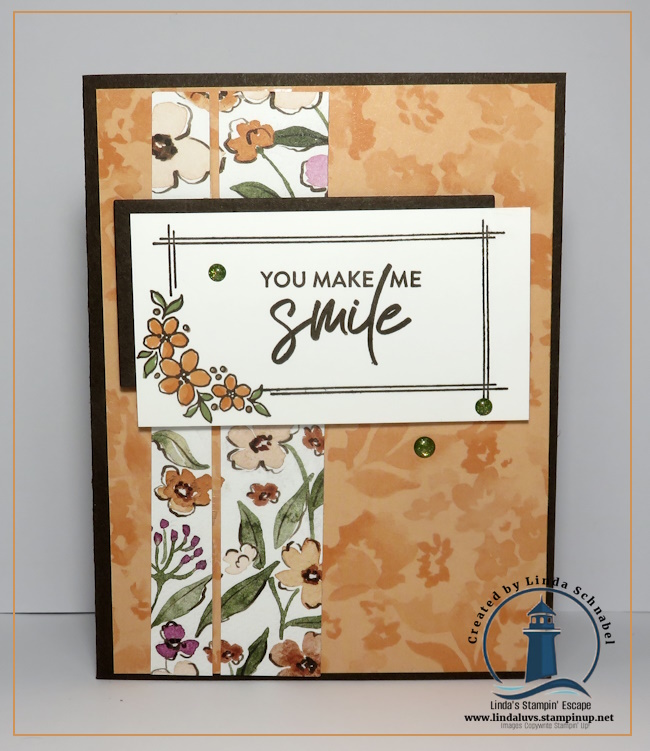
For both of today’s cards, I kept the layouts simple so the greetings and designer paper could really shine. This second card features the warm floral patterns from the Lovely Florals Designer paper paired with a cheerful “You Make Me Smile” greeting, creating a bright and uplifting design.

I’ve also included a video below where I walk you through the cards and share a closer look at the details. I hope it inspires you to pull out your greeting stamp sets and start creating!

🎥 Watch the video below to see the cards up close and get inspired to create your own.

CLICK HERE TO VIEW ON YOUTUBE

If you’d like to recreate these cards, you can find the supplies I used below! Thank you for sharing part of your Saturday with me.

Happy stamping!
Linda

Sparkle with the Split Card Technique ✨

Hello Stampin’ Friends ~

I’m so glad you’re here today. I have a fun card-making idea to share with you—the Split Card Technique—featuring the stunning Elegant Pine Snowflakes Designer Paper. This is one of those quick-and-easy techniques that creates an impressive WOW factor, perfect for any occasion. Before we dive in, I want to pause and say a heartfelt “Thank You” to everyone who placed an order during yesterday’s Stamp-tastic Sale. Your support means so much and allows me to keep bringing you fresh ideas and inspiration! 💙

Card Dimensions

  • Pretty Peacock Cardstock: Base 5 3/4″ x 5 1/2″ (score at 1 1/2″), plus 1 strip 5 1/2″ x 1 1/2″
  • Designer Paper: 2 pieces at 5 1/4″ x 1 1/4″ + 1 snowflake
  • Basic White Cardstock: 5 1/4″ x 4″ (inside), plus 1 scrap large enough for snowflake and 1 strip 1/4″ wide for greeting

Step-by-Step Instructions

  1. Glue the snowflake onto white cardstock and fussy cut. (This strengthens the piece so it will hold your card together.)
  2. Adhere the designer paper strips to the top and bottom strips of your card front.
  3. Align the cardstock strip along the bottom of the card front. (Tip: Use a Post-It Note to hold it in place while you work!)
  4. Attach the snowflake to the top and bottom strips, connecting the card. Be careful to place adhesive only where the snowflake touches the cardstock strips.
  5. Add the white cardstock insert to the inside of your card.
  6. Stamp Greeting with Pretty Peacock on the white 1/4″ width strip and trim ends as desired… attach with Stampin’ Dimensionals to pop it up!
  7. Embellish as desired—I used the Cherry Cobbler & Pearl Adhesive-Backed Berries to give my snowflake extra pop!

This card comes together so quickly, yet looks like you spent hours creating it. Try experimenting with different designer papers for a variety of looks—you’ll love how versatile this technique is!

I hope today’s project inspires you to give the Split Card Technique a try. With the beautiful Elegant Pine Snowflakes Designer Paper, the results are nothing short of magical. Remember, simple steps can deliver big “WOW” moments, and this card proves just that! Be sure to grab your favorite designer papers and see how many unique variations you can create.

Thanks for joining me today … hope yours is filled with creativity!