Sparkling Season … Find out how!

Hello Stampin’ Friends,

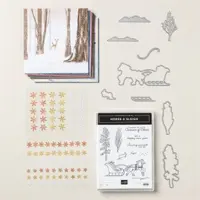
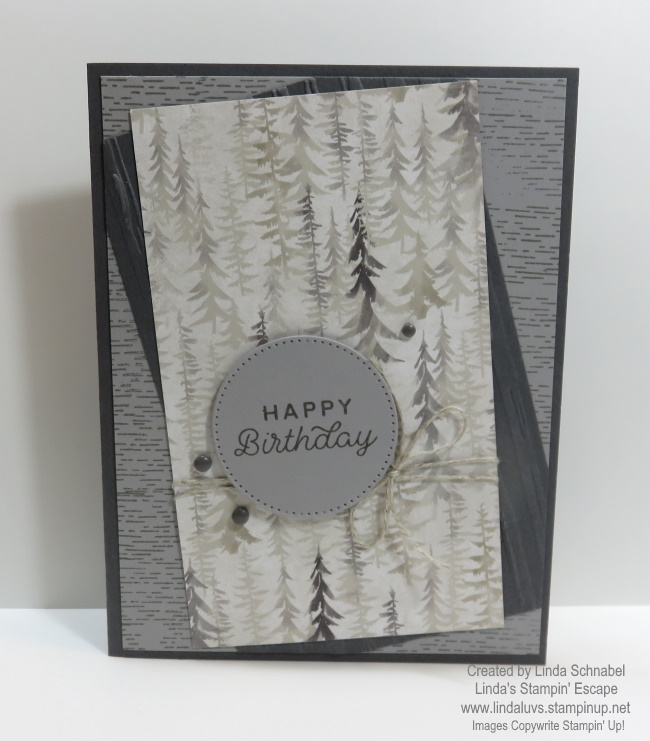
Today I’m going to the second card using the One Horse Open Sleigh designer paper… I even have another 3″ x 3″ piece left to make another. Yesterday I shared this pretty woodsy card that cold be used for any occasion, I did a birthday card.

I used the Smoky Slate again today but highlighted it with the Mossy Meadow cardstock and ink. Because I am making this a Christmas card, I wanted just a hint of a traditional color… and the Mossy Meadow plays nice against the gray and brown tones of the One Horse Open Sleigh designer paper.

Wondering how I got that sparkle background? It also adds some fun texture to the card … I used the Shimmery White Embossing Paste found on page 136 of your Annual Catalog. I used the long Palette Knife to drag it across my cardstock and create my background.

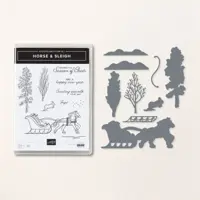
I popped up my 3″ x 3″ piece of the One Horse Open Sleigh designer paper after matting with with a 3-1/8″ x 3-1/8″ piece of Mossy Meadow. I stamped my greeting from the Horse & Sleigh stamp set. I ordered the bundle which includes the dies to save 10% because you’re going to want the dies too.

No fancy punches or dies used for my greeting, just a scrap piece of paper and a diagonal cut using my scissors. I scrap piece of the designer paper in Mossy meadow was tucked behind the greeting to tie into the cardbase and mat.

The photo above that is on an angle really highlights the change in your cardstock when you use the Embossing Paste. It creates a two-tone look and adds that shimmer … so with that, I added a snowflake from the Adhesive Backed Snowflake Assortment and 3 of the gray Classic Mat Dots.

Thank you for stopping in or coming back to see the second of these two cards … one more to go! And to think, I only used one sheet so far.

Have a great day.

Minnie or Mickey Card…

Hello Stampin’ Friends ~

I’m excited to share what I came up with from the “Embossing Paste” background I made on Tuesday night. I hope you got a chance to watch the video yesterday, if you did … you know that I’ve created a card with the “polka dot” embossed background. Using the embossing paste adds such a fun texture to your card.

Well my friends, I couldn’t decide how I wanted to do this … so I did two cards!! I mentioned that the background reminded me of Minnie Mouse, so I thought … How Cute Would That Be??

I am just tickled pink with how it turned out!! It’s all glitzy … the background was done with the Shimmery White Embossing Paste, Minnie is from the Black Glitter paper and the greeting is highlighted with “Wink of Stella”!!

I used the “bow tie” from the upcoming “Well Suited” bundle with the Red Foil paper. The greeting comes from the Toile Christmas stamp set and die cut from the Christmas Cardinal die set. The greeting banner was colored with the Garden Green marker to coordinate with the leaf that was cut from the Poinsettia dies.

I couldn’t stop there, I had to have a Mickey!!

Made the background the same as above … polka dot mask and Shimmery White Embossing paste, I love it!! Mickey was made the same as Minnie but the hair bow was turned into a bow tie.

I used the “celebrate” from a past Paper Pumpkin kit but felt that it worked perfect for this card. This is one of the biggest benefits of being a Paper Pumpkin subscriber. I die cut it from the Tasteful Labels dies…. same with the Black Glitter base.

I hope you enjoyed seeing what I created with the polka dot embossing paste … I had a “HOOT” making these! I may end up using Mickey for my daughters birthday, she is way more into Mickey than she is a “foo foo” card!

Thank you so much for sharing part of your day with me. Join me back here tomorrow as I share the “lacey” background on the Peony Garden Designer Paper.

Enjoy your day ~

TODAY’S STAMPIN’ SUPPLY LIST … If you liked the products used in today’s projects, I have links for you below. Just click on the item you would like more information on, or to begin your shopping. It will take you directly to my website. Thank you ♥