Hello Stampin’ Friends ~
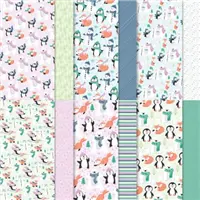
Wooo Hooo it’s “almost” Friday and I’m thrilled to share some cute cards that I have created with the Penguin Playmates Designer paper. You’re going to love this paper not just because it is sooo stinkin’ cute, but because you can get it for FREE! It’s one of the Sale-a-bration items you can choose. Let’s check out the first of two cards …

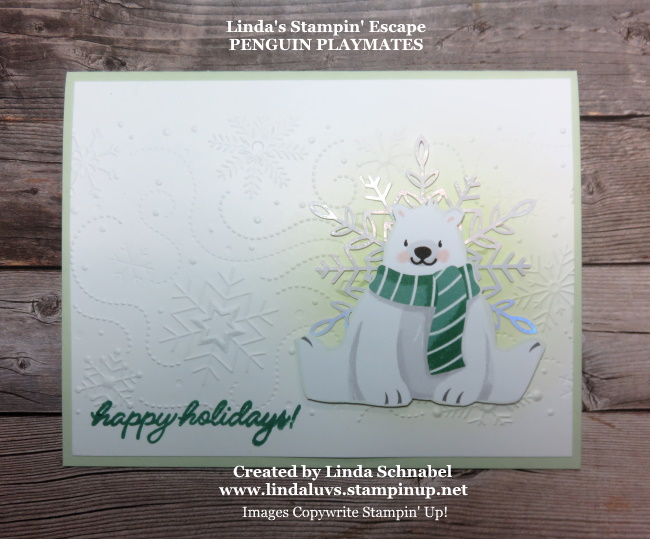
Because we’re showcasing the designer paper, I will tell you that I fussy cut my images out, but he’s a big ‘ole cuddly Polar Bear so he was pretty easy to cut out!! Once my images were cut out, I picked my colors … his scarf is Just Jade so I coordinated my ink with that, then I decided to use Soft Sea Foam for my card base and the ink that I applied with the Blending Brush.
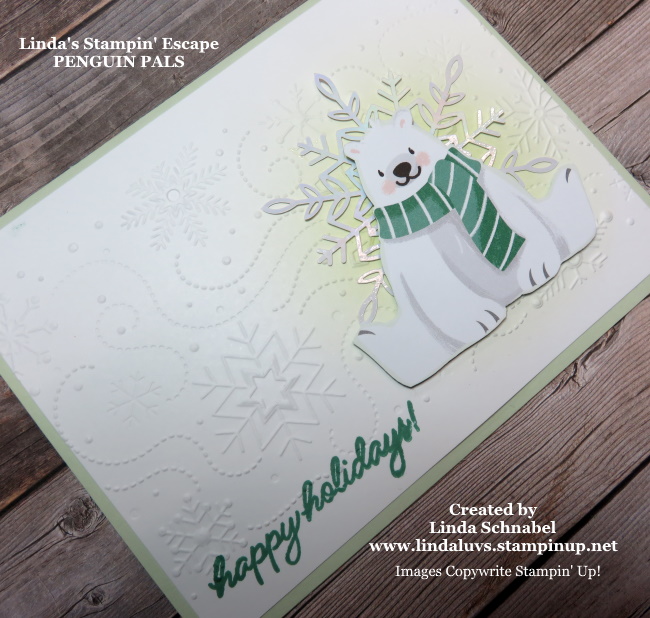
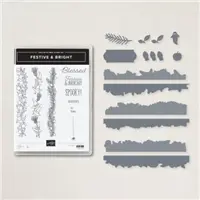
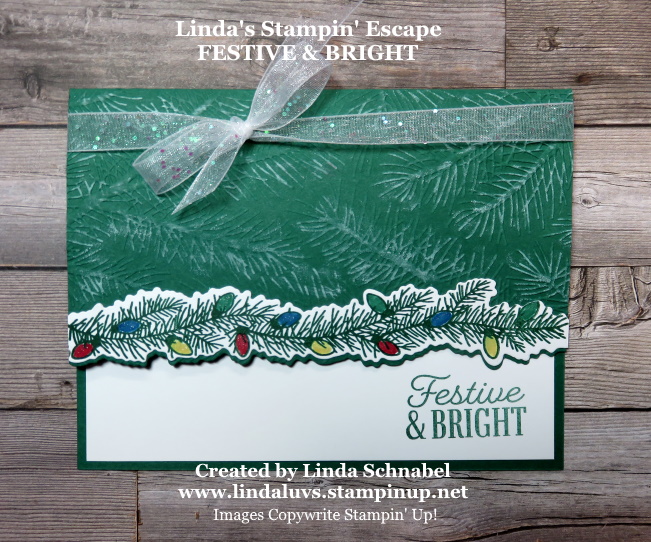
Once I applied the ink … and it dried, I decided to add some pretty texture by using one of the folders from the Wintry 3-D embossing folder. I just fell in love with the snowflakes and swirls! This gave me the idea to tuck one of the Wonderful Snowflakes behind my Polar Bear. The greeting comes from the Festive & Bright stamp set.
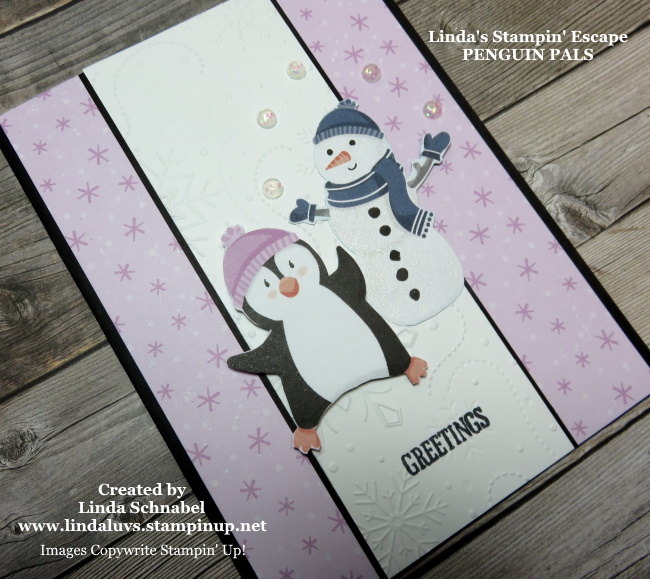
My second card now highlights the sweet little penguin and his snowman buddy! I wanted to highlight the black from the characters so I used in as my card base and my greeting, which also came from the Festive & Bright stamp set.

I used another pattern … which matches my penguins hat as my back drop. I also used the Wintry 3-D embossing folder for texture and to set the stage for my playmates! The snowman is enhanced with Wink of Stella and he’s so happy he started to juggle the cute “Opal Rounds” … also known as snowballs!!
Why am I sharing all these cards? Because I have one more for you … I’m sharing these littel cuties because of this ….

I would not be doing my job as your creative coach / Stampin’ Up! demonstrator if I didn’t tell you that our Sale-a-bration ends in less than 2 weeks and when the items are gone … they are gone 😦
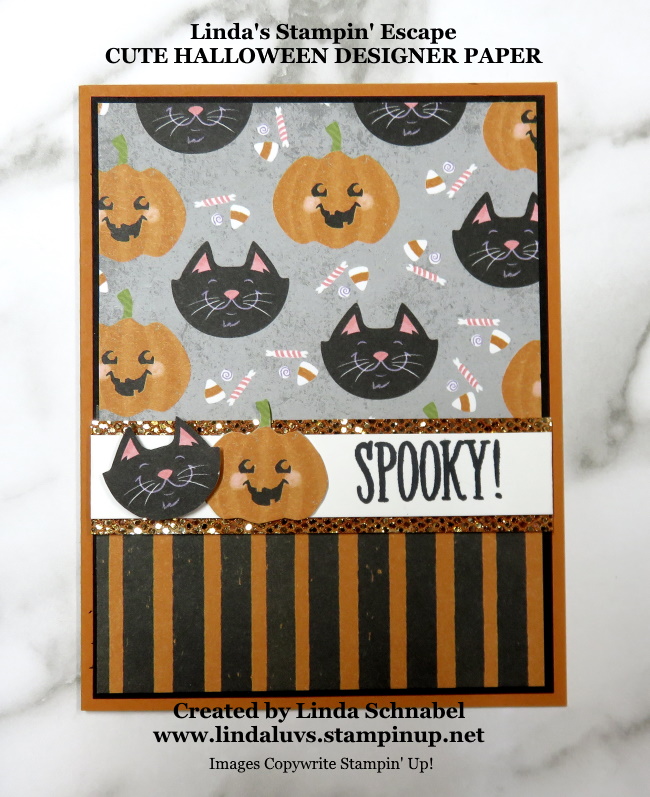
My last card today is a quick and simple card that highlights this cute pattern and had a banner greeting (Sorry for the pun!)

This is an item you can get for FREE with a $50 purchase… but time is running out. I have a list of supplies below. These are easy Christmas cards that you can make… I’d be flattered!
Thank you for checking out my blog today ~

TODAY’S STAMPIN’ SUPPLY LIST … If you liked the products used in todays projects, I have links for you below. Just click on the item you would like more information on, or to begin your shopping. It will take you directly to my website. Thank you ♥