
Hello Stampin’ Friends ~
Have you ever admired a Fun Fold card and thought, “I would love to make that, but I’m not sure where to begin”?
That is exactly why I love teaching Stamp Club! Each month, I guide you step by step through creative folds and techniques so you can enjoy the process—and leave feeling confident enough to recreate the projects at home.
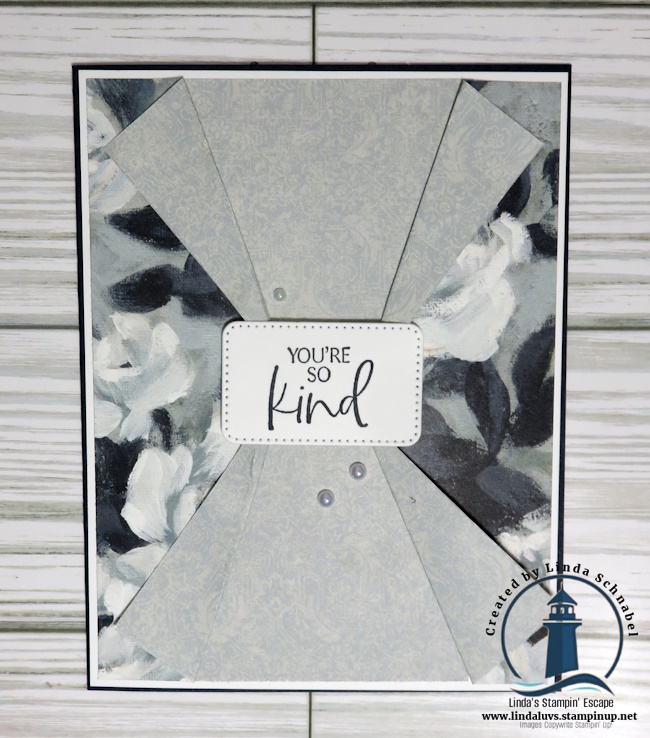
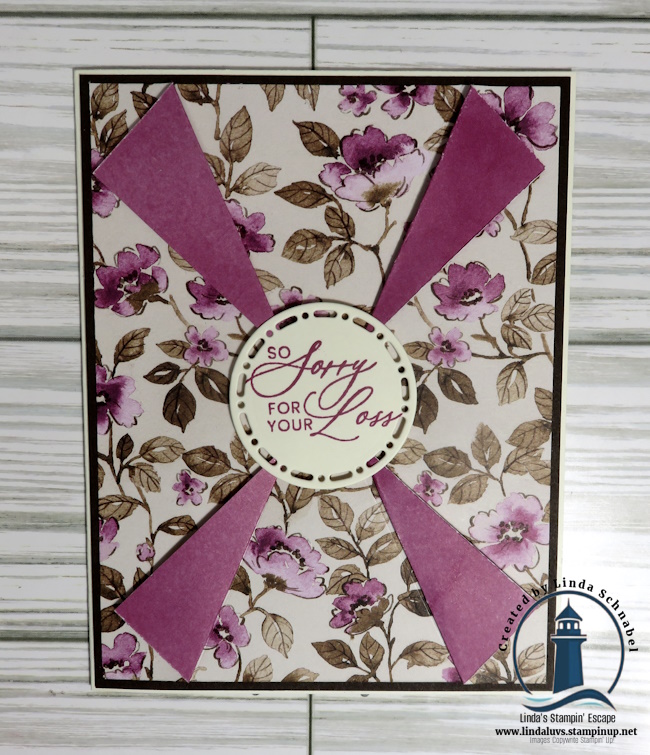
Today, I’m sharing a favorite from last year’s Stamp Club: the Tri-Panel Double Z Fold.
This card may look complicated, but once you learn how the pieces come together, it is such a fun design to create! The layered panels give you plenty of opportunities to showcase beautiful patterned paper—and the card looks amazing standing open for display.
One Fold with Two Completely Different Personalities
To show just how versatile this Fun Fold can be, I created it with two of Stampin’ Up!’s popular Designer Series Papers.
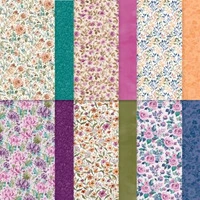
The Floral Charm Designer Series Paper gives the card a soft, elegant appearance. The beautiful flowers and rich shades of purple make it perfect for birthdays, thinking-of-you cards, or any occasion when you want someone to know they are on your mind.
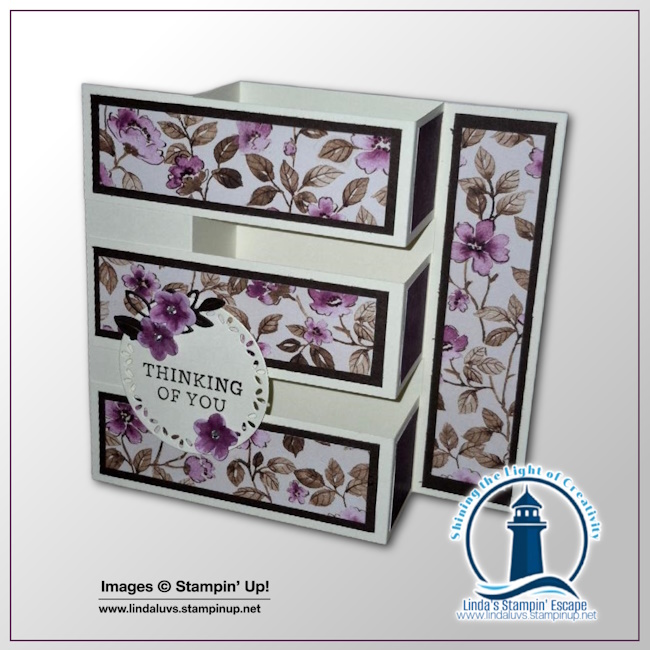
Then I used the Made with Love Designer Series Paper to create a completely different look. The playful hearts, X’s, O’s, and cheerful colors turn the same fold into a bright card filled with love.
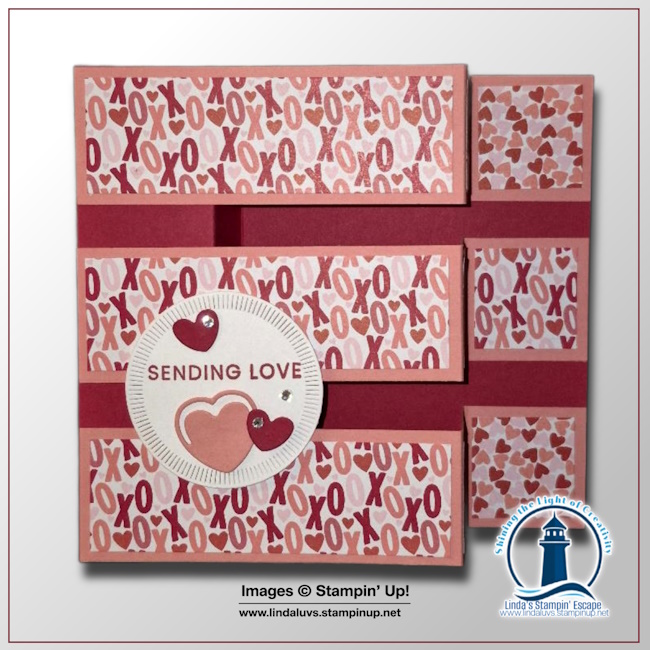
Same Fun Fold—two beautiful styles!
That is one of the things I love most about cardmaking. Once you learn the foundation of a great fold, you can change the paper, colors, greeting, and embellishments to create something for almost any occasion.
Measurements:
- Real Red: 7 ¼” x 5 ½” plus ¾” strip of scrap for hearts
- Flirty Flamingo: 3 pieces measuring 7 ¼” x 1 ½” plus 1 ½” x 1 ½” to cut heart
- Designer Paper: 3 pieces @ 4” x 1 ¼” and 6 pieces @ 1 ¼” x ¼” (may use contrasting designer paper for 3 of 6)
- Basic White cardstock: 4” x 5 ¼” (back), plus 3” x 3” for greeting.
Instructions:
- Cut card base to 7-1/4” x 5-1/2”
- Score the card base at 1-1/2” & 3” and Z-fold.
- Score three 7-1/4” x 1-1/2” coordinating cardstock strips at 1-1/2” & 3” and Z-fold.
- Adhere the 1-1/4” x 4” (X3) and 1-1/4” squares (X6) on the Z-fold strips as shown in the photo.
- Lay your card base flat with the Z-fold on the left side, turn over the strips so that the folded side are on the right. Put adhesive only on the left and right edges of the strips and adhere on the card base as shown.
- Add your accent/sentiment pieces.
- Adhere a 4” x 5 ¼” contrasting color as a mat, and layer with the 3 ¾” x 5” Basic White for your message.
This Is What Stamp Club Is All About!
Stamp Club is so much more than simply making a card. It is your opportunity to learn, experiment, and enjoy a creative escape with people who love stamping too.
Our new Stamp Club begins in September and meets once a month through June. You can choose either a morning or evening session, whichever works best for you.
Each month, you can look forward to:
- Creating a minimum of two beautiful projects
- Learning fabulous Fun Folds
- Trying creative stamping techniques
- Discovering fresh designs and new ways to use your supplies
- Playing with some of Stampin’ Up!’s newest and most popular products
- Receiving project measurements and/or instructions to take home
- Being among the first to see new products and snag a new catalog
- Enjoying hands-on guidance in a relaxed and welcoming setting
I design and prepare the projects so you can come ready to stamp, learn, and have fun. You will leave with finished projects, fresh inspiration, and ideas you can use again and again.
Your Monthly Creative Escape
Whether you have been stamping for years or you are ready to try something new, you will feel right at home.
Bring a friend—or come on your own and make a new one! Stamp Club is filled with creativity, conversation, encouragement, and plenty of laughter.
Just imagine having something creative to look forward to every month: new folds, new techniques, popular products, beautiful cards, and time spent with wonderful stamping friends.
Ten months. New ideas. Beautiful projects. Wonderful friendships.
Doesn’t that sound like fun? Space is limited in both the morning and evening sessions, so contact me to choose your session and save your seat for the 2026–2027 Stamp Club.
I would love to welcome you to the club and share a whole new year of creativity with you!
Linda
Linda’s Stampin’ Escape
Shining the Light on Creativity








 Linda's Stampin' Escape