Hello Stampin’ Friends and Happy Monday ~
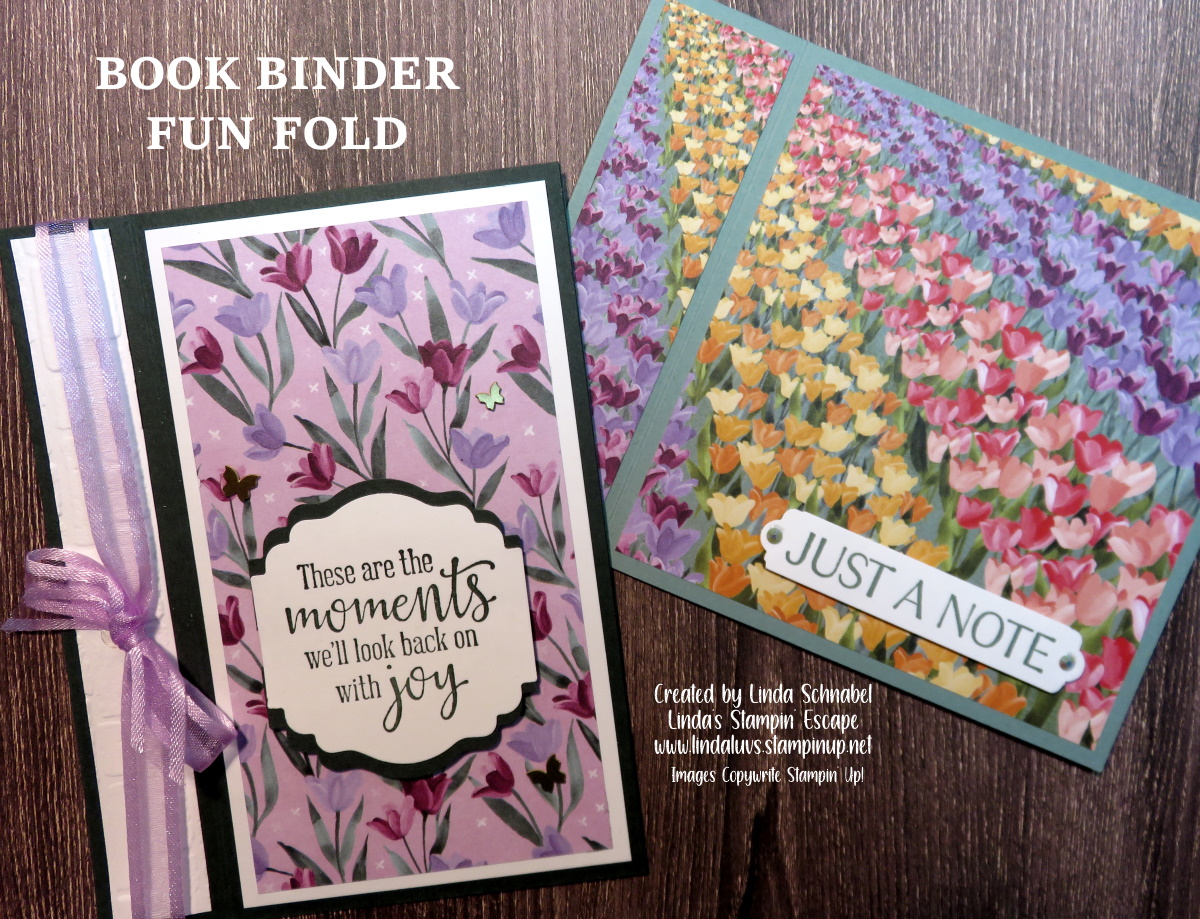
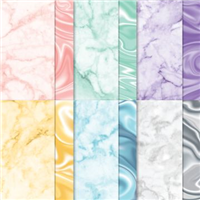
Today I’m going to share my replay of this Quick & Easy Fun Fold and all the dimensions and instructions with you because it highlights one of our beautiful designer papers that resurfaced in our Clearance Rack!! If you already have this pretty paper then here is a video and the two cards I made.

Let’s take a look at the video now …
Book Binder Fun Fold … Super Simple!
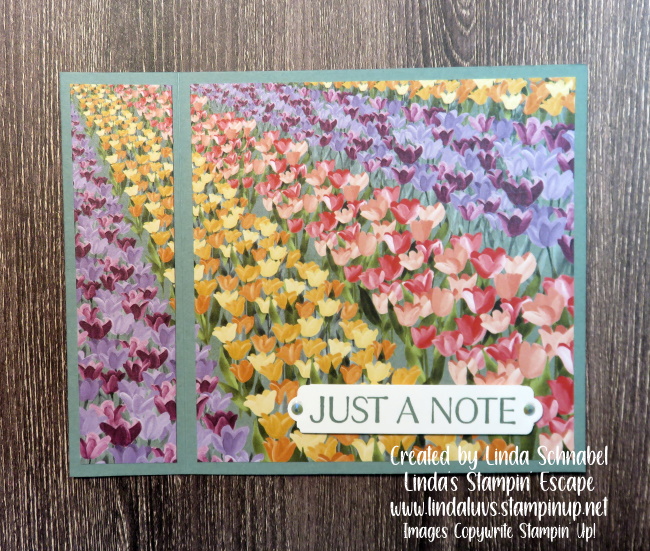
HORIZONTAL PROFILE (Above) How It’s Made
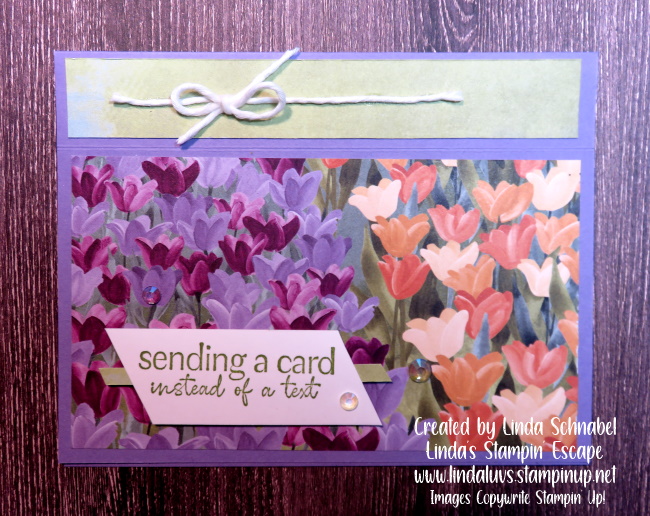
- Cut a 4-1/4 x 11″ piece of Soft Succulent cardstock for the card base. Score at 5-1/2 and 4-1/4. Crease folds and add adhesive to the inside of the two scored lines. The 4-1/4″ score line should be facing out on the front of the card.
- Cut a 4 x 4″ piece of Designer Paper (or cardstock) and adhere to card front.
- Cut a 1″ x 4″ strip from the tulip design designer series paper and adhere to the left side margin on the card front.
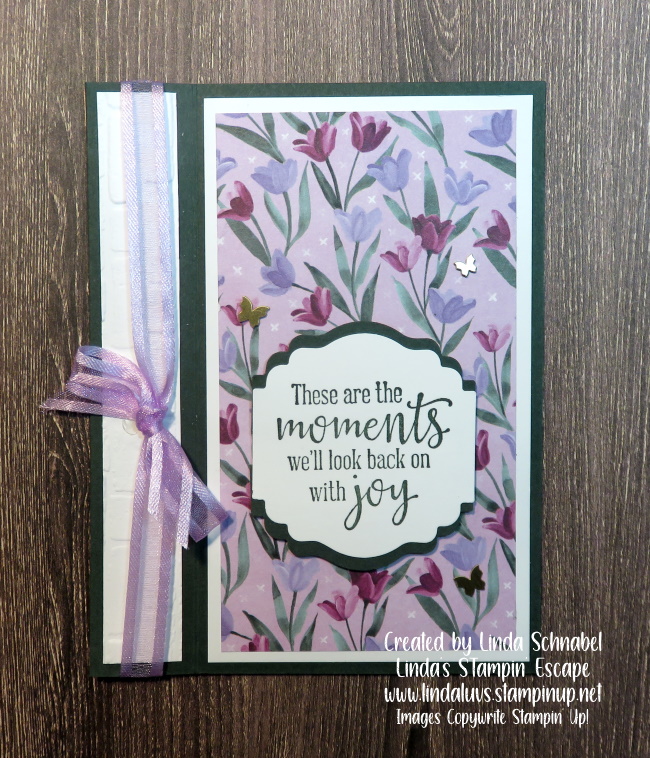
PORTRAIT PROFILE (Above) How It’s Made
- Cut a 5-1/2 x 8-1/2″ piece of Evening Evergreen cardstock for the card base. Score at 4-1/4” and 5-1/4”. Crease folds and add adhesive to the inside of the two scored lines… You can add your ribbon at this time.
- To layer card front; cut Basic White 5-1/4” x 3” (Cut 2: one for inside and one for mat on front) Cut Designer paper to 5” x 2-3/4” to layer on top of white.
- Binder area is cut in Basic White at 5-1/4” x 3/4” and I embossed with “Brick” embossing folder for some texture.
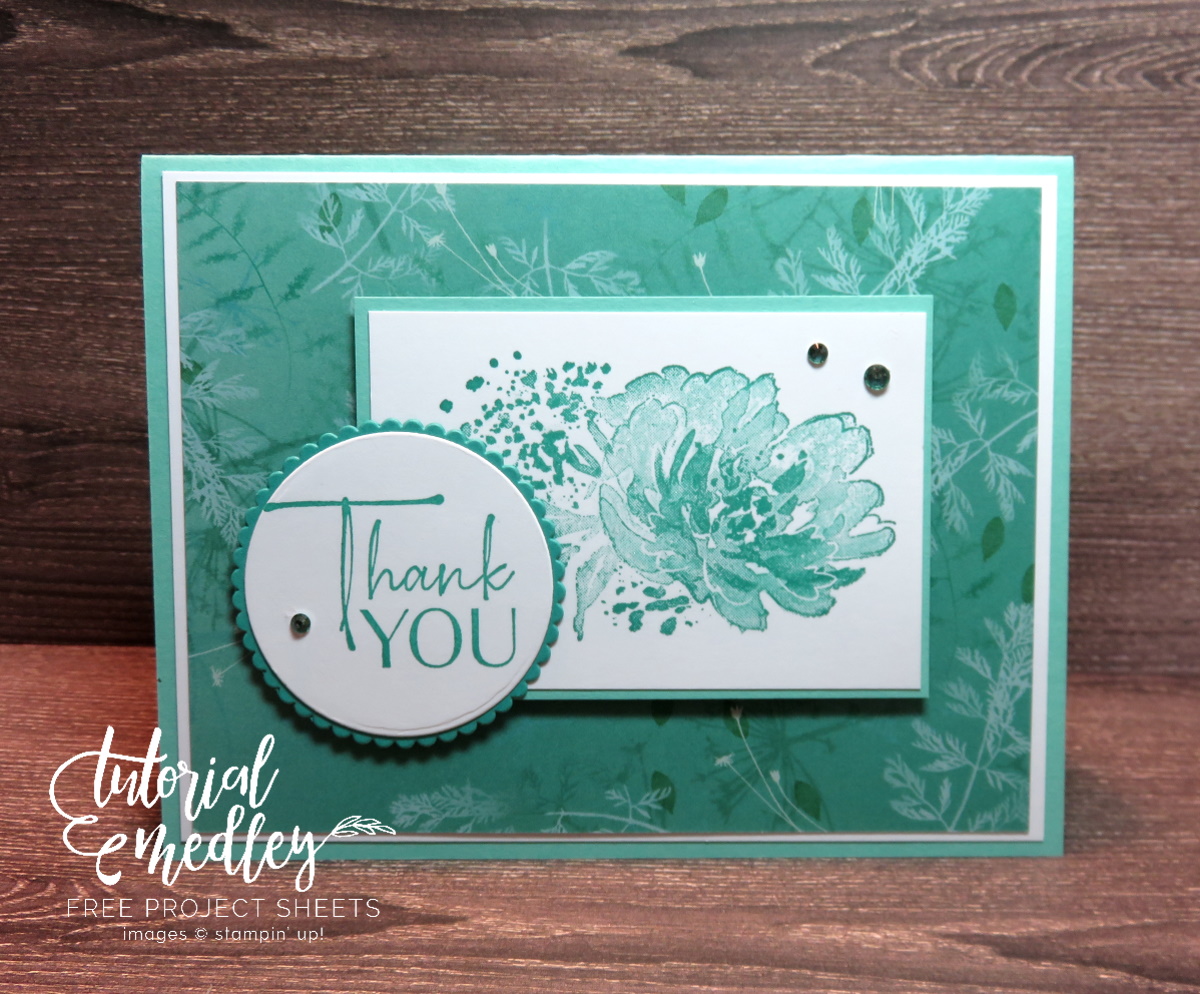
Cool … right! Now, let me share another layout you can use when creating the Book Binder Fun Fold. It’s another portrait however the card stock is cut at the usual 8-1/2″ x 5-1/2″ and it is scored at the 4-1/4″ and 5-1/4″ … now you will just position your “binder” to the “TOP” of your card.
The designer paper is cut at the same dimensions as well … however, you need to make sure you are “cutting” to the designer of the paper. On this card, my “binder” actually has the same designer paper, I just flipped it over. The greeting also comes from the Flowing Flowers stamp set, same as we used on our first card.
Enjoy making this fun fold … it’s really easy, and you’re going to have a blast creating with all your beautiful designer papers. Don’t forget, you can add in your embossing folders, die cuts or hand stamped items!

TODAY’S STAMPIN’ SUPPLY LIST … If you liked the products used in today’s projects, I have links for you below. Just click on the item you would like more information on, or to begin your shopping. It will take you directly to my website. Thank you ❤