Hello Stampin’ Friends ~
Today I’d like to share a card I made a while back that shows how to do the “Spotlight” Technique. I will also be featuring this technique on my Facebook Live tonight … I hope you will join me!

I have chosen to use Basic Black and Whisper White cardstock with a simple stamped image in black to start my card. Then I stamped my chosen image of the birds on a branch with the Black Momento Ink. This way when I color the image I’m going to spotlight … it will really stand out! In other words, it spotlights that section of the image.
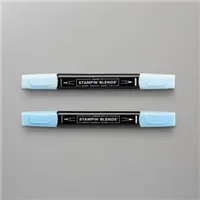
Another simple spotlighting technique with the fun of coloring, whether you use the watercolor pencils, Stampin’ Write markers or the new Stampin’ Blends alcohol markers you are sure to fall in love with this. Choose an image from your favorite stamp set, I’m using the Free As A Bird stamp set … you will stamp your image twice (or you can cut out the image as I did yesterday to spotlight).

Because I used the Layering Squares Framelits Dies yesterday, I’ve decided to use them again today to cut out and spotlight my part of the image I stamped. I decided to spotlight the two birds sitting next to each other because my greeting states “We are the best of friends”.
I used the Stampin’ Blends to color my sweet little birds but the watercolor pencils and the markers would work just fine too. I just love the watercoloring look you get with the stampin’ blends.
Have yourself a wonderful day ~

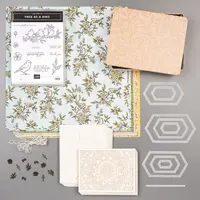
Today’s Stampin’ Supply List … Just click on any of the items for more information or to begin shopping.