Hello Stampin’ Friends ~
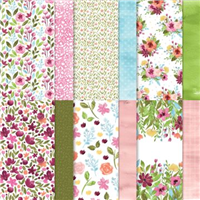
I had to share my “Handy Cutting Guide” Video using the retiring Awash with Beauty Designer paper. Take one 12 x 12 sheet of Designer paper and turned it into 8 beautiful cards. Today I will be showing you step by step how I did my cutting with a quick video! Then you will get to see the four remaining cards.
Don’t you love how simple that is … and this is perfect for creating multiple cards in a short period of time. My first card I kept very simple ….
Basic White cardbase with an 5-1/2″ x 3-1/4″ Balmy Blue mat. My greeting comes from the Paradise Palms stamp set (Retiring) and is punched with the Double Oval punch.
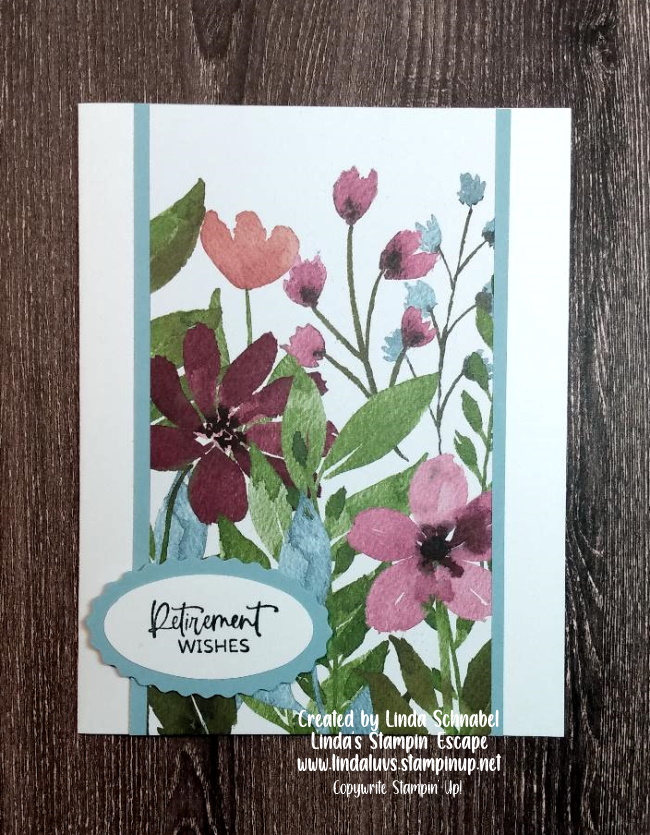
The second card …
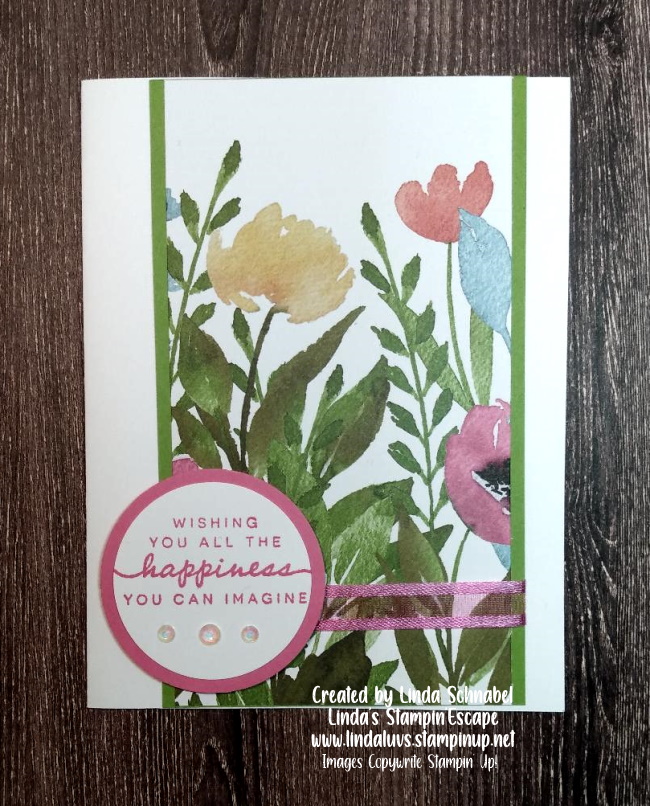
Same dimensions on this card, however I used a Granny Apple green mat and Polished Pink ink, cardstock and ribbon. Don’t you just LOVE coordination!!! I brought in the Layering Circle dies (Retiring) to my sentiment and then added the Iridescent Rhinestones.
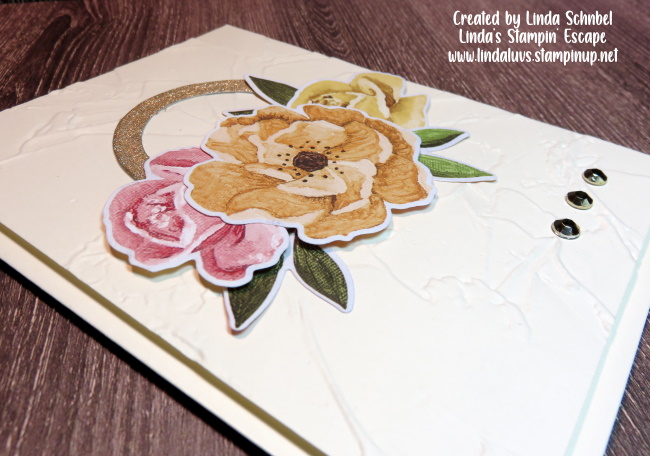
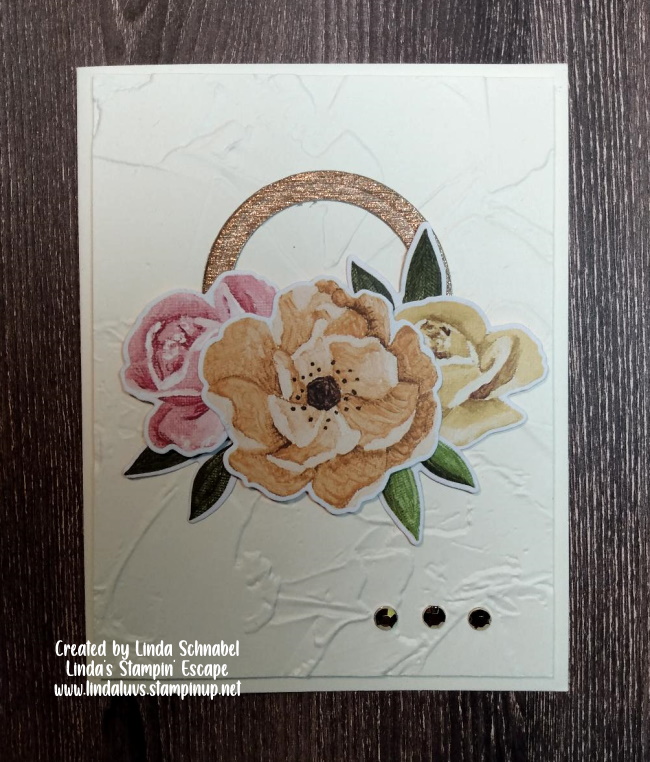
The third card is stepped up a bit …

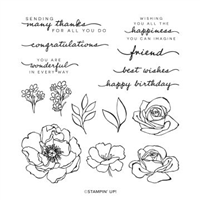
I used the Stitched Greenery die (Retiring) to create texture and a cool background for my floral piece … I matted the designer paper with Polished Pink and then a Granny Apple Green background. My granddaughters love this color combination. I also used the Iridescent Rhinestones on this card. My sentiment … that comes from the Happiness Abounds.
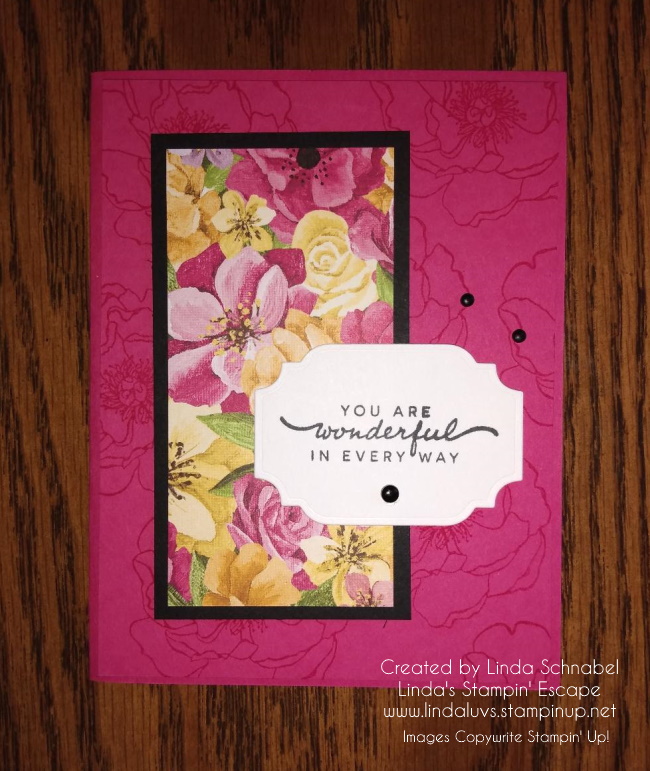
For my fourth and last card I wanted to show you that you can stamp directly onto the designer paper …

I also stamped directly onto the card base to create some depth and interest to the card. The leaves come from the Happiness Abounds as does the greeting. The mat and cardbase are Merry Merlot (Retiring)… it truly changes the look of the card and gives it a beautiful deep look. I completed my card with the white ribbon and Brass Butterflies.
My purpose for sharing this with you, is to inspire you to cut that beautiful designer paper AND how to take one 12 x 12 sheet of Designer paper and turned it into 8 beautiful cards.
Thank you so much for joining me today ~