Christmas Card Parade …

Hello Stampin’ Friends ~

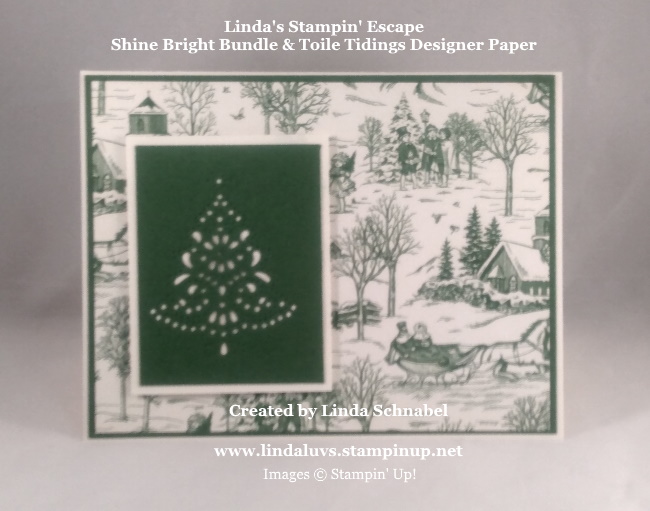
Sorry for the lack of posts the past few days but just like you I’m getting my Christmas preparations done (and working…lol). So today I wanted just to share some of my favorite cards from this season … Enjoy.

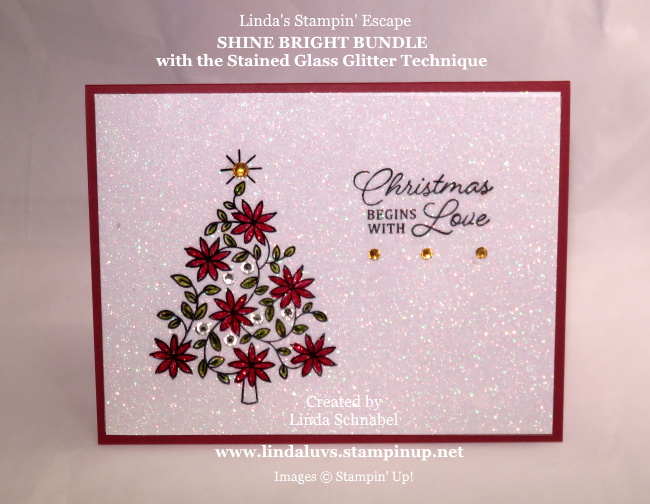
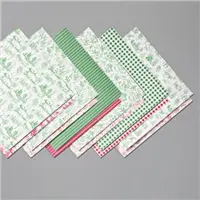
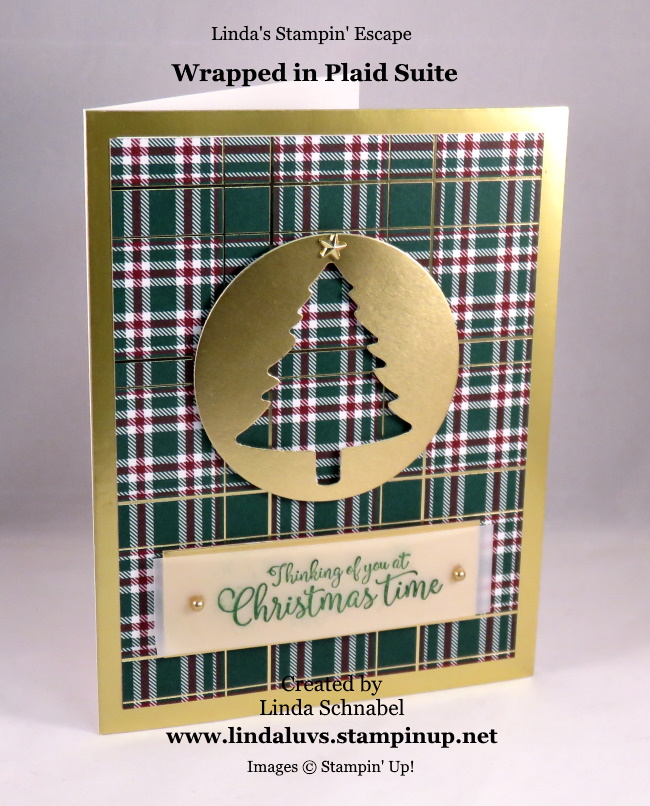
My Wrapped in Plaid (Perfectly Plaid Bundle) card below is my #1 Pinned card on Pinterest right now! Amazing … such a simple card. This tells me a lot about what stampers want … Pretty cards that are easy to recreate.

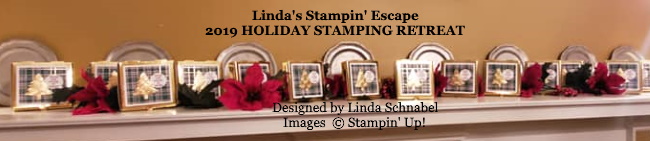
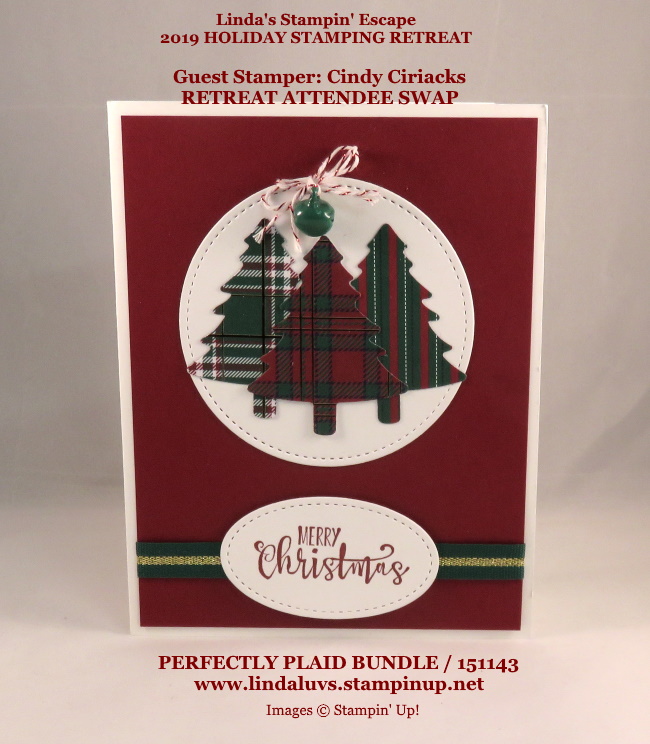
Below is a picture of the Mantle Gifts close up … A Gift Box filled with coordinating Gift Cards created from the Wrapped in Plaid Bundle. That Tree Punch has been a big hit this year!

I hope you enjoyed revisiting some of my favorites this past season … Looking forward to sharing a few more with you, and kicking off then new Spring/Summer catalog!! Hope you got yours, if not, let me know!

Thank you so much for joining me today … I have a little something special for you tomorrow.

Have a wonderful day.

Christmas Begins with Love

Hello Stampin’ Friends ~

Today I’m going to share with you a stunning card created with a technique I shared earlier and a bundle I have shared with you recently …. My Christmas Begins with Love card marries them both together.

Back in November I shared a card with you highlighting the “Stained Glass Glitter Window” technique …

and last week I introduced you to the Shine Bright bundle and another form of a “Stained Glass” look ….

Today, I’d like to combine the two and show you a stunning card! I love how this turned out …

The image and greeting are stamped directly onto the Window Sheet using the StazOn™ Ink and colored from the back with our Stampin’ Blends. I used the Dark Cherry Cobbler and Dark Old Olive Blends.

I colored a few layers to give it the deep rich color you see … laying it on top of the Sparkle Glimmer paper created that stunning stained glass glitter effect. I used Glue Dots to adhere the Window Sheet to the Glimmer paper.

I used the Holiday Rhinestones and the Basic Rhinestones to add even more shine to the card.  I place my rhinestones in the little circles on the image … and the a few under the greeting to highlight it and coordinate the color rhinestones from the top of the tree.

An easy card to make … but elegant to look at. I hope these cards inspired you to give the “stained glass” technique a try.

I’m so happy that you came over to my blog today … Thanks!

Have a great day.

TODAY’S STAMPIN’ SUPPLY LIST … If you liked the products used in todays card, I have links for you below. Just click on the item you would like more information on, or to begin your shopping. It will take you directly to my website. Thank you


The Stars were Brightly Shining Card …

Hello Stampin’ Friends ~

Today I’m sharing another sample from the Shine Bright bundle and some great news! I wanted to show how the other dies in the bundle look …

These are great samples to illustrate this bundle … the stars are brightly shining card uses the die used several times on the cardstock to create a beautiful background with dimension and texture. I like that the used the coordinating stamp and added the stars to highlight the greeting.

The Peace on Earth card uses the tip of the Christmas tree as a light background behind the greeting. You can also see how the pine foliage die is used … it leaves impressions and little cuts to show the glimmer paper below.

Here are the two cards I have shared in the past two days! First the Christmas Tree die …

and then the Christmas Tree stamp …

NOW … for the big news!

Get your Wish List out …

Time for you stock up and save on your favorite Stampin’ Up! products! What’s the occasion? Starting tomorrow and for one day only, everyone is eligible for FREE SHIPPING on orders of $50 or more (before tax). So don’t wait another minute! You can place your order through me … or direct from my on-line store.

Prepaid Paper Pumpkin subscriptions are eligible for FREE shipping under the same rules as all other Stampin’ Up! items during the promotion.

MORE NEWS …. Cutting Plates Now Available

As Stampin’ Up! continues development on a new die-cutting & embossing machine, we encourage you to use the machine you already own. To help support your die-cutting and embossing experience, we’re Stampin’ Up! is offering Cutting Plates for purchase.

Item

Description

  Price

150815

Cutting Plates (2-Pack)

  $11.00

Let me know if you have any questions … and Thanks for stopping by!

Have a great day.


Joy to All …

Hello Stampin’ Friends ~

Today I have another card to share with you that I created with the Shine Bright Bundle.  This one is all about the colors of Christmas with silver, green and red. Let me show you …

We first heat embossed our pretty tree in silver on Vellum cardstock … we used the Stamparatus to get perfect placement on our vellum. Once embossed we used the Real Red and Old Olive Stampin’ Blends to color our images.  Regular markers would take a long time to dry on vellum and that is why we used the Stampin’ Blends… they dry quicker. We also heat embossed our greeting in Silver and punched it out using the 1-1/2″ Circle Punch.

After coloring our tree, we attached it with Glue Dots onto the Whisper White so it would show up better on our card, and then matted it with a piece of Real Red cardstock … which was also the base of our card.

Our background was created by embossing a piece of Silver Foil cardstock using the Tin Tile 3-D embossing folder … I love that this pattern added some nostalgia (an old fashioned look) to our card. Now our tree was attached on top using Stampin’ Dimensionals, as was our greeting … after added a Real Red banner behind it to make it pop.

A touch of bling is all it needed now so we added the Holiday Rhinestone on the top of the tree and our regular Rhinestones where the little circles were on the stamped image.  That completed our card.

Hope you enjoyed this card as much as my Stamp Club enjoyed making it.  This is another form of the “Stained Glass” technique. Usually I color on the back but we wanted the brightness of the color on this card.

Thank you for joining me today … I’ll see you back here tomorrow!

TODAY’S STAMPIN’ SUPPLY LIST … If you liked the products used in todays projects, I have links for you below. Just click on the item you would like more information on, or to begin your shopping. It will take you directly to my website. Thank you ♥ 

Supply List

Thank you for choosing me as your demonstrator! ♥

Simply Sunday: Shine Bright

Hello Stampin’ Friends ~

Sorry I missed you yesterday, no issues … just took the day off.  With the holidays coming up and new staff to train, I don’t get too many days off lately, but I did spend the morning stamping with my Stamp Clubs … a little holiday gathering.  Cookies, hot chocolate, more sweets and of course stamping, and today I’m going to share with you a simple card that we made using the Shine Bright bundle.

The Shine Bright Bundle includes the Shine Bright Cling Stamp Set and the Jolly Season Dies. You can create custom die-cut Christmas trees, stars, and holly boughs in record time using the Stitched Brightly Dies.

On our first card, we only used the die strip that has the trees which were cut in Garden Green.  I began with a 2-3/4″ x 5-1/4″ piece and ran it through my die cut machine.  Then I trimmed each tree piece down to 2-3/4″ x 2″. We matted the tree with Very Vanilla cardstock but before we attached it … we painted a little Wink of Stella in the center so it would show through the tree … so subtle but pretty.

Our background comes from the Toile Tidings Designer Series Paper … it features traditional toile designs in classic Christmas colors–the perfect paper for a cozy Christmas.  There are 12 sheets of designer paper: 2 each of 6 double-sided designs.  This paper is so pretty … our greeting was stamped inside!

We used the pattern with the sleigh and carolers … now you can see why we did not want to cover any of this pretty paper up, even with a greeting!

This bundle can do so much more, so for the next few days, I will be sharing additional samples with you. It unfortunately is on the discontinued list … but, if you purchase this bundle through me, you will not only get your Virtual Rewards point but you’ll receive a Hand Stamped Thank you card from me along with a special little gift.

Please let me know if you have any questions … I’ll be back tomorrow with another beautiful card that is totally different from todays! You’ve got to love the versitility.

Thank  you for joining me … Have an amazing day!

TODAY’S STAMPIN’ SUPPLY LIST … If you liked the products used in todays projects, I have links for you below. Just click on the item you would like more information on, or to begin your shopping. It will take you directly to my website. Thank you ♥