Bouquet of Roses … Three Techniques!

Hello Stampin’ Friends ~

Well … we made it half way through the week and we are quickly heading into the weekend! I love Thursdays 🙂  Today I have the card I promised to share with you (from yesterdays post) with yet another technique using the To A Wild Rose Bundle.

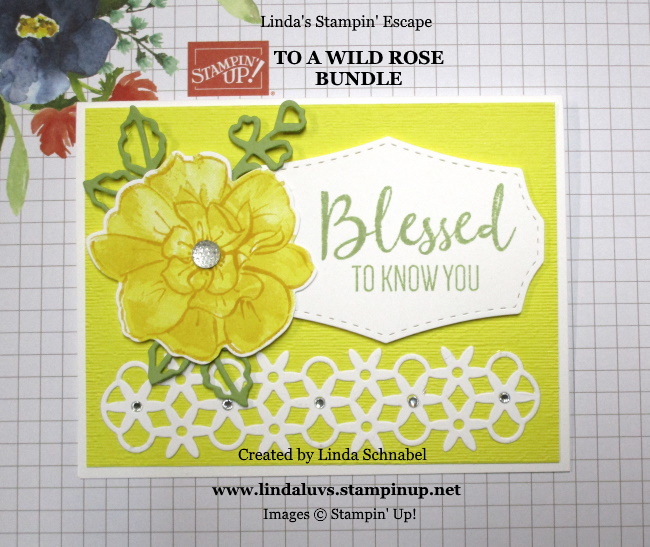
On Monday I shared the “Blessed” card demonstrating the Three-step Stamping technique …

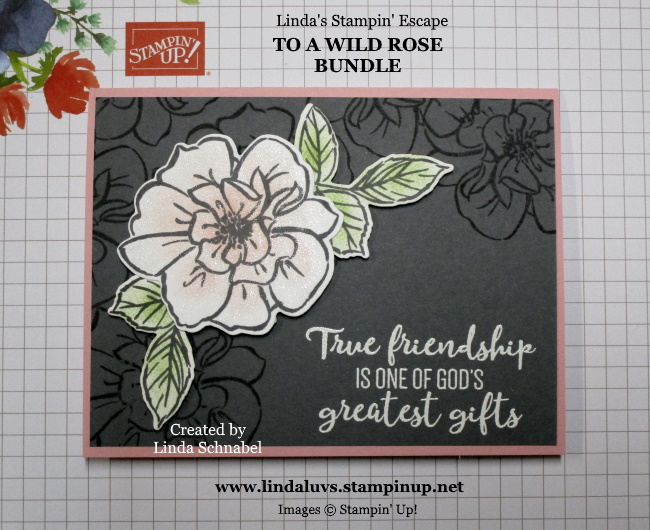
On Tuesday I showed you the “True Friendship” card and the technique of sponging color onto the image ….

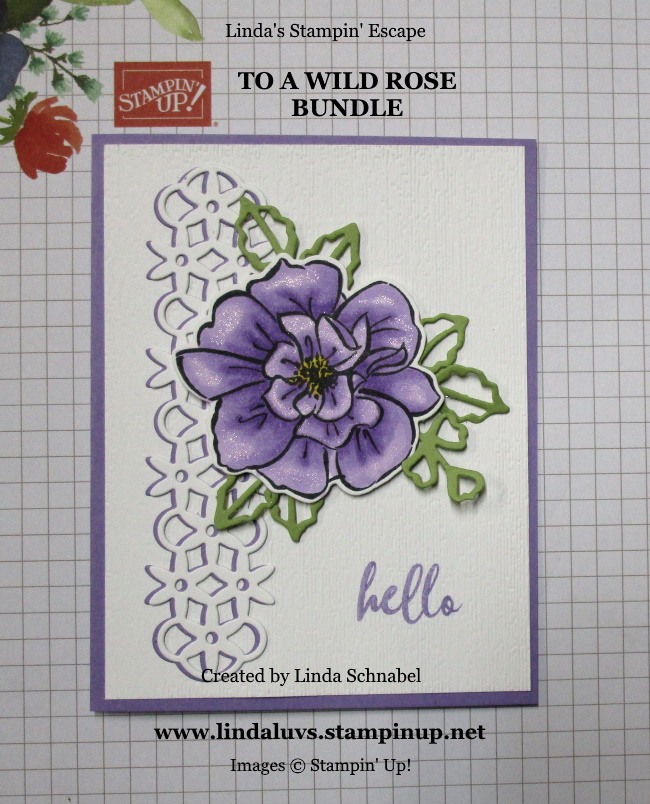
Today, my “Hello” card features the “Coloring with Stampin’ Blends” technique …

Before I decided how my card would look, I chose my color pallet; Whisper White and Highland Heather. I stamped the rose image with the Momento ink and began to color it with the Highland Heather Stampin’ Blends Duo. I begin by coloring a petal with the light marker, then add the dark marker at the part of the petal that is closest to the center and over the lines in the rose. Then I go back over the dark with the lighter marker to blend the colors … you can always add a little more dark again. I leave the edges of the petals as light as I can.

The center is colored with the Daffodil Delight Dark Stampin’ Marker and then the rose is die cut.  The leaves cut from Pear Pizzazz cardstock.  The lattice piece was cut in Whisper White and Highland Heather and then layered to create an added dimension to the card.  The white base was stamped with the “Hello” from the stamp set and then the entire piece was embossed using the “Subtle” Folder.

Have you fallen in love with this amazing bundle yet?  I find it so versatile and easy to use. How would you like these cards?

I have a SPECIAL OFFER FOR YOU …

If you purchase the “TO A WILD ROSE” bundle from me by August 31st, 2019, I will send you all 3 cards with directions and tips to recreate them yourself!!  You will also receive a Virtual Rewards point!! You get a Rewards point for each $50 (before ship&taxes)  USE HOSTESS CODE: ARQ3KZ9U and place your order by August. 31st. 2019.  I’ve been working on these cards all week so I’ll have them ready to ship as soon as I get your order notification!  Wooo Hooo … they are prettier in person. The blog does not do them justice!

  • I have a special tip for my “HELLO” card that I will be sharing ONLY in the instructions sent with your cards when your purchase the bundle!

Thank you for joining me today and checking out my third To A Wild Rose Card Technique. Let me know if you have any questions on the cards shared today.

Hope your day is filled with beauty … pass it on.

TODAY’S STAMPIN’ SUPPLY LIST … Click on any image for details about the product or to begin your shopping experience. Clicking on it directs you to my website.  Thank you!!


Let’s Stamp Together …

Hello Stampin’ Friends,

I am so excited to be able to invite you to our 2019-20 Stamp Clubs!! My clubs are starting in September and we’re looking forward to stamping with you!

This years Stamp Clubs will be highlighting Techniques and Fun Folds, plus I’ll be celebrating 20 years with Stampin’ Up! So expect more fun and surprises throughout the year.

Join either the
Wednesday Night Club at 6:30 pm
or
Saturday Morning Club at 9 am

There is no cost to the stamp club, however a $30 Minimum Order is required. You get what your ordered, plus a minimum of 2 projects and instructions!
* The minimum order allows each club member to receive HOSTESS BENEFITS for one month (more FREE stamping goodies)

We will meet for 10 months … September through June
taking a break for the summer! July & August off.

If you have a group of friends / family and would like to have a Private Stamp Night
Contact me and we’ll set something up. You must have a minimum of 8 participants.

Interested in an OnLine Club … Contact me for details.
Reserve YOUR Spot HERE

Or call me to reserve your spot at [262] 334-1009

Join the Club & Make new friends!

Get Sneak Peeks on New Items!
Learn FUN Techniques w/Instructions!

Learn Fun Folds w/Instructions!
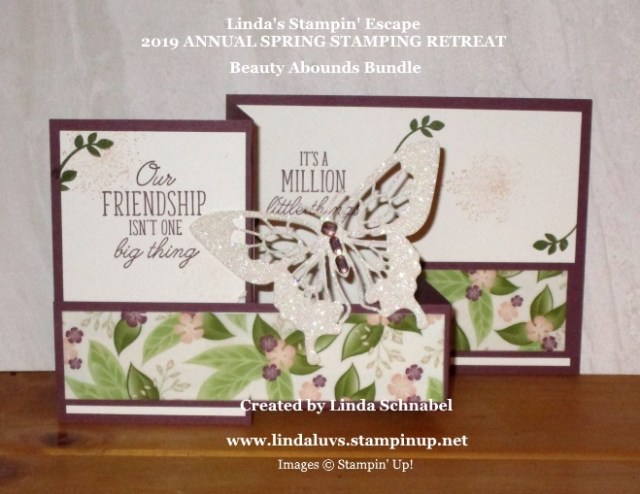
Join me and meet like minded stampers and learn “hands on” with fun techniques, new products and accesories, and meet some amazing people.

Reserve YOUR Spot HERE or call me at [262]334-1009

Linda Schnabel / 262-334-1009
Website: http://www.lindaluvs.stampinup.net
Blog: http://lindasstampinescape.com

God’s Greatest Gifts …

Hello Stampin’ Friends ~

How are you this fine Tuesday? I’m feeling good, thank you.  I hope you did not miss yesterday’s card created with the “To A Wild Rose” bundle.  I have another beautiful card for you today. I love Pink and Gray together so that is our color pallet for today.  This is another one of my Stamping Club Cards …

Our base is Blushing Bride and the front in Basic Gray. We begin by stamping our greeting in White Craft Ink and heat embossing with White Embossing Powder. Once your greeting is done, we stamped our rose onto the Basic Gray with Basic Gray to create a beautiful and subtle background.

Our rose and leaves were stamped with the Basic Gray onto Whisper White cardstock … once dry, we used the Sponge Daubers to “pounce” the Blushing Bride ink color onto our rose image and Pear Pizzazz on the leaves.  DO NOT rub or drag the daubers across the images because it will “re-moisten” the gray ink and smear the two colors together.

The leaves and rose are die cut with the coordinating dies (When you purchase the bundle, you save 10% on your purchase). To finish off my card, I added Wink of Stella to the rose and popped the rose and leaves up with our Stampin’ Dimensionals.

There are always stamping tips and hints while we create in our clubs … the members share their creative ideas as well. Sometimes we end up changing the cards a touch.  I love stamping with my clubs!!

Interested in joining a Stamping Club … CLICK HERE

Hope you enjoyed today’s post and that is peaks your interest in my stamp clubs. Contact me for more information … you can join my scheduled club, have your own private stamp club, or join my OnLine Stamp Club.

Enjoy your day today, and thank you for stopping by.

TODAY’S STAMPING SUPPLY LIST …


Blessed to Know You …

Hello Stampin’ Friends ~

I hope you had a wonderful weekend. I had fun stamping with friends, visiting with family and enjoying a relaxing Sunday…. it was nice. As promised yesterday, I will be sharing a card I created from the “To A Wild Rose” bundle. This bundle contains a “Three Step Stamping” stamp set and I used it to teach my Stamping Clubs this cool technique. I also shared a great tip for aligning the rose while stamping.

I am beginning my 2019-20 Stamp Clubs in September so we are currently signing up members now … if you have questions about my clubs or an interest to join, shoot me a message below.  Our focus will be on Techniques and Fun Folds this year and will include instructions!! There is no charge for club meetings, however we do require a $30 minimum order … this allows each member in the group to get Hostess benefits one month!!  Time to share our card …

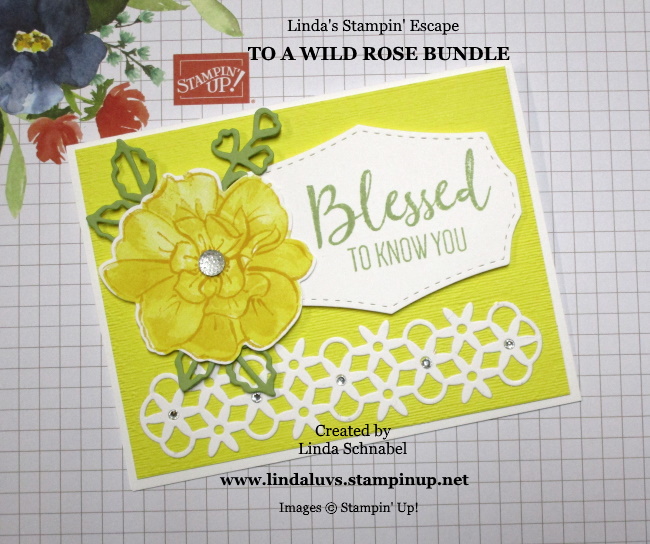
I began by choosing my color pallet for my rose … There are 3 stamp “layers”. The most solid of the three is actually a DistINKtive stamp it gives monochromatic dimension and artistic fair to your stamping, and will use the “LIGHTEST” of our three colors; Pineapple Punch.

The second stamp (also DistINKtive) adds layering to the first stamp, as you stamp directly on top of your first stamped image. We used Daffodil Delight but we stamped “off” before stamping onto our rose.

The last rose stamp is the detailed stamp set (Or Line Image) and we use the darkest of the 3 yellows … We used Crushed Curry.  You can stamp directly onto the first two layers, or you can stamp it off, both work well.  This is one of those fun stamp sets that you can do a lot of experimenting with different color pallets.

The beautifully die cut leaves, lattice and greeting banner are all included in the bundle, as are the words we used for our greeting.  The “Blessed” and “To Know You” are actually 2 different stamps. You can stamp them separately or you can put both images onto the block and stamp it all at once.

We embellished our rose with the Clear Facet Gems and the lattice with Rhinestones. With the world rearing it’s ugly head lately … I wanted a bright and beautiful card with sparkle, and to let someone know how you feel about them.  I am truly blessed to have such amazing women in my stamp clubs. We’d be thrilled to have you join us!!

Thank you for stopping by my blog today!  Come back tomorrow to check out my second Wild Rose card.

Enjoy the day ~

TODAY’S STAMPIN’ SUPPLY LIST … 


Simply Sunday: Designer Paper Craze …

Hello Stampin’ Friends ~

Did you know that you can create stunning cards that are quick -n- easy to create?  Anyone who has had a glimpse of our beautiful designer series paper does … check these out. Today I have several cards to share with you that will make you smile … because YOU know, you made this card in a snap between dishes and laundry! lol

Here’s a great tip … if you have designer paper sitting around “waiting to played with” … cut it in half (6 inches) and then cut your 6″ x 12″ inch into 4 inch strips so you will have 6 designer papers ready for cardmaking! Or you could you them as a mat or focal point when scrapbooking.  When your making your card you will trim the 6″ length down to 5-1/4 …. this is the perfect size for your card front and you have a little piece to decorate the inside of your card as well.

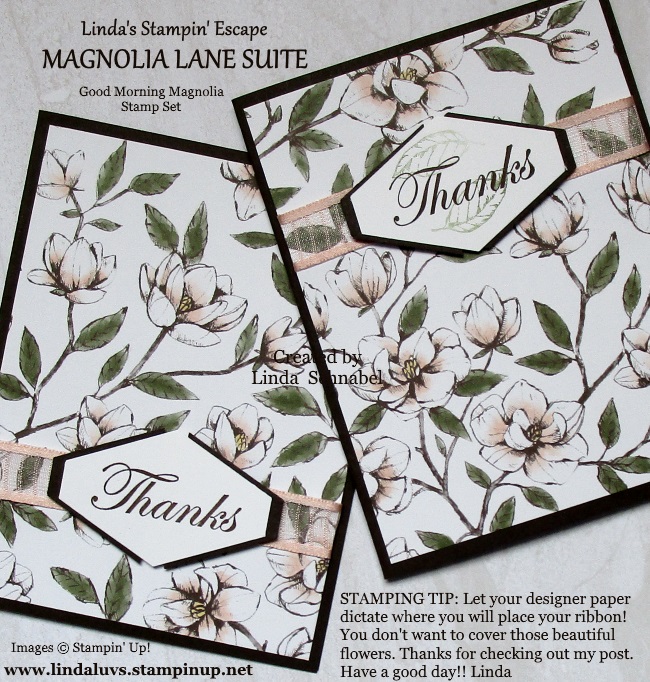
Our first card showcases the Bird Ballad designer paper, and the second is Magnolia Lane.  The only difference between the Magnolia cards is the greeting was placed in an empty spot on the pattern … Let the designer paper dictate where your greeting will go.

My last card is the cute little dinosaurs again!!

Thank you so much for sharing a part of your Sunday with me! I appreciate that.  Stop back tomorrow as I will be sharing a card I designed from the beautiful “To A Wild Rose” stamp set.

Thanks again and have a wonderful day ~

Come Sail Away! Guest Stamper: Marilyn B.

Hello Stampin’ Friends ~

I have another swap card to share with you today … I could not pass this one up since it features one of my favorite bundles and a Step Fold card! This stunning card was created by one of my Star’s team member Marilyn.

The card is known as a “Step” fold card and created fascinating dimension to your card … gives the sailboats the look of distance.  I am in the process of recreating this layout so I can create a tutorial on “how to” make it.  In fact, it will be one of the two step cards that my club member will be learning how to make this fall.

My Stampin’ Clubs will start in September and if you are interesting in learning new techniques, using new stamps, dies and accessories first hand, and getting to know how some of the new products work and embellish your cards and scrapbook pages … you will want to join. Contact me if interested … I may also be starting a VIRTUAL Club for those who live out of my area .. or out of state!  Again, contact me for full details.
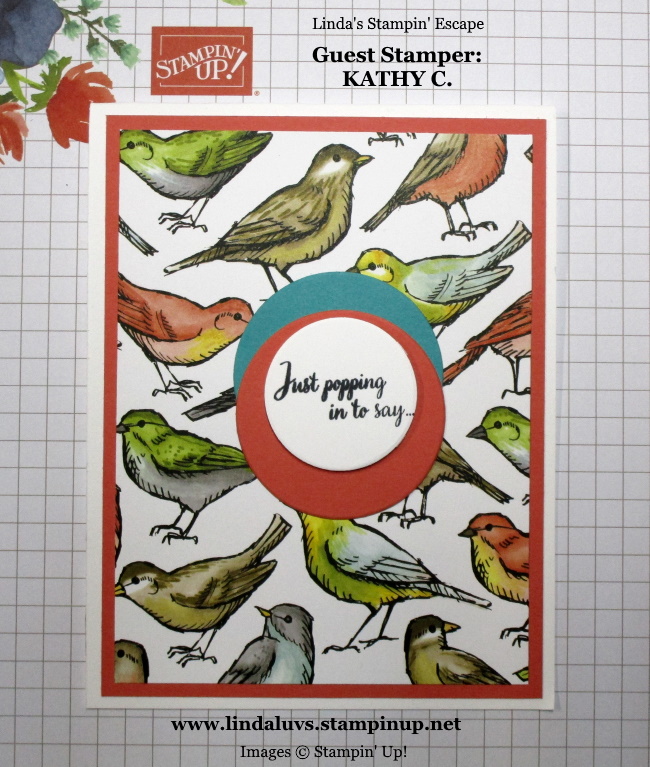
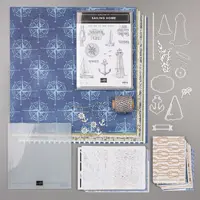
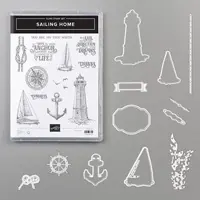
Marilyn used the new “Sailing Home” bundle from the Annual Catalog. This is one of my favorite bundles / product suites.  In fact, the lighthouse looks similar to a lighthouse in Fond du Lac, WI.  This is such a great masculine card. I hope you have enjoyed it as much as I have.

Thanks for stopping by and watch for an upcoming tutorial on the Step Fold Card … better yet, join one of my Stamp Clubs and learn first hand how to do this and so much more!  We are focusing on techniques and fun folds this year.

Have a wonderful day ~

TODAY’S STAMPIN’ SUPPLY LIST …


Leave a Little Sparkle … Guest Stamper: Kathy C

Hello Stampin’ Friends,

Today I met with my Star’s team (my downline) and one of the cards that was shared pulled at my heartstrings because my little grandbaby girls are in love with unicorns, so I just had to share this with you too.

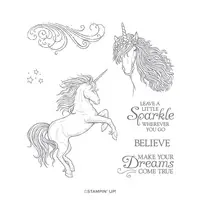
Kathy made this super cute yet easy card with the new “Leave a Little Sparkle” stamp set from the Annual Catalog.  This stamp set is most definitely on my Wish List … It’s so cute and unicorns are Hot, Hot, Hot right now!!

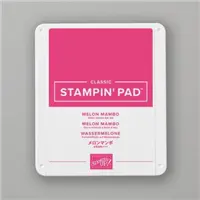
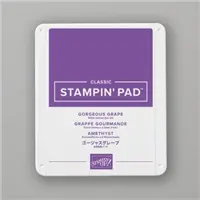
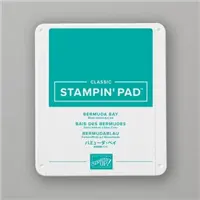
The beautiful unicorn was stamped in Melon Mamba, Gorgeous Grape and Bermuda Bay … even the colors make this card magical, and the touch of black just adds an extra “pop” to the card.  A perfect birthday card, yet this would also be great for Invitations or for a graduation using the “Make Your Dreams Come True” greeting.

The ideas are just rolling into my head … how about you?  Are you loving this stamp set?

Thank you for coming by today … enjoy your weekend!

TODAY’S STAMPING SUPPLY LIST … Click on any item to view or begin shopping!  Thank you.


Finding Inspiration in your cardmaking …

Hello Stampin’ Friends ~

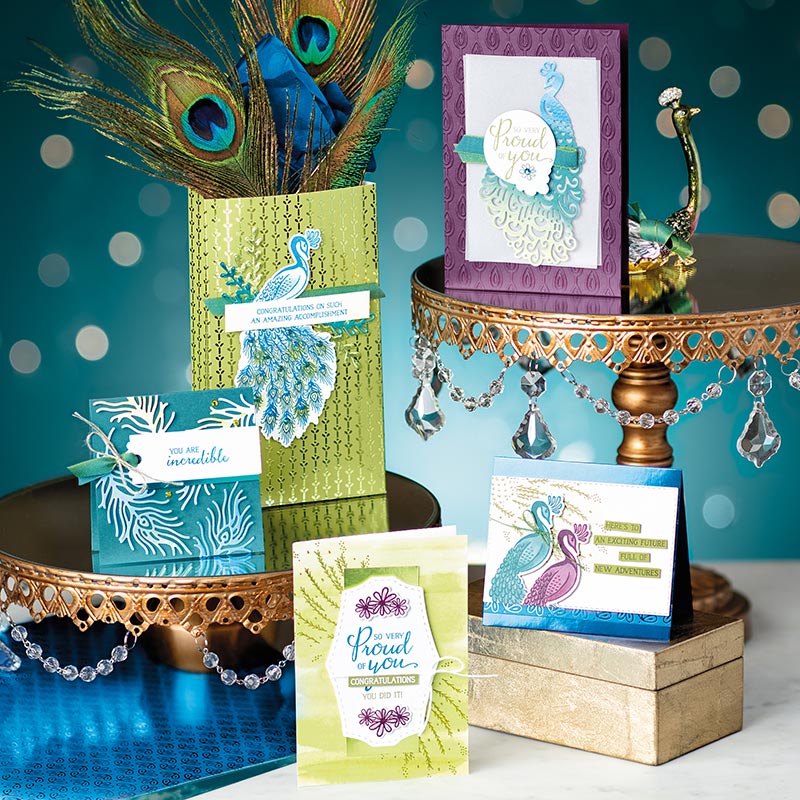
Are you a lover of peacocks? I love the colors of the peacock … so regal, like gem stones!

I was amazed at all the beautiful cards and more that have been created around the peacock. Today I’d like to share some cards and other things that I have found on Pinterest, or have seen created by others and shared on the incentive trip.  Let’s take a look …

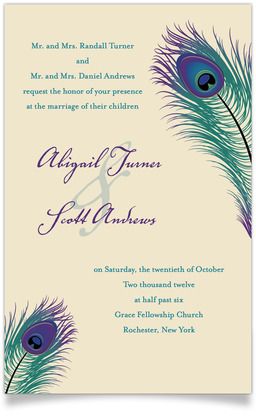
Let’s take a look at some other peacock creations where we can get some inspiration from … I found this invitation on Pinterest, it is simple and very elegant.

Now let’s step outside of the box and find inspiration in cakes! I chose these beautiful creations because of the different colors they used.  This one is done in the traditional colors …

I found this one so pretty done in greens … do you think you could use this color pallet on your next peacock card?

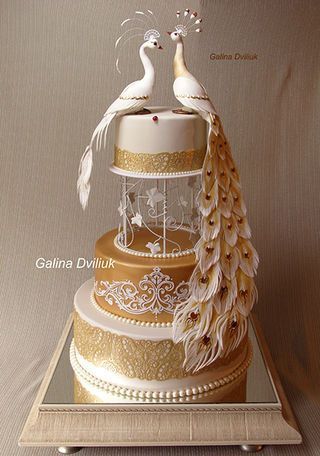
I have one more cake that I would like to share with you. This cake is stunning in white and gold, how beautiful a card would be using the Royal Peacock bundle in these colors.  You could also use lace / doilies to embellish your card.

Can you see a card from these inspiring and beautiful cakes.  I love looking all over to find inspiration … my favorite place? Outside! God has created the most stunning color pallets … beautiful trees against a stunning sunset, fall leaves swirly to the ground, the sparkles that dance across the water when the sun hits it, true beauty.

I hope I inspired you to try something new, or to pull a color pallet from something other than another card.

Thank you so much for sharing your time with me and checking out my blog today.

Have a beautiful day.

TODAY’S STAMPIN’ SUPPLIES …


It’s a Party …

Hello Stampin’ Friends ~

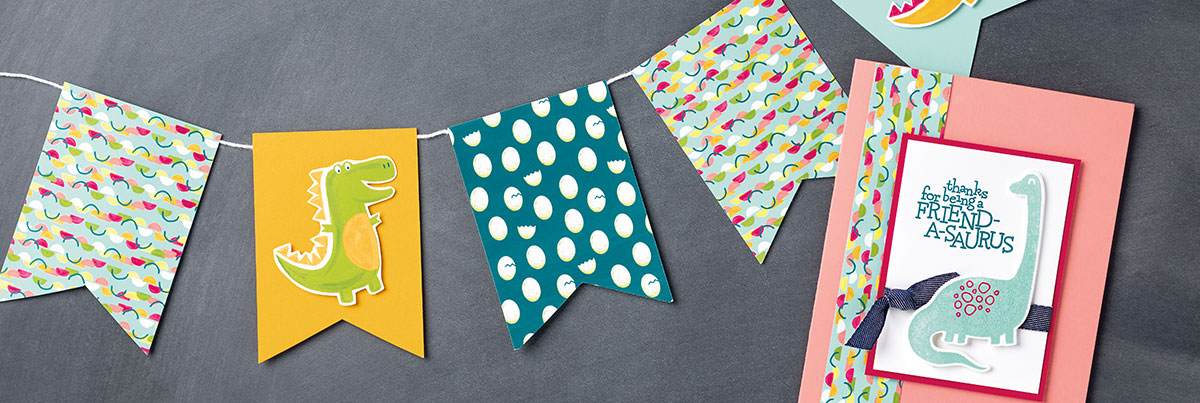
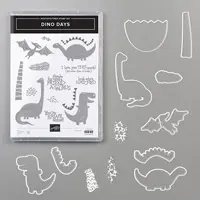
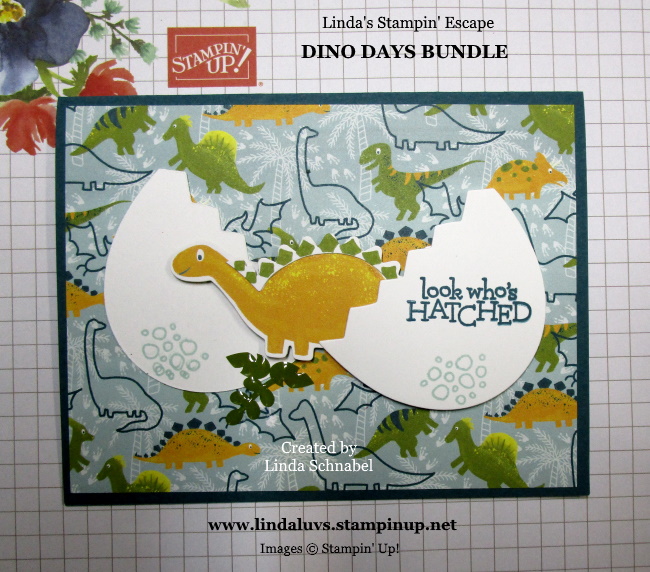
A quick post today to share another fun project using the Dino Days bundle.  Since we’re having so much fun with this cute set, why not throw a party! You can create this simple banner for your celebration …

The Dino Days bundle is perfect for birthday celebrations and we have a cute coordinating card as well.  And as you saw yesterday, with my It’s a Boy … It’s a Girl cards, you could easily surprise everyone with a dinomite gender reveal party!!

I hope you enjoyed the cute projects and were inspired … if so, let me know. I would love to hear if you have another great idea on how to use this fun bundle.

Thank you for taking time out of your schedule to visit… Have a great day!

I’ll be back tomorrow with something a little different.

TODAY’S STAMPING SUPPLY LIST …

Two 4 Tuesday: It’s a Boy! … It’s a Girl!

Hello Stampin’ Friends ~

Are you someone who likes fun, unique cards? Well … today I have two whimsical cards to share with you. Dinosaurs are making a come back, and they are cuter than ever. I’m thrilled to share with you two sweet little cards I created to welcome a new baby.  With the rise in popularity in dinosaurs again, these cute little creatures arrived just in time.

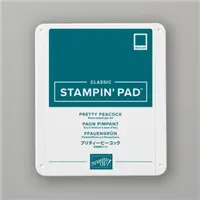
On my take on the “It’s A Boy” card, I incorporated almost all of the products included in the Dinoraur product suite; stamps, dies, designer paper and embellishments.  This little guy is ready to great the world.  The designer paper on both cards are the background, and on this card I teamed it up with Pretty Peacock cardstock & ink.

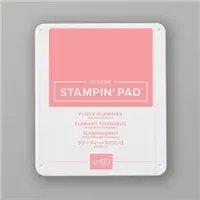
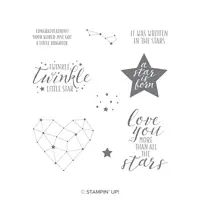
My “It’s a Girl” card is created using the help from the “Little Twinkle” stamp set.  I embossed the greeting in Flirty Flamingo and dipped it into Clear Embossing powder and heated it up to a shiny creation!  After stamping the broken egg … I added some of the bling from the Noble Peacock Rhinestones. We girls like our bling …

Quick, cute and creative really describes these non-traditional baby cards. They are too cute not to fall in love with … just like the new little ones that come into our life.

Hope you enjoyed todays Two 4 Tuesday post and my twist on It’s a Boy … It’s a Girl cards.

Thanks much for stopping by.  Enjoy the day.

TODAY’S STAMPING SUPPLY LIST …


The World Needs More of You ….

Hello Stampin’ Friends ~

I hope you have a wonderful weekend. I spent most of mine working (no … not stamping) but I did get to spend some much needed time going through my stamp sets. Woooo … I found at least 20 stamp sets that are now retired but I NEVER used! How sad is that!! I could be your benefit though … I’ll let you know soon what I will be doing with those stamp sets.

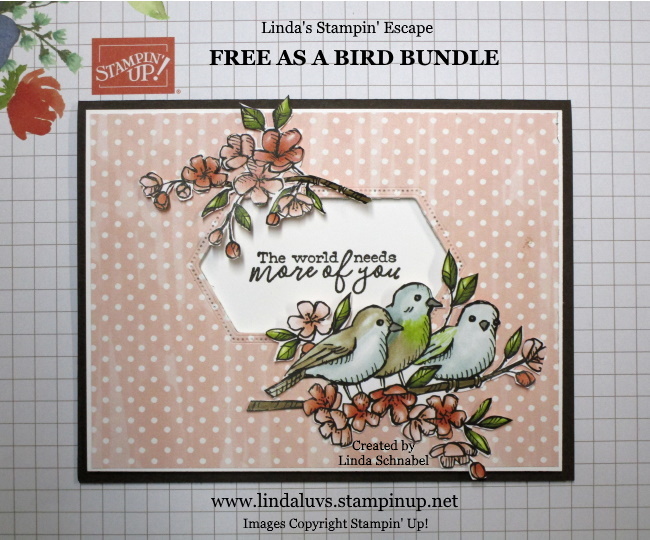
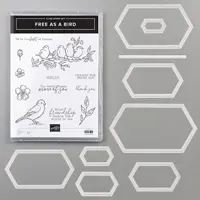
Today I have a wonderful card I’d like to share using the Free As A Bird Bundle … I’m showcasing the stamp set, dies and designer paper on this card. I chose my designer paper pattern with the birds and hand cut them out, then the flip side of that design is the one that I also used as my background.

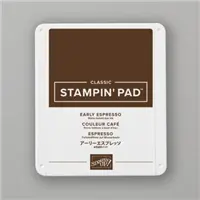
I used Early Espresso as my card base and a Whisper White mat behind the pink polka dot designer paper… don’t you love the way espresso and pink go together?  Next, I used the Stitched Nested Labels Dies and cut out the center… I stamped my greeting in Early Espresso onto Whisper White and popped up the entire front which created depth and dimension on the card.

The addition of the birds that I had cut out earlier framed the greeting and highlighted the stitching of the Nested Label die cut.

Who do you know that would like / love this card… it’s fairly easy to create, so don’t disappoint them, get your goodies to create this card today,

Thank you for stopping by today ~

Happy Monday!!

TODAY’S STAMPIN’ SUPPLY LIST …


Simply Sunday … Using Card Kits for Quick-n-Easy Cardmaking

Hello Stampin’ Friends ~

Are you always struggling to come up with card designs? Let me help you by introducing “kits” that work well together.  Today I am taking the base from one of the cards included in the July 2019 Paper Pumpkin kit and pairing it up with some of the amazing contents in the Come Sail Away Memories & More Card Kit.  Creating with any of our card kits makes designing cards so easy.

Most of you know that I am a Lighthouse fanatic!!  They are so majestic and full of history … the are the guardians of the seas. OK … a little more about the card now!!  The base is from the July 2019 Paper Pumpkin, then I pulled the rest of the images from the Come Sail Away Memories & More Card Pack.

The card pack includes 50 total double-sided cards (2 each of 25 designs), 4 sticker sheets, all Acid free, lignin free and work perfect for scrapbooking or cardmaking.  The background and base are both cards from the pack and then I started adding the stickers. Let me mention that the stickers are not flimsy stickers but sturdy die cuts with adhesive… the stand up well to your cards and scrapbooks.

The rope border, both greetings / verbiage and anchor are all stickers from the card pack.  The adhesive allows you to move it around a bit while you are creating, as long as you are not pushing it down too hard. We all need quick -n- easy cards, and these kits solve the problem!!

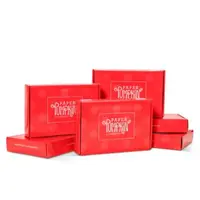
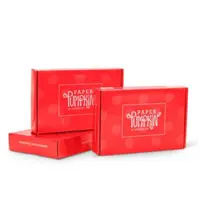
Did I forget to mention that the Paper Pumpkin kit has coordinating envelopes as well?  Once you are a Paper Pumpkin subscriber … you can purchase any past kits that are available. Plus … Pinterest is FULL of alternate designs!!


I really love the way this turned out. Did  you know that when you are a Paper Pumpkin subscriber, you can purchase past kits as well? So it’s never too late to start …  Click here to get your subscription started by August 10th for the August kit.

If you have earned Bonus Days Coupons last month … you can reap the rewards now!  Bonus Days coupon code that can be redeemed August 1–31. Your Coupon Codes were emailed to YOU … If you have questions, please contact me 🙂

There is still time to get in on the EXTRA, EXTRA! Promotion …

From July 1 until August 31, receive an additional $30 in product for free in your Starter Kit. So instead of $26 for free, you can get $56 in free product (and of course free shipping as always). That’s right! Choose $155 worth of product for $99 + tax!! And if that wasn’t awesome enough, a $10 coupon code will be gifted to you the following month to use towards an order by October 31st.

CLICK HERE FOR MORE INFORMATION

Let me know if you have any questions about the Paper Pumpkin or our Memories & More Card kits. They really do make creating easy.

Thank you for spending a part of your Sunday with me.

Have an great day!

PAPER PUMPKIN PRE-PAID SUBSCRIPTIONS ALSO AVAILABLE …

Bird Ballad Laser Cut Card

Hello Stampin’  Friends ~

Today I have a beautiful card to share with you that comes from the Bird Ballad Suite of products.  I will be using the pretty Bird Ballad Laser Cut Cards & Tin.  This would make a perfect gift for a stamping friend … or you could make up the cards and gift it complete to someone who doesn’t stamp. Or … Gift it to yourself, how fun would that be.

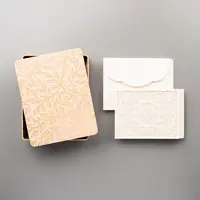
The Bird Ballad Laser-Cut Cards & Tin includes 18 lacy laser-cut cards with envelopes (Very Vanilla) and the lovely storage tin….

The card itself is simple to create since the base is already … just add a touch of color with the Petal Pink cardstock. To adhere I added a small amount of adhesive around the edges so it holds onto the laser cut card front.

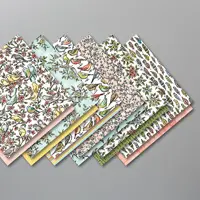
My next step was to cut out one of the pretty birds from the Bird Ballad designer series paper… and popped it up with the Mini Stampin’ Dimensionals. I stole my greeting from the Good Morning Magnolia stamp set and stamp the Hello in Mossy Meadow onto Pear Pizzazz cardstock and cut it out with the Stitched Shapes Framelits dies.

I traced the scallop on the envelope onto the designer paper and cut it out to add a pop of color onto the envelope. So there may be a little cutting involved but I see it as relaxing.

Pretty simple right? And totally gorgeous. You could use any suite in the catalog to compliment the Bird Ballad Laser Cut Cards, and if you want, gift it in the beautiful tin it comes in.

Thank you so much for joining me today.

Hope you have a beautiful day.


TODAY’S STAMPING SUPPLY LIST …


Which is your favorite bundle?

Hello Stampin’ Friends,

Let’s have a little fun today! I’m showcasing bundles from the new Annual Catalog and I would like to know which one is “YOUR” favorite … These are all bundles the I have posted my creations since the release of the catalog. If I haven’t featured your favorite, please let me know.  You can put your answers in the “Reply” box below.  Thank you!!


Lets begin …

Sailing Home Bundle 151066

The Sailing Home Bundle includes the Sailing Home Cling Stamp Set and the Smooth Sailing Dies. Whether you’re sailing home or going off to new adventures, the images and sentiments in the Sailing Home Stamp Set will inspire you on your journey.

Royal Peacock Bundle 151100

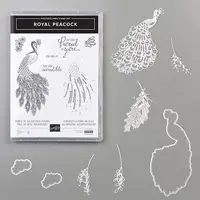
The Royal Peacock Bundle includes the Royal Peacock Photopolymer Stamp Set and the Detailed Peacock Dies. Wow! Just look at the peacock in the Royal Peacock Stamp Set—isn’t it divine? Imagine all the fun projects you’ll be able to create with it!


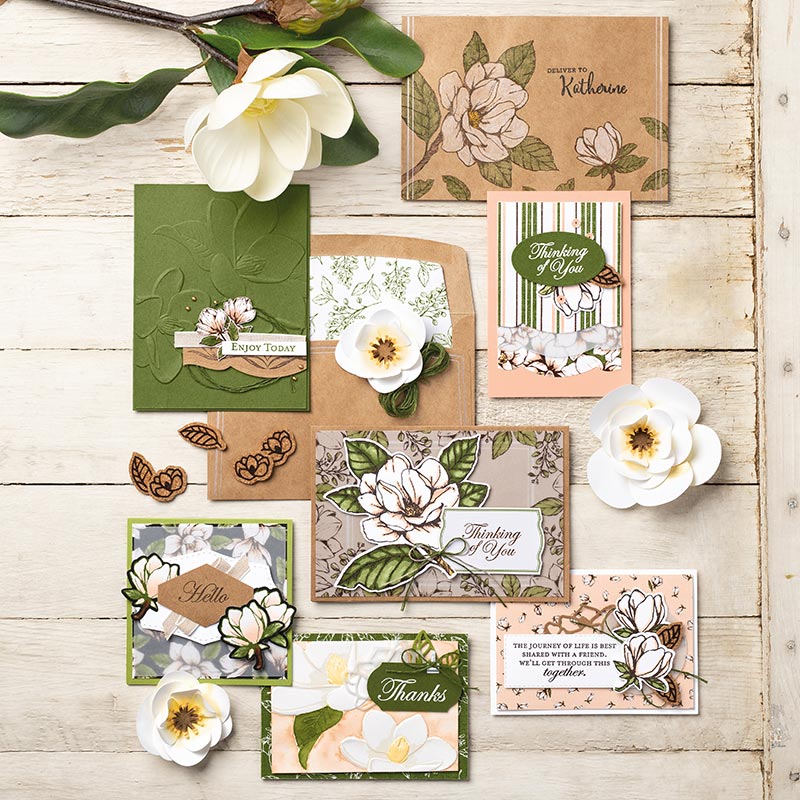
Good Morning Magnolia Bundle 151087

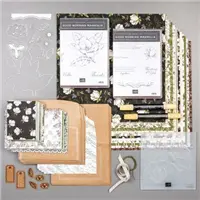
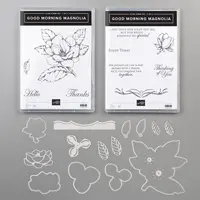
The Good Morning Magnolia Bundle includes the Good Morning Magnolia Cling Stamp Set and the Magnolia Memory Dies. The Good Morning Magnolia Stamp Set features a gorgeous magnolia for your wow projects!


Dino Days Bundle 151139

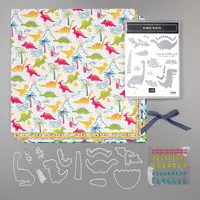
The Dino Days Bundle includes the Dino Days Photopolymer Stamp Set and the Dino Dies. The Dino Days Stamp Set is sure to be a favorite for kids (and the young at heart).

Free As A Bird Bundle 151123

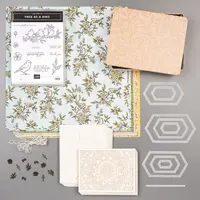
The Free As a Bird Bundle includes the Free As a Bird Cling Stamp Set and the Stitched Nested Labels Dies. Ooooh, the birds in the Free As A Bird Stamp Set are so cuuuute! Send them to all your friends because they deserve it.

These are only 5 of the 29 amazing bundles in the new Annual Catalog!  Please let me know what your favorite is, even if I have not showcased it today. There are many more in the catalog that I have to get my hands on yet!

Thanks for taking the time to check out my blog post today, and to vote!  I will be back tomorrow to share another special project created with the FREE AS A BIRD product suite.

Have a wonderful day! … Don’t forget to vote below!

Today’s Stamping Inspirations ….

The “Suite” Bundles gives you a coordinating selection of products with one simple purchase. It includes the stamp set and tool (punch or dies) bundle at 10% off plus one each of the other items shown. 


Ends Today …

Hello Stampin’ Friends ~

Just a quick reminder …

Today is the Final Day for Bonus Days ….

Bonus Days are here! And that means it’s time for you to start earning coupon codes to redeem in August!

For every $50 you spend July 1–31 (before shipping and tax), earn a $5 Bonus Days coupon code that can be redeemed August 1–31. Contact me for more information or if you have any questions regarding the Bonus Days Coupon codes / redemption.

Don’t forget our … EXTRA, EXTRA! Promotion …

From July 1 until August 31, receive an additional $30 in product for free in your Starter Kit. So instead of $26 for free, you can get $56 in free product (and of course free shipping as always). That’s right! Choose $155 worth of product for $99 + tax!! And if that wasn’t awesome enough, a $10 coupon code will be gifted to you the following month to use towards an order by October 31st.

Thank you for stopping by today, let me know if you have any questions withBonus Days or the Extra, Extra promotion, I’m here to help.

Have an awesome day ~