Hello Stampin’ Friends ~
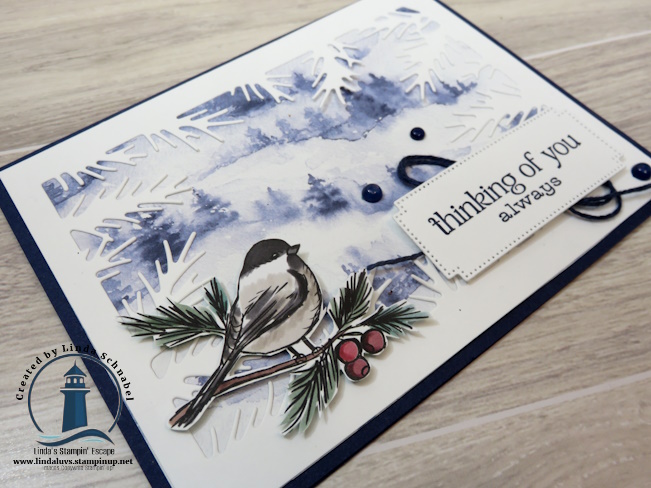
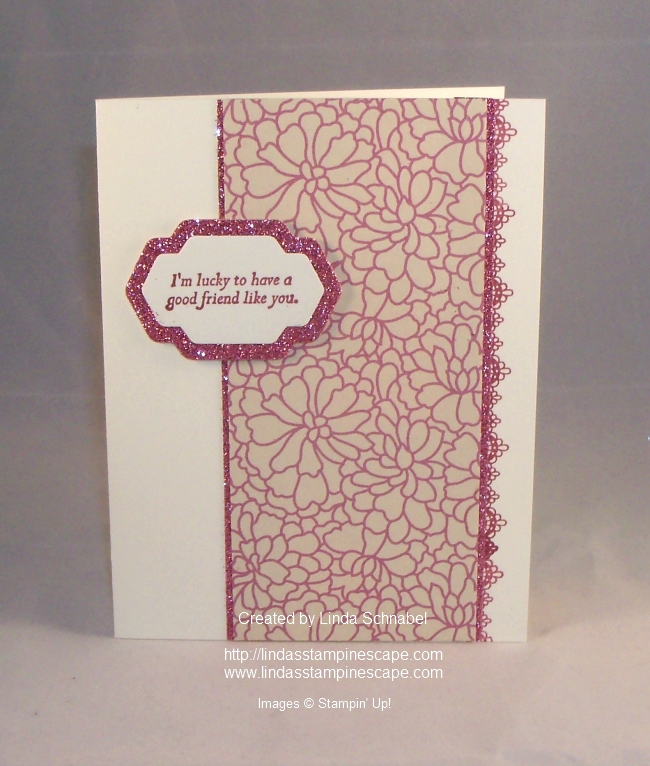
There’s something so peaceful about a quiet moment by the water… and today’s card captures that feeling beautifully using the Waterside Retreat Suite Collection featuring the Relaxing Waterside Bundle. If you’ve ever dreamed of escaping to a lakeside getaway—where the breeze is soft, the water gently rolls in, and time seems to slow down—this suite brings that experience right into your craft room.
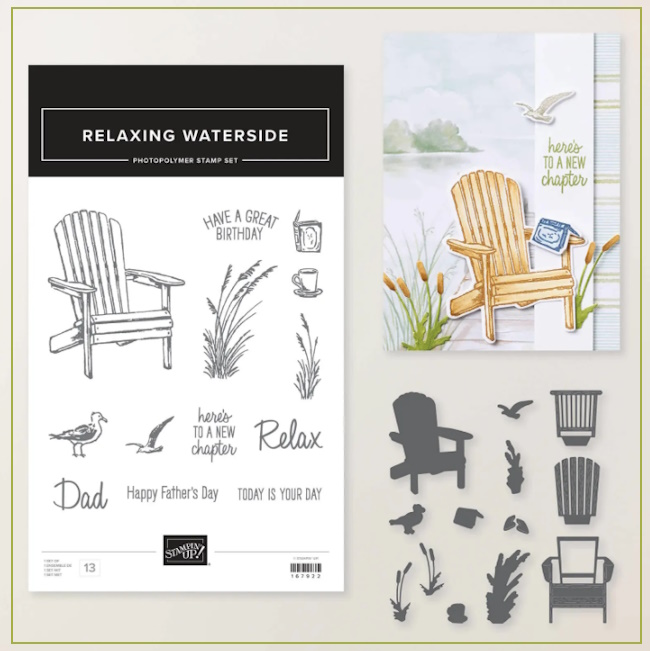
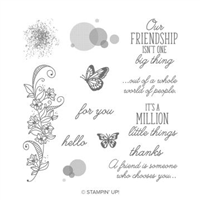
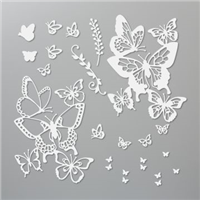
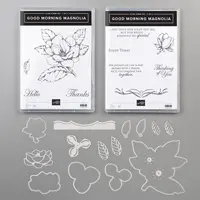
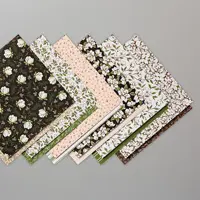
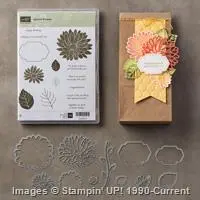
The Waterside Retreat Suite is filled with everything you need to create calming, scenic cards with ease. From the sun-drenched Designer Series Paper to the detailed stamps and coordinating dies, each piece works together effortlessly. You’ll find images of lounge chairs, sailboats, books, and more—perfect for creating those serene, storybook moments. And let’s not forget the charming little anchor embellishments that add just the right finishing touch!
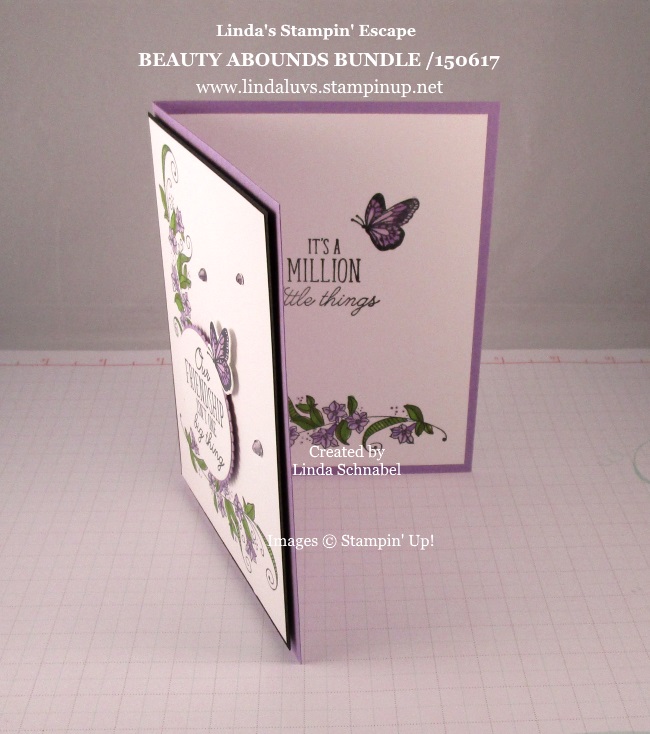
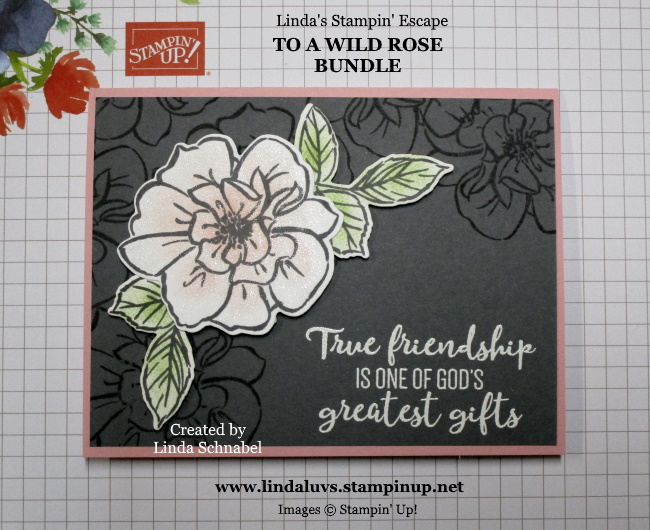
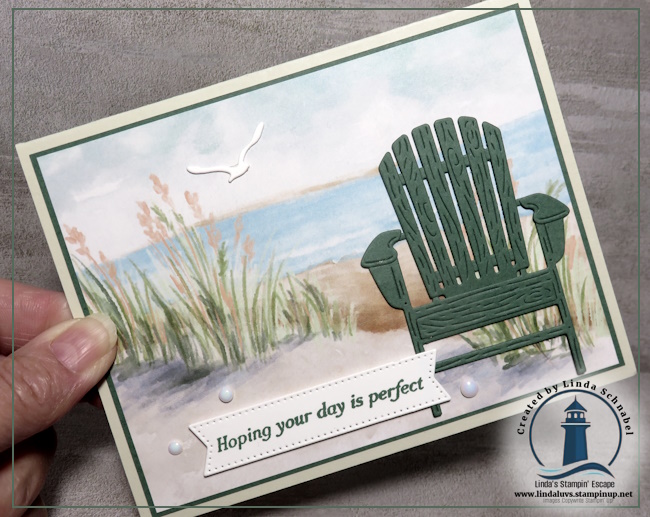
Today’s card really lets the Designer Series Paper shine. The soft shoreline scene sets the stage, creating a tranquil background that instantly draws you in. I added one of my absolute favorite dies from this suite—the Adirondack chair—and placed it front and center. Doesn’t it just invite you to sit down, relax, and take in the view? The added texture and dimension of the die really bring the whole scene to life, while still keeping the card simple and easy to recreate.
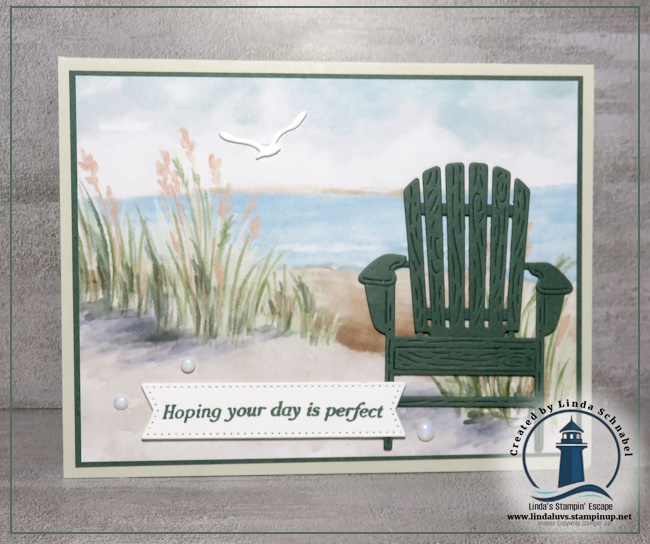
This is one of those designs that looks detailed and impressive, yet comes together quickly—perfect for when you want to create something beautiful without a lot of fuss. Whether you’re making a card for a friend, a retirement, or simply to send a little calm and encouragement, this suite makes it so easy to tell a story through your crafting.
If you’re ready to bring a little lakeside calm into your stamping, the Waterside Retreat Suite is one you’ll definitely want to add to your collection. It’s perfect for creating those peaceful, heartfelt cards that your friends and family will treasure. It’s in the NEW Catalog and will be available on Tuesday, May 5th … get ready!
Thank you so much for stopping by today… I always love sharing a little creative escape with you!
Happy Stamping,
Linda 💙
🚨 FLASH SALE ALERT! 🚨
Stampin’ Friends… this is one you do NOT want to miss!
On Saturday, May 2 ONLY, celebrate National Scrapbooking Day with 20% OFF select memory keeping products 🎉
Whether you’ve been thinking about starting a scrapbook, catching up on memories, or just stocking up on your favorite supplies… THIS is your moment.
But don’t wait… ⏰ this sale lasts just 24 hours and then it’s gone!
Tell me… what’s on YOUR wishlist? 💛