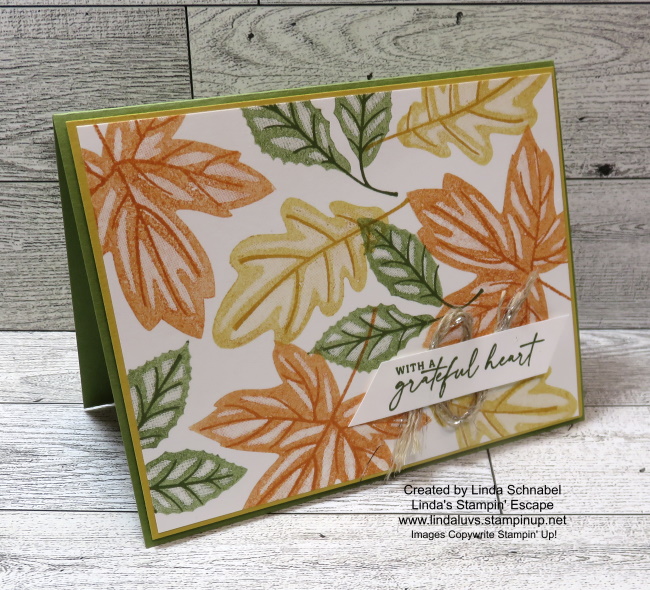
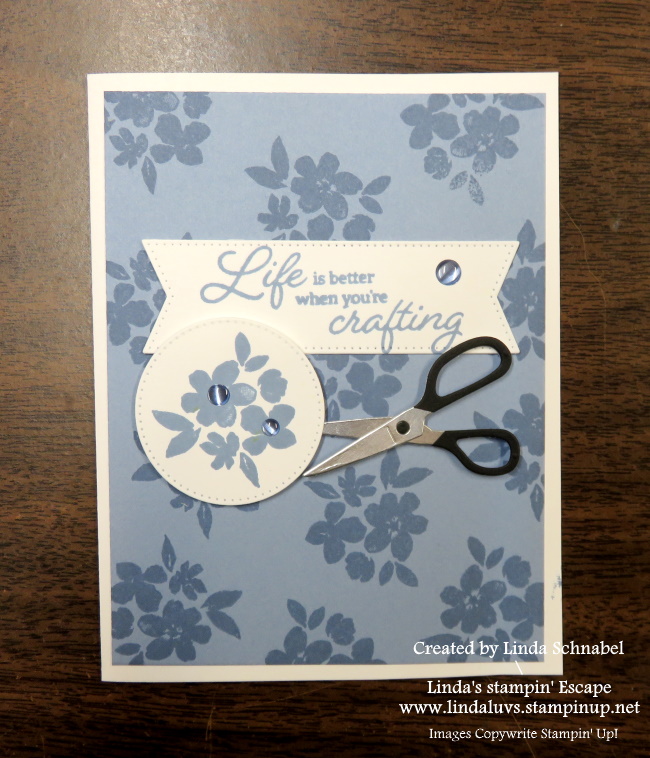
Hello Stampin’ Friends ~
Today, we’re diving into the wonderful world of water-based ink and a technique that’s as fun as it is beautiful: the Dragging technique. We’ll be using the Gorgeous Garden dies to cut out our inked creations & add a touch of elegance. Get ready for some crafty goodness we explore the ease and creativity of this technique!
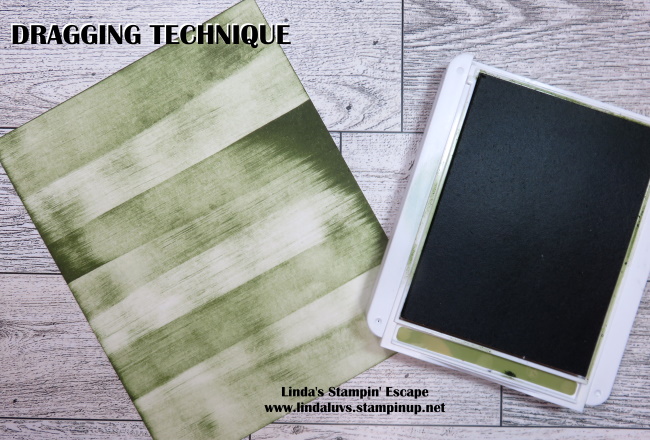
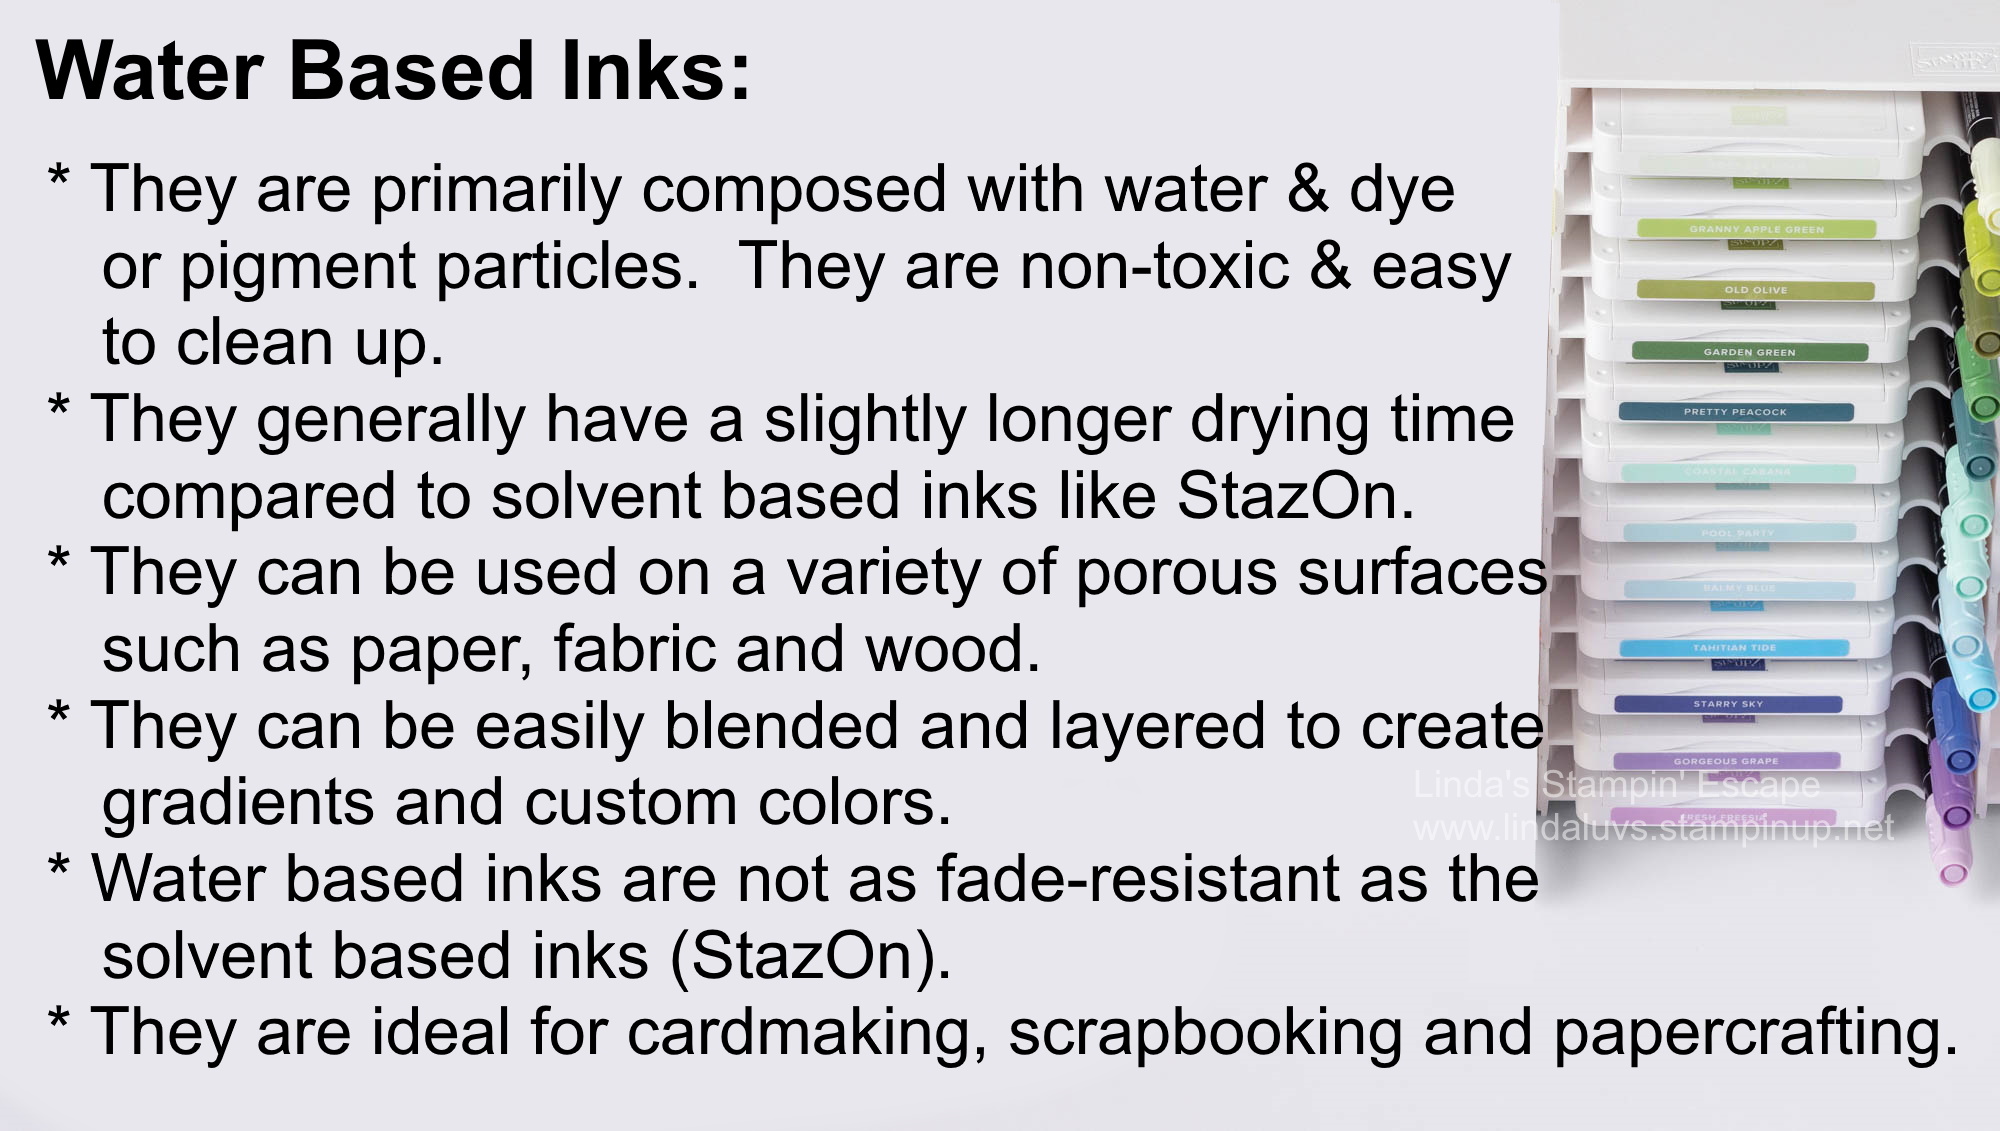
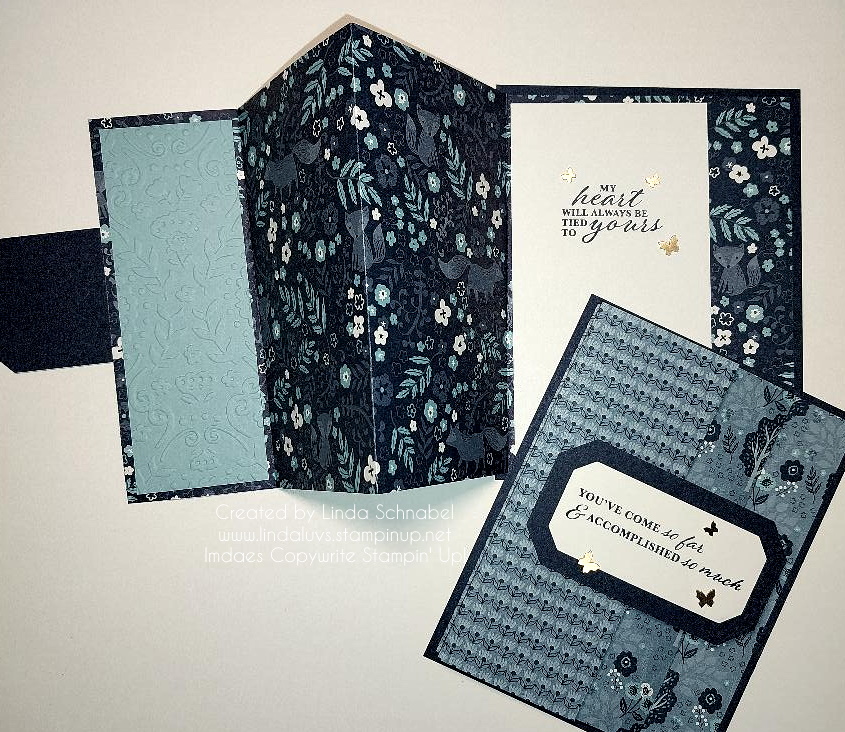
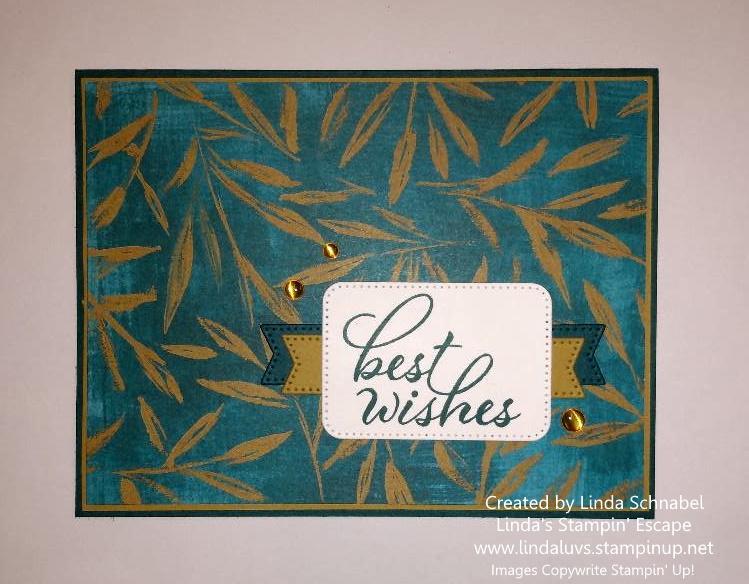
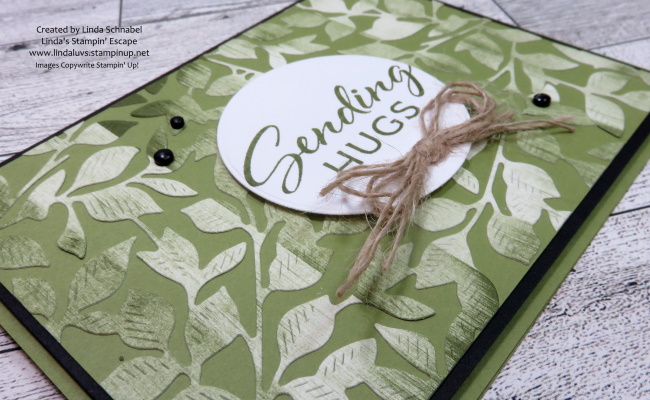
The dragging technique is a simple yet versatile method that involves dragging your water-based ink across the surface of your cardstock for a stunning effect. You can use a straight drag motion as shown above, or you can put your creative juices into it and drag is several different directions.
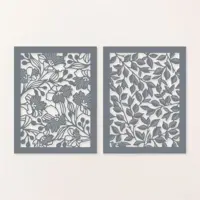
Once your inked background is dry, it’s time to break out the Gorgeous Garden dies. Carefully align them over your masterpiece and run them through your die-cutting machine. Voilà! You’ve just turned your inked creation into a work of art.
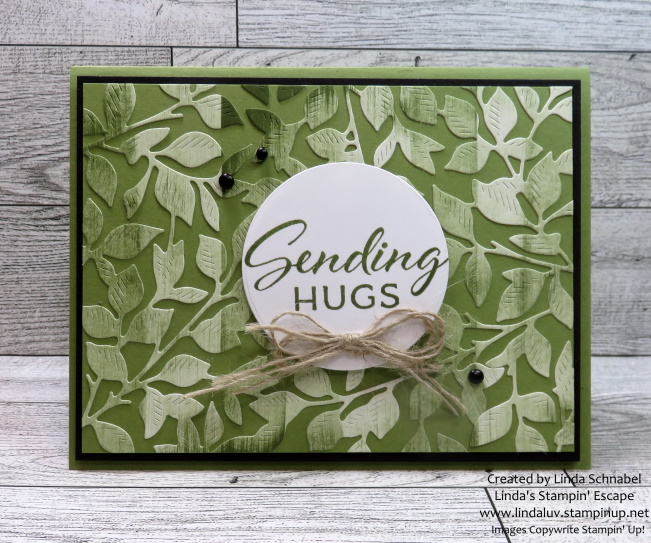
Next you’ll want to create that layered look by simply gluing your Gorgeous Garden die cut onto a piece of Old Olive cardstock … Let Dry and trim down to 5″ x 3-3/4″. Layer with a Basic Black mat measuring 5-1/4″ x 4″. Using dimensionals, attach to Old Olive cardbase.

Let’s not forget the greeting! Use the Layer Leaves stamp set to stamp a heartfelt message, and then use the Stylish Shapes dies to give it shape. Time to use up the left over Threaded Twine that we used on our last card … It’s like giving your project a little bowtie – classy and fun!
The twine also reflects the “natural look” that blends well with the leaves, and adds so much texture and dimension to your card. Pop this up with our Stampin’ Dimensionals. Don’t forget to embellish … I used the Classic Matte Dots in Black to pull out the color of my mat. Clever!
Crafting should always be an adventure, and the dragging technique with water-based ink proves just that. Whether you’re a seasoned pro or a newbie in the crafting world, this technique offers endless possibilities for creativity. So, grab your supplies, unleash your inner artist, and let your imagination run wild with water-based ink and the Gorgeous Garden dies.
Thank you for hanging out with me today … have fun!