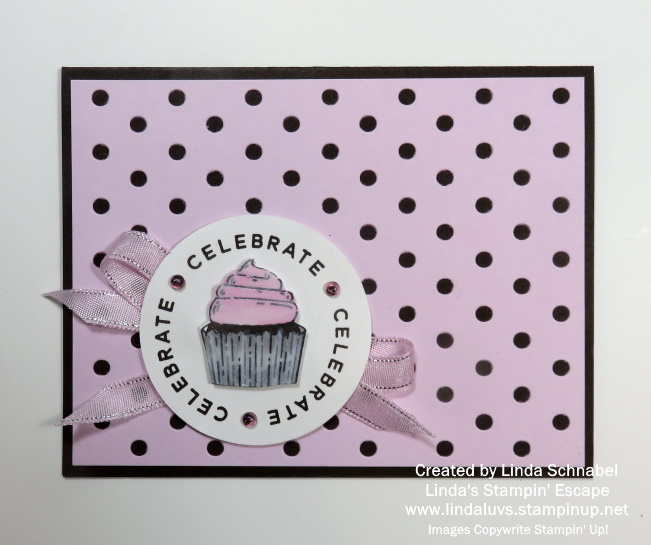
Hello Stampin’ Friends ~
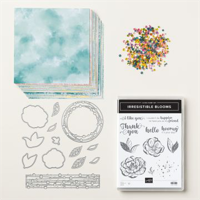
Today I have 3 cards I’d like to share with you from the beautiful Fresh As A Daisy Designer Series Paper. The sheet that I am using was designed for you to create many different cards!! You’ll see how easy it is to create the pretty cards in no time at all … plus you’ll be introduced to some of the NEW colors.
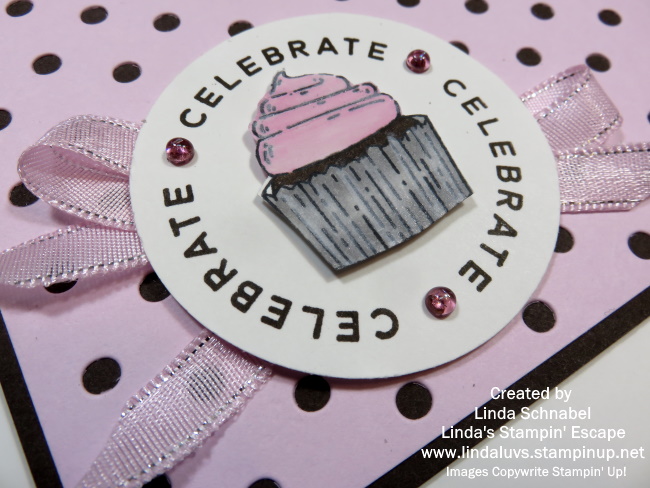
Let me start with the new Bubble Bath (pink) …
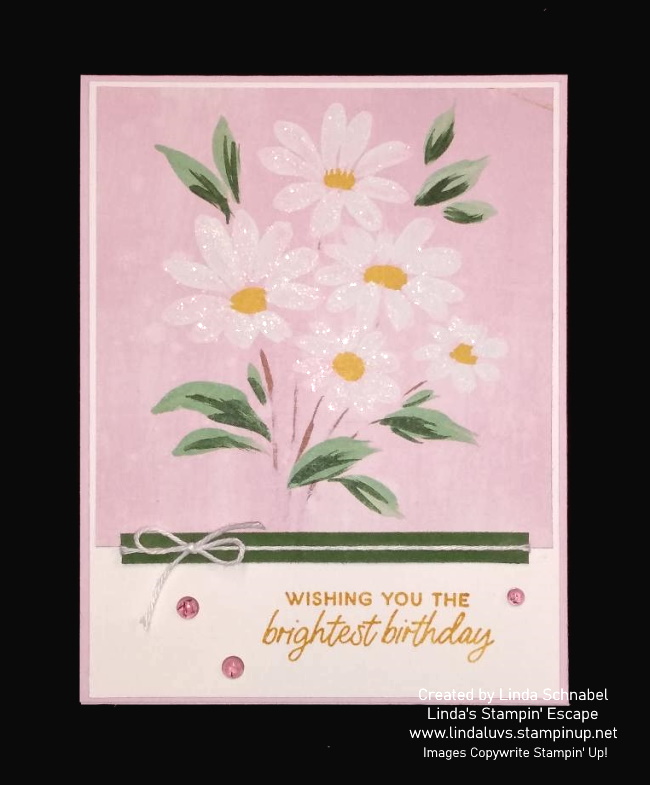
The daisies cut to 4″ x 4″ from the sheet and was adhered to a piece of 4-1/8″ x 5-3/8″ Basic White. Our base is 11″ x 4-1/4″ then scored and folded at 5-1/2″. I used a piece of Garden Green scrap for a pop of color and tied a pretty little bow from White Bakers twine. I then stamped my greeting in Crushed Curry to pull that color from the flowers, and added 3 Tinsel Gems (4 pack) that are “Berry Burst” color but looked great on my card. I finished it off with some Wink of Stella on the White daisy petals.
My second card highlights the new Wild Wheat ….

The flower piece cuts to 3-3/4″ x 5-1/4″ and has an Early Espresso mat that measures 3-7/8″ x 5-3/8″ … I then added a strip of Wild Wheat to each side so it stretched out to 4-1/8″ inch. The card front was then layered onto the Basic White base that measures 5-1/2″ x 8-1/2″ then scored and folded at 4-1/4″. Using a piece of scrap, I stamped my greeting in Early Espresso and snipped the ends off at an angle to create a different look.
My third and last card for the day highlights the NEW Copper Clay and Boho Blue…
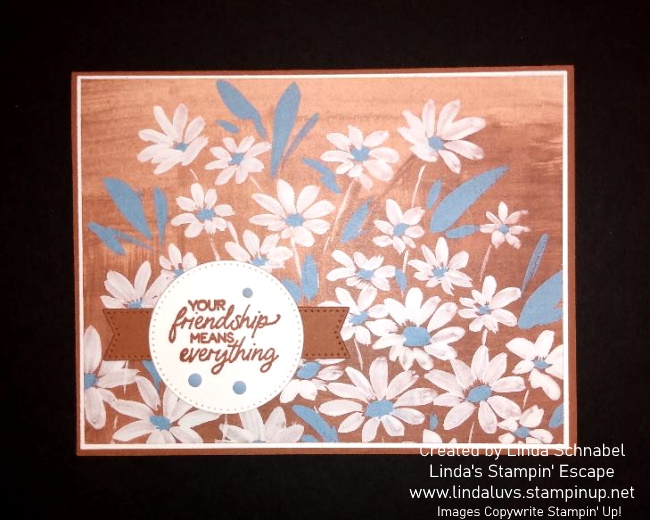
The daisies cut from our designer paper measure 4″ x 5-1/4″ and matted with Basic White measuring 4-1/8″ x 5-3/8″ … this is secured to the Copper Clay base that measures 5-1/2″ x 8-1/2″ then scored and folded at 4-1/4″. I used the Stylish Shapes to cut out my circle for the greeting (stamped in Copper Clay) and the Copper Clay cardstock to die cut the banner. I embellised with the Adhesive Backed Solid Gems in Boho Blue.
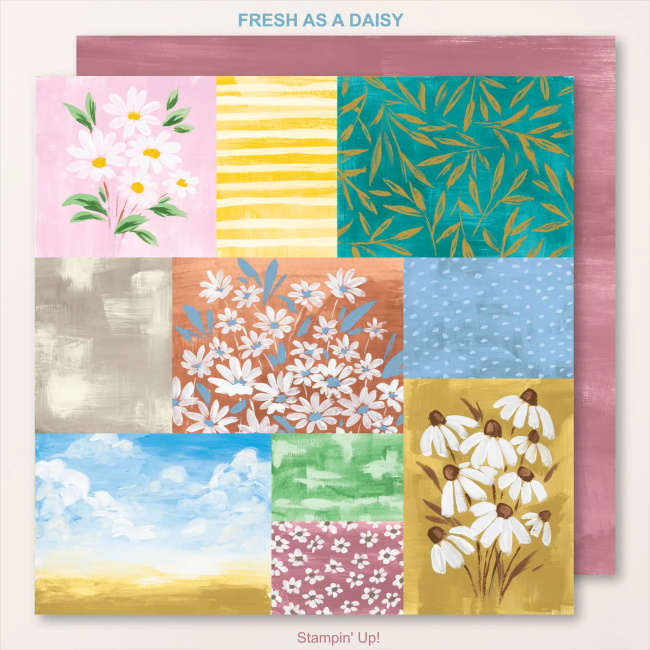
I hope you enjoyed and felt inspired by the beautiful “Fresh As A Daisy” Designer Paper … and this is only from one sheet! Thank you for taking time out of your Sunday to visit my blog.
Enjoy this beautiful day ~