Hello Stampin’ Friends,
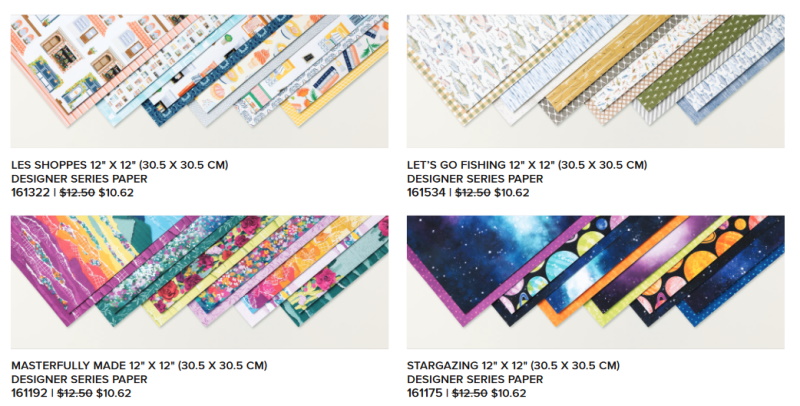
Today I’m thrilled to share Stampin’ Up!s fun new suite; Stargazing! You’ll find in our 2023-2024 Annual Catalog on pages 86 & 87. This suite blew my mind and has me over the moon with excitement. Not my first pick out of the catalog but I bought it on a whim and soooo happy I did. I’m amazed at how much fun I’m having creating with a suite I didn’t even know I wanted!! My grandkids are going to LOVE these …
Let’s watch the video so I can show you all the different pieces this suite has to offer and how I used them …
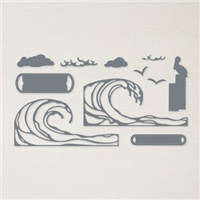
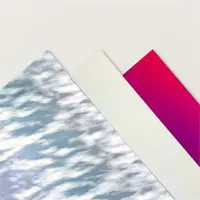
For this card I used Pumpkin Pie for my card base, Basic White, the Stargazing Designer paper and the Holographic Specialty Paper. The background was cut directly from the designer paper, only one planet was die cut.

Measurements:
- Cardbase: 8-1/2″ x 5-1/2″ scored and folded at 4-1/4″
- Holographic paper: 4″ x 5-1/4″
- Designer Paper: 3-3/4″ x 5″
I used a 4″ x 5-1/4″ sheet of Basic White to stamp both the Astronaut and the Space Shuttle (as I call them) I mentioned in the video that I stamped several at a time, and then die cut them all. I did the same for the planets on both card #1 and card #2. It’s so much easier to just keep making cards when the basics are all ready for you!
The dimensions for Card #2 are exactly the same as our first card! My card base is Berry Burst and I used the funky holographic design (it has a pattern). Don’t forget to cut some stars out of the center of your holographic paper … want to use a much as you can, and no one will see it anyway.

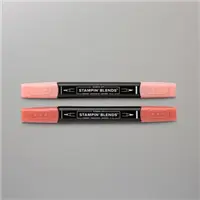
I colored the shuttle with the LIGHT Night of Navy Stampin’ Blend and then highlighted it with Wink of Stella … that gives it the blueish silvery tone! Looks cool right!
Hope you enjoyed the video and the cards … If you would like to purchase this suite / bundle, or the papers, I have the links down below for you. The Stargazing Designer paper is on sale through 11:58 pm MT Friday, June 30th.
Thank you for joining me today and hanging out for a while. Have yourself a good day!


JUNE 2023 DESIGNER SERIES PAPER SALE
Through the month of June you can enjoy a 15% discount on select Designer Series Paper packs from our new 2023–2024 Annual Catalog and Online Exclusives! This is a great time to stock up and save on gorgeous paper so you have artistic and versatile paper designs on hand for your next project!

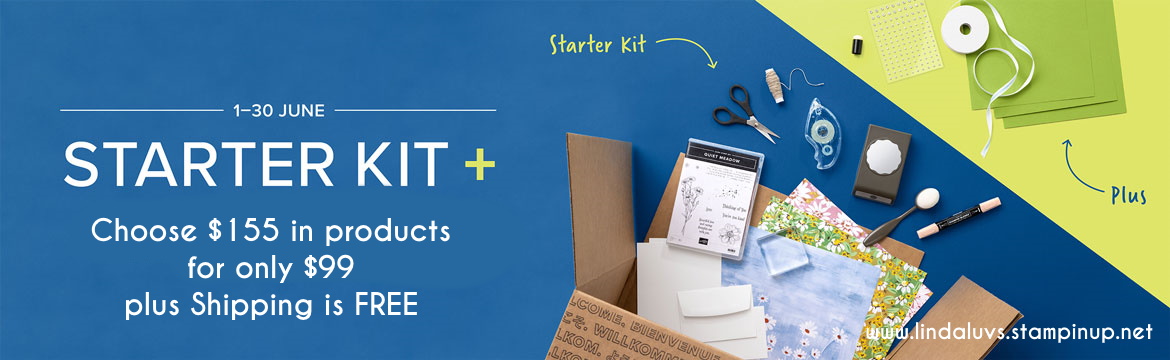
JUNE 2023 STARTER KIT+ SPECIAL
June is a fabulous time to join Stampin’ Up! Those who sign up/purchase the Starter Kit between June 1 and June 30 can get up to $125 USD $155 USD worth of products for only $99 USD + free business supplies + free shipping + all the fun being a part of Stampin’ Up!