Hello Stampin’ Friends,
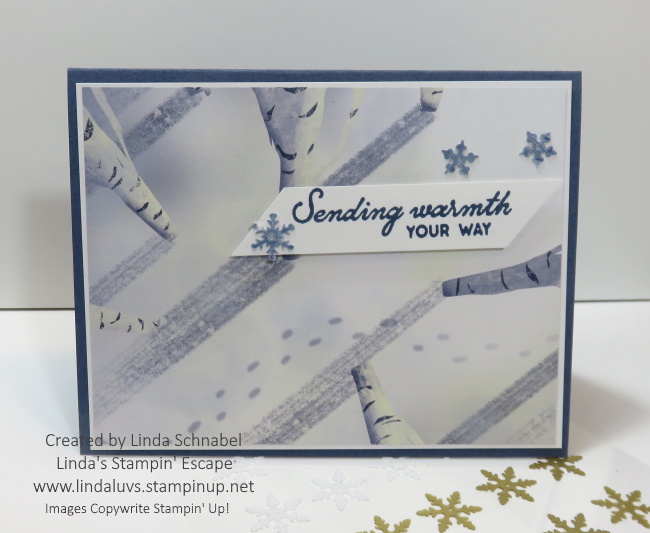
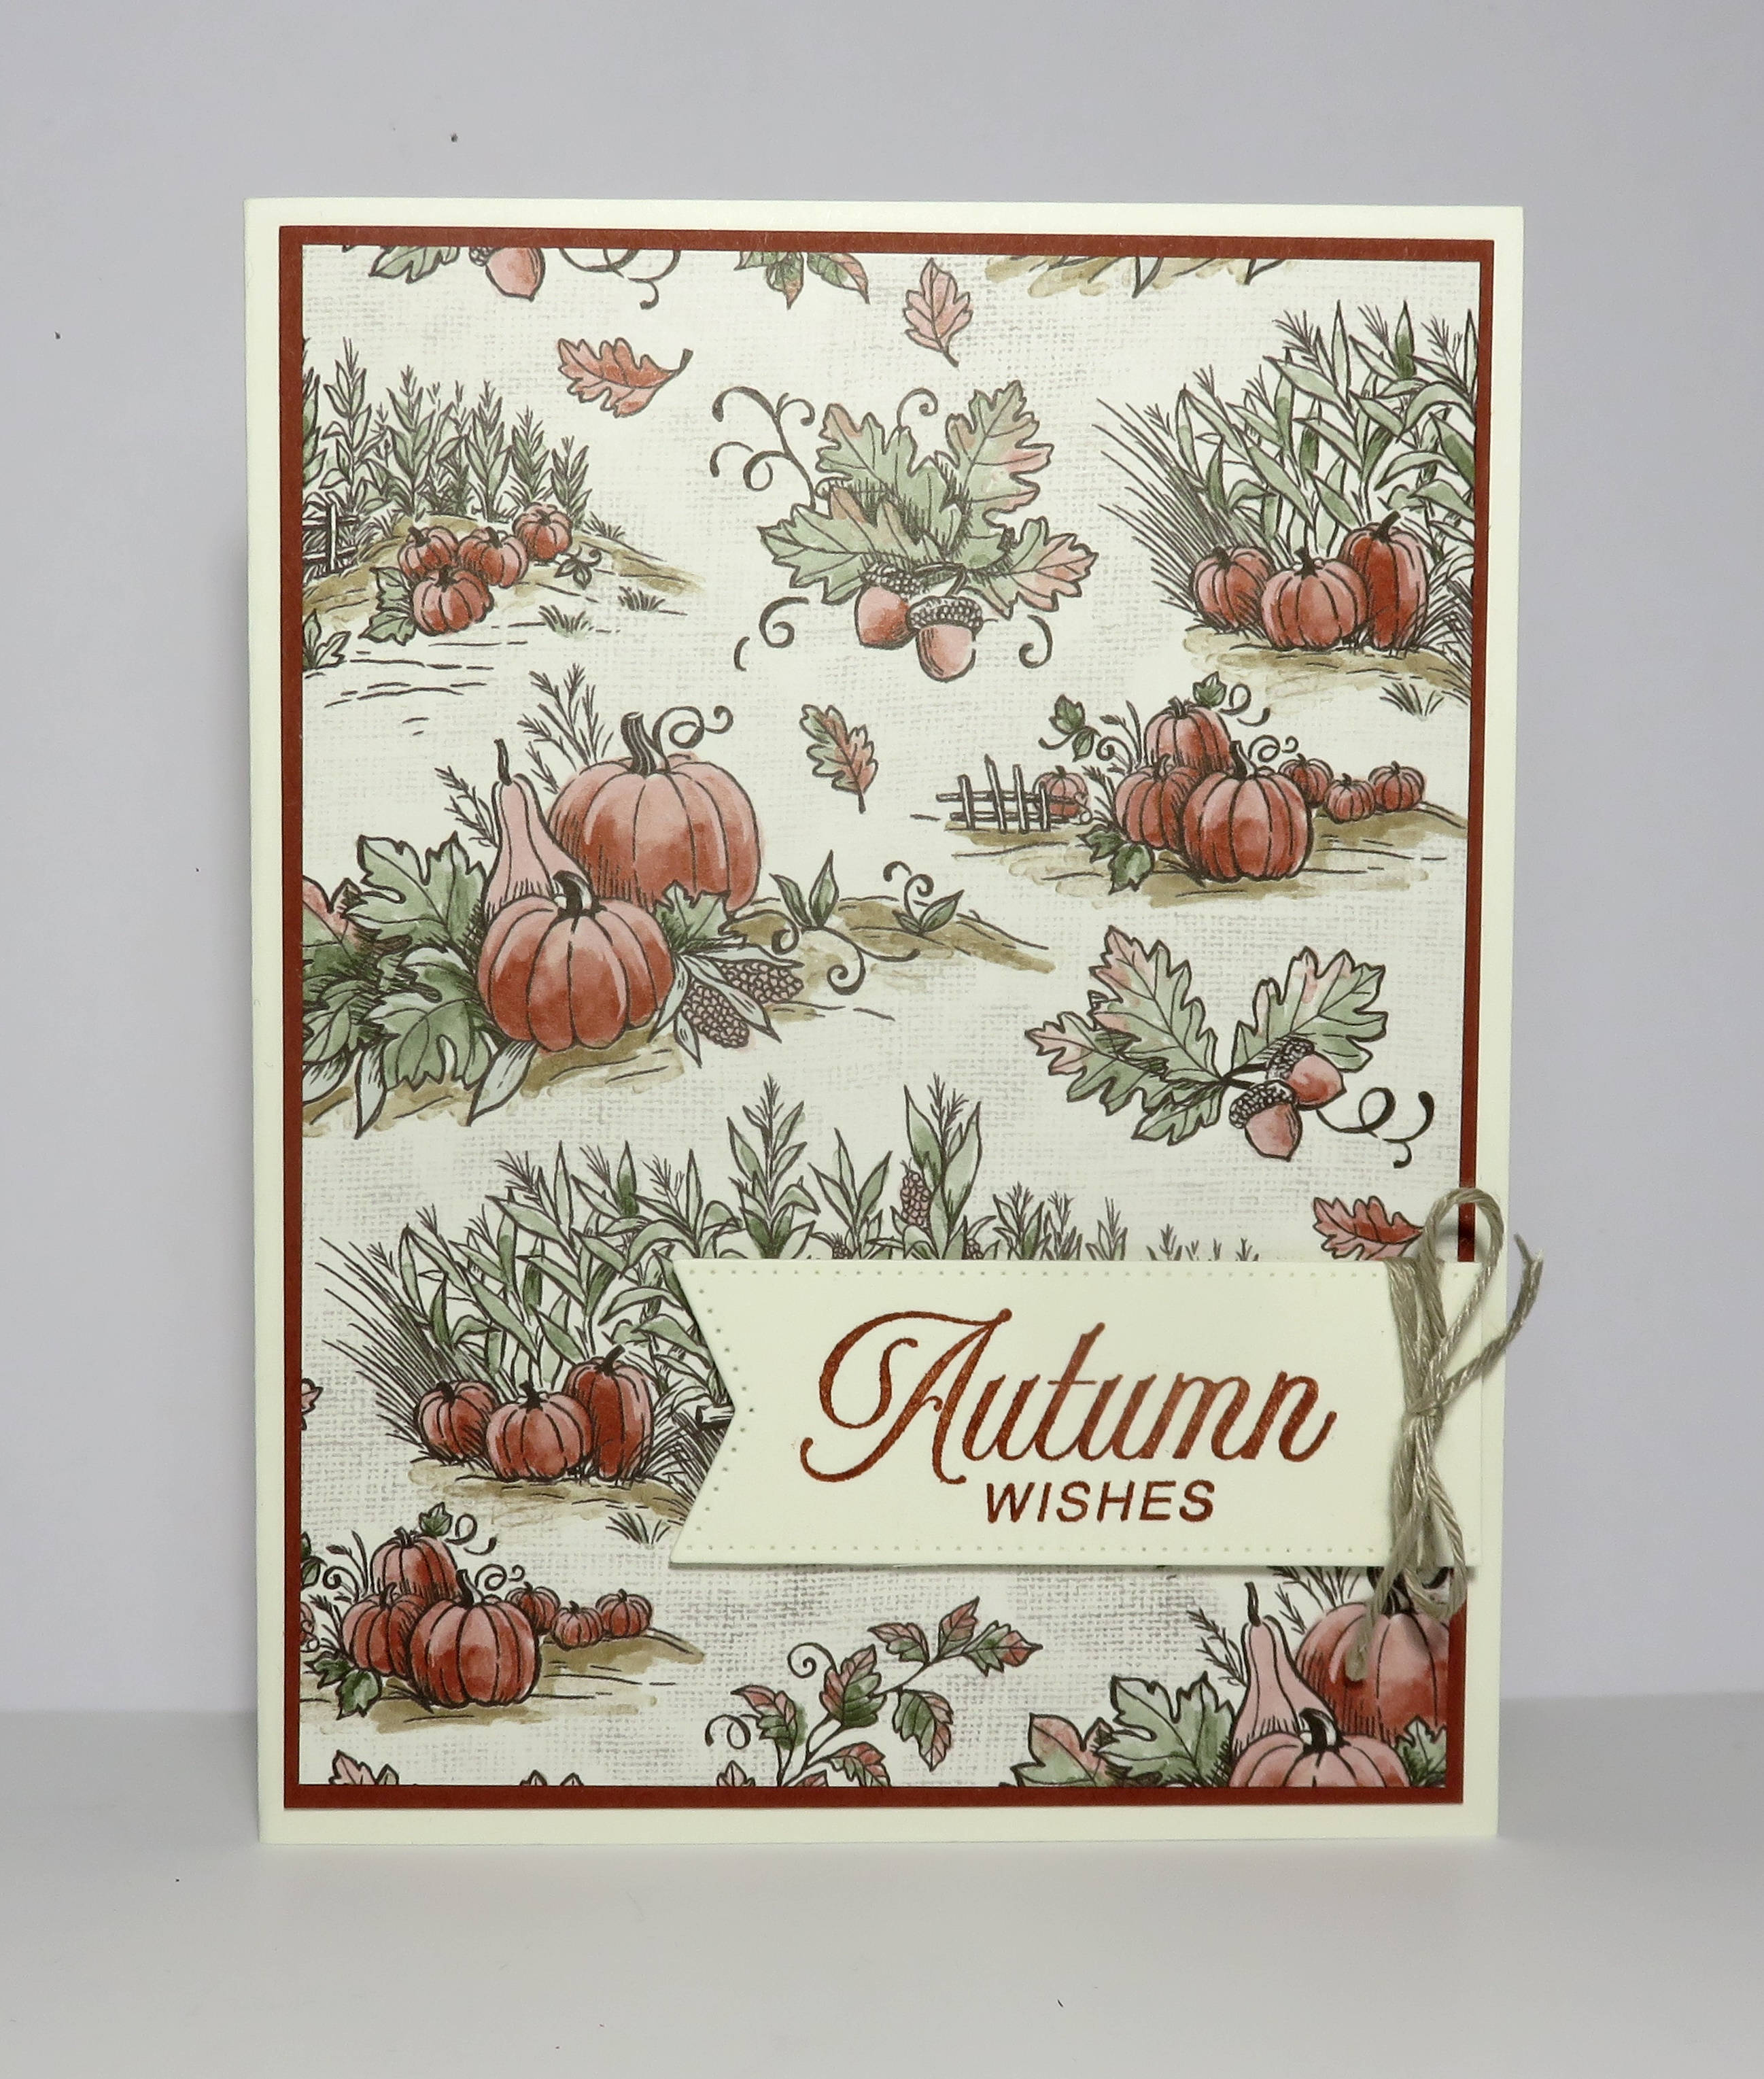
Bring an air of sophistication to your fall crafting with the Autumn Toile 12″ x 12″ Designer Series Paper. My Simply Sunday post is the perfect time to showcase how easy it can be to create beautiful cards when you have paper this stunning. With its intricate imagery of trees, pumpkins, animals, and more, this collection instantly elevates any project. Inspired by traditional toile wallpaper, each sheet carries a timeless elegance that’s both classic and seasonal—making it ideal for harvest gatherings, Thanksgiving greetings, or simply sending a touch of autumn warmth to someone special.

For today’s cards, I let the Autumn Toile Designer Series Paper take center stage. The detailed patterns are so striking that little else is needed—just a coordinating sentiment or die-cut accent, and you have a card that looks like it took hours to make. This is what I love about Simply Sunday projects: minimal effort, maximum beauty. The paper practically does the work for you, allowing you to spend more time enjoying the creative process and less time fussing over details. Whether you’re a beginner or a seasoned crafter, these designs open the door to quick, elegant cards that feel sophisticated and heartfelt.
If you’ve been searching for a way to refresh your fall crafting, the Autumn Toile Designer Series Paper is a must-have. Its timeless patterns pair beautifully with the season and add a touch of elegance that’s hard to resist. Imagine how lovely your handmade cards, scrapbook layouts, or even 3D projects will look when dressed in these graceful designs. Don’t wait—add this stunning paper to your collection today and bring the warmth and elegance of Autumn Toile to all of your harvest-season creations.
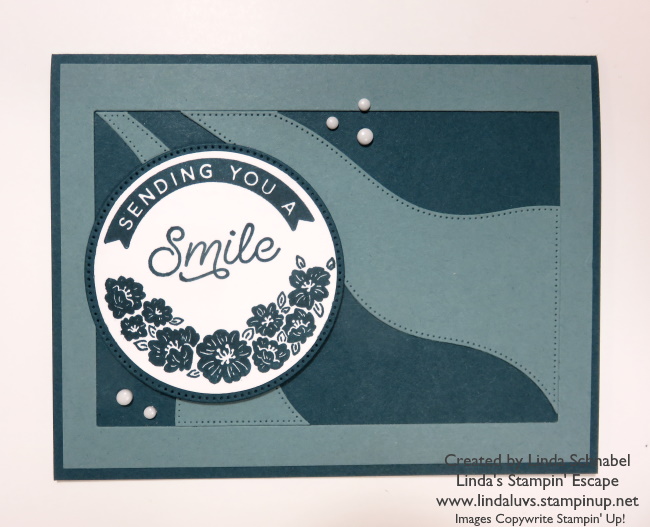
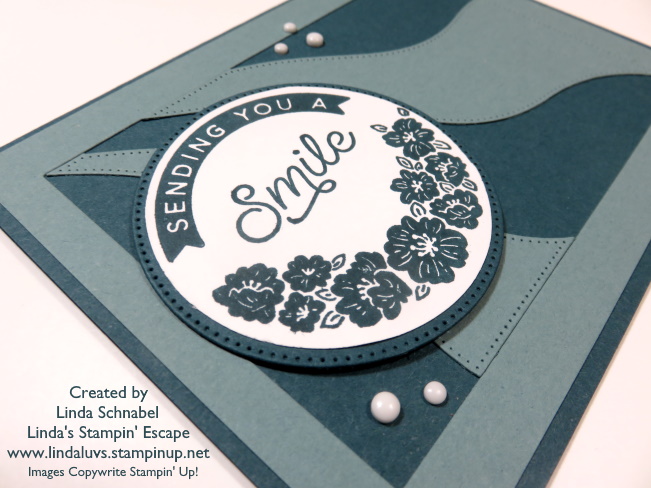
Thank you for checking out these quick -n- easy cards today.
Enjoy your Sunday, Linda