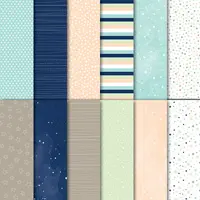
Two for Tuesday: Snowflake Showcase

Hello Stampin’ Friends ~

I’m thrilled to show you this amazing new product suite …

Today I’ll be sharing 2 beautiful cards with you along with pictures of the product so you can see for yourself how amazing this is.

Snowflake Showcase isn’t just for winter, these products are perfect for year round. Don’t believe me? Shannon West, from the Riverton home office, is here to show you how Snowflake Showcase is perfect for everyone.

Amazing right!! First card I have is from the Snow is Glistening stamp set (149742) …

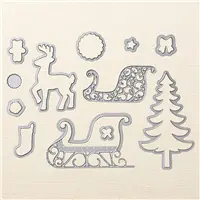
You can’t have this amazing stamp set without the coordinating dies, which by the way, coordinate with BOTH stamp sets!!
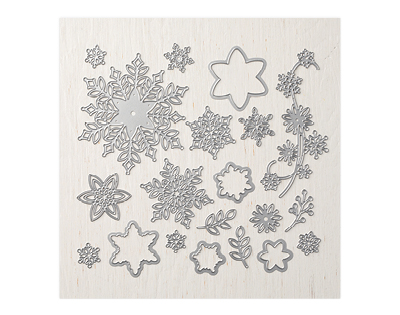
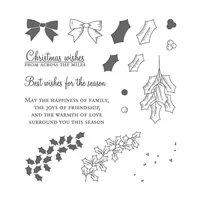
The second card is from the Happiness Surrounds Stamp Set (149744) …

I am always looking for stamps and die sets that work for more than one season, it just makes sense and a better investment. I also fell for the fonts … they are fun and readable greetings and salutations.

And, if you’re like me, you like to grab up those coordinating embellishments. The cute Snowflake Trinkets are simply lovely …

The Snowflake Trinkets are a great way to embellish your cards, or your ears, neck … are you catching this? They are so cute … why not make jewelry out of them. Embellish a gift package with them, Christmas is just around the corner!!

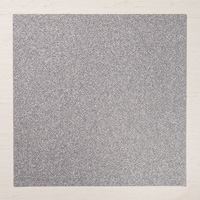
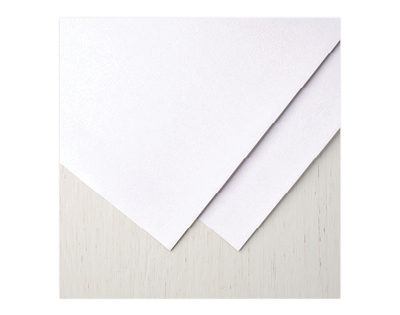
AND … if you are a paper junkie like I am (Three sheets short of being declared a hoarder – LOL) You are simply going to FLIP over this new White Velvet Paper!! It is so cool and of course, velveteen to the touch.
I feel head over heels for the Snowflake Showcase and will be introducing it to my Retreat Attendee’s this weekend, but don’t feel left out, I have a special card to share with you tomorrow!!

I will also be hosting a class or two, I just need to figure out the details, so keep your eyes open and make sure you are on my mailing list. YOU will NOT want to miss this one!!  This showcase will be available to order November 1st through the 30th or while supplies last.

Thank you so much for joining me this Tuesday, be sure to stop back tomorrow to see what I did this this set so far.

Have a wonderful day ~

Star of Wonder …

Hello Stampin’ Friends ~

As I prepare for my upcoming Holiday Stampin’ Retreat in two weeks, I reflect on past retreat and how many wonderful people have joined us, the creative projects we have done and the fun!

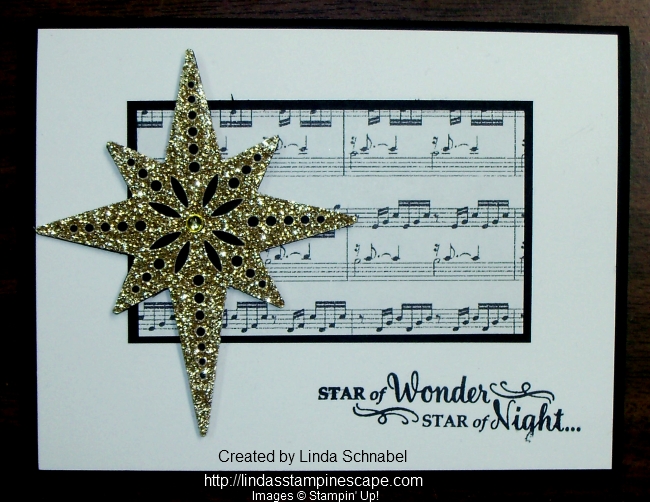
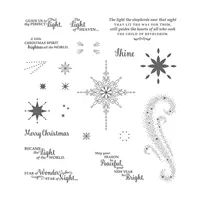
We’ve had some amazing cards and last year’s Holiday Catalog was packed with some amazing stamp sets. Yesterday I shared some beautiful cards from the Snowflake Sentiments stamp set and today I have one from the stunning Star of Light stamp set.

We created several cards using this amazing stamp set but this was one of my favorites. Simple in layout but it speaks loudly in its design.  The musical notes are a tie in to the verse which almost plays in my mind like a beautiful Christmas song.

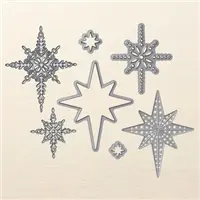
The star is die cut from the Starlight Thinlits from Gold Glimmer paper, first the detailed die in the gold and then the solid die in Basic Black.

This may not be in the Holiday Catalog but you’ll see there are amazing Holiday stamps in our Annual Catalog as well.

Hope you enjoyed todays little flashback.

Enjoy your day ~

TODAY’S STAMPIN’ SUPPLY LIST …


Christmas Beauty and Joy

Hello Stampin’ Friends ~

Did you enjoy your weekend? I hope so. I enjoyed a wonderful group of ladies who joined me for a Stamparatus Class! It is always fun to stamp with others … plus there is a touch of free therapy!  lol

Today I’m bringing you a touch of the holidays … a little Christmas.  While you’re looking around for some inspiration for your Christmas cards this year, don’t forget the Annual Catalog. We have a few of the most popular sets from last years Holiday Catalog and some brand new ones, like Stylish Christmas on page 101.

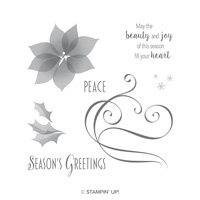
The poinsettia in this stamp set is so elegant … the soft swirls and the holly leaves are paired with some beautiful sentiments.  These are the new distinktive stamps. They are made of the same premium rubber as our wood-mount stamps and have deeply etched images so you get a superior stamped impression each time.

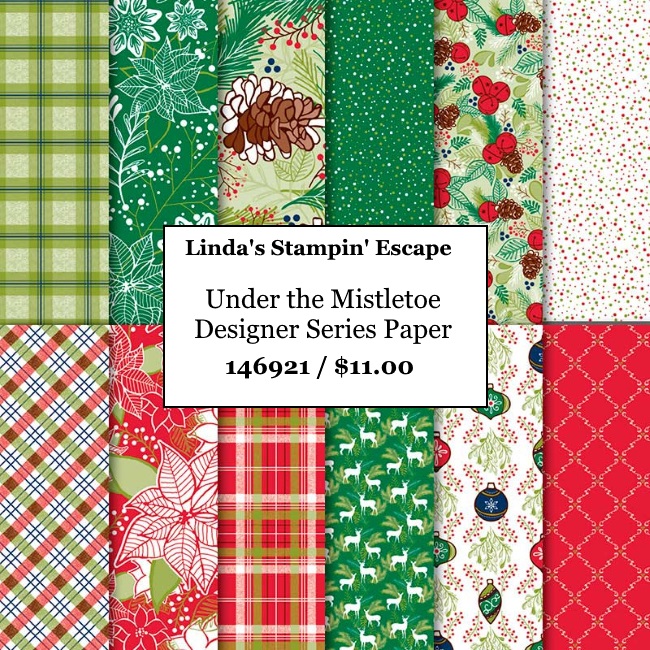
The “pretty paper” I used as my background also came out of the Annual Catalog (page 189) called “Under the Mistletoe”.  I love the festive, traditional, dynamic patterns for your holiday projects. You are able to create so many different styles with this paper.

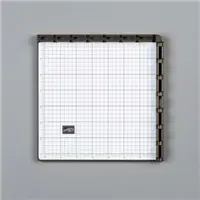
Today’s card may have a simple layout but not everyone likes the “putsy” cards … so if you like these supplies and layout, just add the Stamparatus … you can have your holiday cards done in no time at all.

Please let me know if you have questions about the Stamparatus or the project I shared today. I’m here to help.

Thank you so much for stopping by today.

Enjoy your day ~

TODAY’S STAMPIN’ SUPPLY LIST … All your supplies can be found in the annual catalog!


Holidays Edged in Gold …

Hello Stampin’ Friends ~

I hope you enjoyed your weekend and my Simply Sunday post … You will notice that todays card has the same basic layout as yesterdays card but by stepping it up by adding an additional product, it will change the entire look of the card. WOW!!

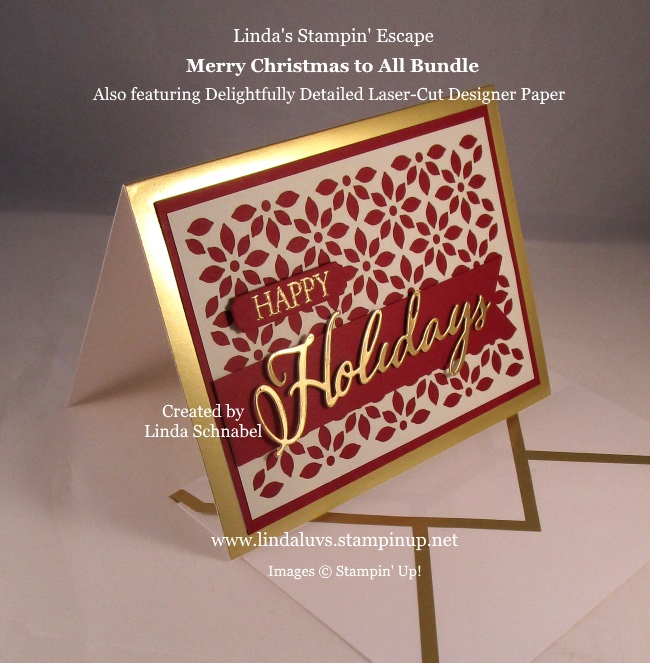
So in they style of keepin’ it simple, I am still using the Gold Foil-Edged cards, envelopes, and the Merry Christmas to All Bundle with the Gold Foil Sheets, BUT instead of the Vanilla cardstock … I’m using Cherry Cobbler cut to the 5″ x 3-3/4″ card front …

WOW …  is what the stunning Delightfully Detailed Laser-Cut Designer paper does to your card when you add it to your card. You know, this would be pretty over the Vanilla paper too! Want to know something else amazing about this designer paper? It’s Whisper White on one side and Very Vanilla on the other … how cool is that!?

This delicately detailed laser-cut sheets can easily be cut apart and used as accents on card fronts. So pretty and so much fun, I know you’ll think of amazing cards with this paper… just switch out colors and switch out your greetings and you’ll be set for any occasion … oh, weddings would be pretty too!

I did put a banner on this card to highlight my greeting so it would “pop”.  I used glue dots to attach it but I had to roll them so they would be skinny … that helped hide them and lifted the greeting up to create some dimension.  Simple can be stunning!

I thank you for stopping back and I hope your have a wonderful week.

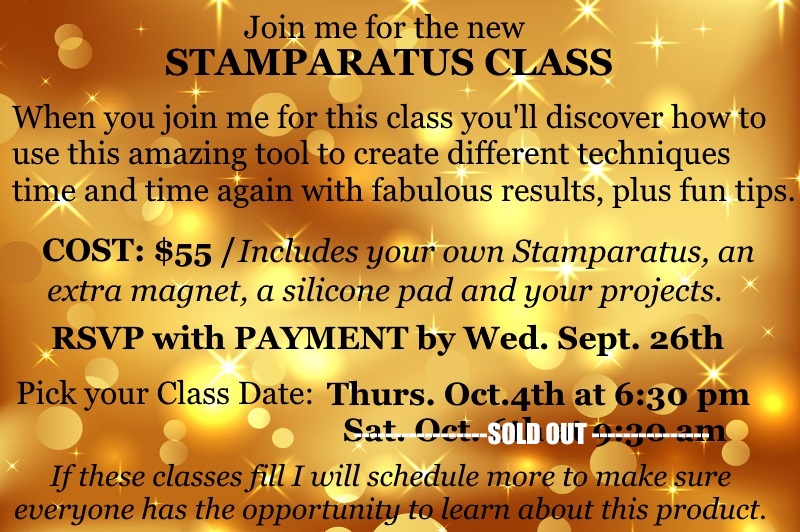
My Saturday Stamparatus Class is SOLD OUT but I have room left in the Thursday Night Class.  Payment will have to get to me by this Wednesday so I can purchase your Stamparatus for class.

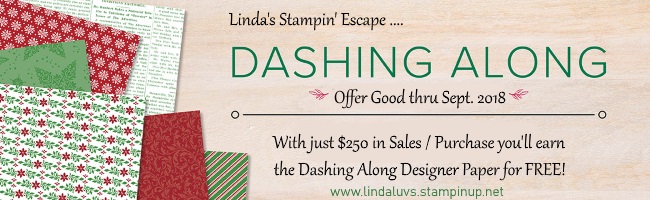
There is still one week remaining in our Dashing Along Promotion …


TODAY’S STAMPIN’ SUPPLY LIST …


Simply Sunday: Making Holidays Simple

Hello Stampin’ Friends ~

I hope you are enjoying this beautiful weekend. I had the pleasure of going to my grandsons soccer game yesterday. I had a nice time chatting with my daughter and watching Aiden’s game … and they won!!

We all have to remember to slow down every now and then and enjoy the little things in life, because they are truly the important things.  Many of us have very busy lives and find it hard to do all the things we want, our intentions are good!

Lets say you’ve been meaning to make Christmas cards year after year but you just run out of time or you don’t get as many made as you’d like to, let me help … Today my Simply Sunday post is to share a beautiful yet simple card that will be easy for you to get those cards done.

Pretty right!? The base of the card is the Gold Foil Edge Cards & Envelopes!! You can find these on page 11 of the Holiday Catalog and you get 20 of each (card base & envelope). Then I simply cut a front to emboss, you don’t have to … you can go directly to the greetings which are from the “Merry Christmas to All” bundle. It can be that easy!

If you do want to step it up and create some texture on the card, the front is 5″ x 3-3/4″ then run it through the BigShot with your favorite embossing folder.  I used the “Tufted” but the new “Swirls and Curls” embossing folder that is part of the All is Bright product suite, either would work great!  The new Seasonal Wreath would be pretty too!

The “Happy” is heat embossed in gold and the “Holidays” is cut from the Gold Foil paper, again both are from the Merry Christmas to All Bundle from the All is Bright product suite found on pages 4 and 5 of the Holiday Catalog.

So whether you chose the card front to emboss and add texture of just adhere the greeting directly to the front, it will get you on the fast track to your cardmaking this holiday season.

If you would like to see this layout stepped up just a bit more … stop back tomorrow, it’s a beauty!!

I’m so happy and grateful that you’ve taken time out of your Sunday to sit with me a while.

Enjoy the rest of your day, and I’ll see you tomorrow.

TODAY’S STAMPIN’ SUPPLY LIST …


Create Christmas Cheer

Hello Stampin’ Friends ~

Oh my gosh … I have the cutest cards to share with you today. These cards were shared with us (demonstrators) from Stampin’ Up! and it wouldn’t be nice if I kept these cuties to myself.

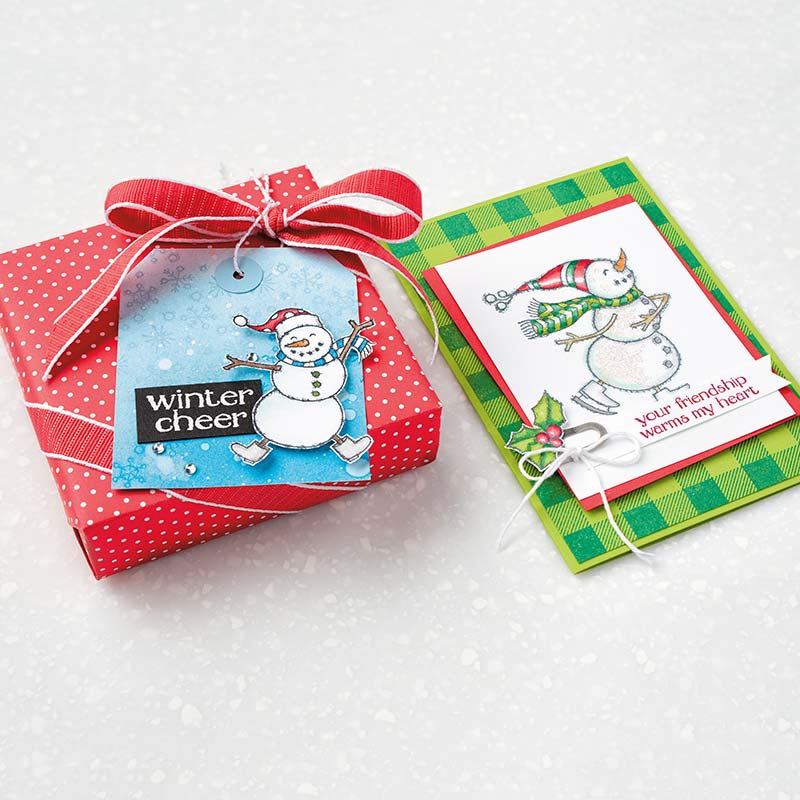
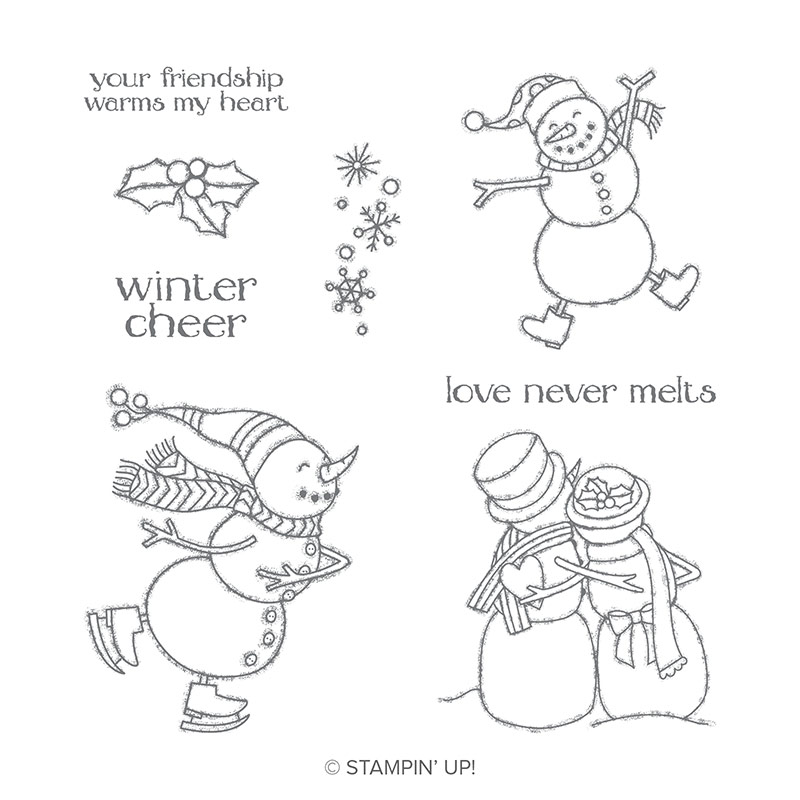
You’ll recognize these samples from the Holiday Catalog and can be found on page 38. You will also notice the Buffalo Check background stamp (I will be sharing some samples & tips on this in a future post).

Here is the “Spirited Snowman” … Give these holly jolly snowmen a place in your home. They deserve it! And they will prove themselves useful!

He just looks like he is having snow-much fun!! And so can you when you a head start in your stamping schedule and get started on your seasonal cards! Using just one stamp set, Spirited Snowman. Stampin’ Up! created these three different cards… the versatility of the set is enhanced with different coloring themes and techniques.

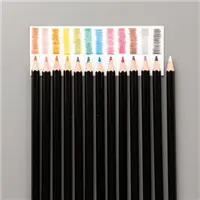
Each one is so cute in it’s own way … I love the two snow-people hugging and the sample on the far right, so cute and so simple to make.  Stamp your snowman … emboss your snowflakes with clear embossing powder … and then sue your watercolor pencils to add color to the background and then blend it with your Aqua painter!  When you blend the watercolor pencils the clear snowflakes will now “pop” out and look white (looks like magic!).

When you purchase your Spirited Snowman you can use the Hostess Code Y6DU6NVB 

Thank you for spending a part of your Wednesday with me …

Enjoy your day!

Today’s Stampin’ Supply List …

http://


Quick -n- Easy Christmas Tags!!

Hello Stampin’ Friends ~

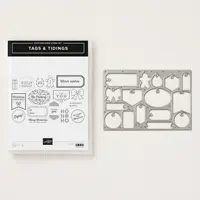
Today I have a fun and informative video (and quick) and some cute projects too! Want to make 16 tiny tags with just one pass through your Big Shot? The Tags & Tidings Bundle is perfect for creating simple tags to use for celebrating your holiday season.

Let’s start out with the video … grab your coffee and relax for a few minutes while Chad shows you how easy this bundle is …

Did you notice the informative tips Chad shared?  First … It’s a great idea to place your stamps face down on the table and then pick it up with your block. I use this technique a lot when using long sentiments, I place them on my grid paper so I know they are straight and then pick it up with my block as well.

The second tip I love, and have been sharing with my customers for quite some time. I call it the “Show it Who’s Boss” technique.  Place your block on the table with stamps facing up and then ink up your stamps (tap, tap, tap) … this way you have much more control over how much ink you are adding because you have a birds eye view.

Here are the samples made with the Tags & Tidings Bundle …

The cute tags you’ve create can be used on gifts, on cards, and can easily be embellished.  Do you see the “merry” on the card … that comes from the “Festive Farmhouse” product suite (I just ordered them yesterday).  Did you also notice that the “tags” stamp was used for the background? How cool is that!!

I also see the “naughty / nice” tag embellished with you know who! And you can find this jolly old fellow on pages 18 and 19 in the Santa’s Workshop Suite. He’s on his way to my house too … first in a Stampin’ Up! box and then on the 24th of December! Yes, I was a good girl 😉

I hope you enjoyed these quick -n- cute Christmas tags, and the great stampin’ tips.  Thank you so much for kickin’ back with me for a time today.

Enjoy your day ~

TODAY’S STAMPIN’ SUPPLY LIST …


Simply Sunday: Dashing Along

Hello Stampin’ Friends ~

Happy Sunday to you … and I hope you are enjoying your Labor Day weekend, and (for some of you) the extra day off work!

I’m excited to share with you a cute whimsical card and an amazing promotion to go with it!! Our September promotion is called “Dashing Along” and offers you a FREE 12 x 12 package of this amazing Designer Paper!

When creating the exclusive Dashing Along Designer Series Paper, Stampin’ Up! decided to use a mix of old favorites and new patterns to bring you beautiful, traditional Christmas paper. This collection of patterns has an eclectic feel and is perfect for layering, and while the newsprint design isn’t Christmas-themed, we selected it for its versatility and popularity with you, our customers.

I hope you’ll love this Designer Series Paper as much as I do, and remember, it’s available for a limited time only! So lets get on with the show …

This simple card is easy to create with the Dashing Deer Bundle featured on pages 8 and 9 of the Holiday Catalog and is most definitely highlighted with the Dashing Along Designer paper.

September is a great time to host a workshop … first, you could qualify for this great designer paper for FREE plus even more goodies, and you could pick them from the Holiday catalog!!  Because the Holiday catalog goes live on the 5th – you could be the first to show all your friends some of the beautiful product suites in the catalog!

Let me share another card that really shows you this great paper …

Wow … you can see 3 beautiful designer paper patterns on this card, and there is that beautiful deer again! I can see your friends dashing to the catalog to get a look at this bundle.

Hmmm … I can host a private party for you and your friends – sharing ideas from the Holiday catalog and YOU can be the Hostess! You bring the treats and your friends, and I’ll bring the fun and the card making packets!! What do you think??  Message me below or email me at  lindaluvs2stamp@aol.com

Enjoy the rest of your Labor Day weekend, relax, and take some time to look through your Holiday catalog … it goes live in 5! (Well … September 5)

Thanks for joining me today ~


And Heaven & Nature Sing …

Hello Stampin’ Friends ~

Did you get a chance to check out yesterday’s blog? It has 3 great card shares … Halloween, Autumn and Christmas. These cards were all from my Holiday Catalog Launch party and I have one more to share with you today!

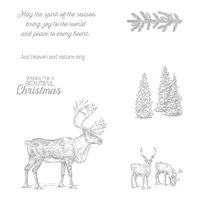
Today’s card features the Nature Sings stamp set in the Annual Catalog. I think this stamp set is perfect for a masculine card (even a birthday card) or a family that enjoys the outdoors and nature.  We used the pair of deer and the trees …

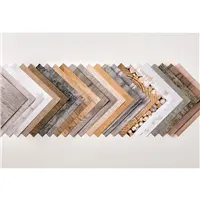
My color pallet is natural – highlighting the new Shaded Spruce and teaming it with Old Olive. I based these from the pattern of Designer paper I chose in the Under the Mistletoe designer paper… I thought it was cool that there was that pretty deer patterned paper, then I added the stacked wood from the Wood Textures Designer paper stack.  It all fits so … well, naturally! It Brings the wood tones in with the green tones … just like nature gives us.

My base is Shaded Spruce cardstock and the card front is Old Olive … I stamped the trees 2 times before re-inking the stamp onto the front so you get a double shade of the Shaded Spruce. Also gives you an appearance of distance or dimension.

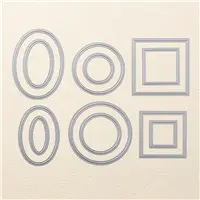
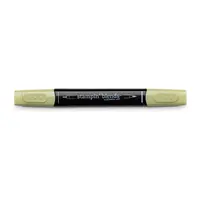
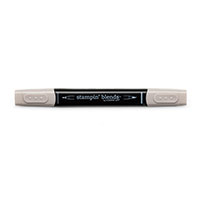
The deer where highlighted by stamping them onto Whisper White cardstock and cut out with the circle die from the Stitched Shapes Thinlits Dies. The coloring was done with the Old Olive and Crumb Cake Stampin’ Blend markers.

I finished off my card with the Bakers Twine (yes … it’s Garden Green) but it looks really nice with the card. The greens tie nicely together and the white ties in the deer on the designer paper and it all brings your eye to the focal point … the Nature Sings stamp set.

I thank you for joining me today and checking out my Christmas card creation.

Hope this inspires you to discover a little nature today … enjoy.

TODAY’S STAMPIN’ SUPPLY LIST … Don’t forget “Bonus Buys” going on through the end of the month … When you spend $50 before ship/taxes, you will receive a bonus coupon code which you can redeem in September!


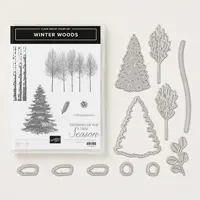
Winter Woods Bundle

Hello Stampin’ Friends ~

Today I have a card to share with you that was created using the Winter Woods bundle in the Holiday Catalog.  This will also give you a bit of a sneak peek into my Holiday Catalog Launch Party as this is just one of the bundles that will be featured and highlighted at my party.  There is still time to RSVP … but only until Friday!

Today’s card is one of the cards that was featured on the Stampin’ Up! Alaskan Cruise … they get their hands on the Holiday catalog first and have a special room set up for all the achievers to come in and view the product and samples from the catalog!!  You know I’m working on achieving the next Incentive trip (Greek Isles Cruise)!!

This simple card is perfect for the new stamper, someone who has a lot of cards to make … or someone who needs to make cards in a hurry! lol

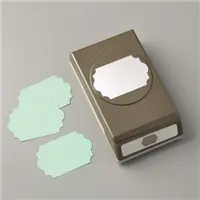
The cardstock is stamped to create a beautiful background and then a piece of vellum is used to highlight the greeting (which is included in the stamp set) and is punched out using the Everyday Label punch. Behind our greeting are a few embellishment that adorns the card.

The die cut embellishments really give your card some beautiful texture, as does the twine which wraps around the card and really helps draw your eye to the focal point … which is your greeting. I really like the simplicity of this card because sometimes less is more.

Thank you for joining me today, I hope you have enjoyed todays card.

Have a great day ~

Today’s Stampin’ Supply List …


Technique Tuesday: Colored Foils

Hello Stampin’ Friends ~

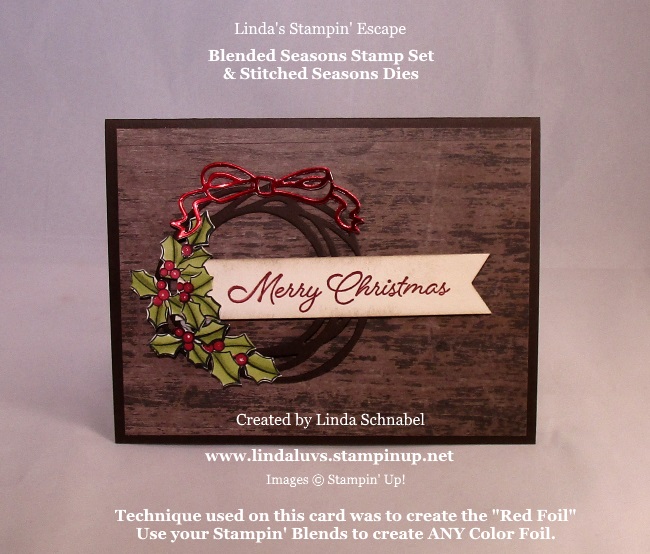
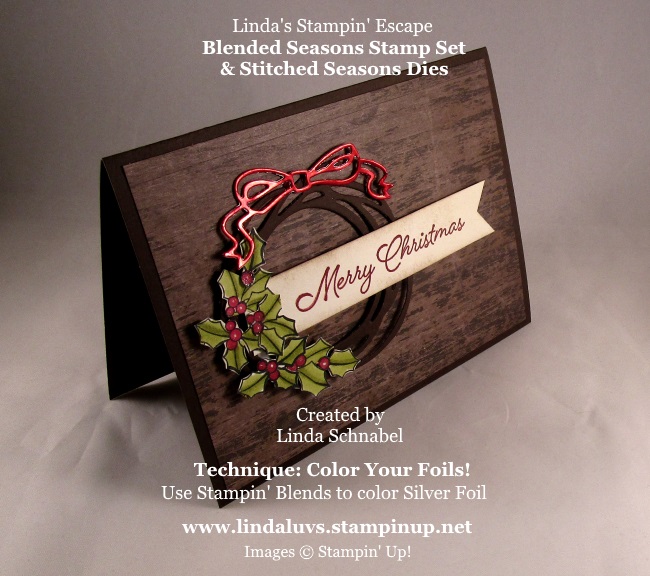
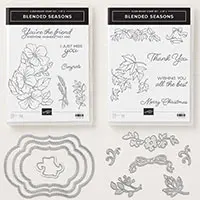
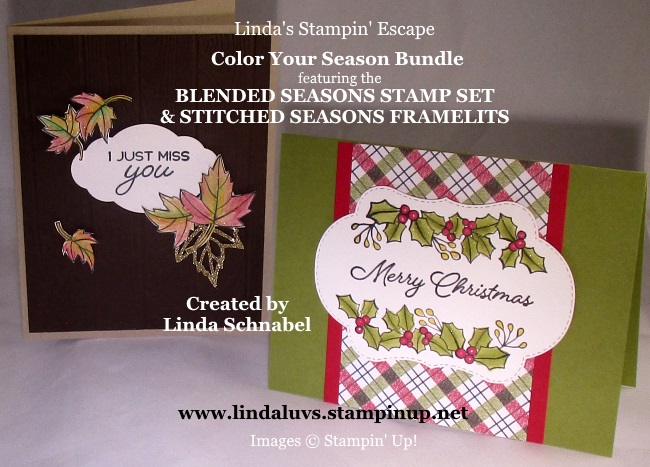
I’m excited to share my card with you today because not only am I using the awesome new Blended Seasons stamp set and coordinating stitched dies but I have a really cool technique too!!  Not only that … I’ve taken an old favorite and incorporated it into the card as well.

The card was created for my “Color Your Season” Class that I hosted last week … we made a Spring, Wedding, Autumn and a Christmas card, it is the Christmas card that I will be sharing with you.

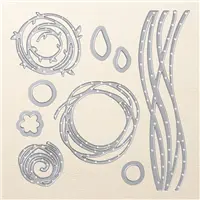
This was the card that changed 3 times before I got to what you will see today … it was all about the background, but once I picked up the Wood Textures Designer paper … I knew that was it!!  You see, I have already pulled out the circle die from the Swirly Scribbles Thinlits Dies to create my wreath.

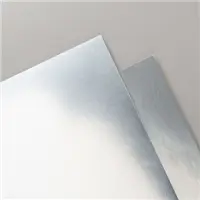
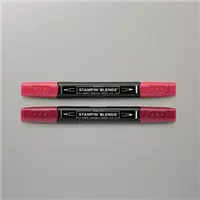
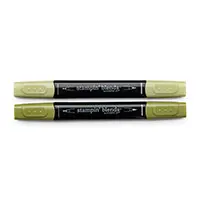
The holly was stamped on Very Vanilla and colored with the Cherry Cobbler and Old Olive Stampin’ Blends and then cut into sections and wrapped around the wreath.  Our bow was created using the Silver Foil paper and the die from the bundle … then, I used the Cherry Cobbler Stampin’ Blend and colored it!! I wanted red and I wanted the shine!! It works beautifully.  You can do it before or after you die cut.

Can you image ALL the new Foil colors you can now use on your projects!! Amazing and soooo easy.  And because the Stampin’ Blends are alcohol markers it dries quickly.

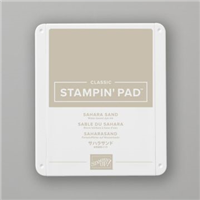
The greeting is from the Blended Seasons stamp set and was stamped in Cherry Cobbler and punched with the Triple Banner punch.  I also sponged the banner with Sahara Sand to age it a little.  The combination of all these single entities created a warm holiday card.

The red foil bow just adds a special touch to the card and really helps make it pop.  I also added just a touch of the Wink of Stella onto the holly berries.  You could also use the glue from the Fine Tip Glue pen … that will also give it a shine.

Thank you for stopping back to check out my blog post today.  You can purchase any of the items used for today’s card by clicking on any of the items listed below.

Have a wonderful day ~
TODAY’S STAMPIN’ SUPPLY LIST … 


Simply Sunday: Christmas Season

Hello Stampin’ Friends ~
So what did you think of the sneak peeks? Oh my … this is an awesome catalog, and I have one coming to you! I’m trying to wait patiently for my pre-order to come … then I can play!  Meanwhile ~ We have the exciting “Share Your Season” Promotion and I have another beautiful card to share with you today!!

Today’s card celebrates the Christmas season (Thursday I shared my Autumn card using the watercolor pencils and blender pen). It’s time to share how the fabulous Stampin’ Blends markers work with this stamp set and coordinating framelit dies.

I began with the middle sized frame in the die set and cut it out of Whisper White. I then stamped the spray of Holly near the bottom (fits right in) then turned it 180 and stamped it again.  When I colored the leaves I started with the Old Olive Light first then just added a dash of the Old Olive dark on the center line of the leaf and then went back over with the Light to blend it in.

A touch of Real Red on the holly berries and Daffodil Delight on the sprigs and your coloring is complete! I added just a hint of the Wink of Stella to give it a little glitz.

The card base is Old Olive cardstock and I created a focal point with a swatch of 3″ x 4 1/4″ Under the Mistletoe Designer Series paper and a 3 1/4″ x 4 1/4″ Real Red mat. Then our greeting was simply popped up onto the card and your done!! Simple and Sweet … no hassle, just a fun and easy coloring project.

So here are the two cards I made to far with the Blended Seasons Stamp set and Stitched Season framelits, and if you like these …

You won’t want to miss the amazing cards that we will be making (includes envelopes) in my Color Your Season class. I still have a couple spots left. RSVP today: 262-334-1009

I also will have an amazing special for attendees.  Can’t make it to my class? You can purchase the completed class cards, mailed to you for $20.00 … this will also qualify your for my Class Special.  Contact me today … message me below or email me at: lindaluvs2stamp@aol.com

Thank you for taking time out of your Sunday to join me today.

May your day be a good one ~

TODAY’S STAMPIN’ SUPPLY LIST …


Twinkle Twinkle Christmas in July!!

Hello Stampin’ Friends ~

Fridays are always fantastic and so is the card I’m going to share with you today!  Yesterday I shared another card from the Twinkle Twinkle Designer paper and I said that this beautiful paper is so versatile you could even make a Christmas card with it, sooooooooooooooo

Yup … there it is! I took one of my favorite designer papers (Twinkle Twinkle) and teamed it up with one of the Hottest Christmas sets last year – the Star of Light stamp set. I still love this stamp set, it is stunning and the verses are just beautiful!! It’s so pretty!!

You will also notice that I used the same punch as yesterday … the Detailed Trio punch. So the same punch but with a totally new look. I think that it really added a nice dimension for the greeting.

My Holiday Retreats attendees know I love my bling, so I decided to started early this year and added the Silver Glimmer paper to my card which really gives me … Christmas in July ❤ If you think this card looks good here, you should see it in your hands … the sparkle, oh my! It’s gorgeous!!

Oh … and sparkle, I added some Rhinestones to really put this card over the top glitz!! Wooo Hooo!

Thank you for visiting me today and checking out my blog! Don’t forget the Designer paper is on sale right now. I have them all listed below for you to view  🙂

Thanks again and enjoy your day!!

TODAY’S STAMPIN’ SUPPLY LIST …

DESIGNER PAPERS ….


A Few of My Favorite Things …

Hello Stampin’ Friends ~

Christmas is almost here and our Holiday Catalog is full of wonderful stamp sets, however I cannot forget the Annual Catalog and the beautiful holiday stamp sets that are still available …

Here are a few of my favorite stamp sets in the Annual Catalog …

The most beautiful stamp set … greetings and dies that I could not pass up last year! So glad the “Star of Light” carried over into the annual catalog.

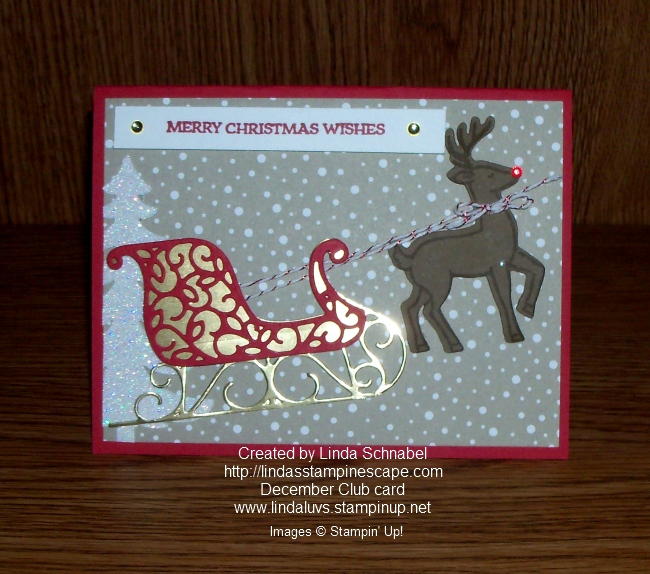
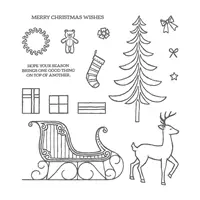
Another stamp set and die that I just had to add to my collection was “Santa’s Sleigh” … who doesn’t want this jolly ‘ol soul in upon their roof!

Another great stamp set is “Holly Berry Happiness” … I’m a big fan of Holly !and you’ll see it all over my home! It’s just Christmas to me, and the greetings and messages include in the set are perfect …

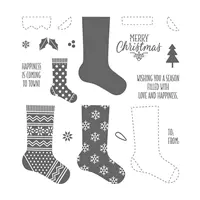
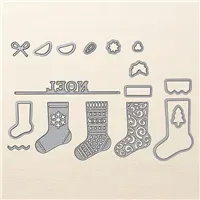
And if you are one who loves tradition then I’m sure you’ll love “Hang Your Stocking” as much as I do. These cute little stockings work well on tags and on cards … or both as you see below!

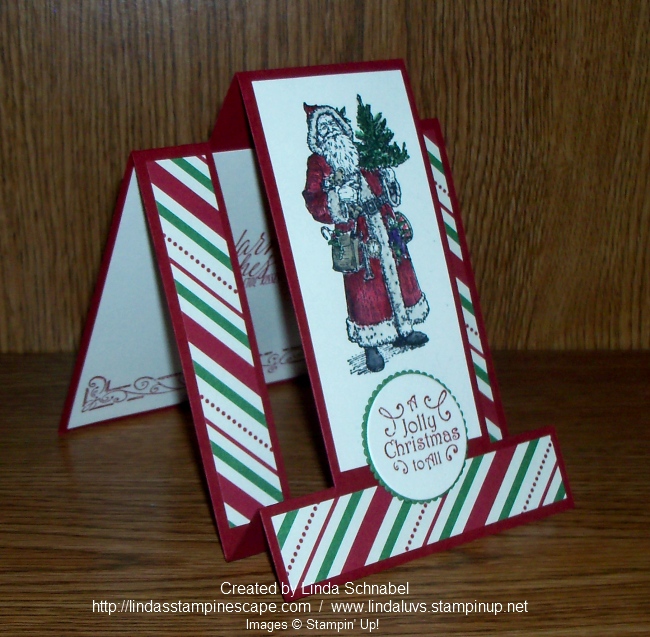
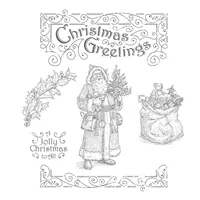
I have one more to share with you … “Father Christmas”. It just wouldn’t be Christmas without Santa Claus. This set will work great with all the coloring techniques available … the new Stampin’ Blends or Watercolor Pencils are my top favorites!

Hope you enjoyed this flashback to the Annual Catalog! Our seasonal catalogs are awesome and I love to combine them with the great sets in our annual catalog as well.

Have a great start to your week ~

Stampin’ Supply List …


A Christmas Bridge Card …

Hello Stampin’ Friends ~

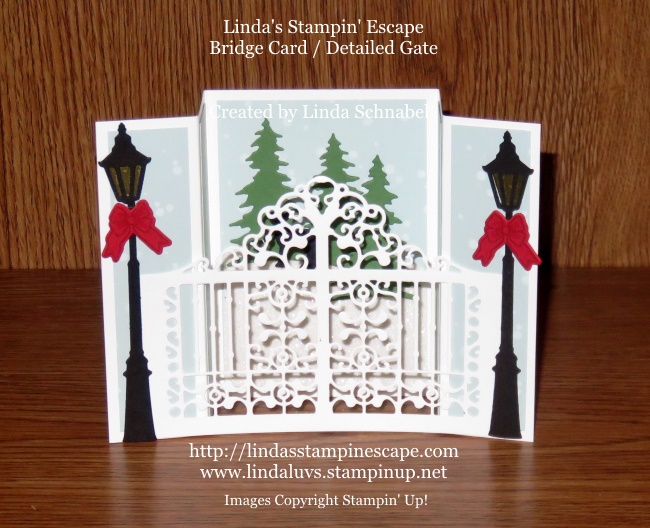
As promised … I’m back to share the “Bridge Card” that my Stamp Club members made this month!

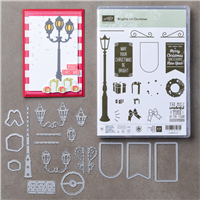
I picked 2 of my favorite bundles to create this amazing card, the Brightly Lit Christmas, Carols of Christmas and added the Detailed Gate as my bridge!

My color pallet consists of Whisper White, Soft Sky, Basis Black, Garden Green and a pop of Real Red.

We used the little spots stamp from Brightly Lit Christmas to create snow on our Soft Sky background. The trees are from the Cardfront Builder Thinlets Dies from the Carols of Christmas Bundle (same with the deer).

Since the gate is not wide enough to reach the ends of the card … We used the lamp posts to anchor the card and hid the seam of the gate.

I’m pretty proud of this card … and I love the look of the gate as my bridge. Simple to create and it folds down to slide right into your envelope!

Thanks for stopping back today, enjoy your Friday …

Have a great weekend!

Today’s Stampin’ Supply List …