Brightly Lit Christmas …

Hello Stampin’ Friends ~

Happy  Monday!! Today I have a beautiful card to share that our Stamp Club did last month. I also want to let you know that TODAY ONLY …. FREE SHIPPING!!

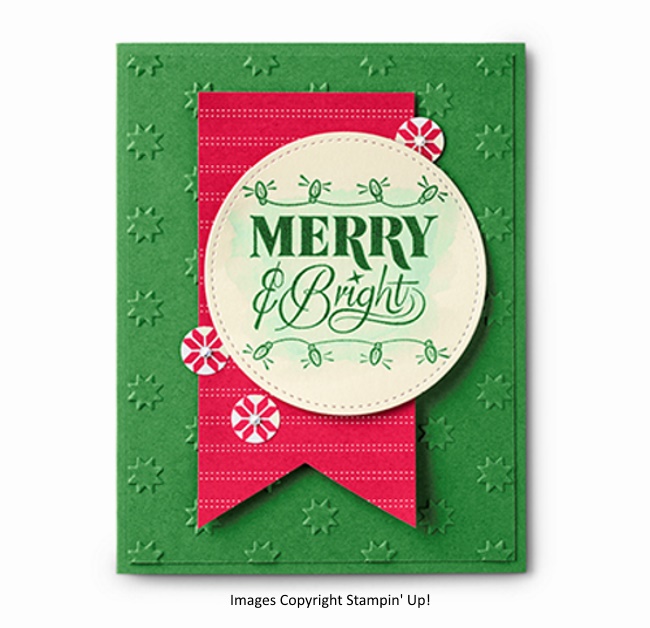
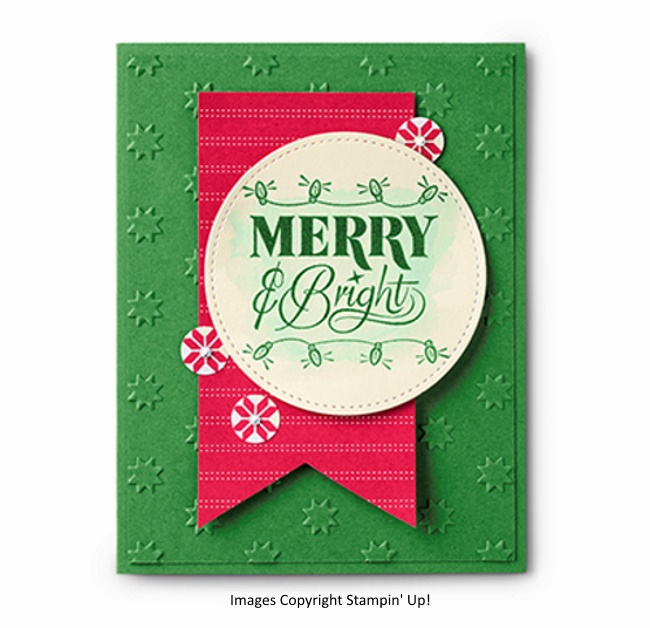
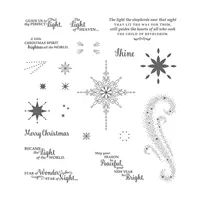
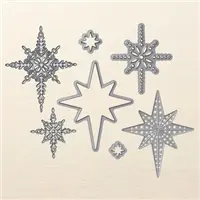
We made this card from the Brightly Lit Christmas Bundle.  This is one of those stamp sets I just had to have … it reminded me of Christmas’ past. Everything about this bundle just brought back some beautiful memories. 

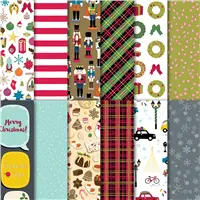
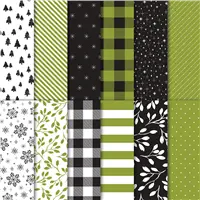
The designer paper comes from the “Christmas Around the World” … not only the plaid design but the wreath and bow!! The dies from the bundle fit perfectly with the designs on the paper.

The lamp post has two different styles of lights … I chose the ones that have the coordinating dies that cut out the “gold” we put behind the lamp! I love it when the light hits it because it appears to actually be lit up… it brings it to life. I borrowed the greeting from a favorite Christmas stamp set for last year (still available) … the Star of Light stamp set found on page 122.

These two stamp sets really make a good team, I think the verbiage works well with the lamp post! I also think FREE Shipping goes good with all your wants and must haves in either catalog!!

CYBER MONDY SALE …. 24 hours Only!


I want to offer you a special on Cyber Monday as well … I will DOUBLE YOUR REWARDS … That’s right. I will double your rewards points with each $50 purchase (before shipping & handling)

I know this is called Cyber Monday, but if you need help with your order … email me at lindaluvs2stamp@aol.com or call 262-334-1009. You will need your charge card but I will help you place your order.

Thank you so much for stopping by today.

Have yourself a wonderful Monday!


Simply Sunday: Guest Stamper … Cindy C.

Hello Stampin’ Friends ~

Today I have a fun Christmas card to share with you created by our Guest Stamper: Cindy C.  This was one of our attendee swap cards at the Annual Holiday Stamping Retreat.

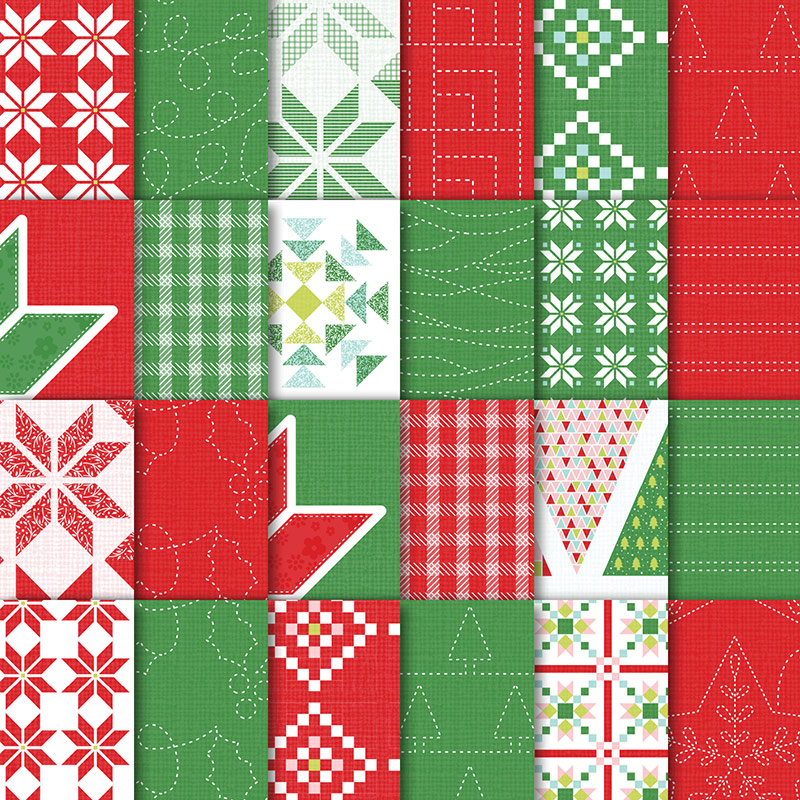
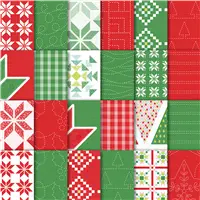
This simple sweet card was created using the Quilted Christmas 6 x 6 Designer paper stack. Cindy simply cut out the pretty trees from one of the several designs.

With just a little  ribbon and some oval cuts … our greeting highlights the entire card. Our retreat swaps are so much fun, and the talent and beautiful cards that are shared … amazing!!

I would also like to remind you that today is our last day for the Online Extravaganza …. you can save on the listed items.

There is so much more to see that is on sale! Love those framelit dies!!!

CLICK HERE TO START SHOPPING


I also want to announce our CYBER MONDY SALE ….

I believe this is the best savings yet … it may not be up to 40%, but it is on EVERYTHING YOU WANT and need, so the savings will be greater! That’s 10% OFF of “everything” you purchase!

Let me know if you have any questions, I can help you if needed. THIS IS A 24 HOUR SALE … MONDAY ONLY.

Thank You for dropping in today and sharing a part of your Sunday with me.

Hope your day is a good one!

blog-closing-small

Happy Thanksgiving …

Hello Stampin’ Friends ~

Today I’d like to Thank You for your loyalty, your business and most of all … your friendship.  Happy Thanksgiving to you …


Don’t let these savings pass you by …


Click Here to start!

Thank you so much for stopping by and checking out my blog today.

Have a Safe and Happy Thanksgiving ~

Merry Little Christmas Suite: Tag You’re It!

Hello Stampin’ Friends ~

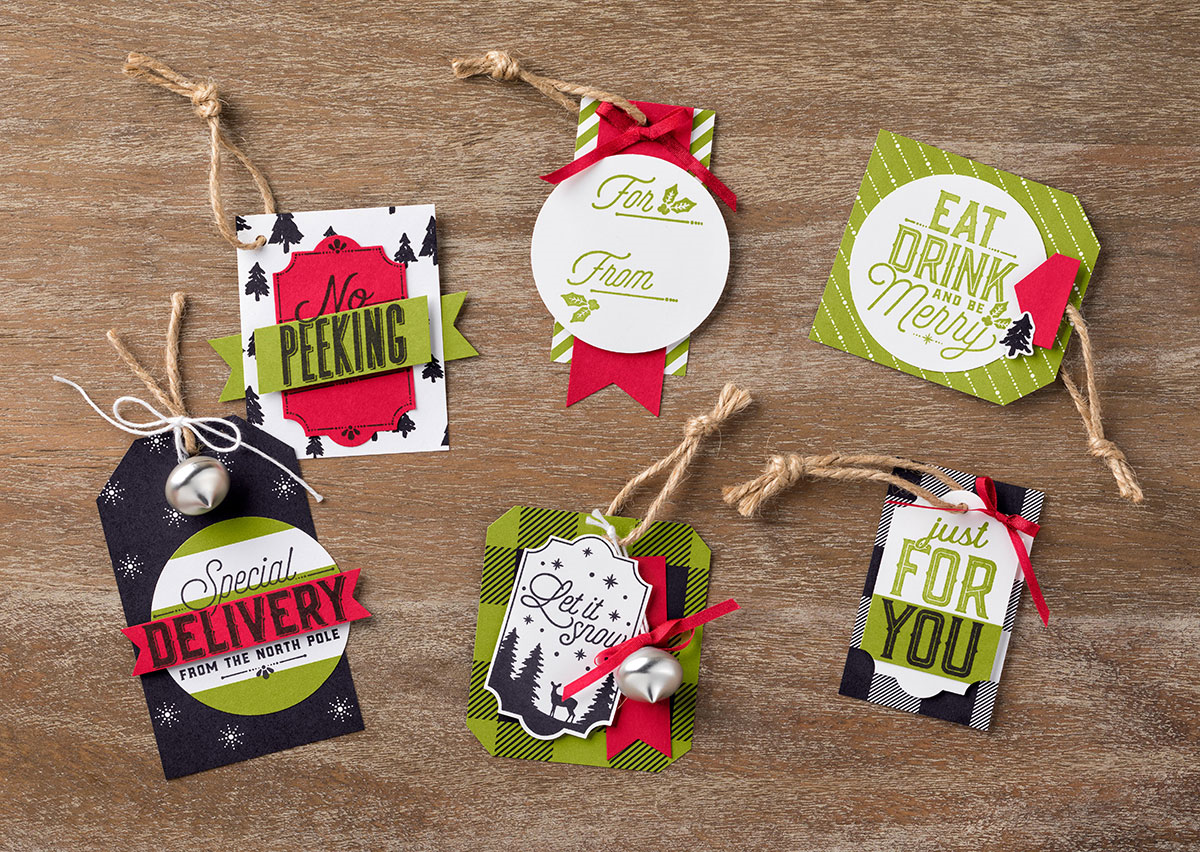
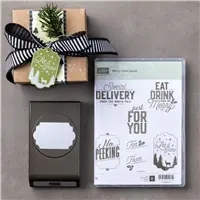
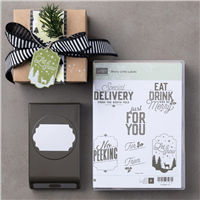
Today I’m sharing a card and project ideas straight from Stampin’ Up! It’s from our Merry Little Christmas product suite!  You can view the suite on pages 10-13 of the Holiday catalog … I just can’t get enough of this product suite!

This product suite fills up four glorious pages of the holiday catalog, the Merry Little Christmas suite is packed with festive stamps, Designer Series Paper, accessories, and tools.

Our Merry Little Christmas (Mega) Suite contains products for all your holiday crafting needs: gift packaging, cardmaking, memory keeping, decor, and more! Stampin’ Up! trainer, Donna, shows you products from the suite, as well as some fun ideas for your Christmas crafting.

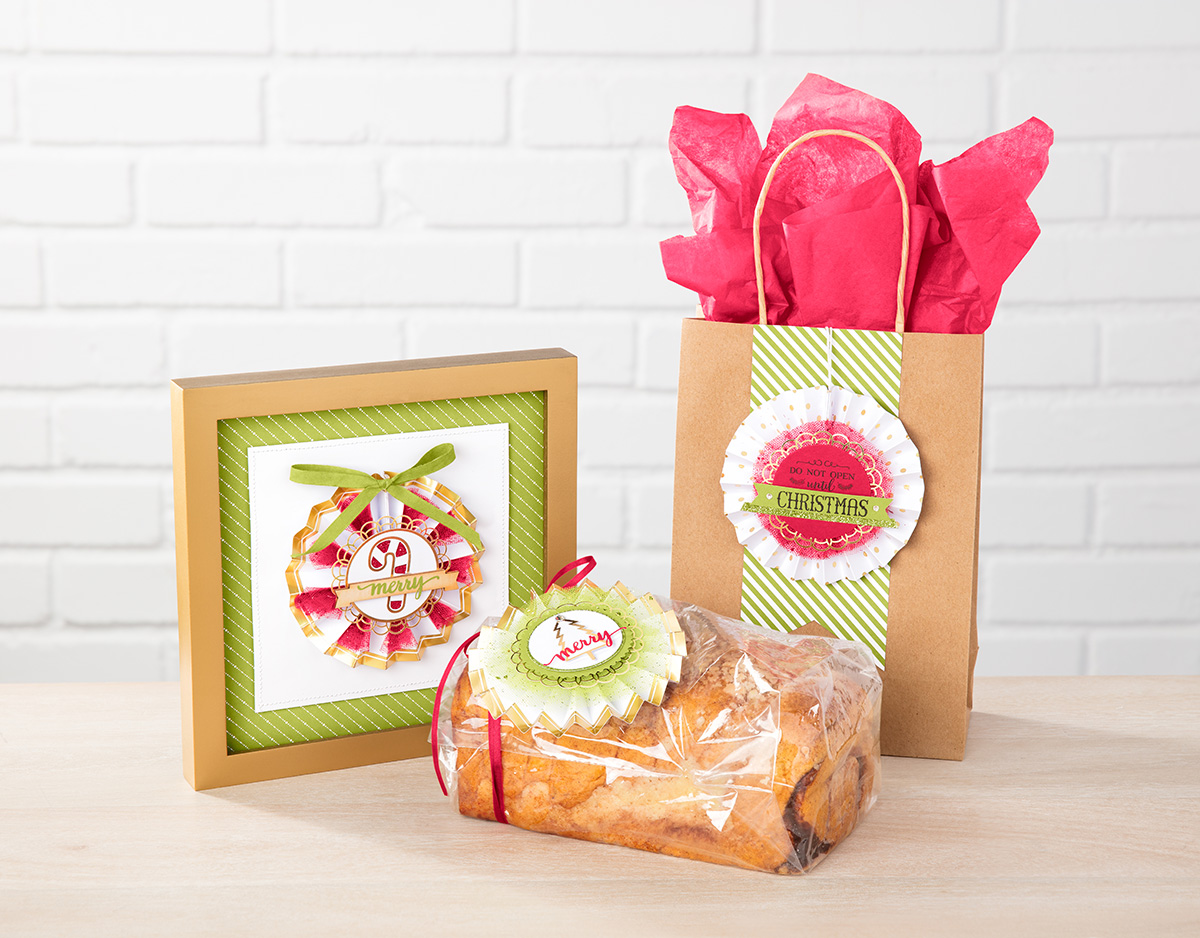
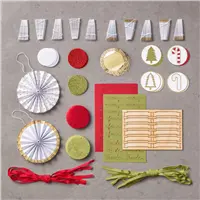
What is the perfect craft for this giving time of year: gift tags! Gather your friends and make these tags using the Merry Little Labels Bundle. What a great evening of fun …

Let me know if you have any questions on this amazing product “mega” suit, or if you would like to purchase any of these items.

Have a great day, and thanks for stopping by!


Two for Tuesday: Silent Night & Simple Stockings

Hello Stampin’ Friends ~

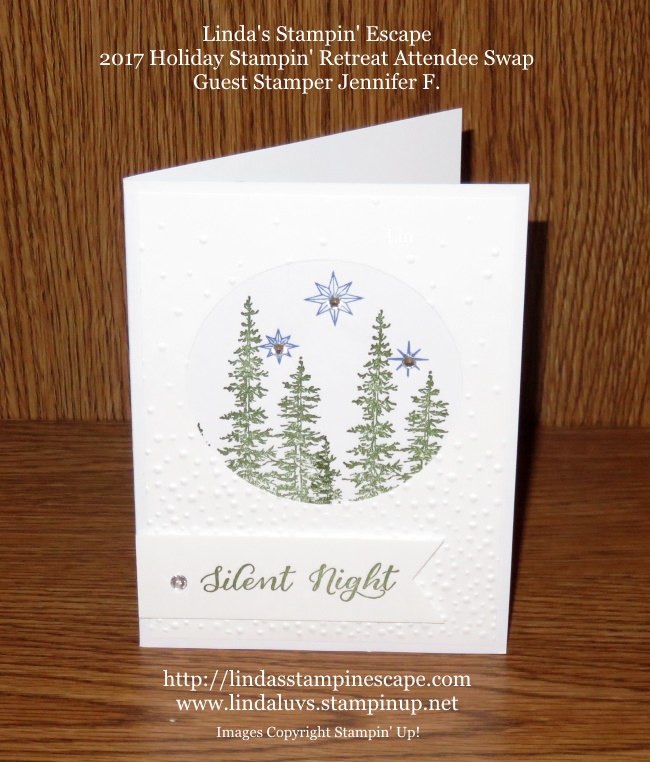
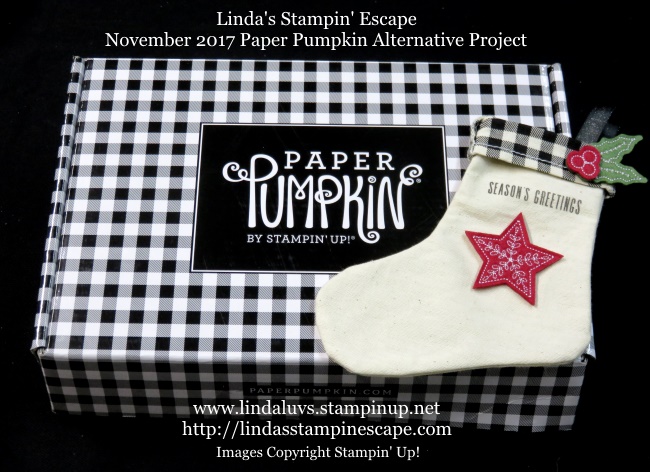
Today I’ve got double the fun for you! I’m going to share a beautiful card that one of my Holiday Retreat Attendee’s made for the card swap, and I have a super simple way to deck out your Holiday Paper Pumpkin Stocking.

I am thrilled to share a pretty card from my Guest Stamper: Jennifer F. What I love about this card is that Jen took a staple from her stamp collection and created this a fresh new holiday look …

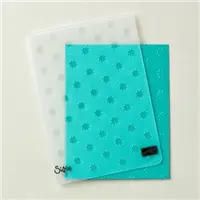
Lovely as a Tree just received a lovely update … I love how it is framed with the use of the Circle Framelits Dies and the Softly Falling Textured Embossing Folder.

The “two” on this Tuesday is an Alternative Project to the November 2017 Paper Pumpkin kit. These little stockings are so easy to work with and a Gift Card tucks nicely inside … so hang them on the tree or use them on the gift.

I teamed up my Paper Pumpkin with the fun and amazing Stitched Felt Embellishments from the Quilted Christmas Product Suite. Just a quick dab on All Purpose Glue and your stockings are ready to hang… and I added some pretty ribbon so you can do that!

I see some of you took part in our 24-hour Sale (THANK YOU!!) There are plenty of items on the shopping list, so just click the link below.  Don’t forget the Clearance Rack too.

Don’t forget our FaceBook Live event … join me and the rest of the Paper Pumpkin family …

IMG_3292

Today … November 21st at 6:00pm (MT) or 7 o’clock central time go to the Stampin’ Up! Facebook Paper Pumpkin page to view this fun event LIVE!!  Here is the link to the page: https://www.facebook.com/paperpumpkinbystampinup/?hc_location=ufi

HOLIDAY SHOPPING STARTS HERE …

Click Here to start!

Thank you for hanging out with me today.

Happy Tuesday!

Projects & Stamp Sale & Tips … Oh My!! It’s all here!

Hello Stampin’ Friends ~

Today I’ve got a cute project to share and some stampin’ tips that can be used on any projects!!

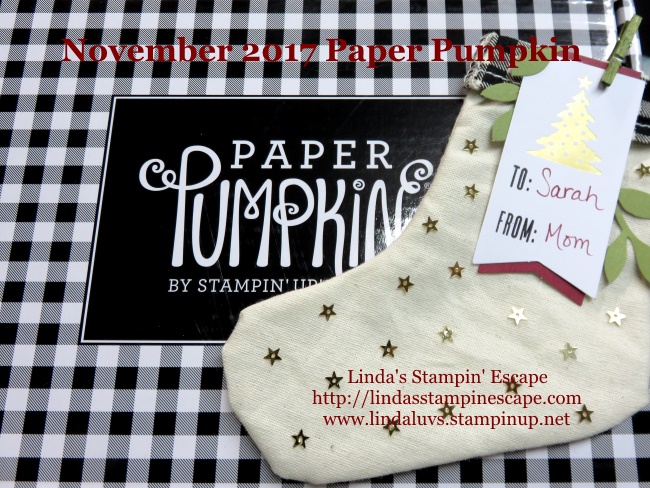
Stampin’ Up! has produced yet ANOTHER fabulous Paper Pumpkin kit! This November’s kit is filled with adorable mini Christmas stockings. And they are super fast and easy to assemble for gifting as is.

I didn’t change much on this little stocking at all … Basically I extended the Cherry Cobble part of the tag so it shows at the top and bottom, wrapped the leaves around the tag, and ….

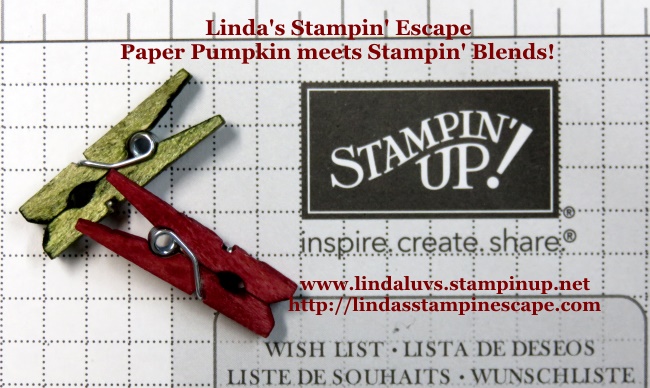
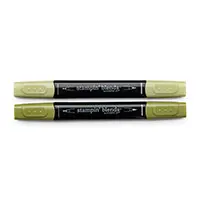
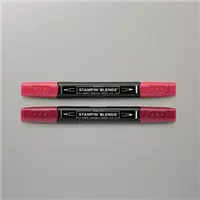
… used my new Stampin’ Blends to color the clothes pins that were included in the kit! That’s right, you can color any of our wood elements, rhinestones, pearls, accents or enamel shapes with the Stampin’ Blends.

Next… I jazzed up the stocking a bit by using the Gold Star Sequins from my October Paper Pumpkin kit, just add a touch of Multipurpose Liquid glue.

I choose the stars because of the gold tree and the star at the top… it just ties it all together.

Ready for one more awesome idea? Oh yea … Here it is ~

IMG_3299

You can use the Stampin’ Blends on the stocking to die it to match the October card … how awesome is that!! I love this, and you can make it any color.

If you can’t get enough … join me and the rest of the Paper Pumpkin family on a FACEBOOK LIVE event  …

IMG_3292

Tomorrow … November 21st at 6:00pm (MT) or 7 o’clock central time go to the Stampin’ Up! Facebook Paper Pumpkin page to view this fun event LIVE!!  Here is the link to the page: https://www.facebook.com/paperpumpkinbystampinup/?hc_location=ufi

STARTS TODAY …

Click Here to start!

Thank you so much for stopping by and checking out my blog today.

I hope your week starts out simply wonderful … Happy Monday!

Warmth of the Season

Hello Stampin’ Friends ~

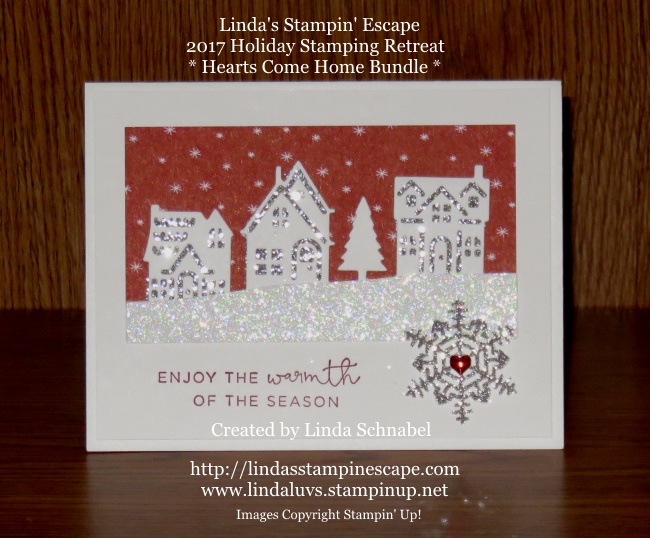
Hearts Come Home for Christmas bundle … one of my favorites in the Holiday Catalog.  You’ve seen the video, you saw Kris’s swap and now I have one of our Retreat cards to share with you.

My color pallet was simple; Whisper White, Cherry Cobbler and Silver…

I also used Dazzling Diamonds glimmer paper to create the snow effect. The silver glimmer paper was used behind the houses and in our snowflake.

The ink coordinates (Cherry Cobbler) with our designer paper … and the greeting comes from the stamp set that is included in our bundle.

Simple layout with stunning results!  Stop back tomorrow and see what I’ve done with this bundle… it will really shake things up!

Till then …

Have an awesome day!

Guest Stamper: KRIS H.

Hello Stampin’ Friends ~

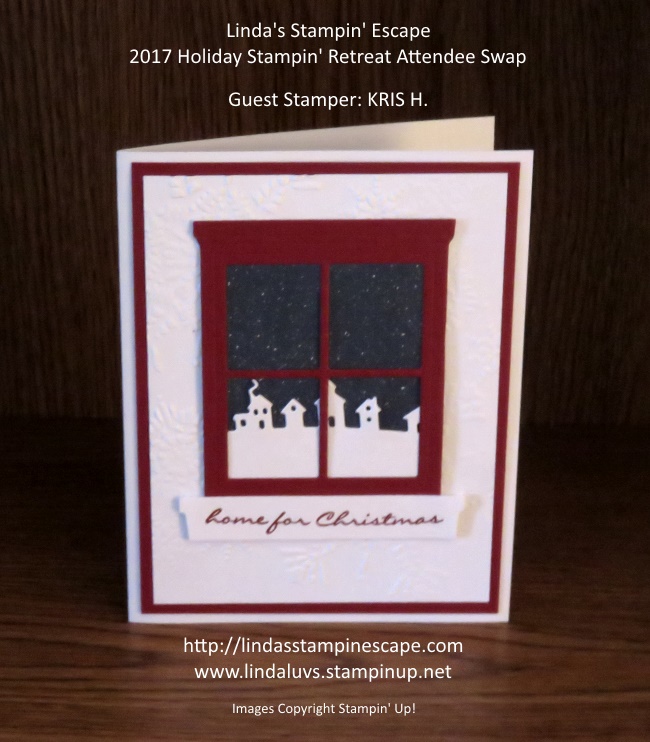
Today I’d like to share another one of the cards that my Retreat Attendee’s made for their swap. I’m so glad that I did not have to vote, because these cards were awesome.

My guest stamper today is Kris H. She used the “Hearts Come Home” bundle and teamed it with the “Hearth and Home” dies! Clever … right!!

I love the look of this card and the warmth of the season that it that it illuminates.

I think I’ll have to pull out my Hearth and Home die and create a few of these myself.  Can you image using the Santa stamp from the “Hearts Come Home” stamp set and having him soaring through the sky while looking out your window!

The possibilities are endless!

Thanks for stopping by and checking out my blog today.

Have a warm and wonderful day ~


Happy Holidays & Stampin’ Blends!

Hello Stampin’ Friends ~

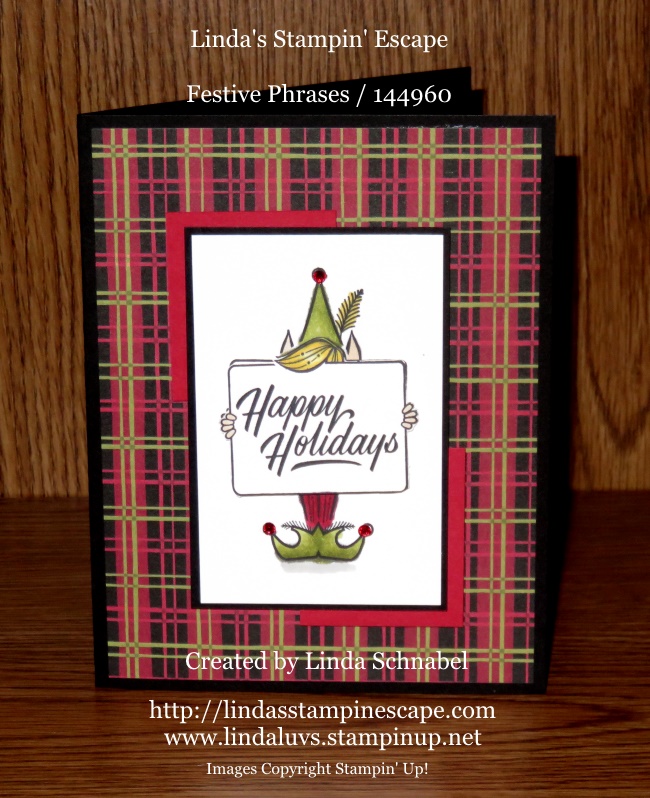
Today I want to share with you a card that I created using a really fun stamp set and the just released Stampin’ Blends!! Pairing these two together was double the fun!!

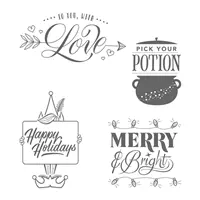
I began by stamping the cute little elf onto Whisper White … I’ve been waiting to use this one!! Then I colored my elf with the Old Olive, Daffodil Delight and Cherry Cobbler Stampin’ Blends pairs.

I used the technique of laying the light colored alcohol ink (Stampin’ Blends) and then the darker color. I then go back and use the lighter color to blend the two colors seamlessly … oh it’s fun. Don’t you love the way his hair is highlighted … wooo hooo!

I chose the “Christmas Around the World” Designer Series paper because it has that old fashioned “retro” look just like our little elf!! Then just a block of cardstock on two corners to draw your eye to the focal point.

The elf itself was double stamped … then the greeting was cut out and popped up to give more dimension. He is just toooo stinkin’ cute! A simple layout but oh so effective to send a Happy Holidays!

Thanks so much for stopping in to check out today’s project, I hope you enjoyed it.

Have a great day … we are one day closer to the weekend!!

TODAYS STAMPIN’ SUPPLY LIST …


Snow Globe – Shaker Card

Hello Stampin’ Friends ~

Happy Monday! I hope you had a wonderful weekend … Sunday turned out to be a beautiful fall day.

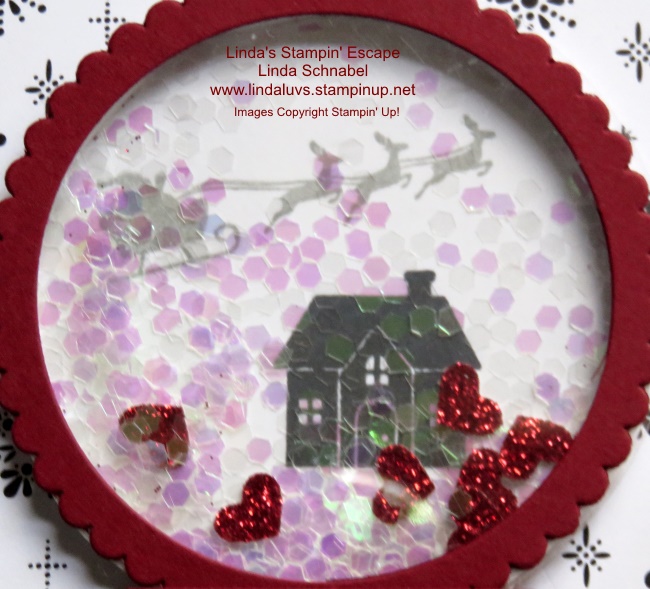
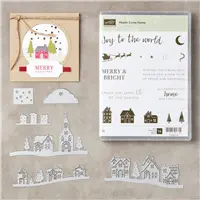
Today I want to share with you another retreat card … a shaker card! Our afternoon session include 3 cards that we created using the “Hearts Come Home” bundle. My mission was to show them how quick and easy you can create a shaker card.

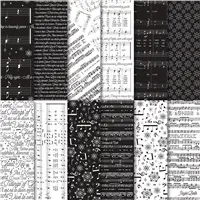
Our background comes from the Merry Music Designer Specialty Paper. Using the Layering Circles Framelits dies, we cut 1 white and 1 window sheet from the same size circle. Then we took the scallop circle and the circle one size smaller that our precut circles, and layered them together before cutting to create our frame.

On the white circle, we stamped our house in Black and then our Santa in Smoky Slate. Our next step was to attach the foam adhesive strips to the outer edge of the white circle. Once applied, you can fill this with whatever you’d like … we used a large glitter and Red Glimmer hearts.

Once you have filled your “well” … remove the top layer off the adhesive strip and drop the window sheet over the top – press to seal. Next, we glued the frame onto the window sheet.

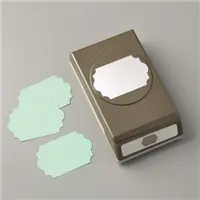
To create a snowglobe … I used the Everyday Label punch!! This is the punch that we used on the Merry Little Christmas Suite cards. Our  greeting was heat embossed in white and then the punch was aligned (1/2 way into the cardstock) to create the base… then punch!

Use the adhesive strip to mount the base onto the front of the card so it’s the same height as the globe.

Everybody loves getting Shake Cards, and now you know how to make a Snowglobe Shaker …. quick -n- easy!

Thank you for sharing a part of your day with me and visiting my blog.

Have yourself a great day!

TODAY’S STAMPIN’ SUPPLY LIST  … Click on the link for more information for to begin your shopping.


Simply Sunday: Special Delivery

Hello Stampin Friends ~

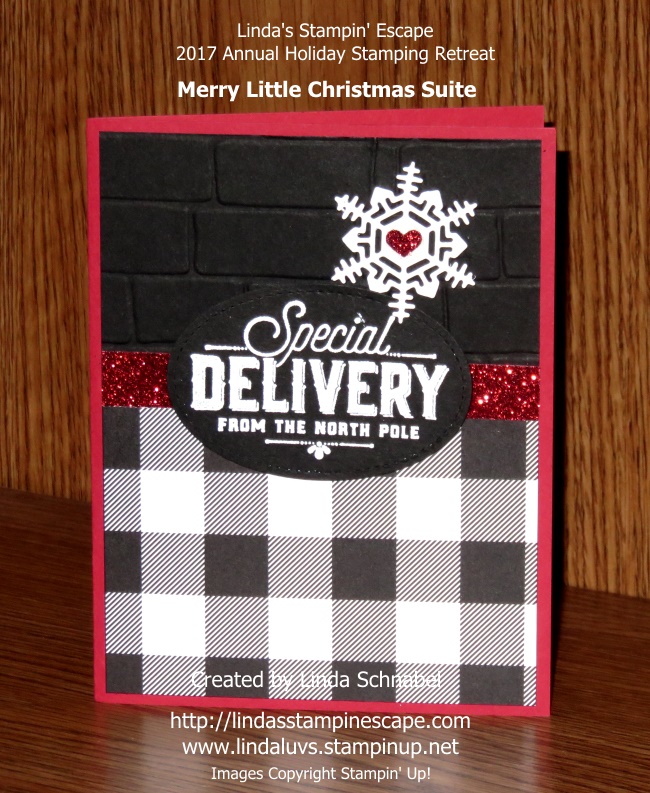
Today I have another card I’d like to share from our Annual Holiday Retreat, and it comes from the Merry Little Christmas Suite like yesterday’s card. We will also be using the Merry Little Labels and Merry Little Christmas Designer Series paper.

It’s fun to see how different your cards can look even when you are using some of the same supplies! The greeting I chose was the “Special Delivery” … I did this in the “Chalkboard” technique … I thought it looked a little Old World Style …

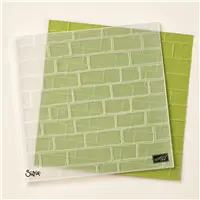
I’m also introducing a touch of Real Red in honor the big man’s suit, and a little sparkle for the holiday. I also embossed with the “Brick” embossing folder … not just to add a touch of texture but to reference the chimneys that Old Saint Nick climbs down each Christmas eve.

I borrowed the snowflake from the Seasonal Layers Thinlets, because I know, many of my stampin’ friends / customers have the Colorful Seasons Bundle so it’s a great way to show how to blend bundles and use your stamping supplies to their full potential.

I hope you have enjoyed today’s card and the reasoning behind some of the choices I made to create this card … the holiday’s are so fun and the perfect time to unleash your creativity!

Thank you for checking in with me today.

I hope you are having a good one ~

Today’s Stampin’ Supply List ….

Merry Little Christmas Suite …

Hello Stampin’ Friends ~

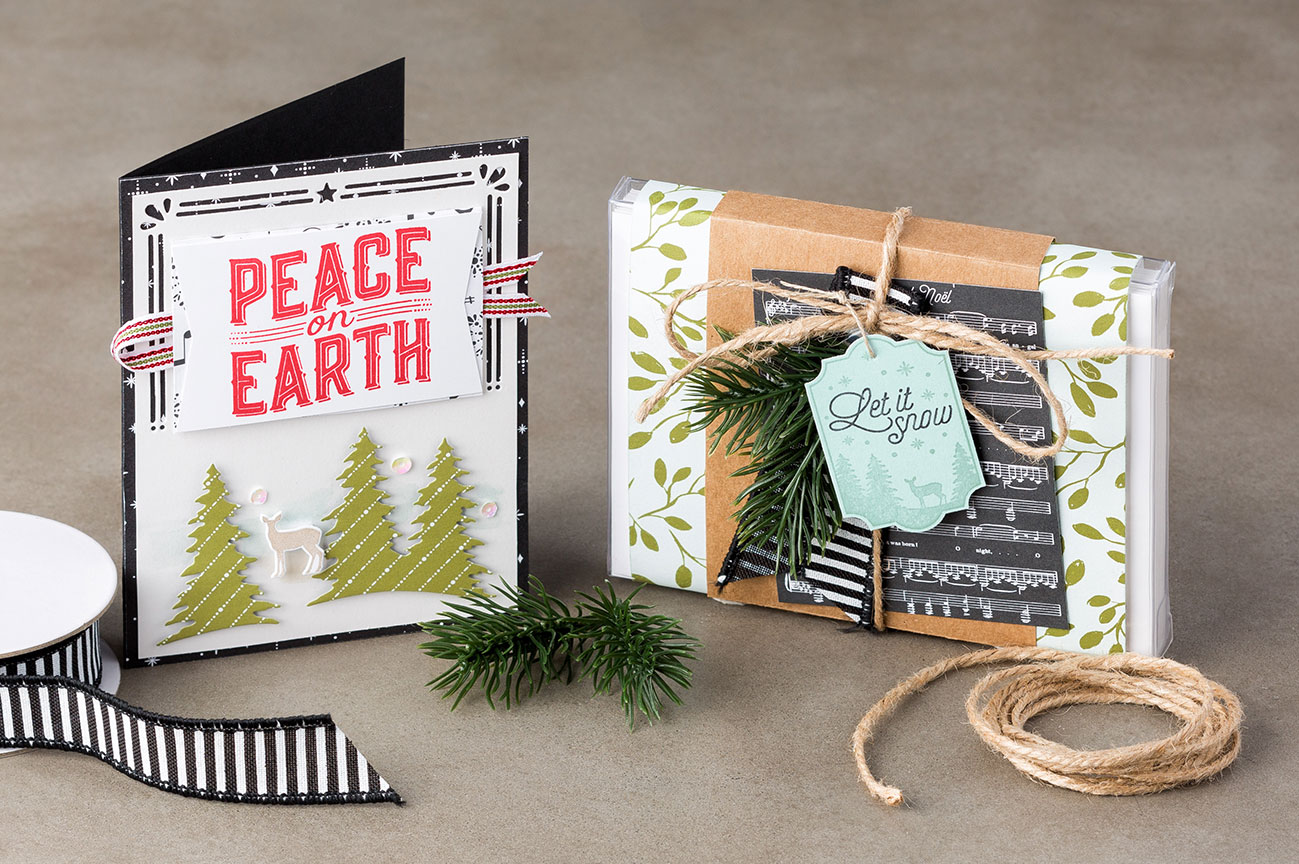
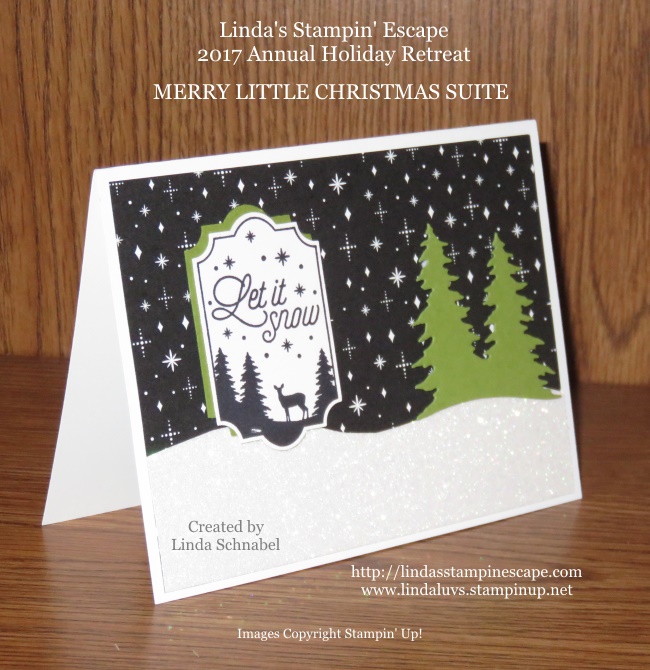
Today I’d like to share with you another one of our retreat cards. This card comes from the Merry Little Christmas Suite!

This masculine style card was quick -n- easy and a big hit at retreat. Our background comes from the Merry Little Christmas Designer Series paper. We then cut a snow bank our of a piece of the Dazzling Diamonds Glimmer paper.

Next, we used the tree dies from the Card Front Builder Thinlits Die and cut them out of Old Olive to give the card a fun pop of color.

The “Let it Snow” was stamped in Memento Ink onto Whisper White cardstock and then punched with the “Everyday Label” punch. A piece of Old Olive was punched to mask the greeting and again, add that nice touch of color.

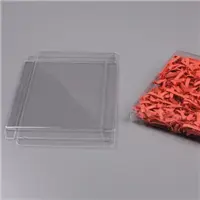
We created 4 quick -n- easy cards that were tucked into one of the Acetate Card Boxes. This makes a perfect little gift for a teacher or neighbor … or keep them protected for yourself!

Hope you enjoyed today’s peek into our Saturday morning retreat stampin’ session. I’ll be back tomorrow with one more …

Till then, enjoy your weekend!

Thanks for stopping by.

Here is a quick list of the products used for our card today …


Night in Bethlehem / Guest Stamper: Lynne O.

Hello Stampin’ Friends ~

Today I’d like to share with you another beautiful card the we received from the Attendee Swap at the Annual Holiday Retreat. Our stamper is Lynne O. and she used the Night of Bethlehem bundle.

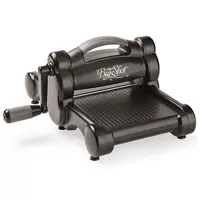
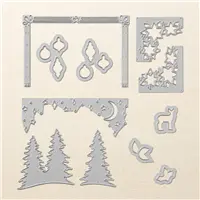
Here is a picture the illustrates the stamps and dies that are included in this bundle. You can create a die-cut Bethlehem scene in record time with Edgelits dies and the Big Shot …

Lynne’s card is beautifully layered to give it a wonderful dimension … the shading in the background also gives you the feel of a wondrous skyline.

It’s easy to send a powerful holiday message of Joy and Love with these beautiful silhouettes. This amazing bundle will make it easy to recreate this Christmas Story so you can proudly send these to your family and friends.

I hope you took some time to look at all the pictures so you can see the versatility of this beautiful stamp set and coordinating framelits dies. Remember … when you purchase a bundle, you save 10%.

Thank you for joining me today ~

Have yourself a wonderful weekend!

Here is a list of the items used …


Quilted Christmas Guest Stamper

Hello Stampin’ Friends ~

Today I’m not only going to share with you my Quilted Christmas creation for our Holiday Retreat but one of the swap cards that was done by one our attendees! Two … Two … Two times more fun!

We’re going to begin with our Attendee Swap and  Guest stamper: Cindy C.  We were lucky that Cindy chose the Quilted Christmas as her swap because then our guests had yet another sample from this fabulous suite!

If you like quick and simple cards for your Christmas cardmaking, this card may be a good choice for you. It’s so cute and with the patterned designer paper, it’s going to be fun and easy to recreate.

Our next card utilized the coordinating die set … I wanted to show our guests how easy it was to use these framelits dies in unison with the designer paper.

The frame was cut out of Real Red using “what I call” the main quilting design from the set. The green plaid was cut with a secondary piece, what’s neat about this one is it fits with the red frame and leaves a stitching look on it.

The white and green designer paper is just a square cut to the size of the red piece. Once we glued this together (Let Dry) we ran it through the BigShot using the Quilt Top Impressions folder … it looks so cool!!

The additional die cut flower comes from the framelits set and the greeting from the stamp set. I LOVE BUNDLES & Suites!! Having “everything” coordinate makes your cardmaking so much easier.

There is so much more you can do with the Quilted Christmas product suite that I have decided to do an additional class! Watch my blog or check out my website for upcoming classes!

Thanks so much for hanging around with me and waiting for this second look at our Quilted Christmas portion of my Holiday Retreat.

Have a wonderful day ~

The Quilted Christmas Products used are listed below … Click on any item for more information or to begin shopping. Remember, with each $50 spent before shipping & handling, you will earn a rewards point from me!! Once you collect 10 points … I will send you a coupon for a FREE Stamp Set (YOUR CHOICE!!)

I would love you have you as one of my Stampin’ Escape rewards customers!


Quilted Christmas Suite …

Hello Stampin’ Friends ~

Yesterday I shared our Retreat welcome and a touch of our Friday evening celebration, but now it’s time to open up the bags and break out the stamping!!

We kicked off our stamping with the Quilted Christmas Suite … it has everything coordinating and fun!! And with our Retreat Theme: Home for the Holiday’s … Our first two cards were 3 x 3 note cards (for gifting).

We used the Quilted Christmas 6 x 6 Designer Series Paper and the totally fun Stitched Felt Embellishments!

We continued with another 3 x 3 note card and them embellished the Pizza Box to coordinate with our cards.  The perfect gift for a teacher, co-worker, your quilting friends … any friends, or yours to keep!

For the Pizza Box … we broke out the coordinating dies and cut out … do you believe this, a coordinating pattern to give our paper dimension!

This is an amazing suite of products that coordinate perfectly and bridges the quilting world with the stamping world.

This is just the tip of the iceberg … stop back tomorrow as I share another project we did with this suite and one of our Swap Cards!!

Thank you for stopping by today …

Hope your day is a good one!

Here are all the great products we used for todays projects! Just click on them to begin your shopping … or contact me anytime!