Hello Stampin’ Friends,
Today I am sharing the official invitation to my Spring Stamping Retreat. Please take a look and see if this is an event you would like to attend …
When was the last time you got to escape and do something for yourself?
I have exactly what you need …
a Stamping Retreat designed from top to bottom to put you at ease
from the demands of the outside world and recharge your creativity.
|
|
I would like to personally invite you to join me at my Spring Stamping Retreat!
You’ll enjoy your stay in a stunning 1930’s English Tudor Home on beautiful Green Lake. The surroundings offer a carefree setting for nurturing you and your creativity, allow you time for relaxation, and building new friendships.
Our retreat is all inclusive … Your lodging, all your meals for the weekend, and all stamping projects are included in one low price! We want you to enjoy your getaway… so you do not have to drag your entire stamp room with you.
Join us for this creative stamping escape and let the stress of the work week drift away with the tide. Linda
|
|
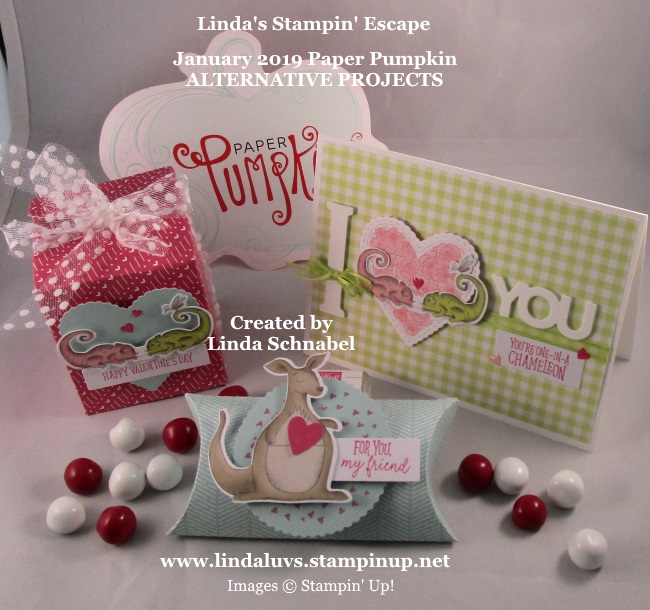
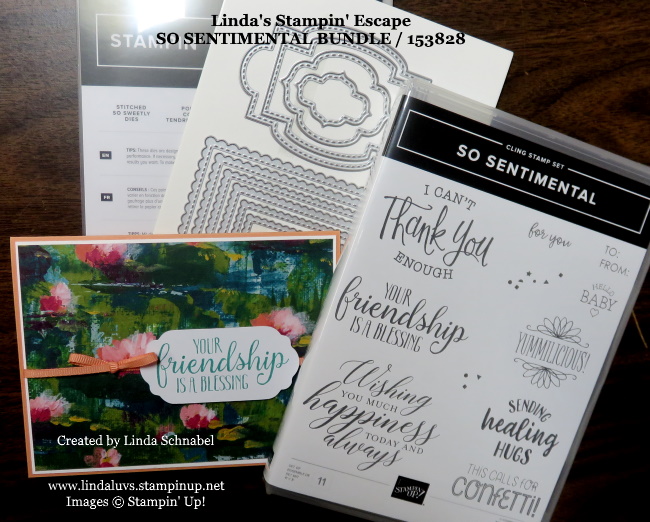
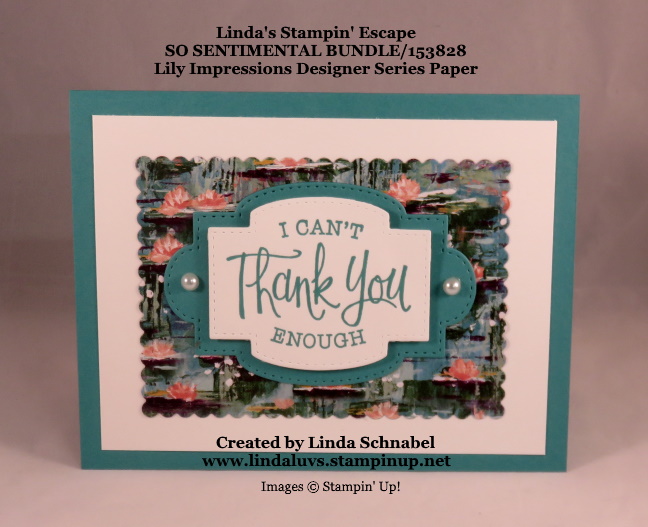
are held in a spacious, light filled meeting room and includes everything you need (cut and prepared for you) to create exceptional cards and projects in a relaxed, friendly & stress free environment.
|
|
|
|
is inviting, clean & comfortable. Our lodging is NOT “dorm style” so you and your friends can enjoy some well deserved “girl” time together. You’ll also find little surprises gifted to you each night of your stay.
|
|
|
|
Sit back and relax while enjoying wonderful home-cooked meals, desserts and snacks all weekend long. Coffee, tea, and bottled water are also provided throughout your stay.
|
|

You’ll find our All Inclusive Stamping Retreats affordable and private, spacious and splendid …
you will enjoy this relaxing getaway
and come away with fabulous completed projects, new ideas,
stamping tips, and new friendships.
Retreat Dates: April 24 – 26th, 2020
COST: $250 Early Bird /RSVP & Payment due by Feb.1st
After February 1st / Cost = $275 & Paid by February 28th.
Our retreats are on a first come first serve basis, contact me today.
Only payment received will reserve your stay. Once received …
Full details will be sent to you when your registration is confirmed.
Includes Directions, Swap Information, and More.
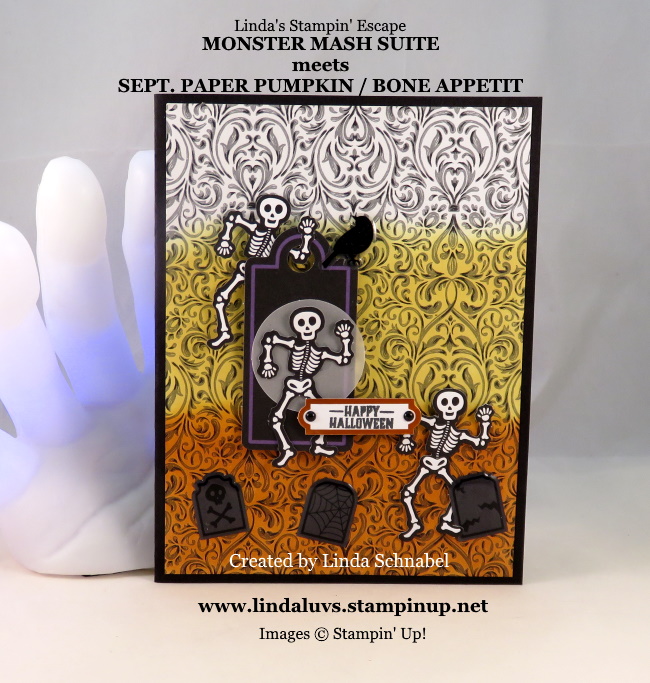
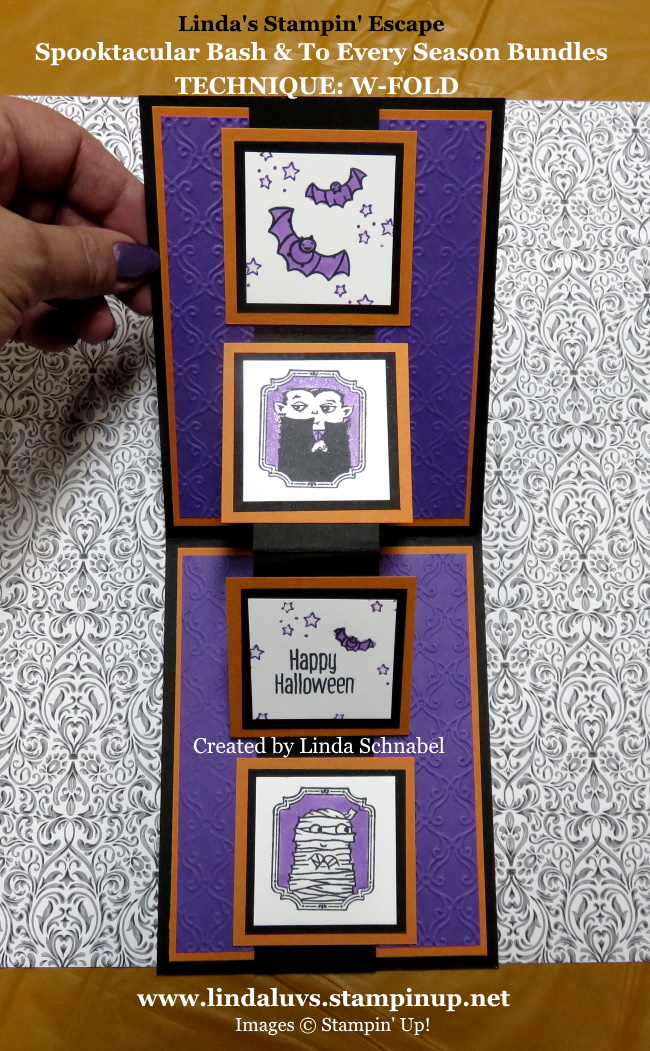
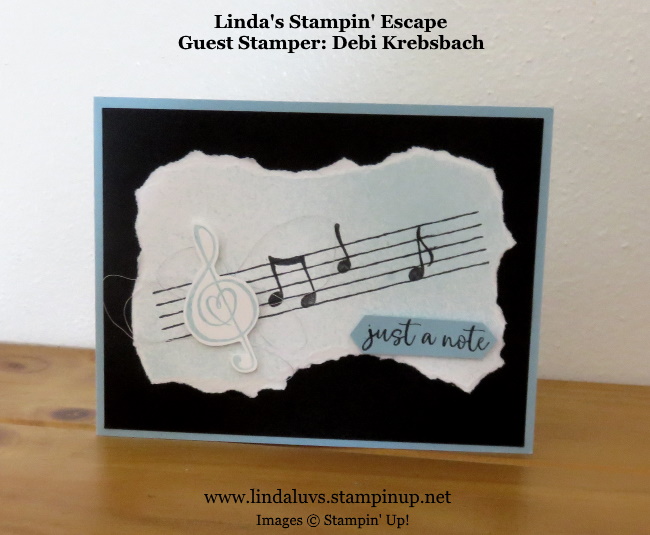
The 2020 Spring Retreat Theme is:
THE ART OF GIVING”
When sharing special occasions with family and friends, it feels good to give to others. This retreat will focus on those much needed “All Occasions Cards” that mean so much to those who receive them.
I’ll be happy to answer any questions you may have on my All Inclusive Spring Stamping retreat!
My contact information is listed below for you.
I’m looking forward to spending a fun & relaxing weekend with you! Linda

|
|
Linda’s Stampin’ Retreat
Linda Schnabel | 262-334-1009
|
|
I would truly enjoy having you join us this spring. It is a true retreat … fun, relaxing, fulfilling and filling! lol You’ll make new friends and go home with beautiful cards and cute little treats!
Thanks for taking the time to view my Stamping Retreat Invitation.
Have yourself a beautiful day,

Please feel free to share or save ...