Hello Stampin’ Friends ~
Creating masculine cards doesn’t have to mean sacrificing style. Today’s card combines rich color, subtle texture, and nature-inspired elements to create a design that feels both sophisticated and easy to recreate.
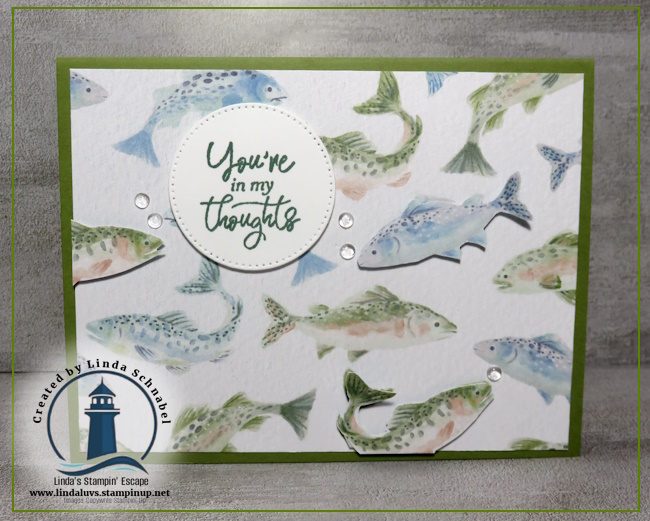
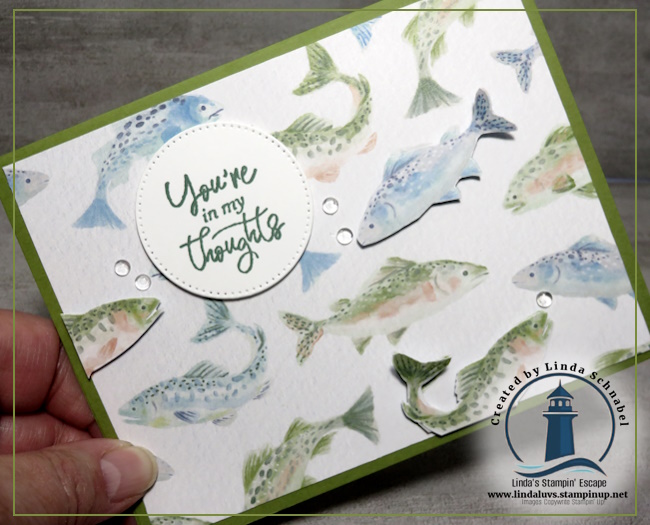
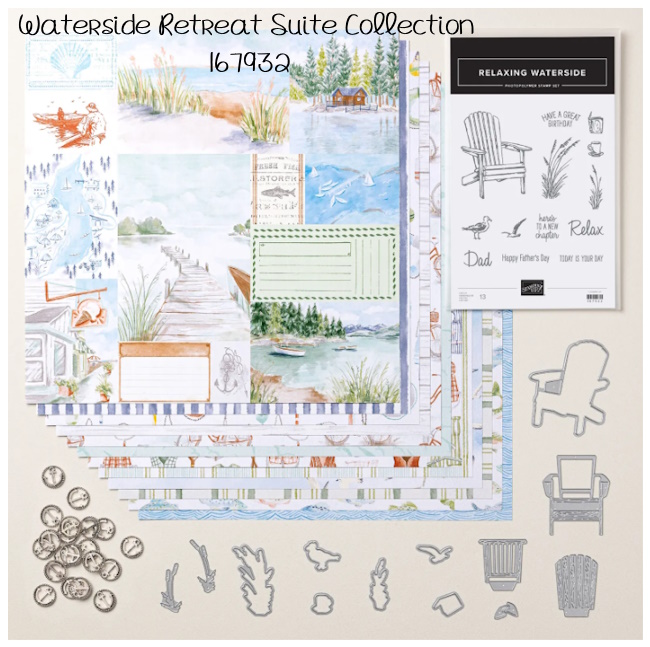
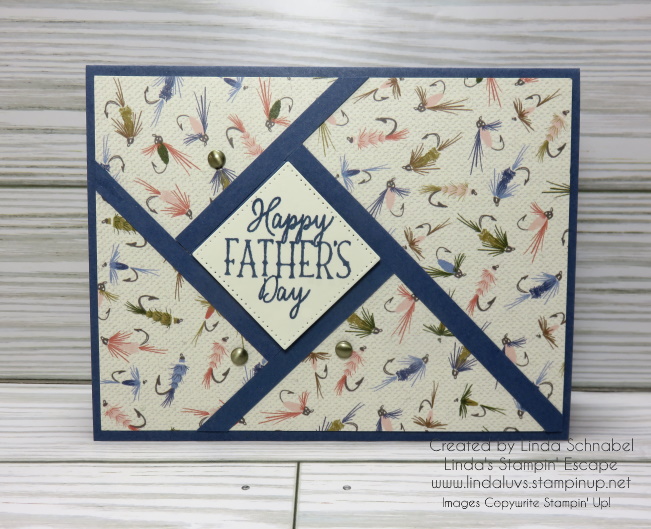
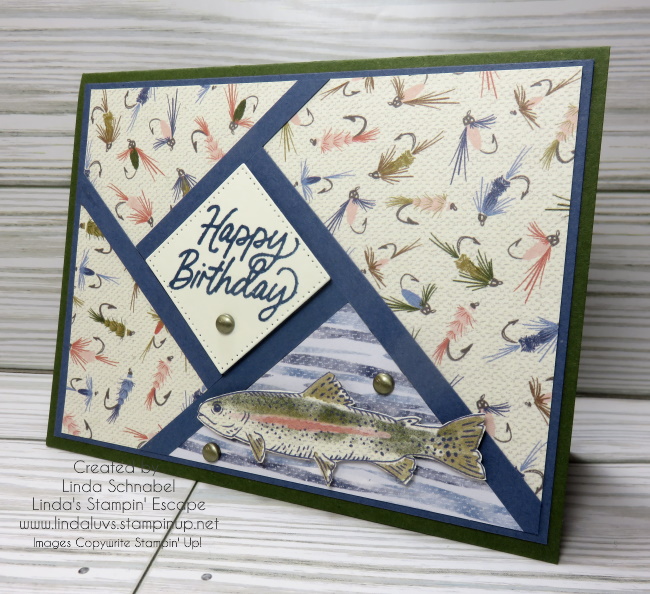
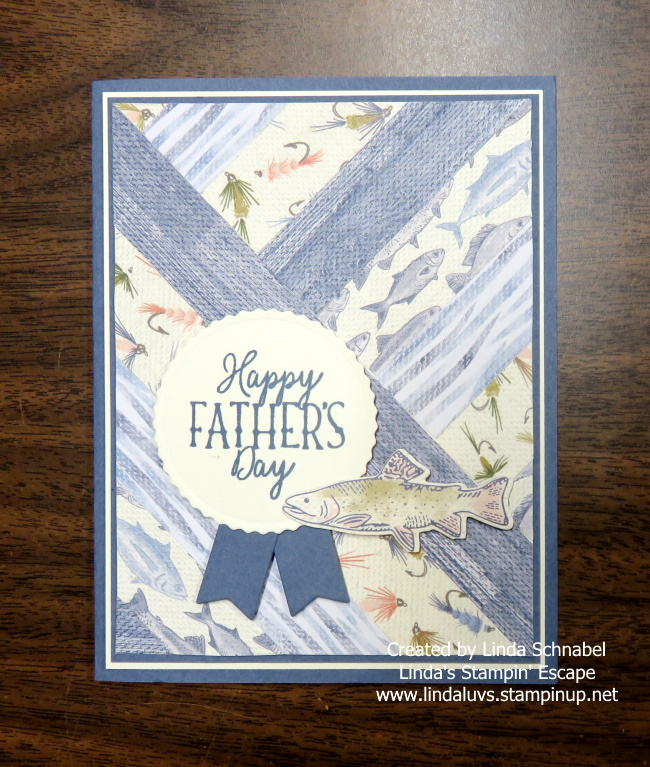
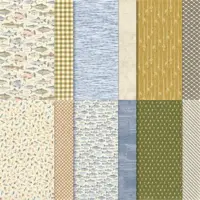
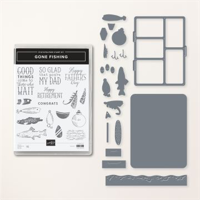
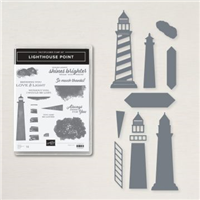
For this project, I paired the Nature’s Symphony Bundle with the beautiful patterns found in the Nature’s Walk Designer Series Paper. Together, they create a card that is perfect for birthdays, Father’s Day, thank-you cards, or simply letting someone know they’re appreciated.
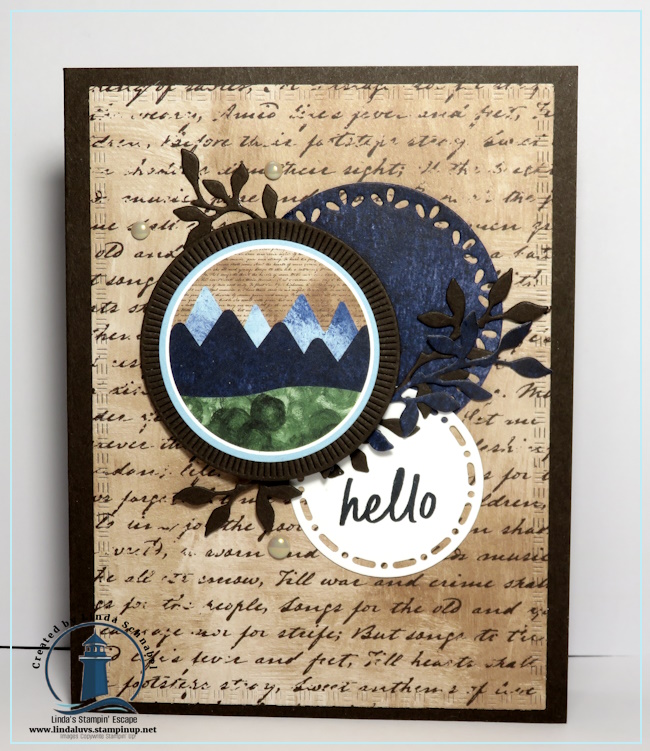
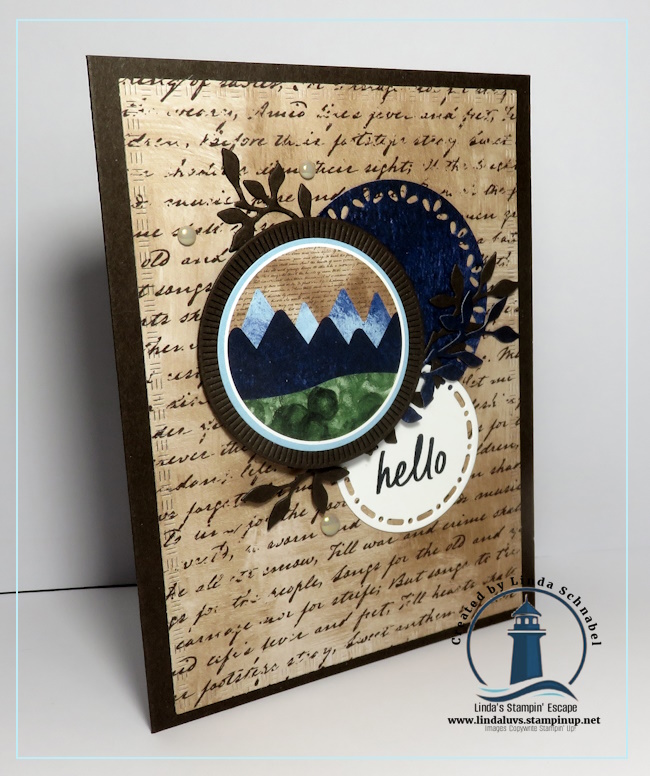
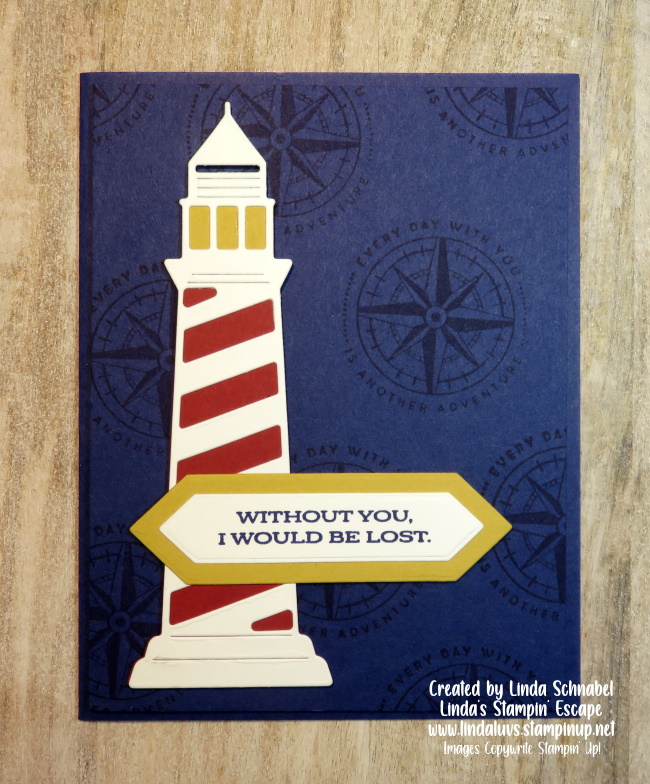
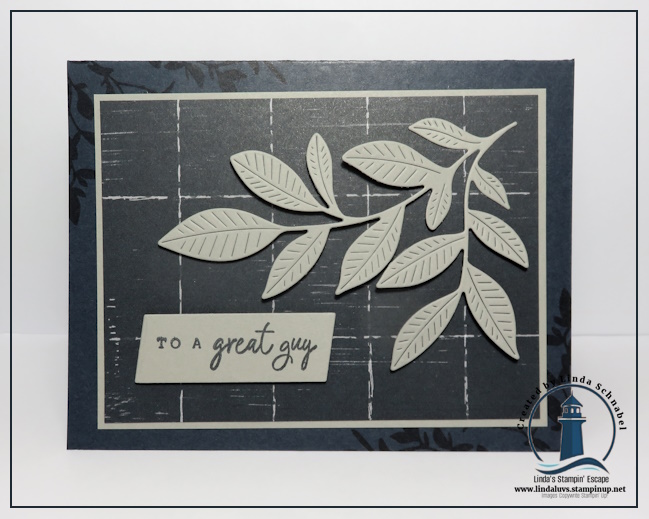
A subtle star of this design is the beautiful tone-on-tone stamping technique featured on the Night of Navy card base. By stamping the leaf images in Night of Navy ink directly onto the Night of Navy cardstock, a soft, elegant background emerges. It’s a subtle detail that adds depth and texture without competing with the focal point. This technique is one of my favorites because it creates visual interest while maintaining a clean, masculine look.
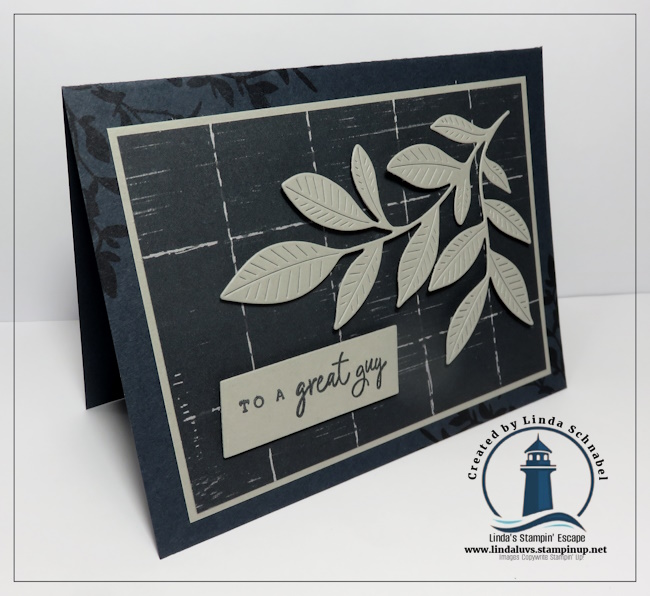
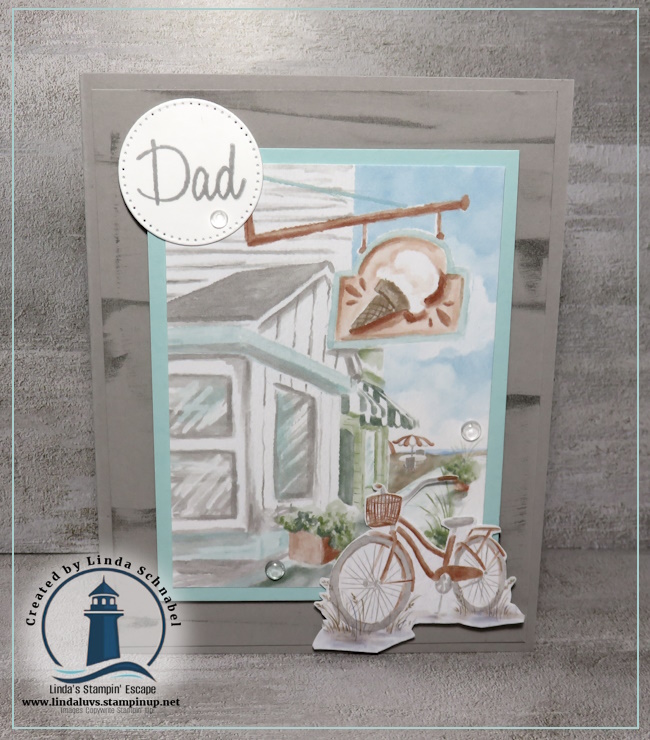
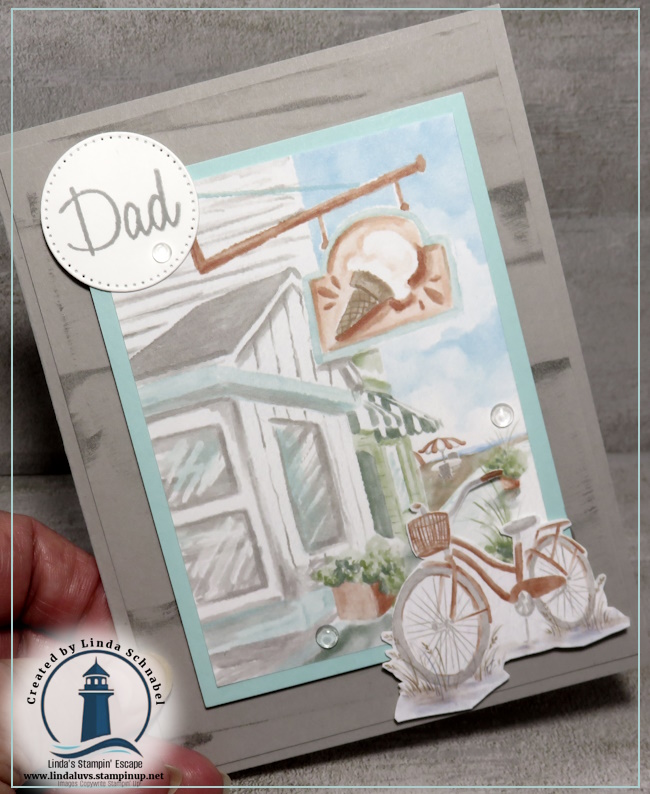
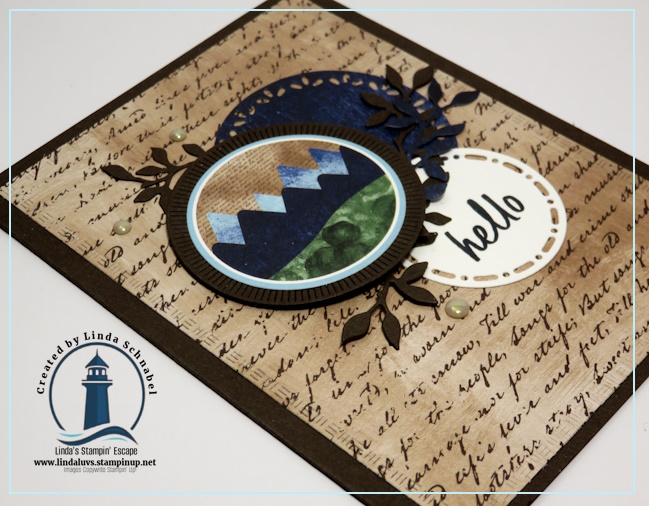
The focal panel features a distressed pattern from the Nature’s Walk Designer Series Paper, adding just the right amount of texture and character. Layered over the dark background are die-cut leaves in Gray Granite cardstock, creating a striking contrast while keeping the overall design soft and natural. The dimensional layering brings the foliage to life and draws your eye across the card.
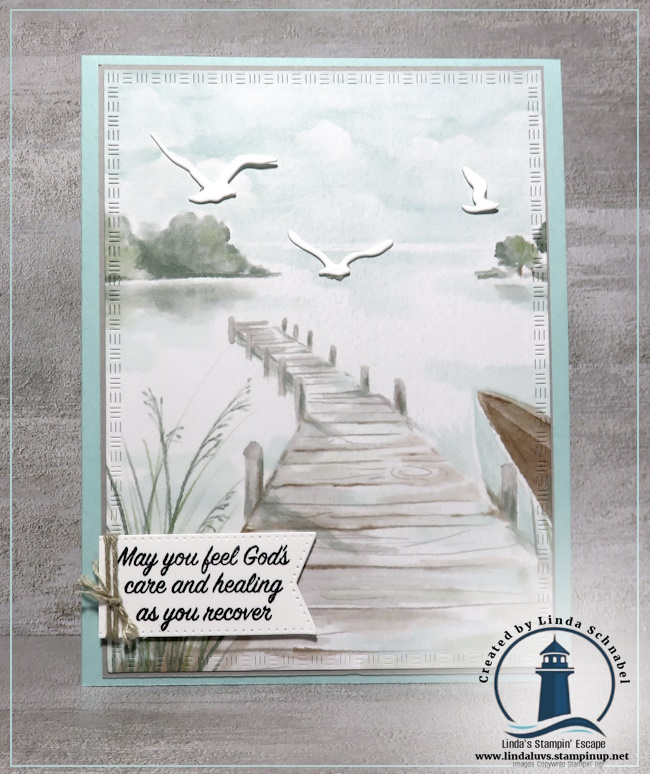
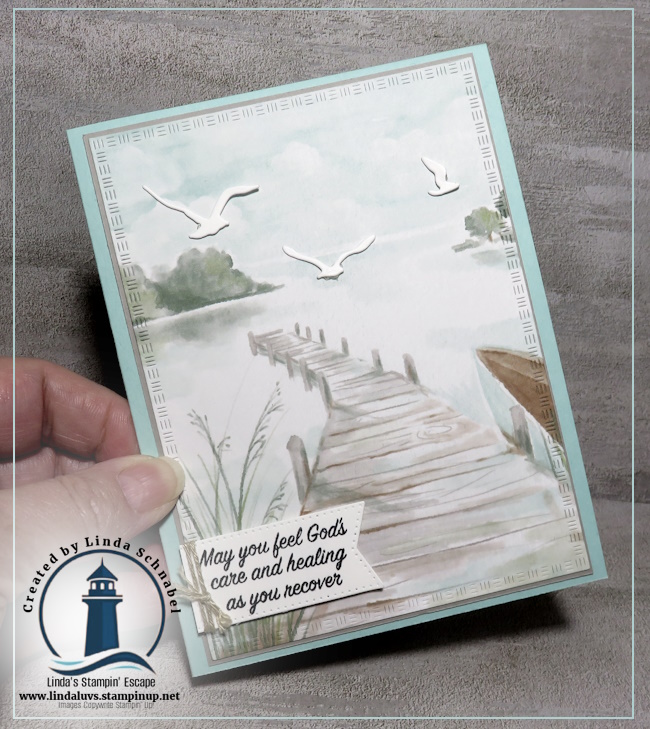
A simple sentiment, “To a Great Guy,” finishes the card perfectly. The clean greeting allows the beautiful textures and nature-inspired elements to take center stage while delivering a heartfelt message suitable for many occasions.
What I love most about the Nature’s Symphony Bundle is its versatility. The detailed leaf images and coordinating dies work beautifully for masculine cards, sympathy cards, thank-you cards, and seasonal projects. Combined with the timeless designs in the Nature’s Walk Designer Series Paper, you’ll find yourself reaching for these products again and again.
If you’ve ever struggled with masculine cards, try focusing on texture, layers, and a limited color palette. Techniques like tone-on-tone stamping create interest without adding clutter, resulting in cards that feel polished, thoughtful, and effortlessly masculine.
Sometimes the most beautiful cards aren’t the ones with the most embellishments—they’re the ones where every detail works together to create a simple, elegant statement. I think this card does exactly that.
I’d love to hear what you think! Are you a fan of tone-on-tone stamping, or do you prefer lots of color and contrast on your projects?
Thanks so much for spending part of your Sunday with me!! Have a great day.