Hello Stampin’ Friends ~
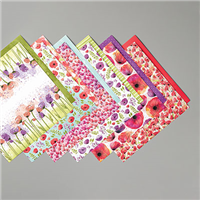
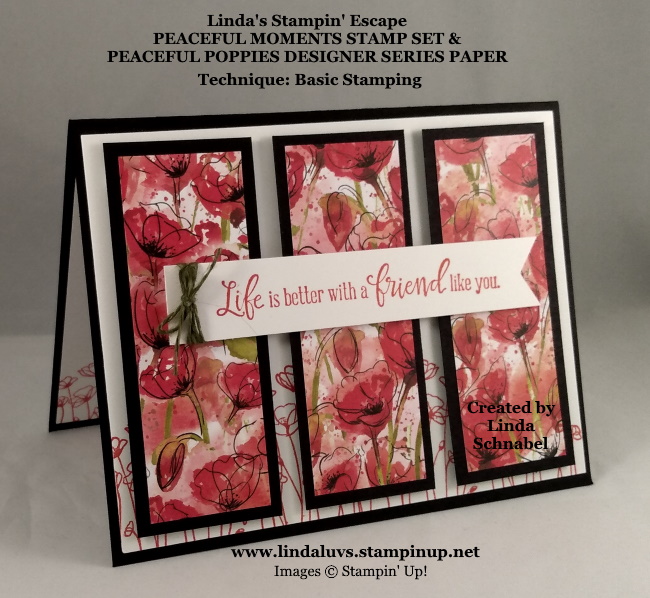
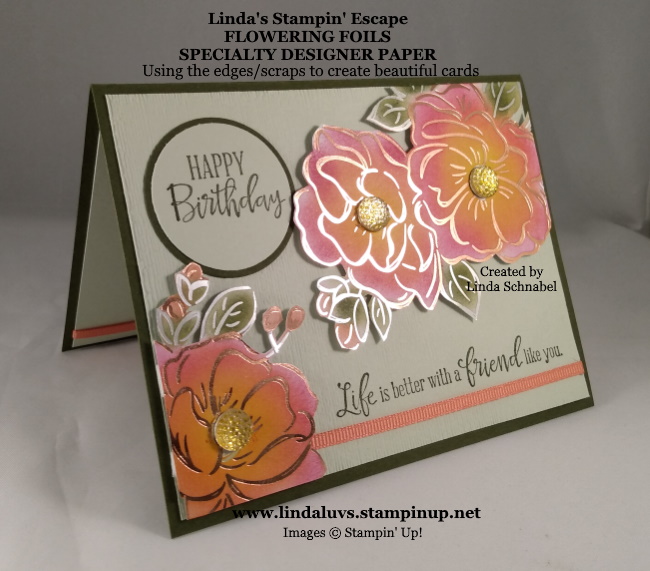
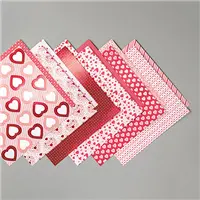
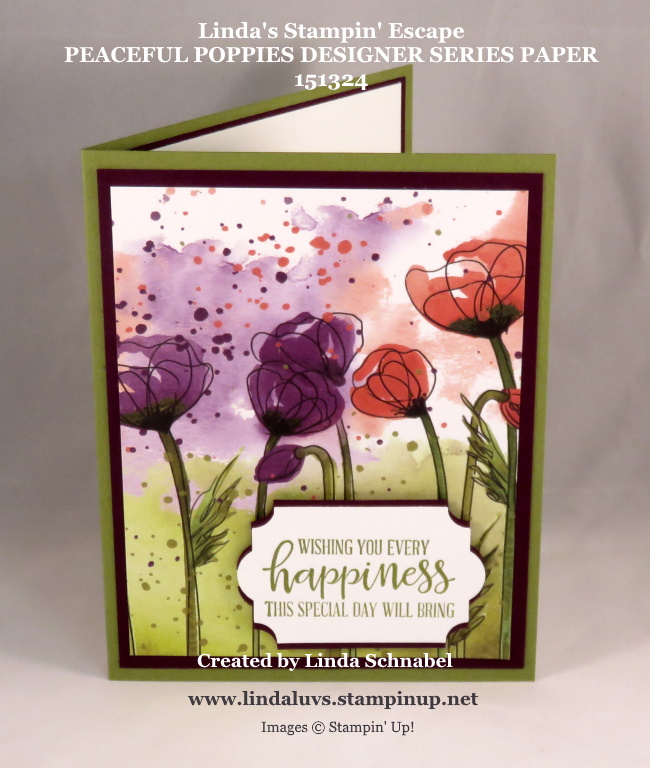
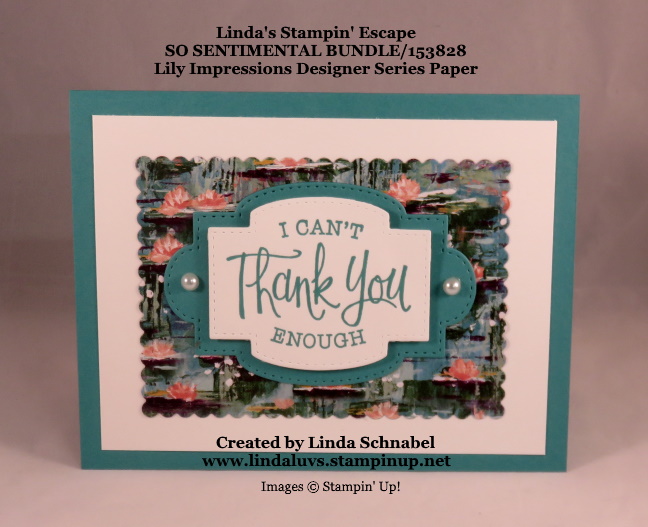
With only about two weeks left to our Sale-a-bration promotion, I just wanted to share some of the benefits of this with you. My card today features the Lilly Impressions Designer Series paper which is one of the FREE items you can earn during Sale-a-bration …
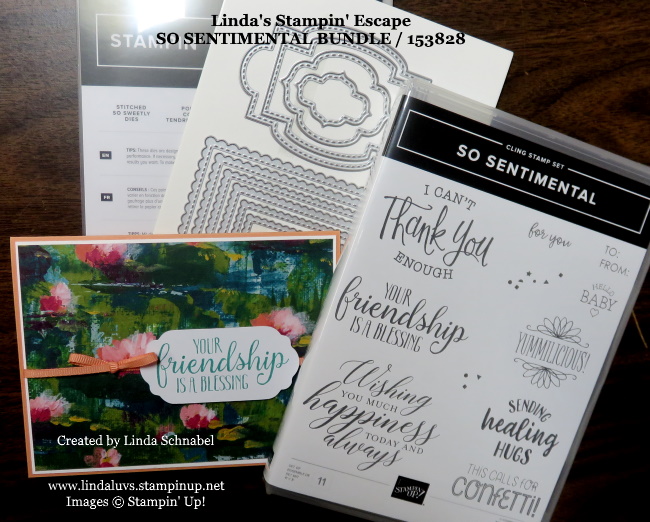
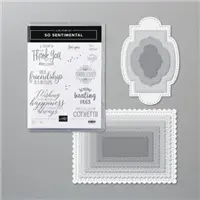
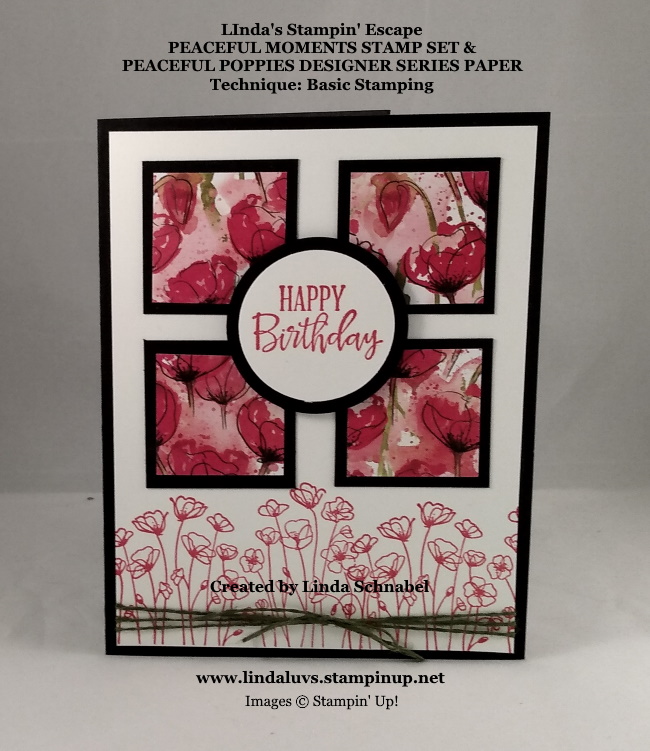
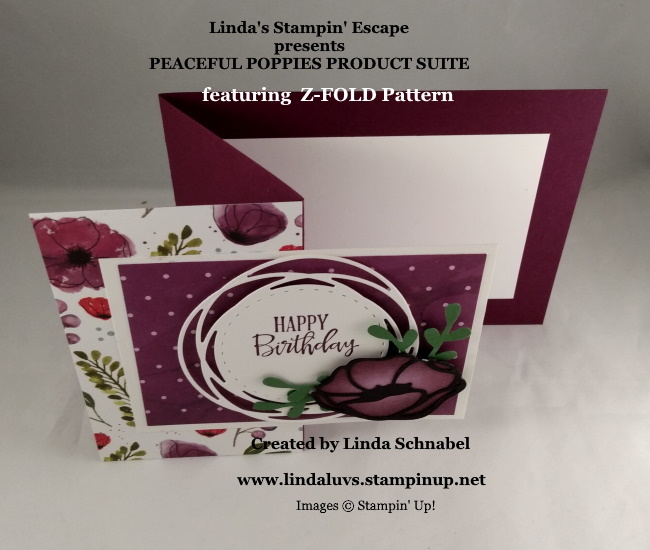
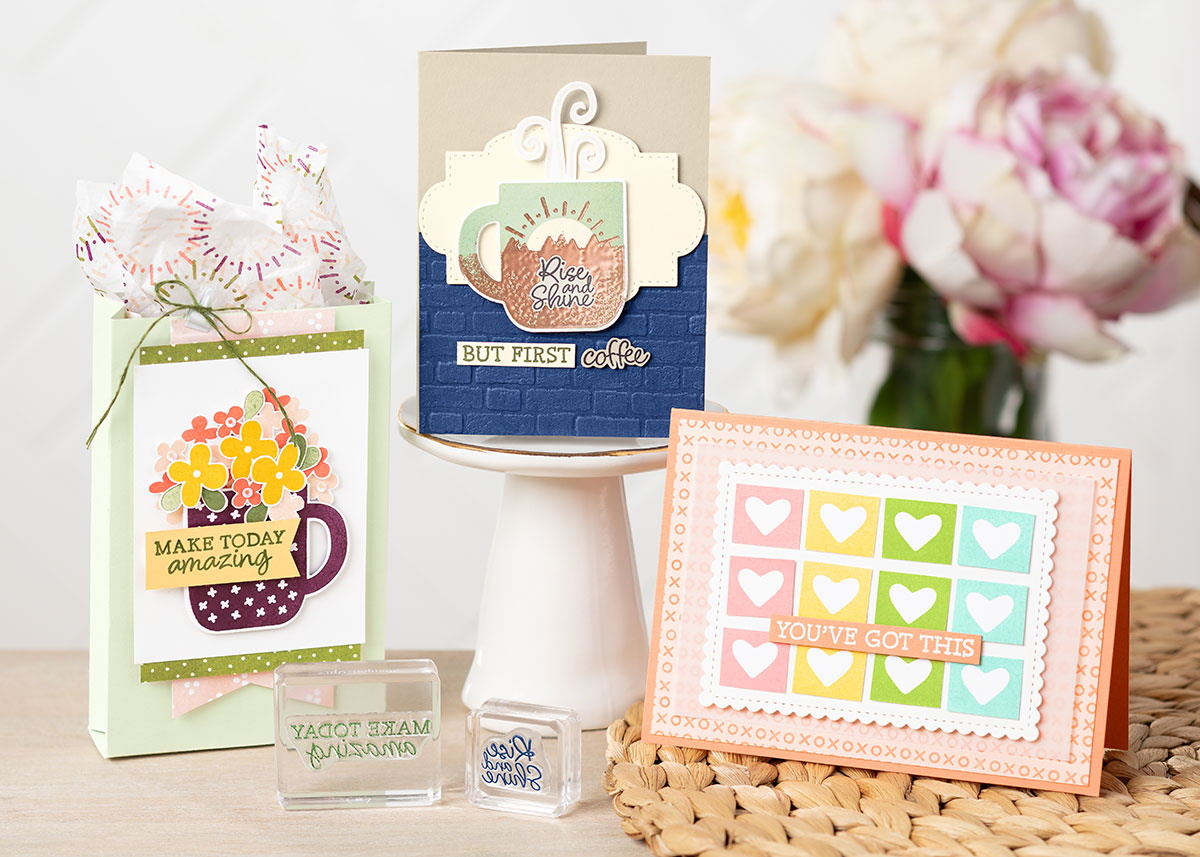
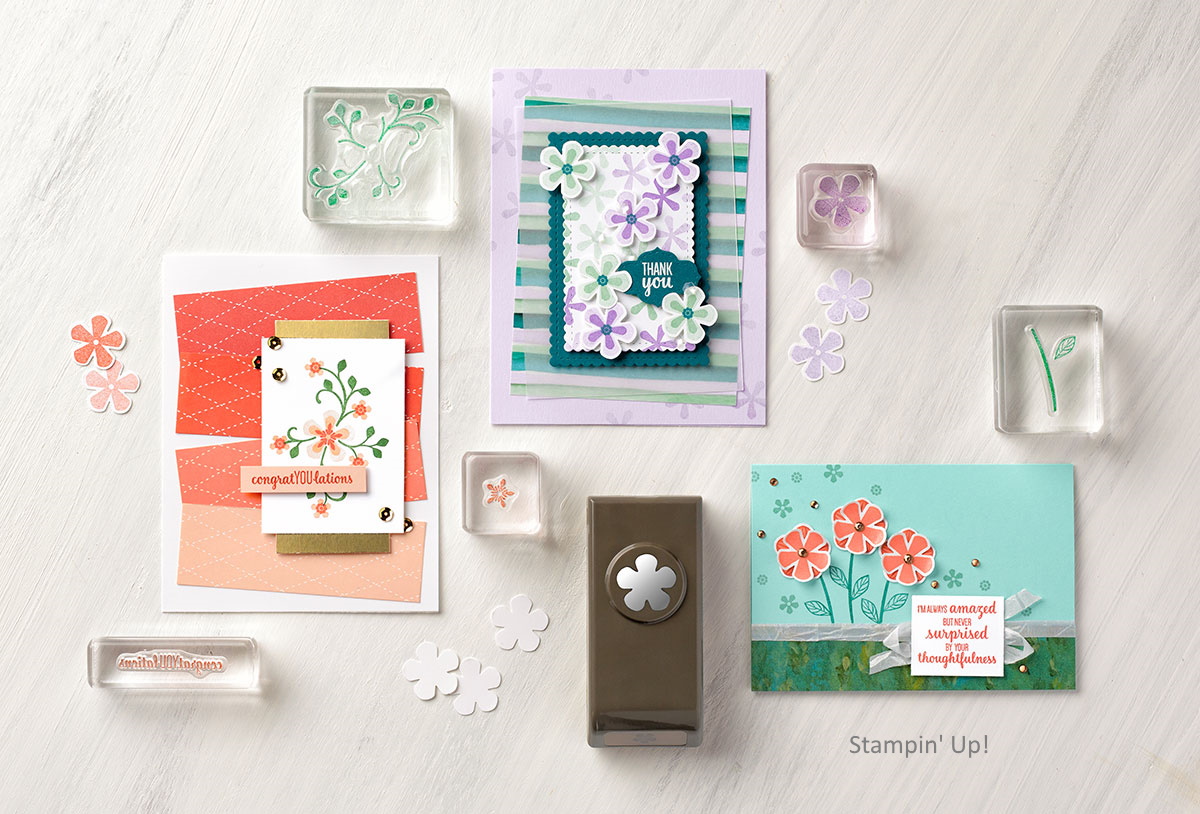
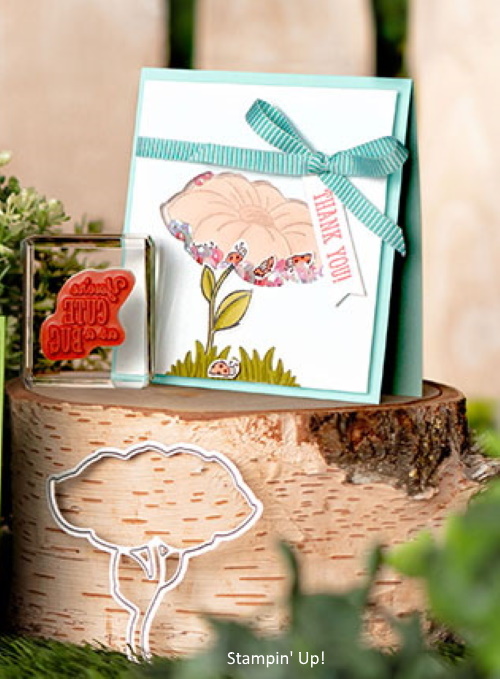
I paired my FREE designer paper with one of my favorite new bundles … the So Sentimental bundle (page 20). This bundle includes beautiful sentiments and amazing die shapes to go with you sentiments or anything you choose. This threesome is perfect for making quick, easy … beautiful cards.

When you shop during Sale-a-Bration … YOU can earn a FREE product every time you reach a threshold. For example, if you spend $50 you can choose 1 Level 1 item … If you spend $150, you can then choose three level 1 items or one level 1 and one level 2. Having 2 Levels gives you more flexibility to choose what you want, and the choice to pick products at a higher value. See Levels / Amounts Below.
Market |
Level 1 |
Level 2 |
US |
$50 |
$100 |
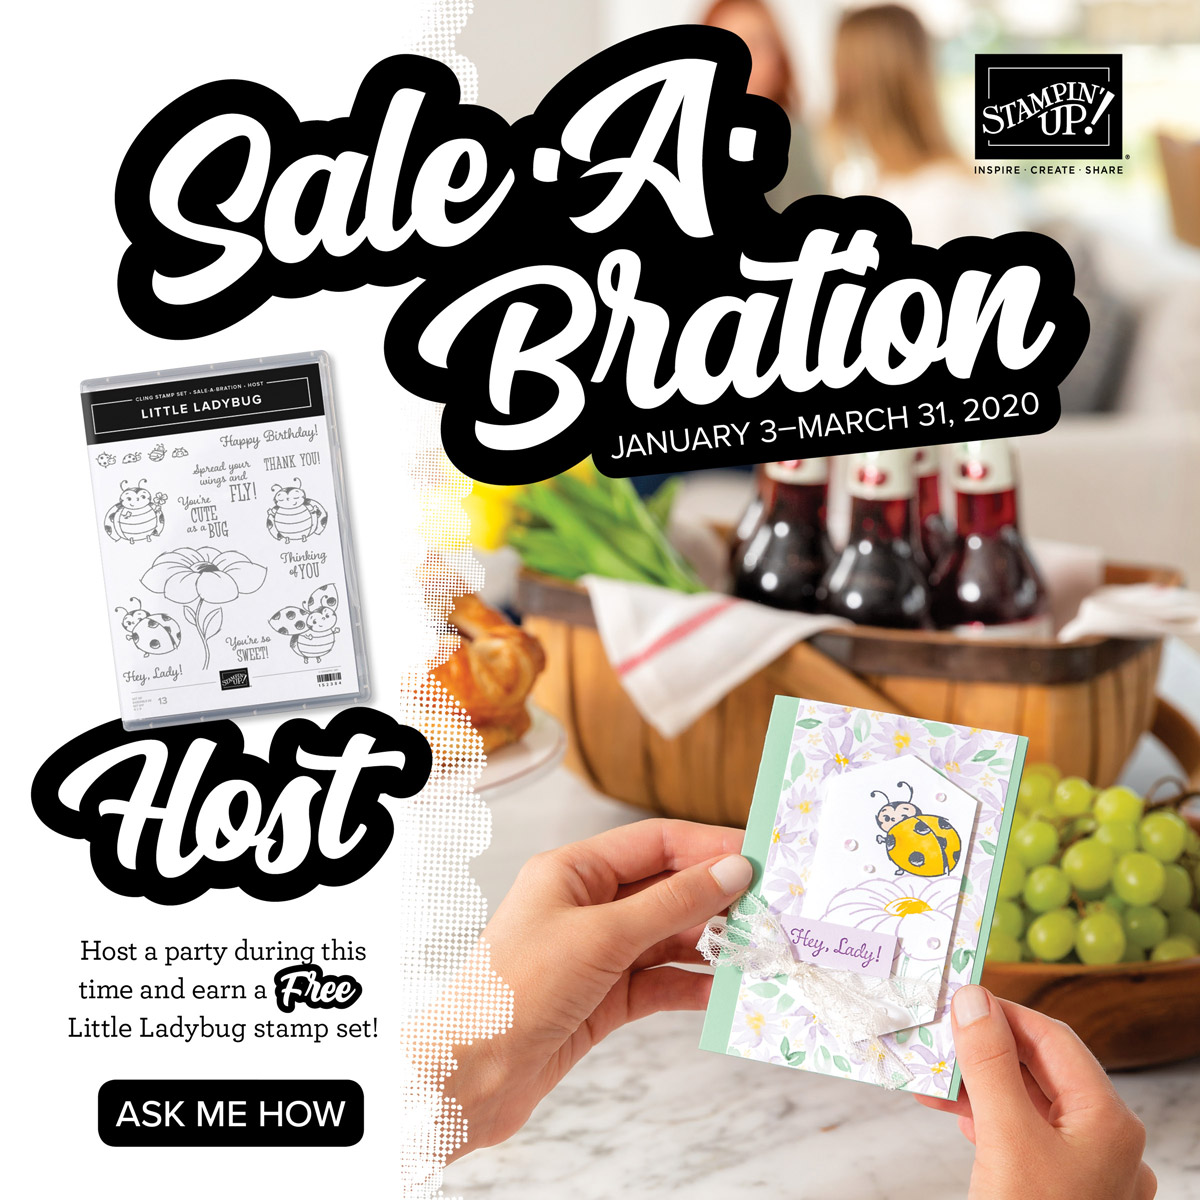
When you HOST a Stampin’ Party with qualifying orders ($300) YOU will receive the exclusive Little Ladybug Stamp Set! This is above the rest of your Hostess gifts. Plus you will receive a special gift from me and all of the projects I demonstrate at your party!! Let’s gather and have some fun … then we’ll sit down and pick out all your free goodies!!

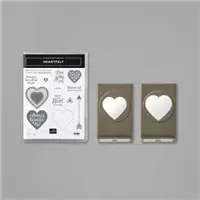
Anyone who joins Stampin’ Up! as an independent Stampin’ Up! demonstrator between January 3–March 31, 2020, will receive the Mini Paper Cutter, 6″ x 6″ Designer Series Paper sampler, and their choice of stamp set*. / *Host stamp sets and Sale-A-Bration stamp sets not included.
Check out the quick video ….
This is the perfect opportunity to open that door and explore what may be waiting for you! You can take this ride and make it your own, or you can sit back and relax and just savor the discount while enjoying all the benefits that every demonstrator enjoys … let’s talk! I’ll put on the coffee, let’s see what happens.
One last look at our card today …

Thank you so much for stopping by today, and let me know if I can help you with your Sale-a-bration order, or if your ready to host a stamp party!
Have a wonderful day ~

TODAY’S STAMPIN’ SUPPLY LIST … You’ll choose a FREE Sale-a-bration Item with each $50 (before S&H) from either the Jan-June 2020 Mini Catalog or the Annual Catalog. You will also earn a Virtual Rewards Point from me to put towards a FREE Stamp Set of your choice for each $50!! Double the goodies.