Hello Stampin’ Friends ~
Happy December! There is so much going on this month that I want to share with you … and I’ve got some great card samples as well.
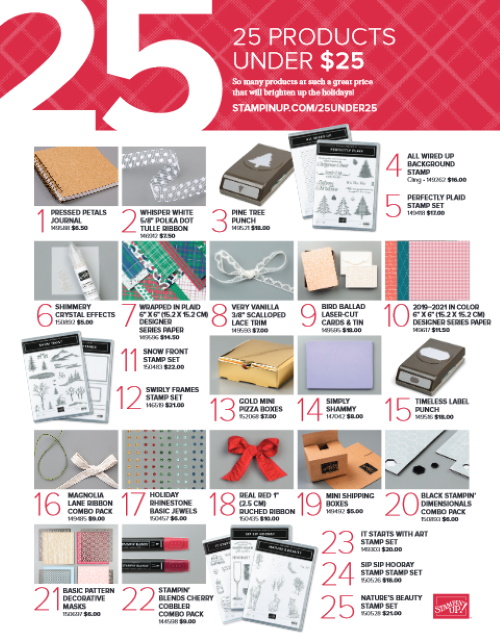
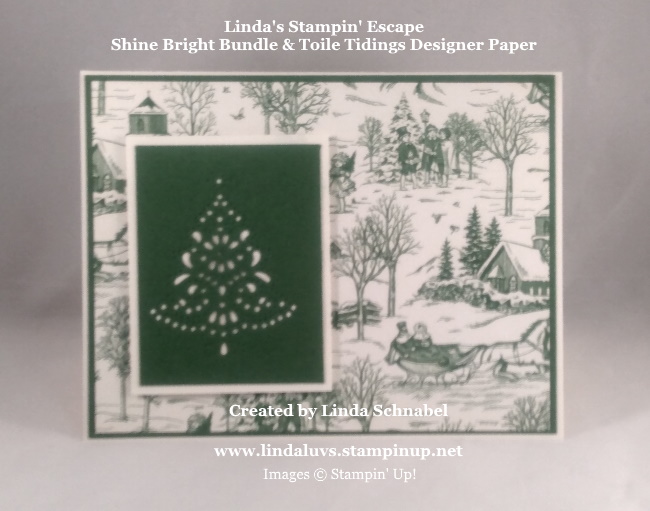
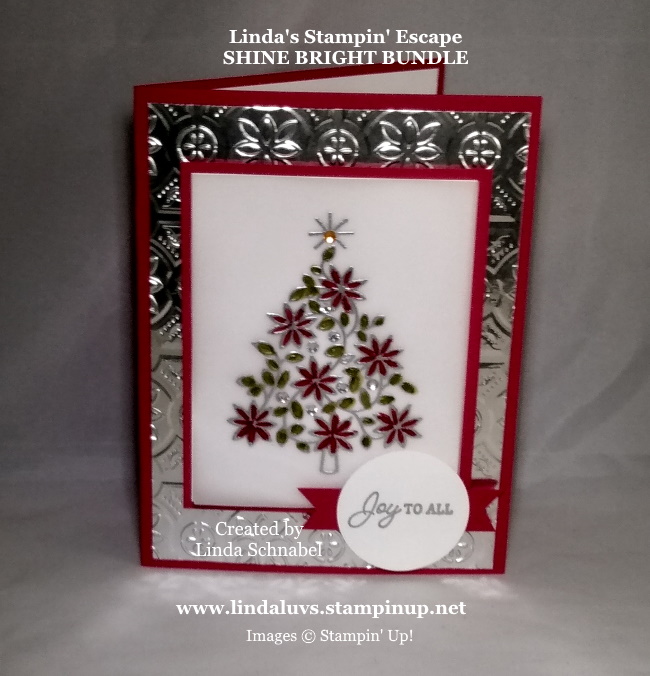
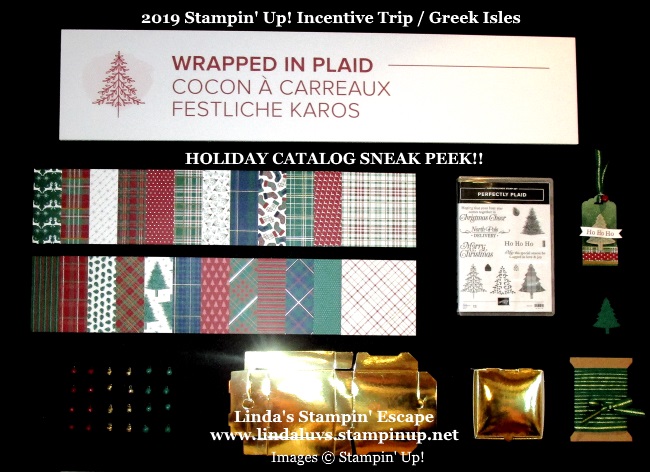
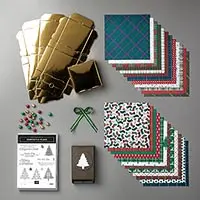
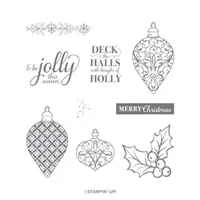
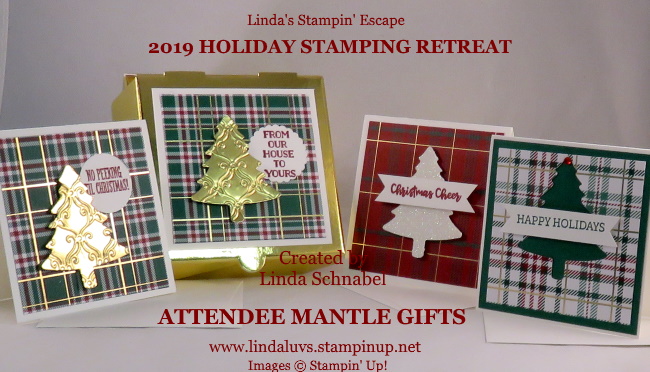
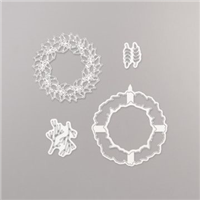
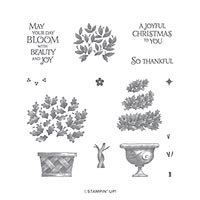
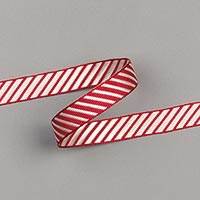
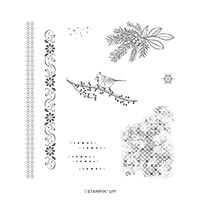
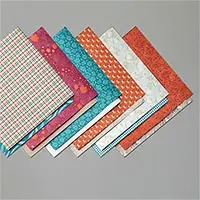
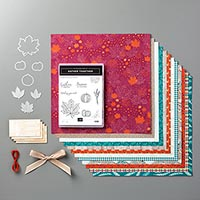
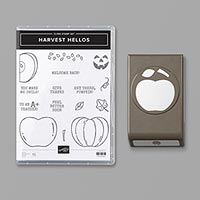
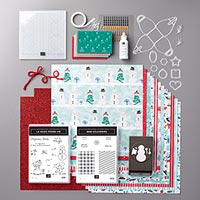
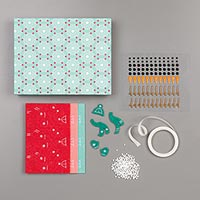
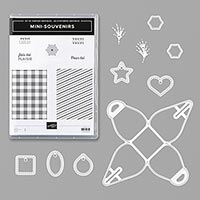
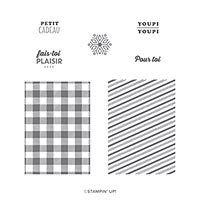
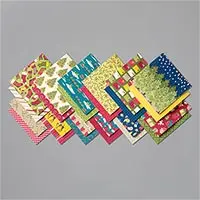
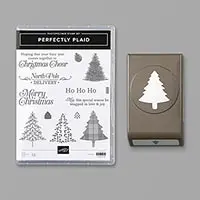
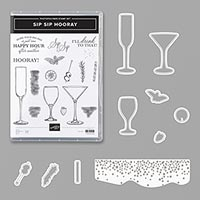
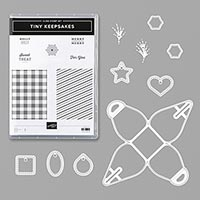
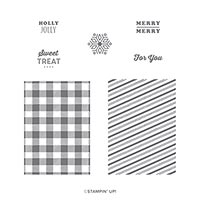
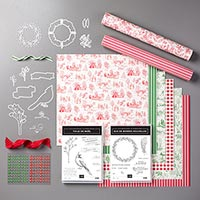
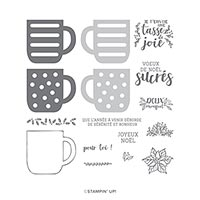
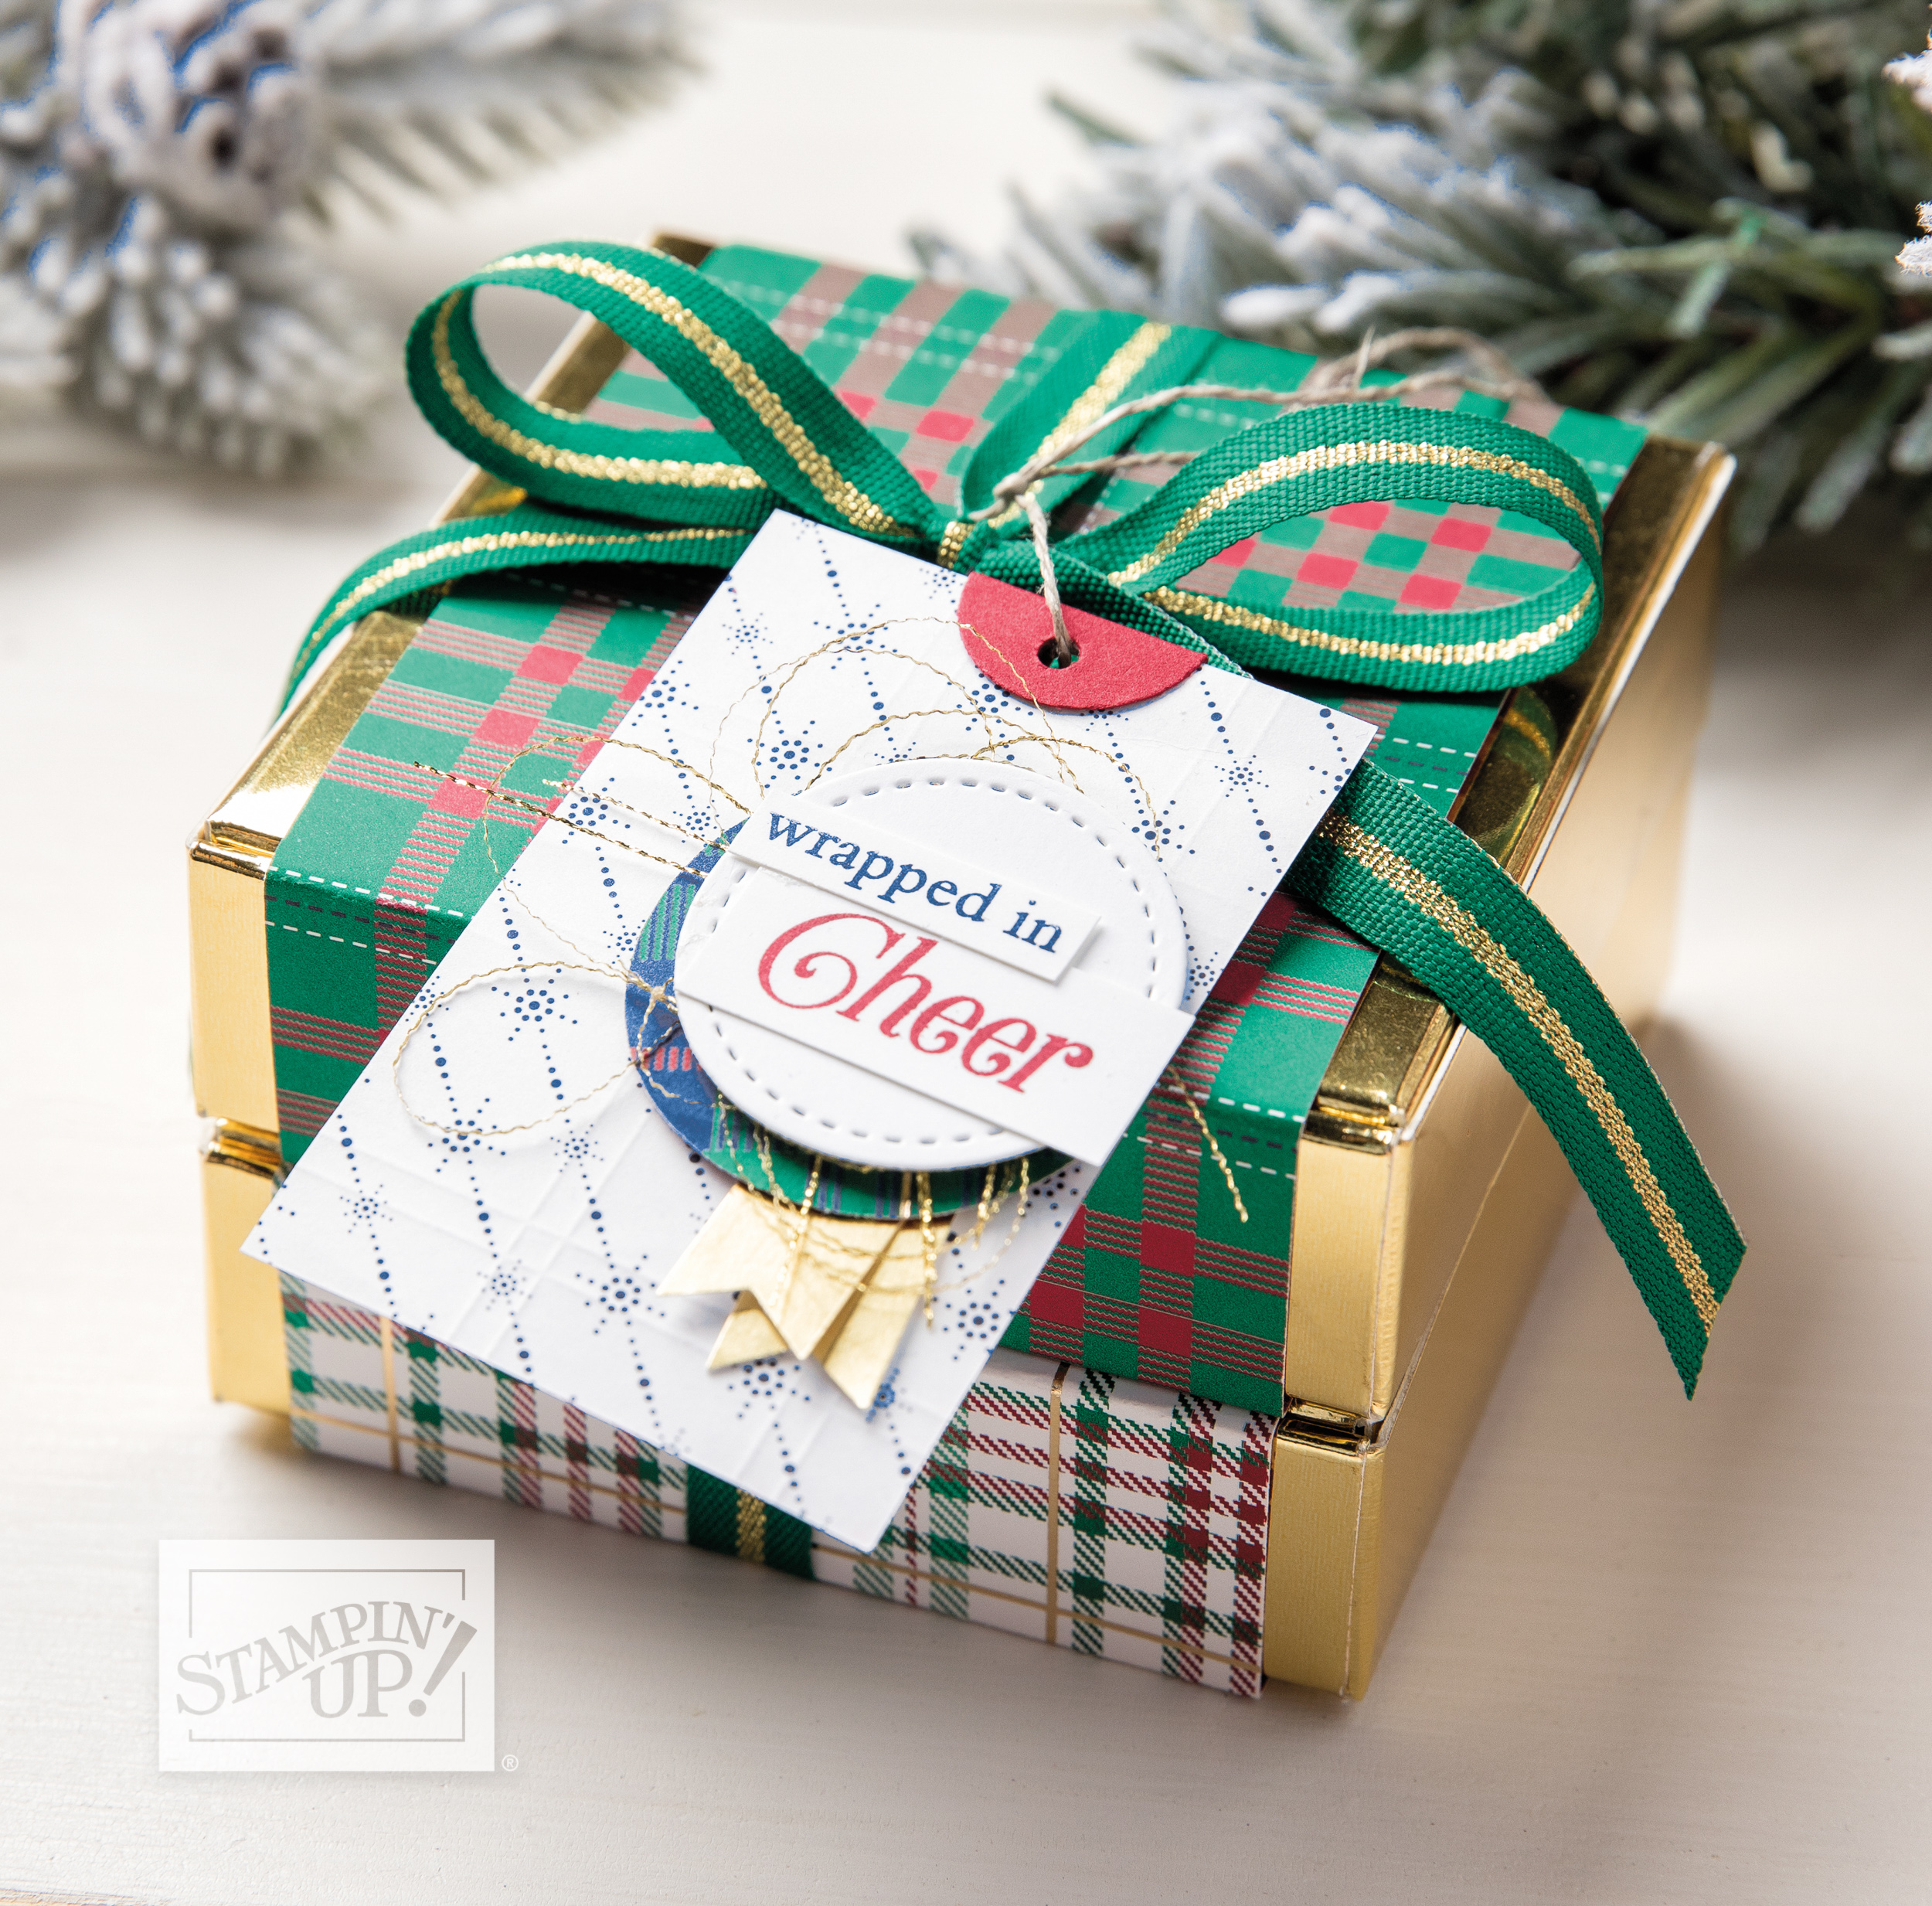
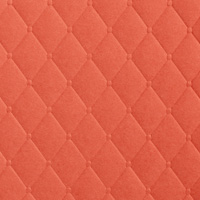
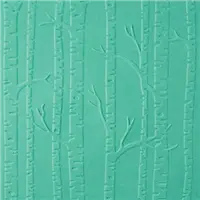
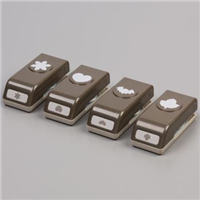
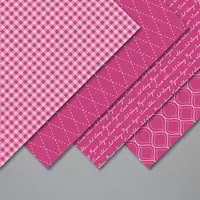
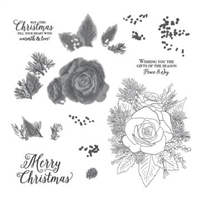
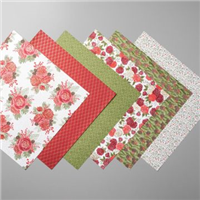
The first image is a selection of the Pine Tree Punch, the Perfectly Plaid stamp set and the Wrapped in Plaid Designer paper which are all on our 25 Gifts Under $25

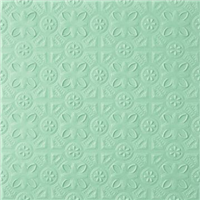
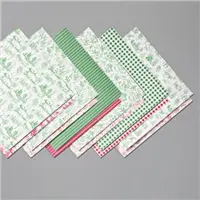
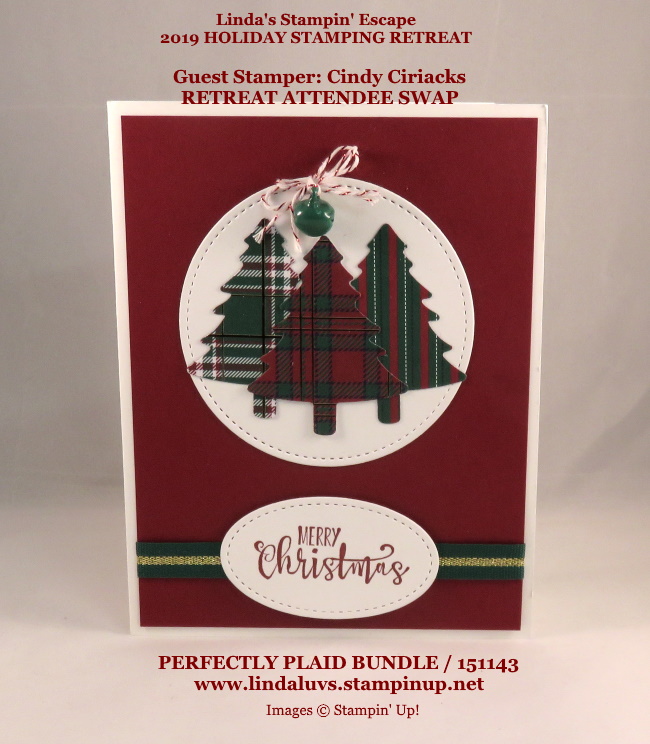
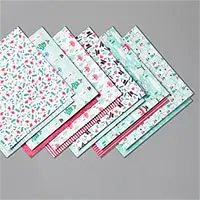
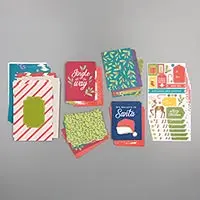
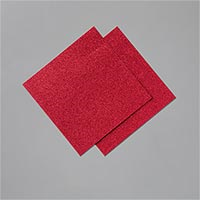
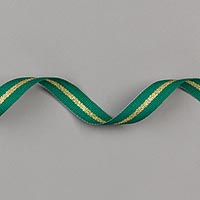
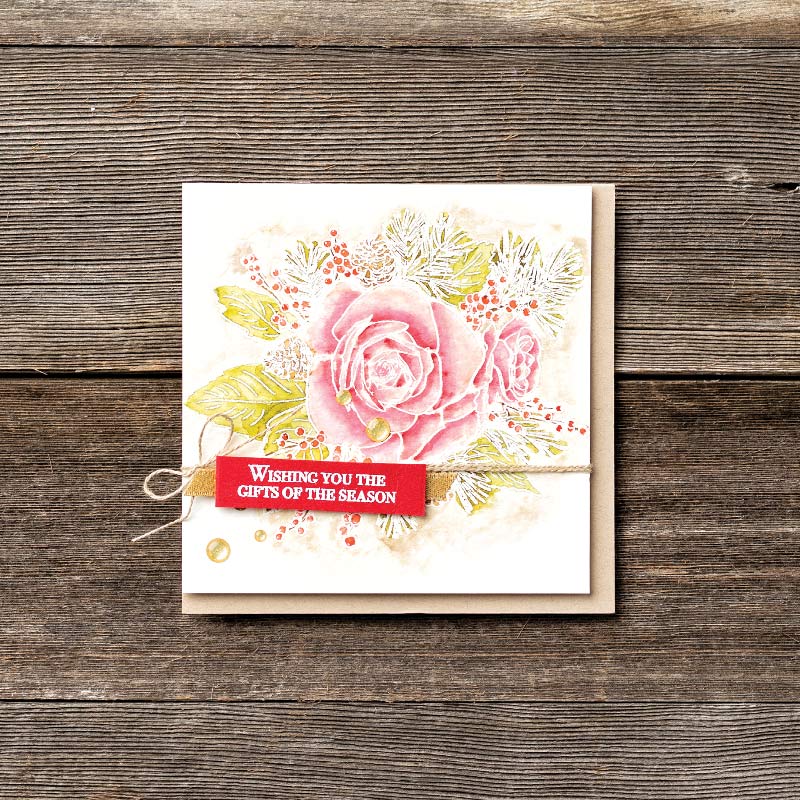
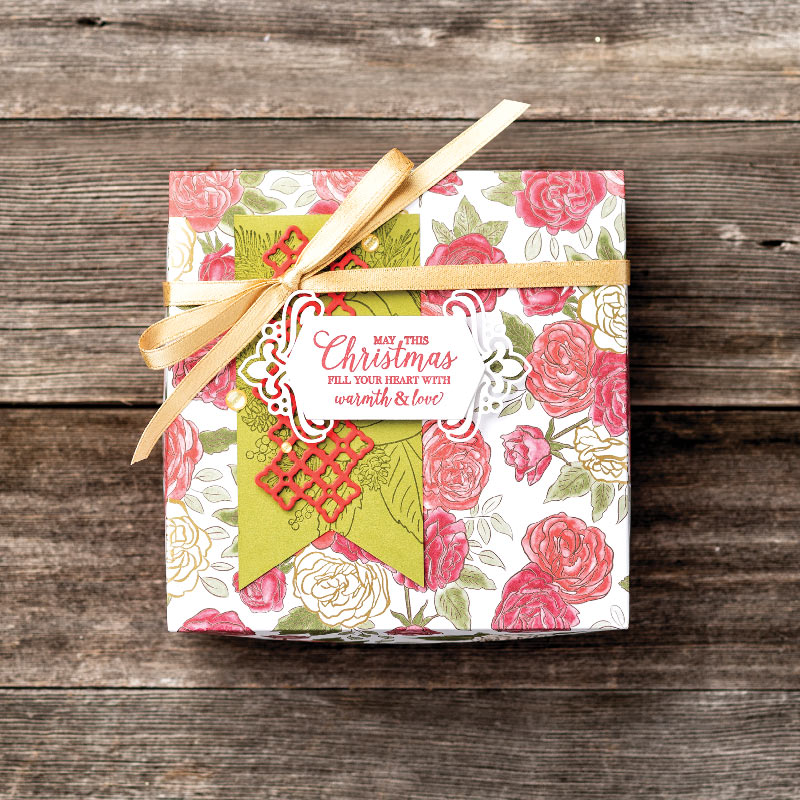
Next I is a beautiful card that highlights the Wrapped in Plaid Specialty Designer Paper. It is so much prettier in the hand …

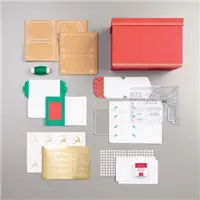
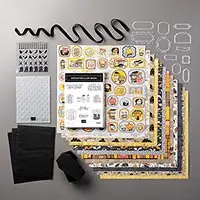
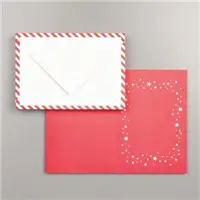
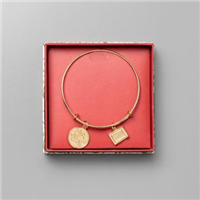
Our gold foil pizza boxes are also on the list and they are too … Wrapped in Plaid!!

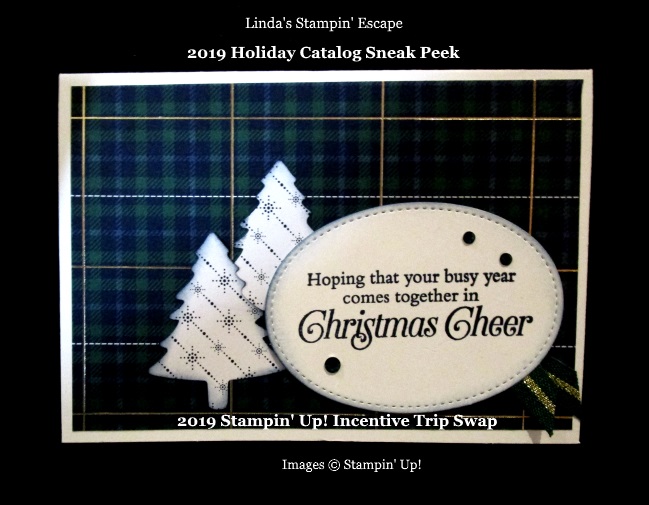
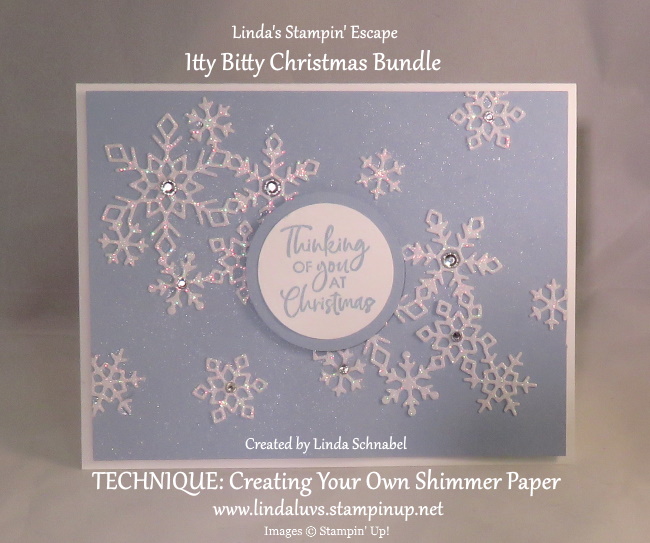
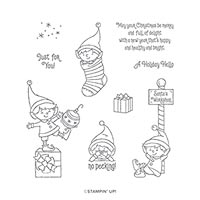
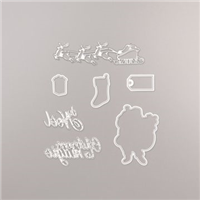
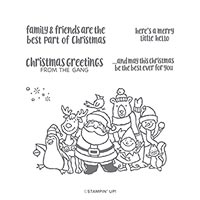
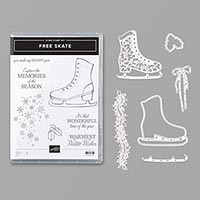
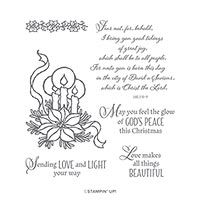
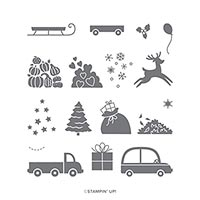
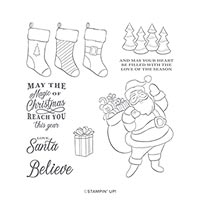
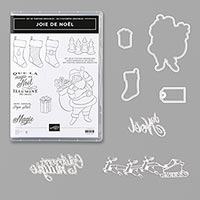
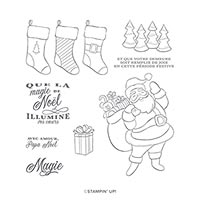
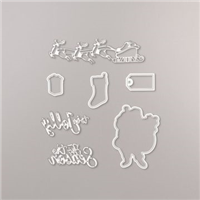
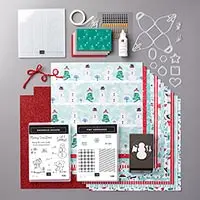
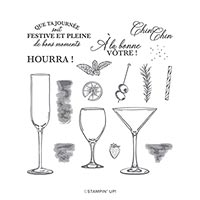
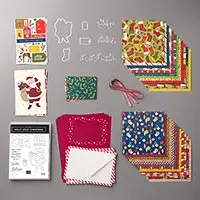
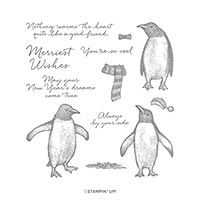
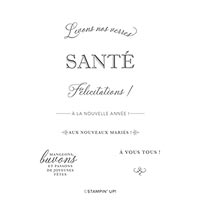
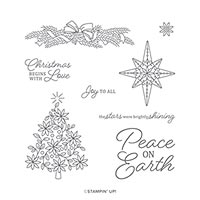
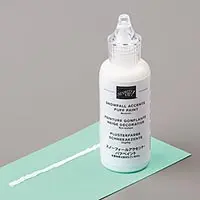
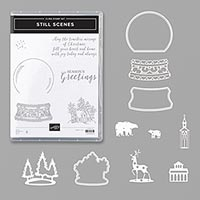
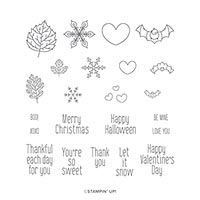
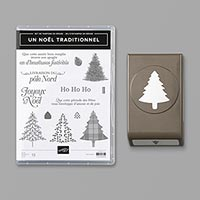
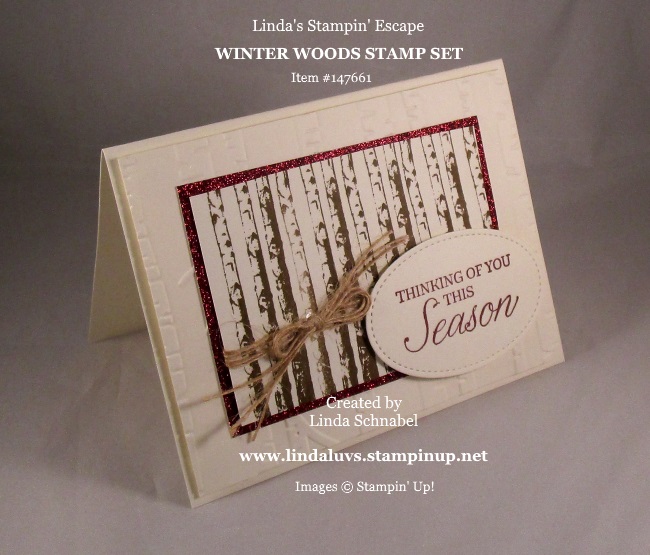
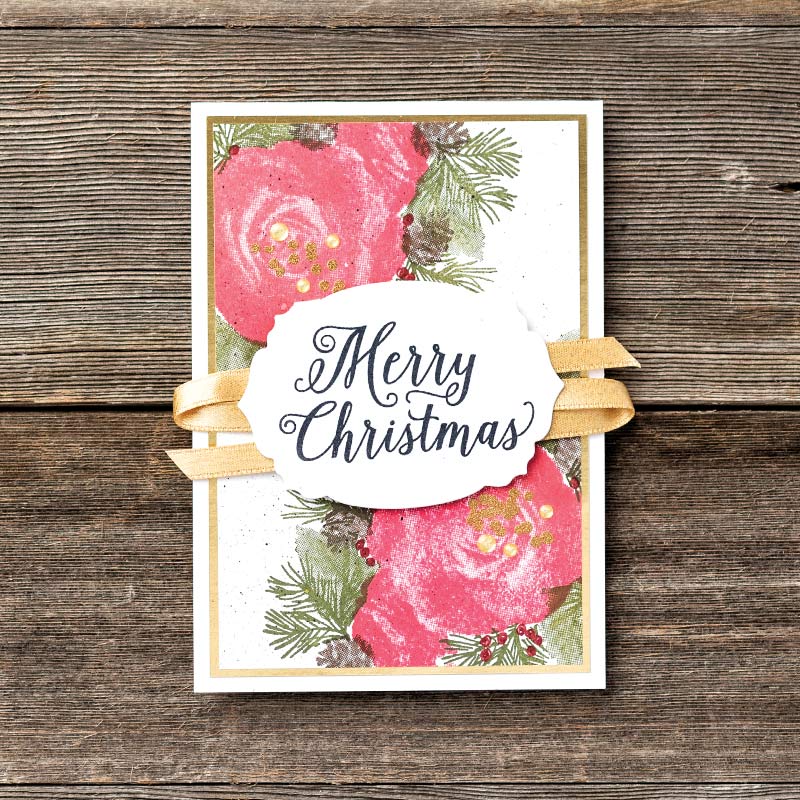
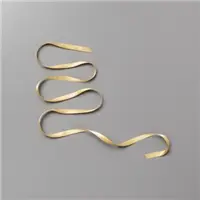
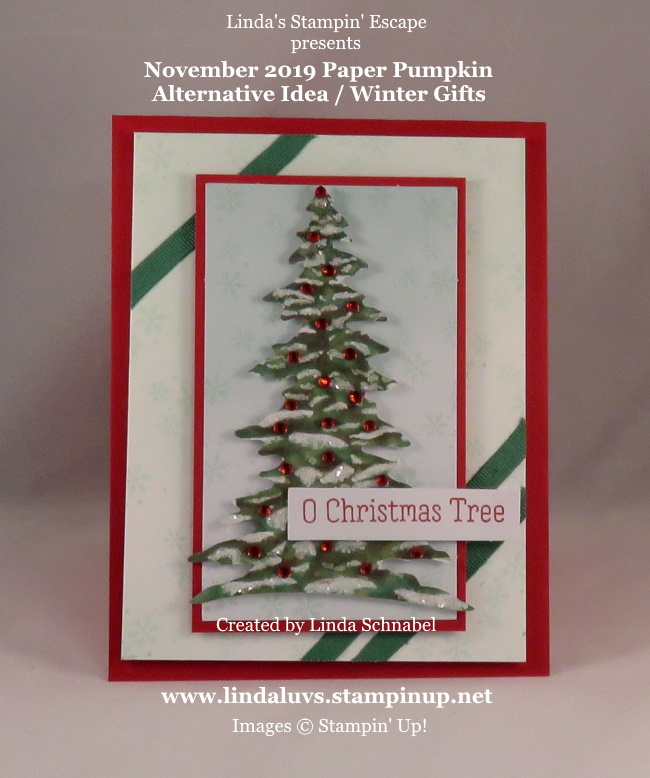
Let’s not forget the Snow Front Stamp set that is on our 25 Gift for $25 … this one makes you look like an artist …

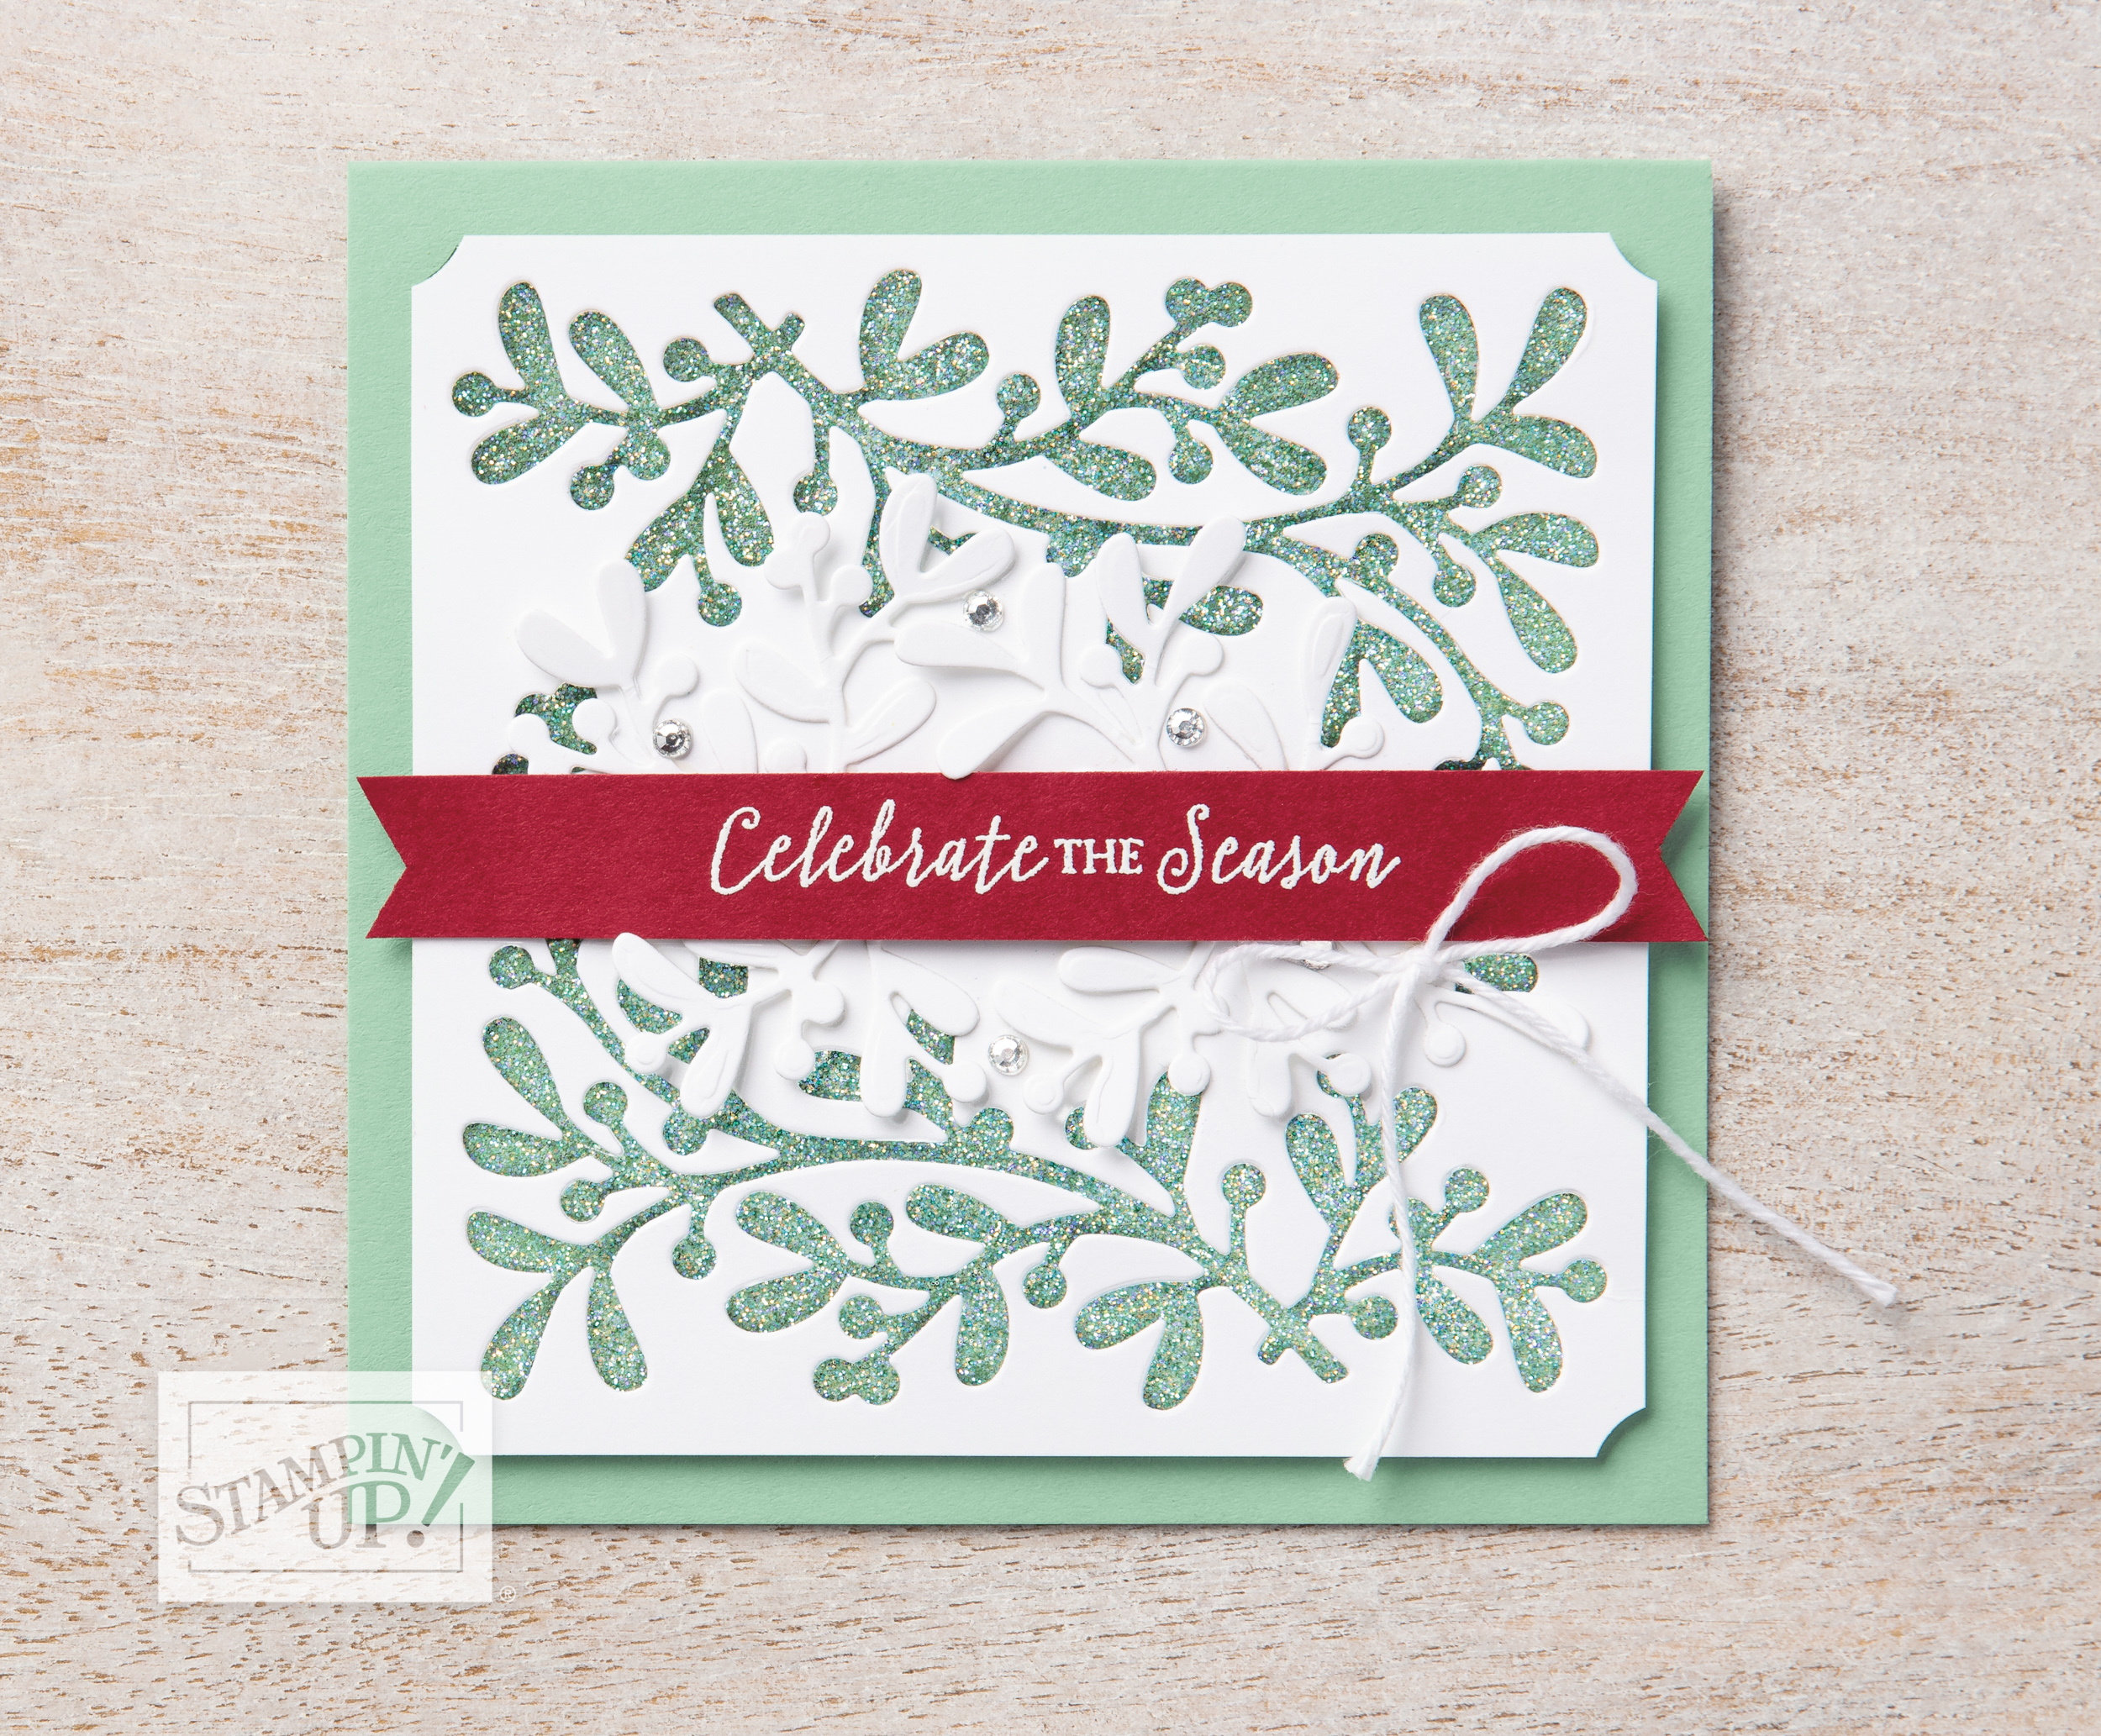
main shot
STAMPING NEWS ….
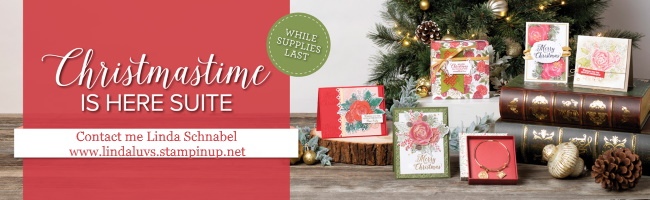
Stampin’ Up!’s Year-End Closeout is almost here! Beginning December 3 and while supplies last, you can save big on a selection of retiring and surplus items including holiday catalog items, stamp sets, and Paper Pumpkin past kits. I suggest to shop early to avoid missing out! Supplies are limited and popular items will sell out quickly. This amazing sale ends on January 2.
Stop back tomorrow on December 3 to all the details …
See you then!

Please feel free to share or save ...