Technique: Spotlighting Christmas

Hello Stampin’ Friends ~

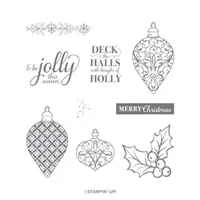
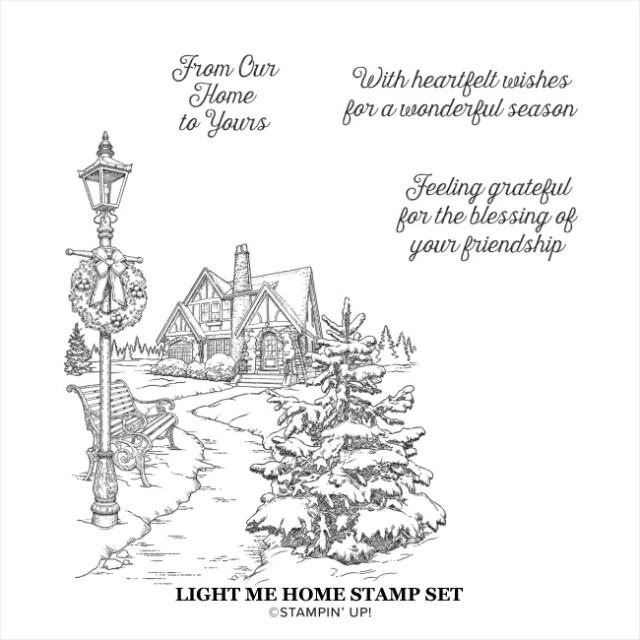
Today I will be sharing my cards created with the “Light Me Home” stamp set using the Spotlight Technique. Spotlighting is a stamping technique that highlights a small section of your stamped image.

When creating cards using the spotlight technique, you will be stamping your image twice; one for your main image or background, and the second which will be cut or punched to create your spotlighted area.

Grab a cup of coffee or your favorite beverage and join me as I share how I created three cards with the “spotlight” technique. This is my Facebook Live video from last night …

I am sharing all three of the cards that I did last night while doing the Facebook Live presentation. I stamped several of the backgrounds using my Stamparatus and then colored on one of them to create several cards. Here is the first of three …

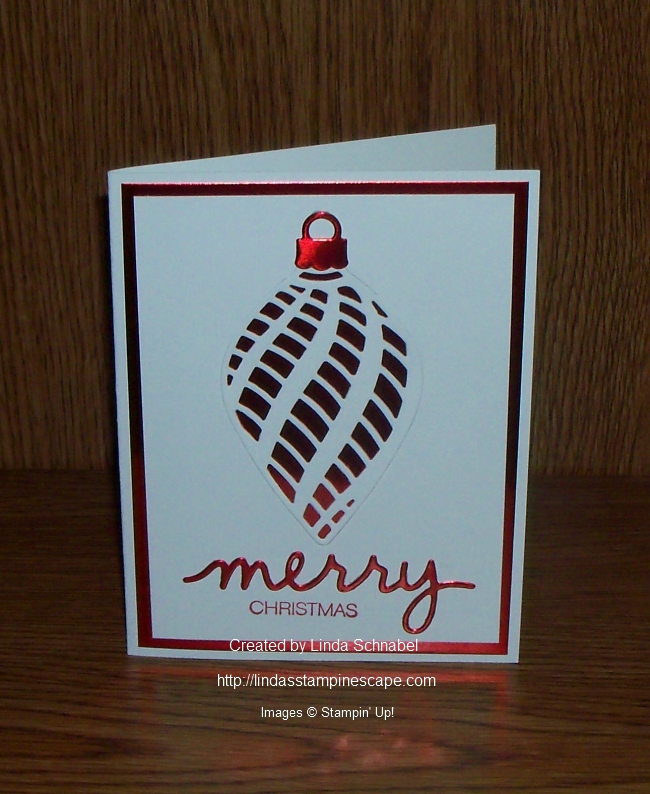
All of my “spotlighted” areas are popped up using Stampin’ Dimensionals, just adds to the fun! It’s always nice to add some dimension and texture to your cards.

After my first card was done … I punched out the two other areas of the colored piece with my circle punch to create even more cards! I was able to get 3 cards from stamping the image 4 times with the Stamparatus. Didn’t you like how quick and easy that was to use?

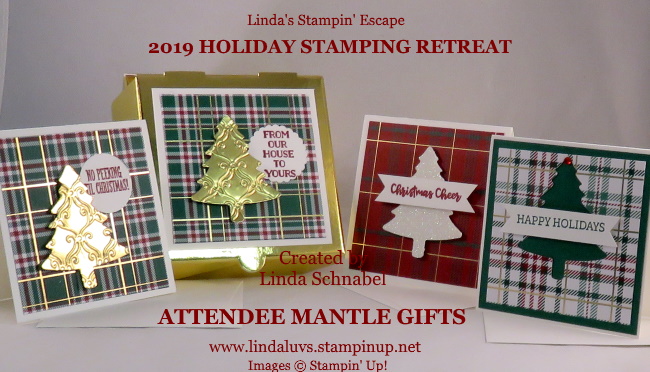
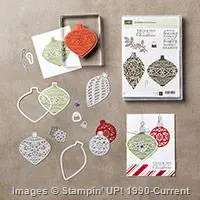
I punched out the wreath for a spotlight and then used Real Red for the mat and Old Olive for the card base… this really brought out the colors used in the wreath.

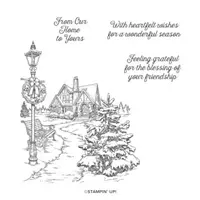
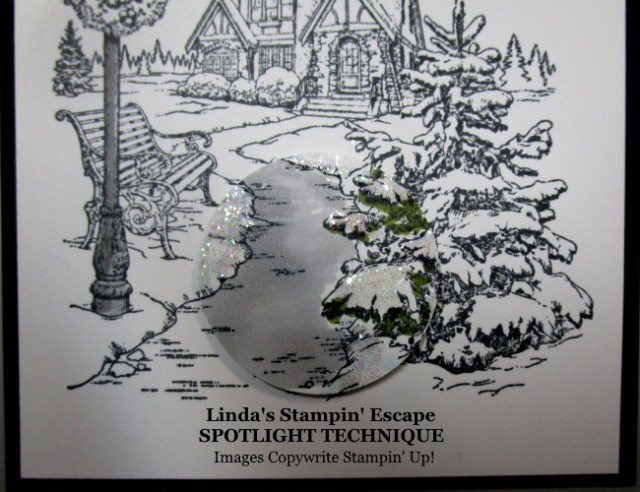
On the “From Our House to Yours” … I highlighted the path to the home and used Basic Black for the mat and Smokey Slate for the card base (and the sidewalk that I colored with my Stampin’ Blends).

Because there was not a lot of color in this card, I added a touch of Smoky Slate to the light post and to stamp my greeting on … this was three pops of color, yet the sidewalk is highlighted. The Shimmery Crystal Effects also makes our “Spotlights” pop!!

This technique brings simple stamping up a level but with ease, and it plays well with the Stamparatus.

I hope this inspires you to try out the “Spotlighting” technique … feel free to send me your creation, I’d love to share them here on my blog! And I invite you to join me each Tuesday on my Linda’s Stampin’ Escape Facebook page to watch LIVE and get in on the prize drawings …

Just click on that ” f ” at the top of this page and it will take you directly to Linda’s Stampin’ Escape Facebook page … Don’t forget to LIKE / FOLLOW the when you get there … you won’t want to miss a thing!!

Thank you for hanging out with me today …

Enjoy your day!

TODAY’S STAMPIN’ SUPPLY LIST … If you liked the products used in todays projects, I have links for you below. Just click on the item you would like more information on, or to begin your shopping. It will take you directly to my website. Thank you ♥ 

Wrapped in Plaid Bundle …

Hello Stampin’ Friends ~

Today I am sharing some cute Christmas cards featuring the Wrapped in Plaid bundle! That Pine Tree punch makes cardmaking quick -n- easy!  I will be sharing several samples that I created, some from the Greek Isles Incentive Trip and from our Holiday Stamping Retreat … all to show the versatility of this bundle.

This little beauty was created from scraps …

I had the squares left over as well which I layered onto a gold background to pull the gold out of the Wrapped in Plaid Designer paper.  Since I wanted the tree to be my focal point of my card, I added a piece of Vellum Cardstock cut from the Stitched Framelits Dies. I then embossed my Christmas tree with the Country Floral embossing folder.

Check out all the goodies include in the product suite ….

This card was created for the Greek Isles Incentive Trip swap and shared for all of us to see ….

I created this card in a jiffy … This little cutie is my #1 card for views & saves on Pinterest! I always said that “simple” works … we all have busy lives, so whatever helps us is a win, win!

I used the Gold Edged-Foil and Envelopes set for the base of my card … and the gold trim is already on there to enhance the gold strips in the Wrapped in Plaid Designer Series paper so it’s the perfect choice.  Once the Wrapped in Plaid Designer paper was attached, I die cut a circle and punched the tree into it.

This next card is one that we made at our Holiday Stamping Retreat … It’s so cute!

Another one from retreat using the Wrapped in Plaid but stamped in Non-Traditional colors …

Oh my … I found another from our Greek Isles cruise …

I have one more that I’d like to share with you. This card was one of the swap cards at my Holiday Stamping Retreat … This bundle can really create a wonderful array of card styles! What’s Your Style?

Thank you for hanging out me today!

I hope you enjoyed all these samples, and if this bundle is on your wish list … don’t let it slip through your fingers, it’s on the retirement list.

Today’s Stamping Supply List … Click on any of the items for more information or to begin your shopping.  Thank you.

Supply List

YIKES … I got one more to share!! This is the cute little gift that I created using the Wrapped in Plaid product suite for my Holiday Stamping Retreat Attendees! It’s a Gift Box filled with 3 Gift Tags!


Wrapped in Plaid Christmas Card II

Hello Stampin’ Friends ~

Yesterday I shared a card that I created using up some of my larger pieces of scraps from the Holiday Retreat cutting … now I have a leftover gold Christmas tree!  So what else would I do but use it on my next card!! Today I have that card for you …

Besides my Christmas tree, I had the squares left over as well which I layered onto a gold background to pull the gold out of the Wrapped in Plaid Designer paper.  Since I wanted the tree to be my focal point of my card, I added a piece of Vellum Cardstock cut from the Stitched Framelits Dies. I then embossed my Christmas tree with the Country Floral embossing folder.

The base of my card is Shaded Spruce which coordinates with the Wrapped in Plaid Designer Paper, to create a dramatic contrast I added a piece of Cherry Cobbler behind the gold. I embossed the ends of the Cherry Cobbler with the Country Floral embossing folder as well to add some texture and to coordinate with my tree.

The greeting comes from the beautiful Christmas Gleaming Stamp Set from the Brightly Gleaming Suite in the Holiday Catalog.

A simple card really … just some layers to create an elegant look and feel.  I love the way it turned out.  Hmmm … who would know this card was created from scraps!! The secrets our stamp rooms keep. lol

Thank you for joining me today!

I hope you take a moment to enjoy this beautiful fall day.

Today’s Stamping Supply List … Click on any of the items for more information or to begin your shopping.  Thank you.


Easy & Elegant Christmas Card …

Hello Stampin’ Friends ~

I’m back with one of the cards that we made at our Holiday Stampin’ Retreat. This card is elegant but easy to create! What an awesome combination when making Christmas cards.

Let’s begin with the “Delicate Ornament” Thinlits Dies … I chose the longer thin one. I really like the soft swirl in the design. Whisper White cardstock was used for my base and the front of my card. Using the BigShot and the Precision Base Plate I cut out the ornament. You will save both pieces as the ornament is laid back into the cut out.

(Note: the Delicate Ornament Dies are bundled with the Embellished Ornament Stamp set ~ A great buy)

000_2913

The Red Foil Sheet is used for the mat and becomes the focal point as it makes the ornament pop! Look closely at my card … you will see that I had enough space to cut my greeting and the ornament top out of the foil before I adhered the card together. Just make sure you are not cutting into the area of the ornament.

My greeting comes from the Holly Jolly Greetings (Christmas) & Christmas Greetings (Merry) Bundle! I love using these two items together … so much you can do with it.

Wow … you’ve just finished the card! Wasn’t that easy … and it’s so pretty. I love the shine of the red foil paper. You can use either the Multipurpose Liquid glue to adhere the ornament and “merry” … however, the new Fine-Tip Glue Pen works slick on the “merry”.

000_2915

As I said, this was one of my Holiday Retreat cards, now with the new Occasions catalog out (for demonstrators now) I’m planning projects for our Spring Stampin’ Retreat. I’ve got an April date planned … make sure you’re on my mailing list to get your invitation!

Thank you so much for stopping by today.

Have a wonderful Friday!

blog-closing-small

TODAY’S STAMPIN’ SUPPLY LIST …


Seasons Greetings in Silver & Blue …

Hello Stampin’ Friends,

It’s been two weeks since we were at our Holiday Retreat and one of the pillow gifts my guests received was the beautiful Christmas Bauble stamp ….

133824G

We made a gorgeous card by coloring in the bauble with our inks and blender pens, and a touch of that fun glitter glue! It definitely is a perfect stamp for those who love to color, but what about those of you who don’t like to color?!

That was a challenge posed to me at retreat. After thinking about it, I described a card that could be make in silver and blue, with minimal coloring. It’s now out of my head and onto the paper … or should I say cardstock…

000_1642

I began by embossing the Christmas Bauble in silver on the stunning Brushed Silver cardstock and then colored it with the Night of Navy Blendabilities Assortment. I only used the darkest shade for coloring the bauble.

I framed it up like a pretty little package using the Silver 1/8″ Metallic Ribbon.

I mounted the bauble image onto Night of Navy cardstock and embossed Seasons Greetings from the “Watercolor Winter Too” photopolymer stamp set, then completed the card by mounting it onto a Smoky Slate base.

136819G

You don’t have to love coloring to love this precious stamp … I’m sure there are many different cards we could create with little or no coloring, this is just one idea.

Feel free to share your idea with me … I’d love to share it with our stampin’ community! Send picture to lindaluvs2stamp@aol.com

000_1644

Thank you for stopping by ~

Hope you enjoyed today’s solution to coloring in an entire image. Sometimes less is more … especially when you need to make 80 Christmas cards!

Have a wonderful day,

blog-closing-small

STAMPIN’ SUPPLY LIST…