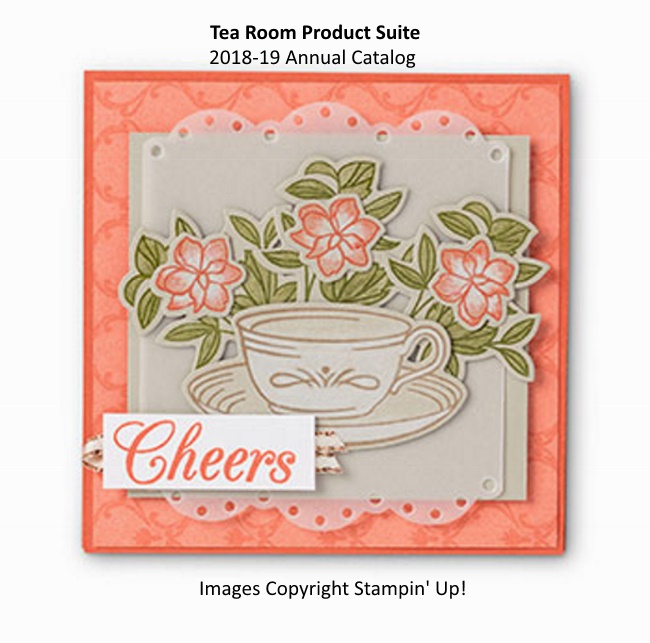
Today’s card is a sweet little card created by Stampin’ Up! and highlights the Time for Tea stamp set and the “Tea Room” product suite!
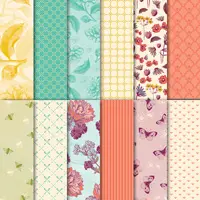
The beautiful Tea Room Specialty paper adorns the backdrop of this card and the touch of Vellum paper that was cut with an edgelit die from this suite adds a soft touch and draws your eye to the focal point of your card.
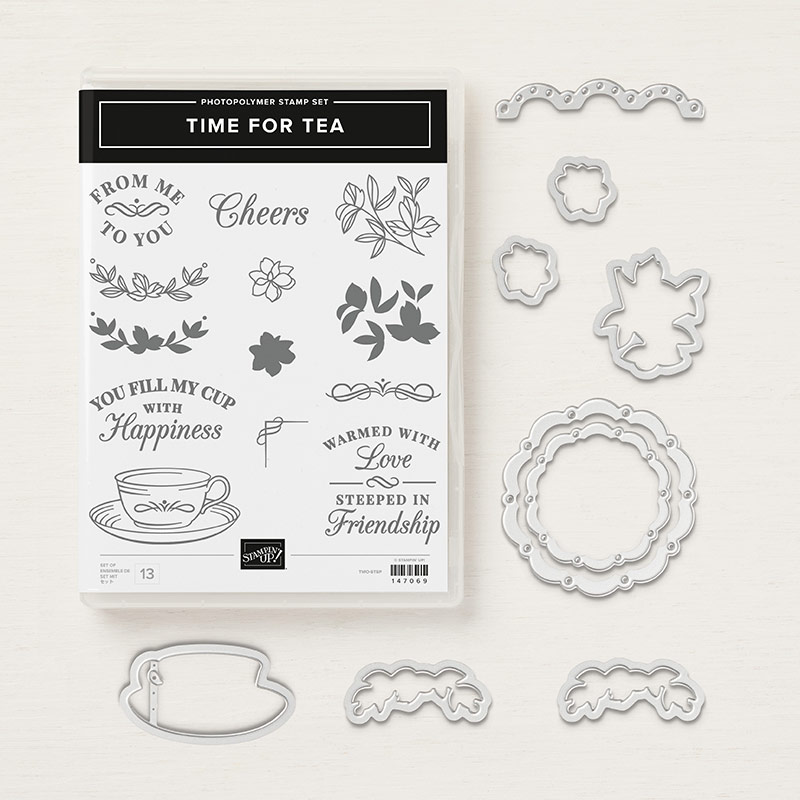
The Spot of Tea framelits were also used to cut the tea cup and the flowers for the card. The “Cheers” comes from the Time for Tea stamp set which has so many wonderful greetings and the font is bold and beautiful!!
What a beautiful stamp set this is (and love the coordinating dies) to make warm and wonderful cards and “gift” tags for your friends and loved ones! I think this is just perfect!!
Hope you enjoyed the card today. I have a list below of the products used if you would like more information or would like to purchase and of the items.
Have yourself a great day and share a smile … make someone else’s day good too!
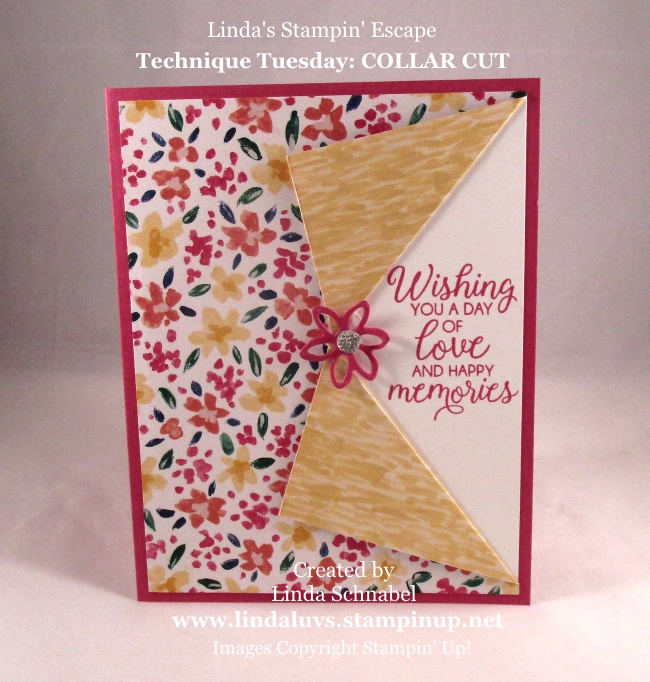
Are you going crazy over the Buy 3 / Get 1 FREE Designer Series paper promotion? Whew … I am (twice already) lol But, what do you do when you love both sides of that designer paper?? Well I have a good answer for you today … the “Collar Fold” technique!
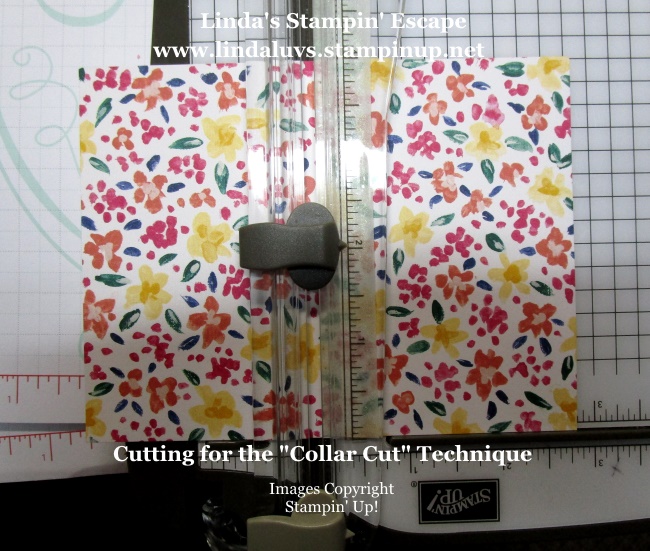
The Collar Fold shows off both sides of your designer paper and is really easy to do! So let me show you … Start with a 5-1/4″ x 4″ piece of designer paper, I used one of the colorful floral patterns from the “Garden Impressions” Designer paper.
Center your designer paper in your cutter at the 3-3/4″ (That is half of the 5-1/4″ length) Then place your cutter at the 2″ mark on the ruler … then cut to edge. YUP … that simple! Now you will just fold those cuts back. You can tape them down or use a dimensional like I did on this card (to give it a little lift!)
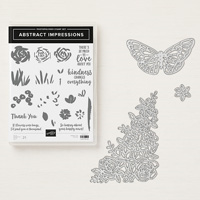
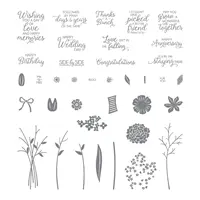
When using a dark base like the Melon Mambo that I used here, I like to tuck a piece of Whisper White behind it … it really makes the greeting stand out. My greeting came from the “Beautiful Banquet” stamp set however if you were going to purchase the “Abstract Impressions” bundle … that is where the cute little flower die came from, they have some awesome greetings that would work great!!
I had to add the flower because I’m not to fond of bare edges so I topped off my flower with the cute little “Clear Faceted Gems”. Really makes the flower pop!!
Because the “Garden Impressions” designer paper is 6″ x 6″ there will be some paper left overs which you can tuck on the inside and jazz that up a bit as well.
Have some fun and flip those designer papers back and show off both beautiful sides! Don’t throw those scraps away …tuck them on the inside or create other projects with them.
Thanks for stopping back today and checking out my Technique Tuesday. Let me know what technique you would like to see featured!!
Today I have several projects I’d like to share with you. Each comes from our Paper Pumpkin kits … What can be simpler than that? Right now your first month is 50% OFF for new subscribers … this way you can take it out for a test drive!!
Want to make amazing projects without the prep work? Meet Paper Pumpkin—a crafting subscription kit by Stampin’ Up! Because sometimes the best way to get creative is INSIDE the box.
Every month, you’ll receive all the stamps, ink, and paper you need to make a fun, papercrafting project. Everything is precut and ready to go. Skip to the fun with us—sign up by CLICKING HERE!
I love having the kits on hand because then I’m ready if I need a quick card, or sometimes it’s a great afternoon project to do with my grandkids!! They love it and I don’t have to drag out all my supplies.
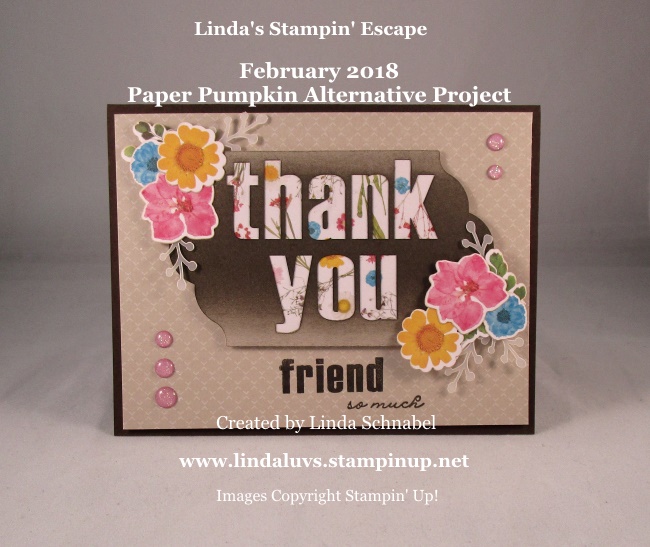
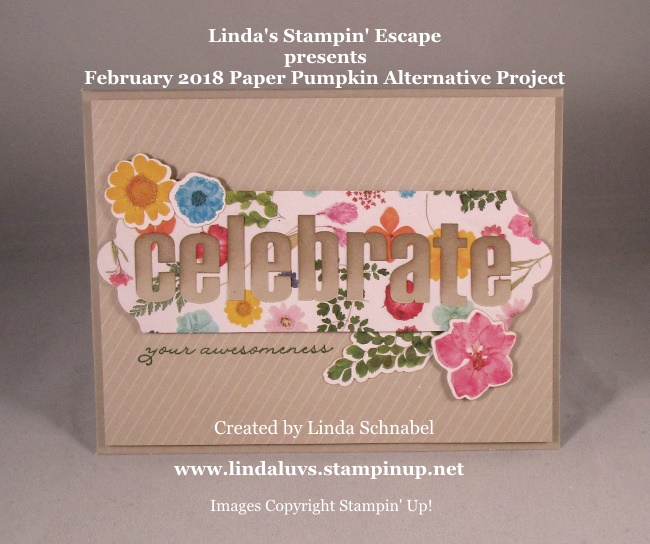
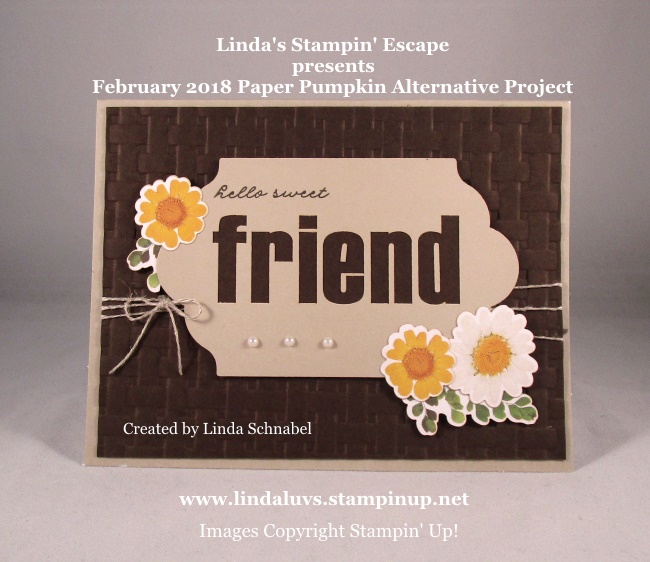
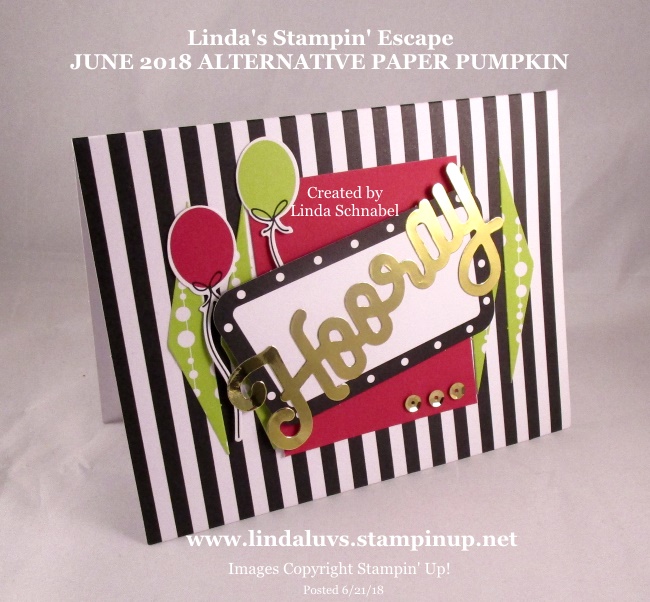
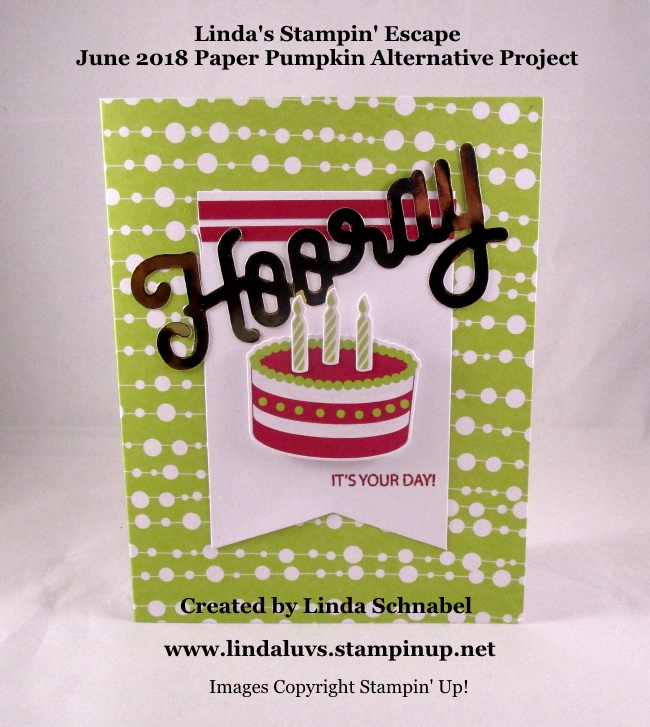
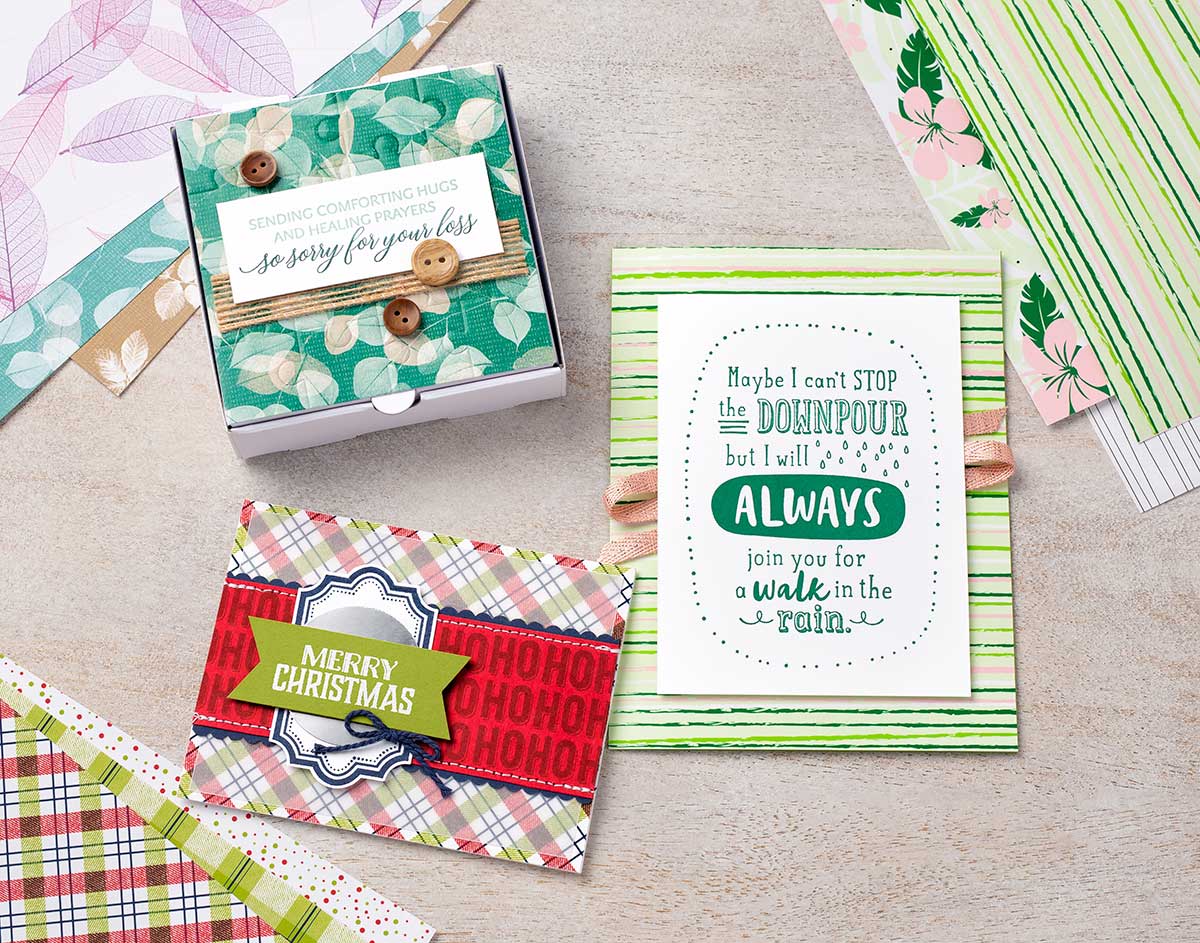
These 3 cards came from the February Paper Pumpkin kit … and they are my alternative to the cards that was in the box. I do this and share it with my Paper Pumpkin subscribers to give them a few more ideas to do with their kits!
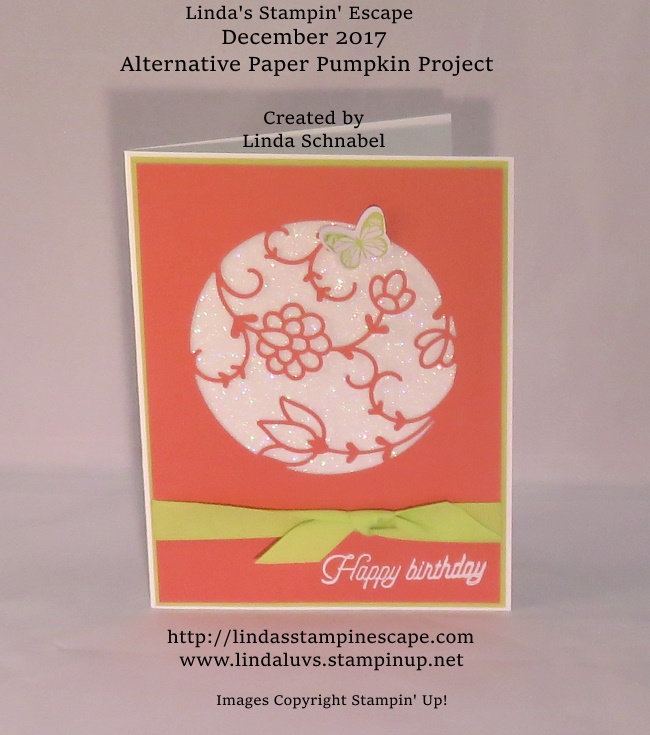
This was a quick -n- easy card that looked like I worked so hard on yet the beautiful lazer cut card front was done for us!! I just added the Dazzling Diamonds behind the design and a little pop of color with the ribbon and mat.
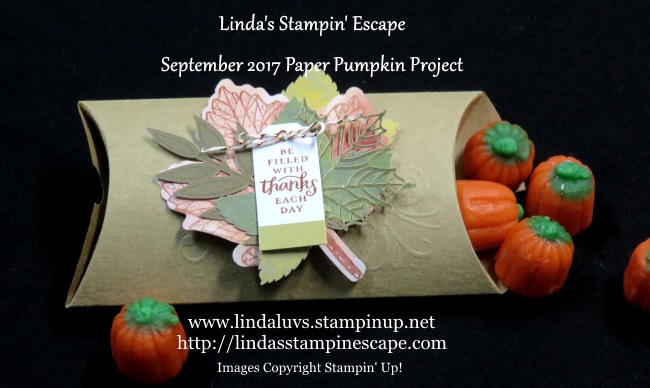
This was one of my favorite months and you can tell because it was so easy to play with and come up with additional designs. In fact, I bought myself and extra kit because it had those kit little pillow boxes for treats … Yummy Fun!!
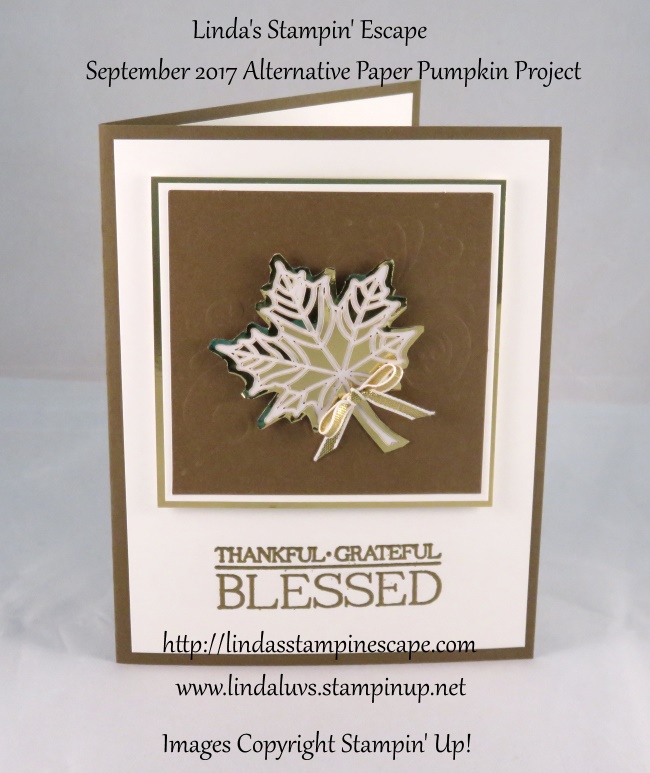
Here are the alternative projects I made from last months Paper Pumpkin. This one was fun because it coordinated with the Broadway Bound product suite …
How are you liking all the amazing stamping projects? Are you ready to try it out? You may contact me with any questions you many have (lindaluvs2stamp@aol.com) or message me below.
You may cancel your subscription at any time … or just put it on hold and then restart when your ready again. It’s fun and it’s flexible!!
If you’re ready to Skip to the fun and begin enjoyed your monthly stampin’ kit delivered directly to you — just CLICK HERE to get started!
Thanks for the visit today! I hope you think about this amazing offer, and please know I am here if you have any questions.
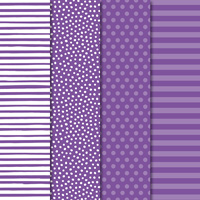
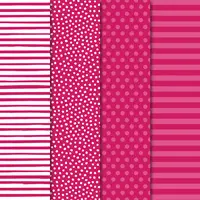
How have you liked the array of cards created with the Twinkle Twinkle Designer paper? Amazing … right! I actually bought it because of the “Stars” on many of the papers because my teams name is the Stars by Design! Then I found it could be used for so much more!
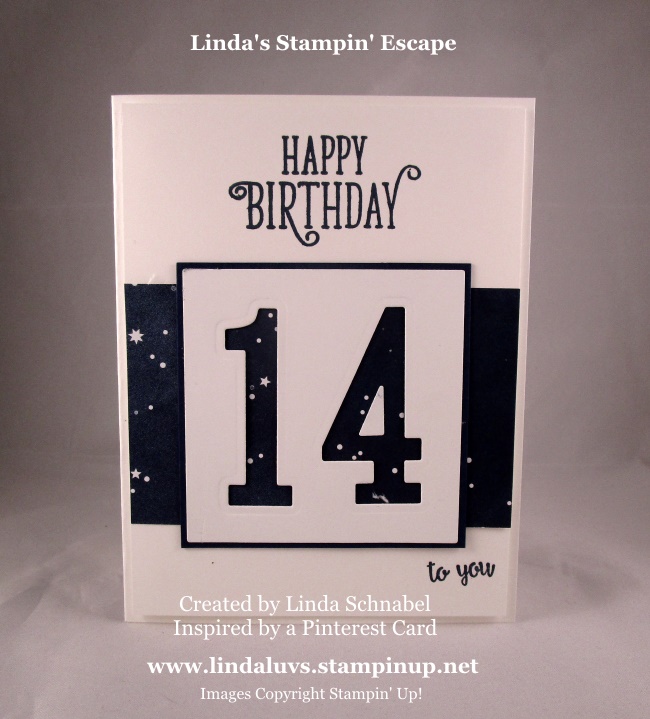
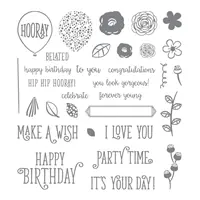
I have one more beautiful card to show you today, but lets start at the beginning and review what we’ve seen so far. My first card was for my granddaughters birthday … I teamed up the Twinkle Twinkle paper with the “Happy Birthday Gorgeous” stamp set and the Large Letter Framelit Dies. You can click HERE to view that post.
Of course I had to make a Baby Card with the Twinkle Twinkle paper and I way dying to try out my new “Tufted” Embossing Folder. It is one of the 3-D Dynamic folders which gives you a beautiful deep impression. The greeting comes from the coordinating stamp set … the bundle comes with the Twinkle Builder punch (Save 10% when you buy the bundle) Click HERE to view this post.
I love the little dots in this series of paper to I teamed it up with the beautiful “Springtime Impressions” Thinlits Dies and the Stitched Framlit dies. Butterflies always remind me of my Mom so what better greeting could I use than “love you”. This greeting also comes from the Twinkle Twinkle Bundle … I just used my marker to color in the words “love you” and then stamped & cut them out. You can view the post for this card HERE …just click on it.
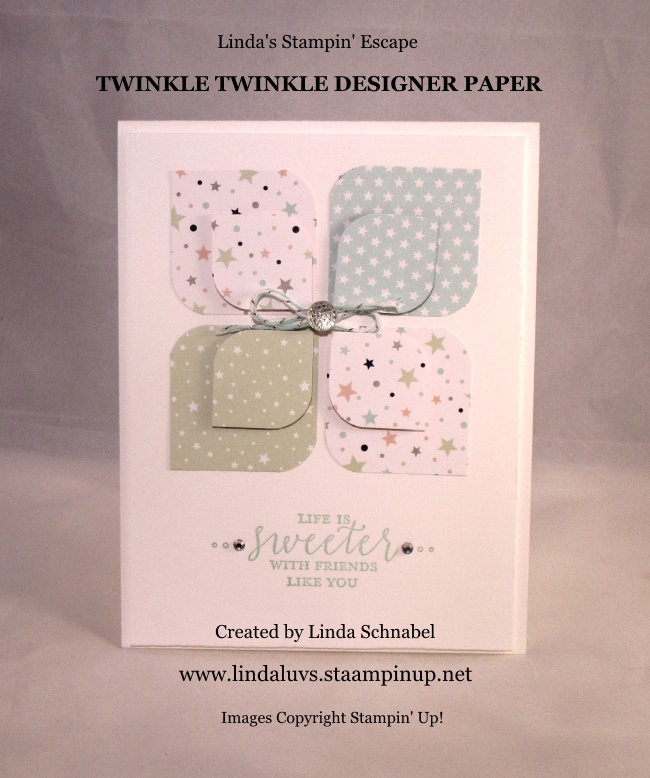
This next card is just one of the cards that I designed for my Designer Series paper Class! I have always wanted to create a card like this (don’t know why it took me so long) because it’s simple yet it is so pretty! It showcases 3 more patterns in the Twinkle Twinkle paper … see the “stars”!! Here we used the new Detailed Trio punch with the corner rounder side. More details can be found HERE on the original post.
And our Christmas card which I just showcased yesterday … It is truly amazing all of the different Occasions and different styles of cards you can make with this one little pack of Designer paper!
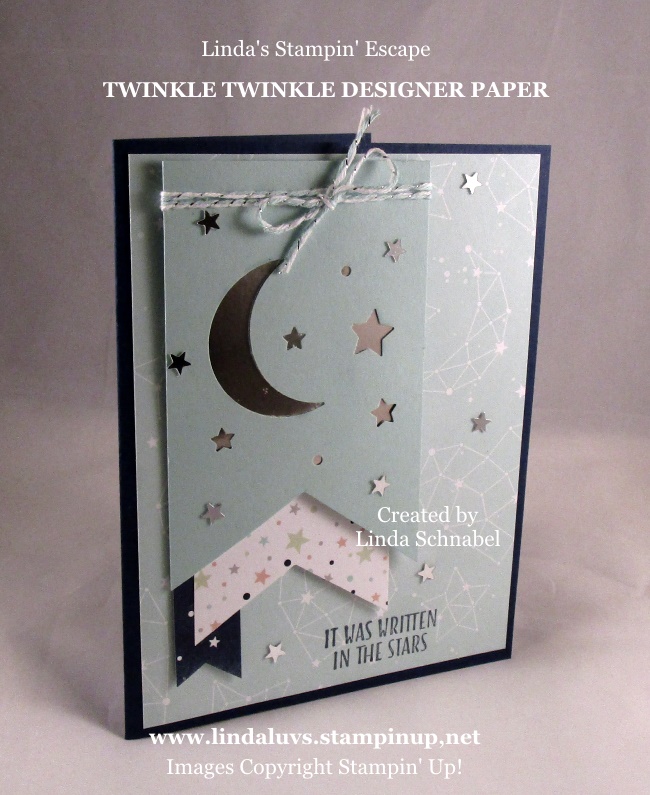
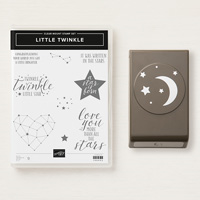
Today I’ll be sharing a card that uses the coordinating Twinkle Builder punch!! The cute little Moon with Stars punch can be used for baby cards and more! I combined the punch with the banner punch to create a fun layered look …
There are three different patterns of the Twinkle Twinkle paper on this card … the base is Night of Navy and the top banner that was punched is Pool Party, such a pretty combination. I have a piece of the Silver Foil sheet under the Pool Party banner highlighting the punch. The cute little silver stars are part of the Twinkle Twinkle product suite and can be found on page 83 in the annual catalog.
I hope you enjoyed the review of my Twinkle Twinkle Designer paper cards and today’s card. Thanks so much for sharing a part of your day with me!
Have a wonderful day ~
Stampin’ Supply List … These are the core products that I used to create my cards. If you click on the picture (link) it will take you to my Stampin’ Store and all the product details will be listed. Thank you.
Fridays are always fantastic and so is the card I’m going to share with you today! Yesterday I shared another card from the Twinkle Twinkle Designer paper and I said that this beautiful paper is so versatile you could even make a Christmas card with it, sooooooooooooooo
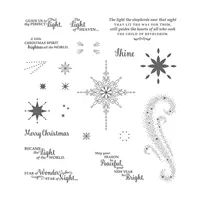
Yup … there it is! I took one of my favorite designer papers (Twinkle Twinkle) and teamed it up with one of the Hottest Christmas sets last year – the Star of Light stamp set. I still love this stamp set, it is stunning and the verses are just beautiful!! It’s so pretty!!
You will also notice that I used the same punch as yesterday … the Detailed Trio punch. So the same punch but with a totally new look. I think that it really added a nice dimension for the greeting.
My Holiday Retreats attendees know I love my bling, so I decided to started early this year and added the Silver Glimmer paper to my card which really gives me … Christmas in July ❤ If you think this card looks good here, you should see it in your hands … the sparkle, oh my! It’s gorgeous!!
Oh … and sparkle, I added some Rhinestones to really put this card over the top glitz!! Wooo Hooo!
Thank you for visiting me today and checking out my blog! Don’t forget the Designer paper is on sale right now. I have them all listed below for you to view 🙂
Last night I hosted my “Designer Paper” class. It was a fun night with wonderful ladies … lots of laughs but we still managed to make our cards!! The focus was on paper techniques and folds because of the Buy One Get One FREE promotion from Stampin’ Up!
I love using designer paper … it can take you from Quick -n- Easy (still beautiful) to Upscale -n- Elegant!! Here is a card that we made last night, and if there is a name for this technique I don’t know what it is, what I do know is that I’ve been wanting to try this for a long time … and it’s EASY!!
This is another great way to use up your scraps!! Cut them into squares, use the new triple punch which has the corner rounder and viola … a quick and cute card!! The pretty patterns in the Twinkle Twinkle Designer paper are perfect for any style card … I love babies, but let’s think outside of the box. I think it’s perfect for birthday”s, graduations and more – why I bet you could even make a Christmas card out of it!!
The greeting comes from the “Detailed With Love” stamp set, you’ve seen me use this before and you can find it on page 39 of the Annual Catalog. It has great sentiments and pretty elements in it! Better yet, it’s part of the bundle with the punch!! When you purchase the Detailed Trio Punch and the Detailed with Love stamp set as a bundle … you can save 10%!!
Love this shot …it really shows the dimension on this card. I’ve also added a little bling to the card … of course! The new Silver Bakers Twine (Pool Party) and the Faceted Gems, which I think are fabulous and so happy they stayed in the catalog another year 🙂
I thank you for stopping by today and I hope you enjoyed the card!
What do you do with those strips of designer paper after making a card … toss them? Oh no!! Today I have the perfect card that you can create with those left over scraps from your other card or scrapbook projects.
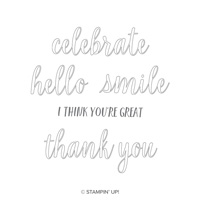
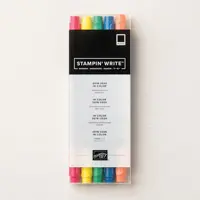
The strips of designer paper comes from the Brights and 2018-2020 In-Color Collections … aren’t they pretty!! The greeting comes from the Calligraphy Essentials stamp set found on page 11 of the Annual Catalog!
To create the multi-colored greeting the following markers where used directly onto the stamp: Lovely Lipstick, Grapefruit Grove, Daffodil Delight, Lemon Lime Twist, Pool Party and Highland Heather.
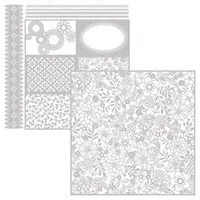
The Delightfully Detailed Designer Specialty paper was tucked behind the greeting to add some beautiful texture to the card.
So … before you throw those scraps away, think of how you can utilize them on your next card.
Thanks much for stopping by, enjoy your day ~
TODAY’S STAMPIN’ SUPPLY LIST … Clicking on any of the items will take you to my stamping store where you can begin your shopping. Thank you.
Did you get a chance to view my post yesterday? If not, check it out … if you did, think about it!! Later in the week I’ll share a story with you, but for today we’re going to examine the “Eclipse Technique”.
The Eclipse technique can be very simple, from using a punch to exploring your creativity with the use of the BigShot! We all love our BigShots ❤ I will be sharing a simple punched version … plus a video created by Stampin’ Up! that also features this technique.
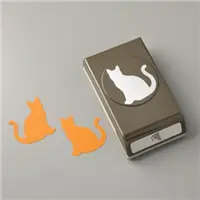
The easiest way to create the Eclipse card is to use Designer Series paper (and wow …it’s on sale!!) But not to worry because I’ll be showing some fun additions to really create a big fun wow!! I’m using the “Tropical Escape” Designer paper and the “Cat” punch … my granddaughter loves kitties so this cute card is for her.
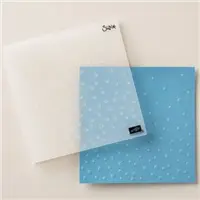
I left an edge showing around my “eclipse” just as Brandy did in the video … I like the look of layering and I used the Blushing Bride which coordinates with the designer paper. I then embossed the “Smoky Slate” background with the new “Scattered Sequins” embossing folder and touched it up with the “Wink of Stella” to give it a bit of glitz!
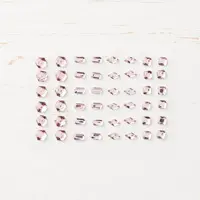
Speaking of glitz … I added one of the Petal Pink Rhinestone Gems! I was worried that the two pinks would clash but they actually looked fine. I chose the shape that looks like the sequins!
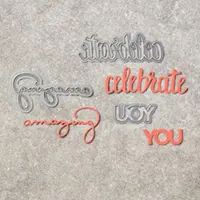
To finish off the card, I used the “Celebrate You” thinlits and popped them up as well. It just really completes the card and balances out the texture on the card.
Thank you for checking out my blog today!
I wish you a very happy day ~
TODAY’S STAMPIN’ SUPPLY LIST … Just click on any of the pictures to view the product and get more details.
I hope you enjoyed your weekend … a holiday weekend for some of you! Our fireworks were a bit on the fence as storms blew threw around 6 pm. A bit delayed but fireworks non-the less! I had a fairly quiet weekend, mostly stamping and doing some upcoming classes planning.
Today I’d like to share with you an absolutely amazing opportunity. During the month of July, Stampin’ Up! is giving all new demonstrators (don’t let that word scare you) a FREE gift! They are giving everyone who purchases the Starter Kit a FREE color family of the New Ink Pads!! Your choice of course!
That is a $67.50 FREE and is over and above the $125 worth of product you get to choose for only $99. Shipping is FREE too so you’re saving another 10%. This is just the beginning of the amazing deals … you’ll be astonished at the doors that open when you choose to join the Stampin’ Up! & Stars family.
There are pre-orders, like the upcoming Holiday Catalog available for us to purchase in August, Sneak peeks, free catalogs, access to exclusive stampin’ websites & blogs to name a few perks!
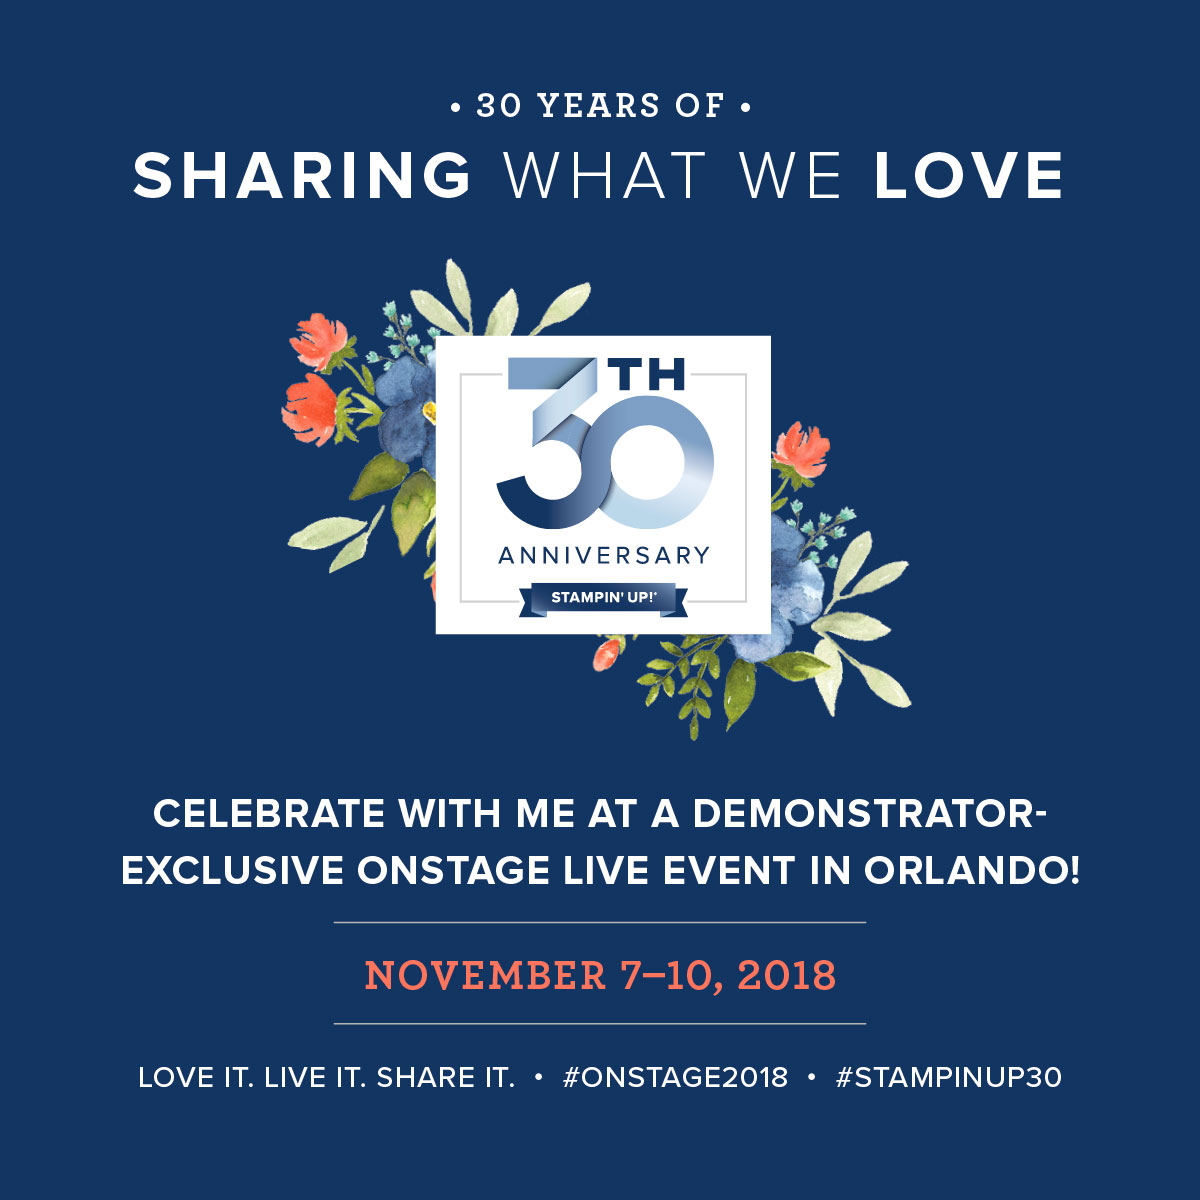
Why I think NOW is the perfect time ….I want YOU to come celebrate Stampin’ Up!s 30th Anniversary with me, my Stars group and Stampin’ Up! in Orlando, Florida this November!!
This is going to be the biggest party of the year!! And it is exclusive to demonstrators. I plan on going a few days early to enjoy the sights. Many demonstrators plan their family vacations around these events.
LET’S CHAT . . . Right Now for only $99 your entire kit is valued at over $200!! (That’s a50% Savings!) You can contact me at … 262-334-1009 or email: lindaluvs2stamp@aol.com or just message me below and I will contact you to answer any questions or concerns that you may have. AND after you join, I will be here to help guide you so you can get the maximum benefits that Stampin’ Up! demonstrators enjoy!
THANK YOU for taking the time to review the entire blog, If you’re already love the product and are buying it anyway, why not try out the benefits &, savings … you may be surprised!! It’s my 18th year!!
I’ll be back tomorrow with my Technique Tuesday post 🙂
I hope you’ve had time to enjoy this beautiful weekend! I’ve been busy stamping, planning classes and visiting with my great grandbabies! Life is good!!
Today’s card features the Twinkle Twinkle Designer Paper … in fact, because of the sale, the last few days have featured our designer papers!! This quick card just takes a few runs through the BigShot and you’re pretty much done.
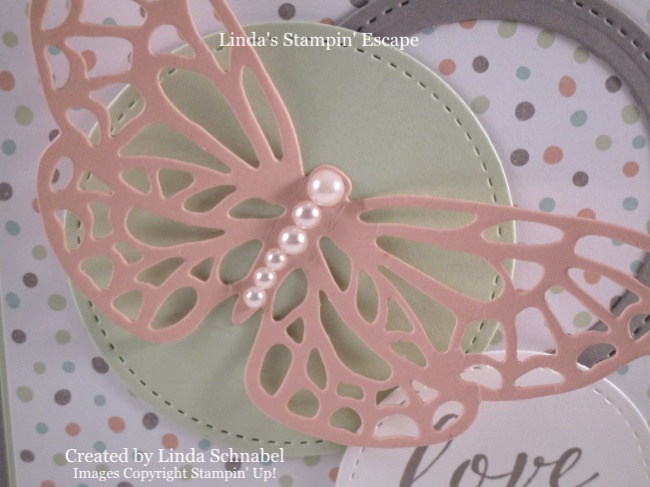
The “dots” on my designer paper inspired me to continue the circles in my design, so I cut out a Whisper White and a Soft Sea Foam with the Stitched Shapes Framelits. The double cut “hollow” circle is done in the new Gray Granite color, which is also the base of our card.
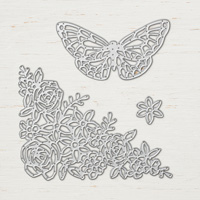
I did tuck a little Soft Sea Foam behind the designer paper to tie in our major circle which highlights the butterfly. Our butterfly comes from the Springtime Impressions Framelits and is cut from the Petal Pink.
To make this beautiful butterfly “pop” even more … I added the Basic Pearls, another item I always keep handy in my stampin’ stash!! You can see that my color pallet came from the Twinkle Twinkle designer paper … takes all the stress out of coordinating your projects.
My greeting comes from the Twinkle Twinkle stamp set, I just omitted everything but the “love you” by covering the stamp with Washi Tape!! Once the stamp is inked … just peel off the washi tape 🙂
This designer paper may have the intention of “baby” but let your imagination go wild and use your designer papers for any application!!” You may find that it’s just the touch you need.
I appreciate you spending a part of your Sunday with me and checking out my blog.
Have an awesome Sunday ~
Thank you,
TODAY’S STAMPIN’ SUPPLY LIST …Just click on any item to view and see full details of the product.
Today I have a sweet baby card for you featuring the new Twinkle Twinkle bundle on pages 82 and 83 of the 2018-19 Annual Catalog.
This sweet stamp set caught my eye the first time I looked at it, it’s perfect for welcoming a new baby into the family and I think it will work for many other occasions as well (I’ll be sharing some of those with you!)
Now … I have always loved the “quilted” look that you can do with your Simply Score, however, now we have the new “Tufted” embossing folder and it makes this look super simple!! Just check this out …
I used the beautiful star pattern in (one of my favorite new colors) Soft Seafoam … it is so pretty and delicate and perfect for a new baby ❤ I added the pearls in each of the exposed “tufts” to make this card a “keepsake” card. Will you be using a lot of your pearls … well, 39 to be exact but I don’t forsee anyone making too many of these! 😉
My greeting is from the coordinating stamp set and is cut out with the Stitched Shapes Framelits. These are my “go to” dies … I use them all the time!!
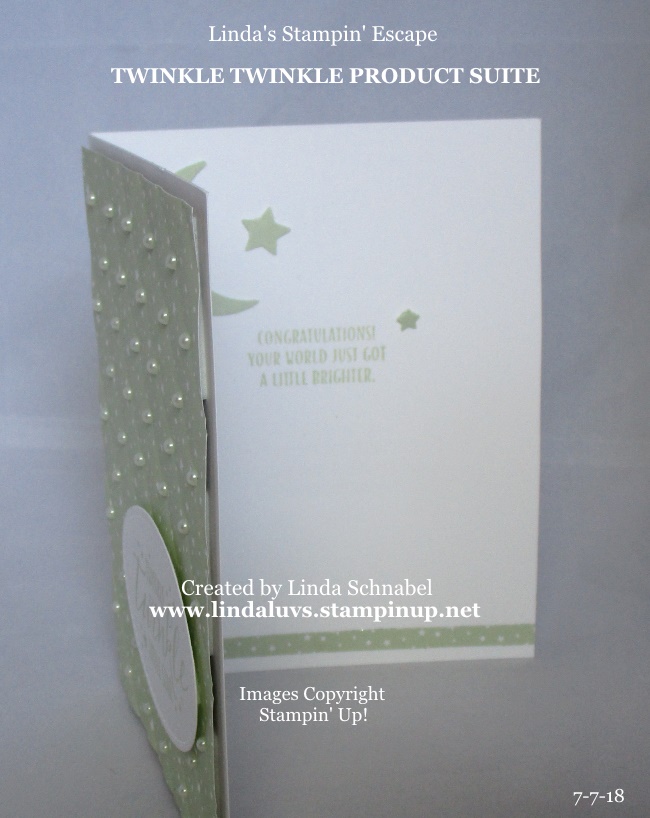
Inside you will see …
I incorporated the coordinating “Twinkle Builder” punch that is included in the bundle to dress up the inside of my card and a strip of the Twinkle Twinkle Designer Series paper.
You can also see from this angle that I “popped up” my entire front of the designer paper and the greeting… it adds so much dimension yet does not compete with the pretty pearls on the front.
I hope you enjoyed today’s card and I would love it if you could leave a message in the comment section or just click the like button … I appreciate that. It helps my blog become more available in search engines … so others can fine me 🙂
Enjoy this beautiful day … I’ll be back tomorrow to show you another way you can use this great bundle.
Thank you ~
TODAY’S STAMPIN’ SUPPLY LIST … Just click on any item for full details and to view the product. You can also begin shopping from clicking on any item. Thank you.
Today I am back with a card that we made in our Dandelion Wishes Class yet truly highlights the beautiful Petal Promenade Designer Series Paper.
The pattern I chose looks like the Bokeh technique … this is a technique developed by photographers by capturing out of focus points of light. It is one of the hottest trends in design. I actually taught this technique to my club members, it is amazing, and here it is on paper so it’s super simple to add to your card creations!
I love this card … We used a technique that gives you glitter designer paper (and that’s what I call it). This is also super easy to create when you use the Adhesive Sheets!
We stamped our image directly onto the Petal Promenade Designer Paper and then laid the Adhesive Sheet over the top, pulled off the backing and added out glitter … stunning!!
I love the color combination of pink and brown so I chose the coordinating Petal Pink cardstock (Petal Promenade DSP) and Early Espresso to contrast. So simple to create … so stunning to view!
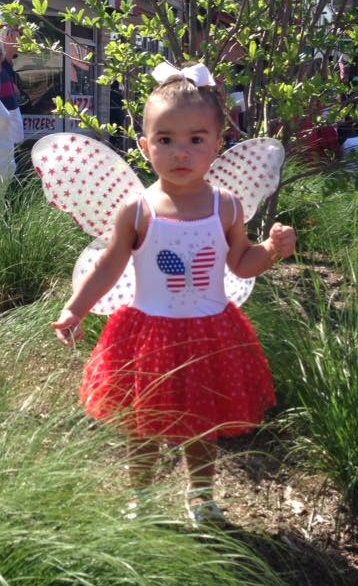
My apologies for the late post but as many of you know … sometimes the cards in our head, don’t always work out on paper!! This was my dilemma on this holiday day … Happy 4th of July to you!! So I’ve decided to share some 4th of July celebration cards I have created in the past …
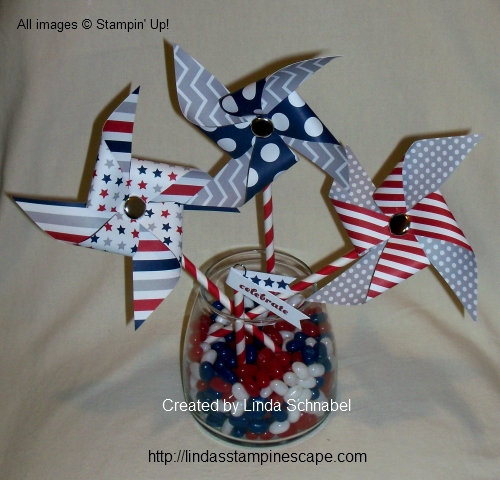
Four years ago I held a Stampin’ Party and we did some fun projects with the Paper Pumpkin that month … here is what we made: Pinwheels to be used in several different ways!
a treat bag …
and a fun banner …
I used the left over straws in my banner creation and in the card below. I tucked a piece of Bakers twine into the straw to create a fire cracker!! How clever an I … LOL
Since we’re looking at Paper Pumpkin projects, check out these cute summertime favorites ….
A couple more Red, White and Blue celebration cards …
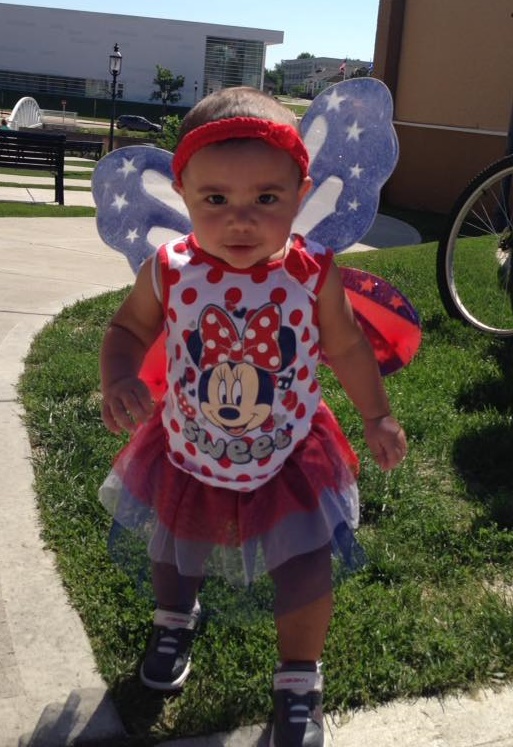
And I’ll close with two Red, White and Blue cuties of my own … Lilly and Lori my granddaughters!
Thank you for checking out my blog on this 4th of July Holiday … I hope you are enjoying your day.
I’ll be back tomorrow with cards highlighting our Designer Paper!!
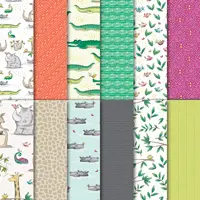
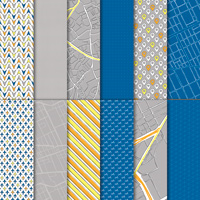
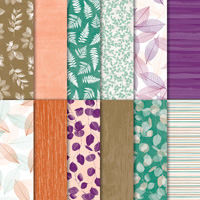
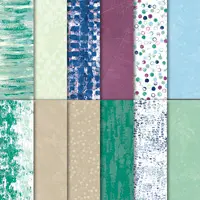
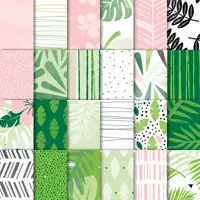
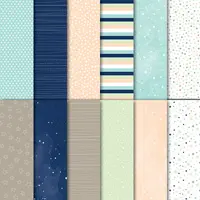
For the month of July, select Designer Series Papers are on sale for buy 3, get 1 free. Stampin’ Up! picked out some favorite catalog samples featuring on-sale papers to create the image below.
This is one of my favorite promotions … I love the Designer Papers and I love FREE too, so it’s a perfect blend!
Don’t forget the beautiful Christmas paper!! I will be sharing cards all week long that feature the Designer Paper right up to my class on Wednesday, July 11th. None of the cards shared will be from my class so if you are attending you will have even more samples to work with.
Thank you for stopping by and enjoy the upcoming holiday … Wait till you see what I have for you tomorrow!! Pop back in for a peek!!
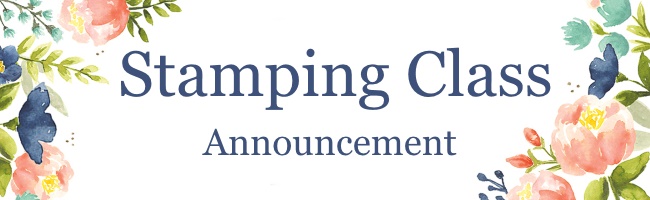
Today I’d like to share an upcoming class with you. As you know our Stampin’ Up! has an amazing promotion with our Designer Series paper!! So I would like to gather my stampin’ friends and show you some creative ways to use your designer papers!!
I hope you plan on joining me … it will be a fun filled evening of stamping, snacks and making new friends! Plus you will go home with some amazing cards and great ideas to use on your cards!
I will also have a “Class Special” for those attending and purchasing the Designer Papers!
Thanks for stopping in today, I hope you have a marvelous Monday!