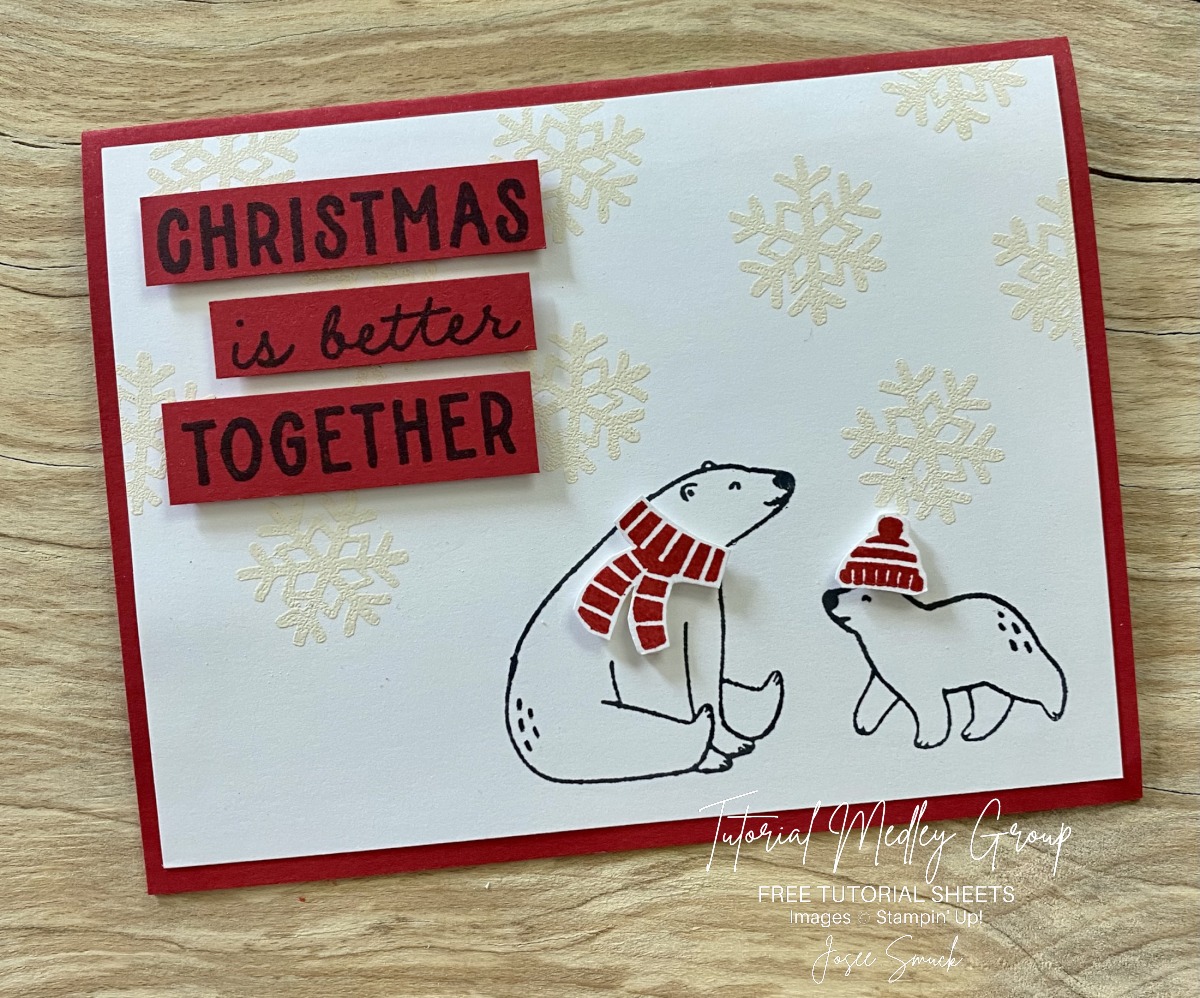
Today I have a “Beary Cute” card for you from a fellow design artist from the Tutorial Group I am part of. You will get the measurement and instructions to recreate this card yourself. If you don’t have these supplies yet, I will have everything listed at the end of the tutorial. Enjoy ….
Measurements:
Real Red : 5 ½ x 8 ½
Basic White: 4” x 5 ¼”
Instructions:
Score and fold the Real Red cardstock at 4 ¼.
Stamp the bears using Memento Black ink.
Use the Versamark ink pad to stamp the snowflakes randomly on the Basic White cardstock.
Sprinkle White Embossing Powder on cardstock and tap off excess.
Heat until totally melted using the Heat Tool. Adhere the layer to the card.
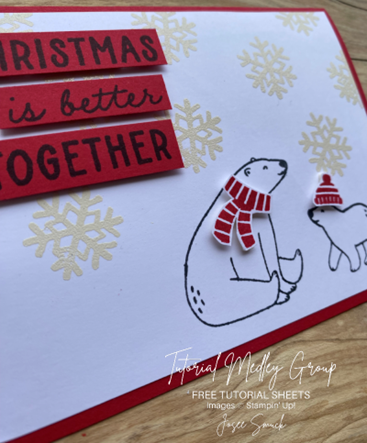
Stamp the greeting on Real Red cardstock using Memento black ink. Cut each line using a Paper Trimmer. Adhere the greeting using Dimensionals.
Stamp the scarf and hat on a piece of Basic White cardstock. Cut them out using Paper Snips. Add them to the card using Dimensionals.
So cute and so simple to make!! I hope you enjoyed today’s card share and felt inspired to pull out your stamps and start creating.
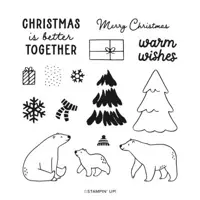
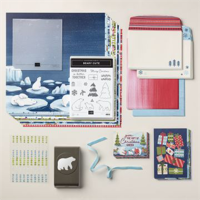
ooking for a great way to spread cheer with a heartfelt, handcrafted Christmas card to your loved ones? Today, I’m excited to showcase the Beary Cute Christmas bundle, a delightful collection of stamps, designer paper, and a bear punch that will help you create charming and festive cards. Whether you prefer the personal touch of hand stamping or the convenience of designer paper, this bundle has you covered.
Here is a replay of my Facebook LIVE that will take you step by step through 2 different style cards….
Let’s take a close up look that those cards. We’ll start with the card that I created with the designer paper. There are so many cute animal figures that you can fussy cut to create any layout you wish.
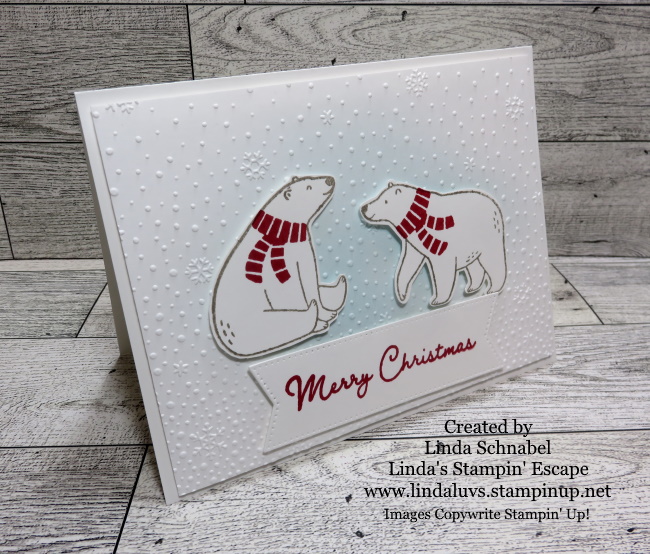
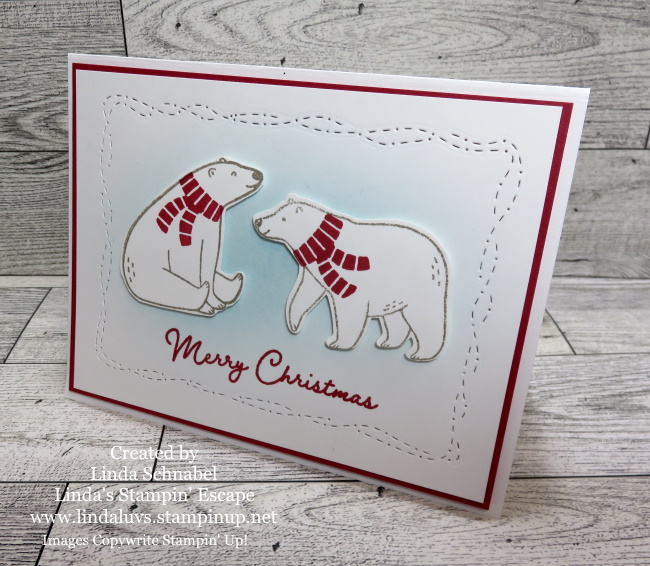
The next card is also from the video and used a soft background created with the blending brushes to create the focal point, just as I did on the first card with the vellum circle from the Stylish Shapes die. The Real Red really makes this card striking! Let’s take a look ….
I shared a third card on the video that has the same layout as the card above, but instead of embossing the card front with the Snowflake embossing folder, I used the Stitched with Whimsy to create a border that adds texture in a totally different way….
With the Stitched with Whimsy dies, I stamped the greeting directly onto the front but then added a Real Red mat behind my card front to really pull the “red” out! Totally making it pop! Both are cute, but even with the exact same layout, they look so different.
The Beary Cute Christmas bundle offers a delightful and versatile way to create charming Christmas cards. This bundle provides you with everything you need to spread holiday joy. So, gather your supplies, unleash your creativity, and start crafting those beary cute cards to share with your friends and family this holiday season.
Today I’ll be sharing the cards we made last night during the LIVE, the Video replay, the measurement sheets and two extra cards!! I have an action packed day for you today. Let’s begin with the video with the measurements and cards to follow.
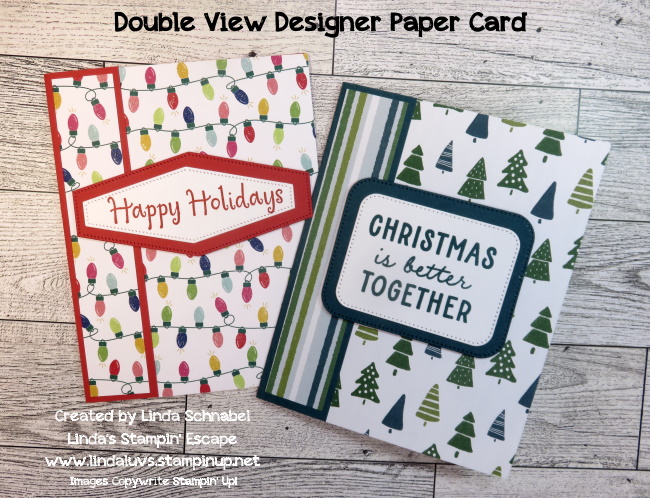
Here is the measurements for our Double View Designer Paper card that highlights your designer paper showing both sides .. Our pretty papers make these easy to assemble cards with the message and feelings you intend.
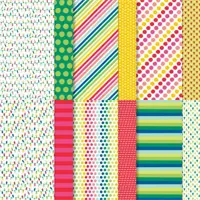
On today’s cards I used the Merry & Bright and the Walk in the Woods Designer Series papers, with the Poppy Parade and Pretty Peacock cardstocks. The “Christmas is Better Together” greeting comes from the Beary Cute Bundle and the “Happy Holidays” came from the Throughout the Year stamp set. Both greetings were die cut from the Nested Essentials Dies.
For the fun fold I used the same designer paper and cardstock. On the Poppy Parade card I again used the Throughout the Year stamp set and the 2 3/8″ punch for our greeting, and then embellished with the Iridescent Rhinestones. The greeting, the tag & tree dies all come from the Merriest Tree Bundle.
Now let’s take a look at some alternatives for our Quick & Easy Double View card ….
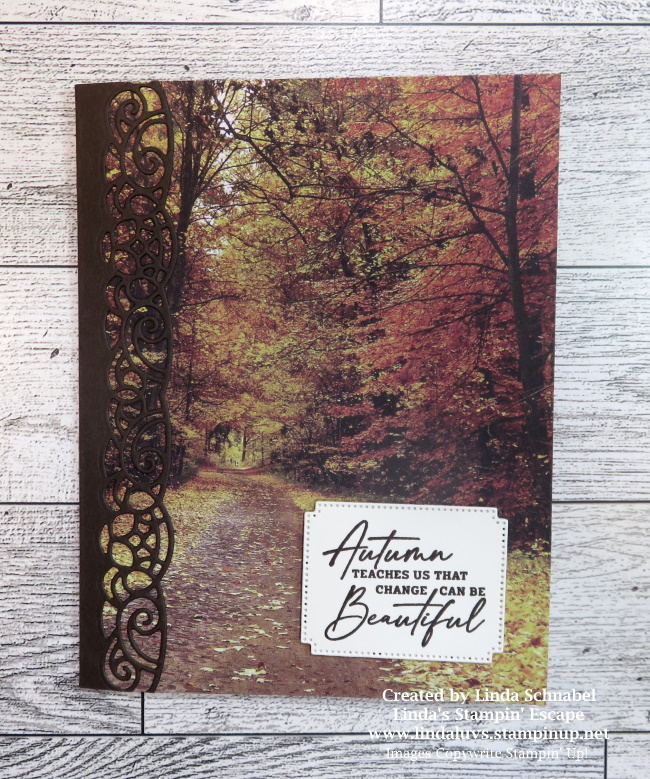
On this card I used the designer paper, greeting and die all from the All About Autumn suite of products and the Elegant Borders Dies. This adds a beautiful touch to the stunning designer paper. This just shows that you can change up the 1 1/4″ section of our cardstock.
Our second card was designed to celebrate Halloween …
This little cutie screams fun! The Elegant Borders dies were also used on our Halloween card to enhance and create a fun border. A strip of designer paper and bakers twine were also used to embellish our card and tie in all the colors. I used the “Them Bones” Designer paper for our last card, along with the die cuts from the “Tricks and Treats” bundle.
And this brings me into more Halloween FUN on my Facebook page …. Be sure to head on over and join in the fun, games and specials!
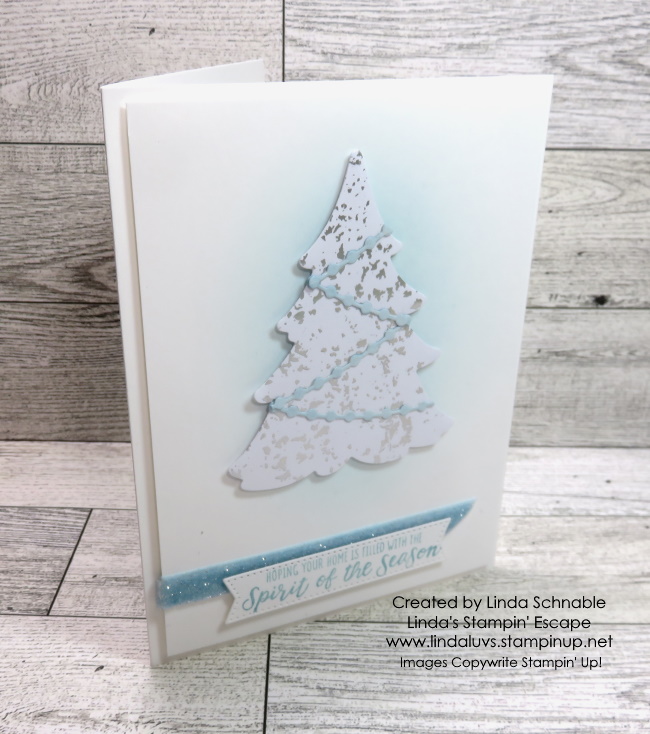
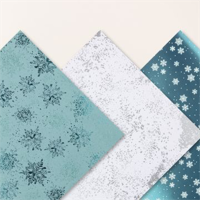
The holiday season will soon be upon us, and what better way to spread some festive cheer than by sending heartfelt Christmas cards to your loved ones? Today, we’re going to create a stunning Christmas card using the Merriest Trees Dies and the Snowflake Magic 12 x 12 Specialty Designer Paper. This card not only captures the spirit of the season but also showcases some must-have products for your holiday crafting collection.
Let’s begin with a piece of Basic White Cardstock for your card base 8-1/2″ x 5-1/2″ that will be scored at folded at 4-1/4″ . You will also need a card front (white) 5-1/4″ x 4″ and your blending brush with Balmy Blue Classic Ink. Apply a small amount of ink to the brush in a circular motion apply the ink to the card front, this will create a soft glow for behind your tree.
Now, it’s time to bring out the star of the show: the Merriest Trees Dies. Choose a beautiful design from the Snowflake Magic Designer Paper, and die-cut your tree. This paper is ideal for creating intricate and elegant holiday-themed die-cuts.
Carefully place your die-cut tree onto the Balmy Blue background you created earlier. The soft blue glow behind the tree will give it a magical appearance, as if it’s nestled in a snowy forest.
For the finishing touch, let’s add a heartfelt message. The Beary Cute Stamp Set comes to the rescue! I used the “Merry Christmas” to convey my holiday wishes, and stamped onto a scrap piece of cardstock and adhered it near the bottom of the card.
Time to decorate the tree to add your personal touch to the card. Die cut the garland in Balmy Blue that’s included in the Merriest Trees stamp set and add a little sparkle with your Wink of Stella. Lastly you’ll tuck a little Balmy Blue Sparkly ribbon behind the greeting.
Your Merriest Trees Christmas card is now complete and ready to spread holiday joy to your friends and family. Whether you’re sending it in the mail or delivering it in person, your handmade card will surely bring smiles and warmth to those who receive it.
This Merriest Trees Christmas card combines the beauty of Snowflake Magic Designer Paper, the elegance of the Merriest Trees Dies, and the heartfelt sentiment from the Beary Cute Stamp Set. With a touch of Balmy Blue ink, you’ve created a masterpiece that captures the enchantment of the holiday season.
As you embark on your holiday crafting journey, remember that the magic of Christmas lies not only in the materials you use but in the love and thoughtfulness you put into your creations. Happy crafting, and may your holiday season be filled with warmth, joy, and creativity!