Welcome to Day 4 of my 12 Days of Christmas series! Today, we’re turning up the holiday cheer with a project that’s as quick and simple as it is beautiful. We’re creating Christmas ornaments that are perfect for decking your cards—or even adorning gifts!
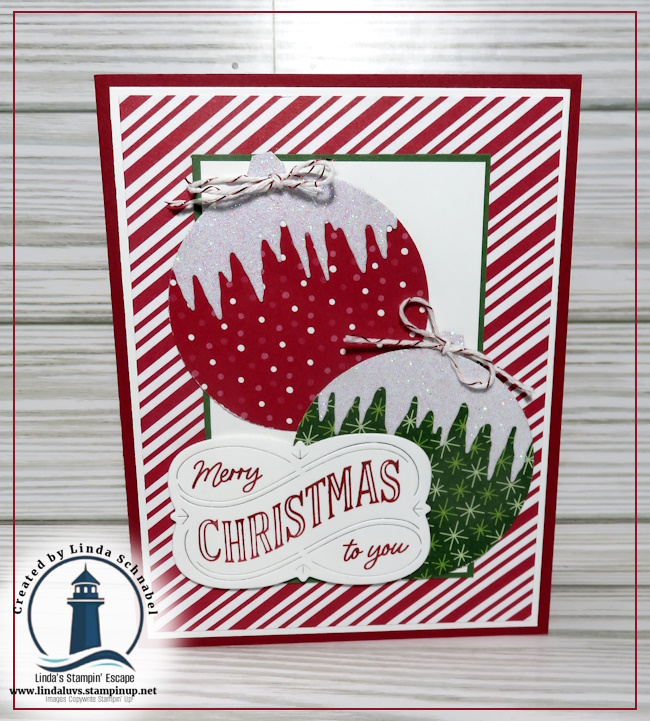
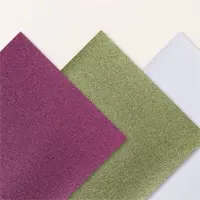
This festive creation features some of my favorite key products: the Take a Bow Designer Series Paper, the Berry Burst, Old Olive & White 12” x 12” Glimmer Specialty Paper, and the Frozen Edges Bundle. Together, these items make it easy to create ornaments that shimmer and shine with holiday magic. Let’s get started!
How to Make Sparkling Ornaments
First, I cut the Take a Bow Designer Series Paper into 3” x 3” squares. The festive patterns make a perfect base for our ornaments, and this size is just right for punching and layering with additional sparkle.
Next, I grabbed the white paper from the Glimmer Specialty Paper pack and cut it into 6” x 3” strips. Using the Frozen Edges Bundle, I die-cut icicles from these strips. Here’s the fun part: you get two icicle pieces with each cut—top and bottom both work beautifully! To make them easier to use, I cut these in half again, creating 3” strips.
I glued the 3” glimmer icicle strips to the top of each 3” x 3” designer paper square, instantly adding a frosty sparkle that perfectly complements the holiday patterns. With the layers ready, I took out my trusty 2 3/8” Circle Punch and punched out the ornament shapes. The result? Gorgeous ornaments adorned with sparkling icicles that are quick and easy to create!
You will complete your card by attaching your ornaments to the front which boasts more of the Take a Bow Designer Series Paper. My Merry greeting comes from the Christmas Labels Bundle. How cute is this card!
Don’t forget, many of these items—like the Frozen Edges Bundle—are on the Last Chance List, so grab them before they’re gone.
I hope today’s project has inspired you to add a little extra sparkle to your holiday cards. Be sure to check back tomorrow for Day 5 of my 12 Days of Christmas series. Until then, happy crafting and happy holidays! 🎅✨
The holiday season is upon us, and there’s no better way to get into the spirit than with handmade crafts that come straight from the heart! Over the next 12 days, I’ll be sharing creative inspiration for your Christmas crafting, so be sure to check back daily. Let’s kick things off with a project that’s equal parts festive, elegant, and oh-so-easy to recreate!
Today, we’re spotlighting two fabulous products that will elevate your holiday projects: the Sentimental Christmas Designer Series Paper and the Christmas Labels Bundle. These items are your new best friends for creating beautiful handmade cards, gift tags, scrapbook pages, and more.
The Sentimental Christmas Designer Series Paper exudes a cozy, vintage charm that captures the essence of the season. Think warm, rich colors, timeless patterns, and designs that instantly set a nostalgic mood.
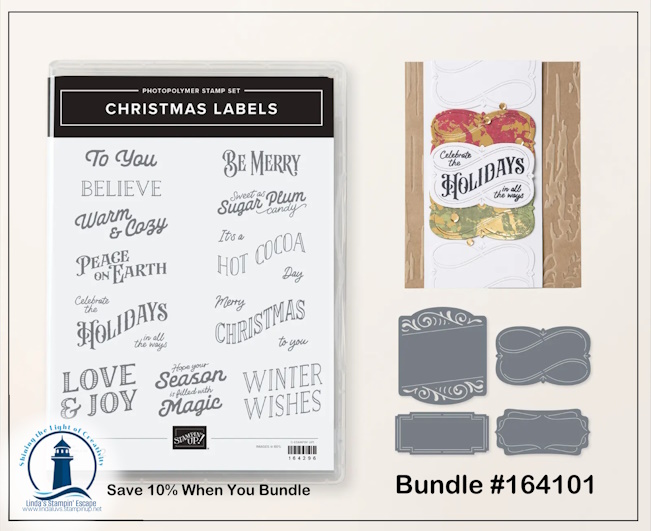
The Christmas Labels Bundle, which includes stamps and coordinating dies, is a must-have for your holiday toolbox. Save 10% when you buy the bundle instead of purchasing the stamps and dies separately! Not only does it save you money, but it also saves you time by effortlessly cutting out your stamped images.
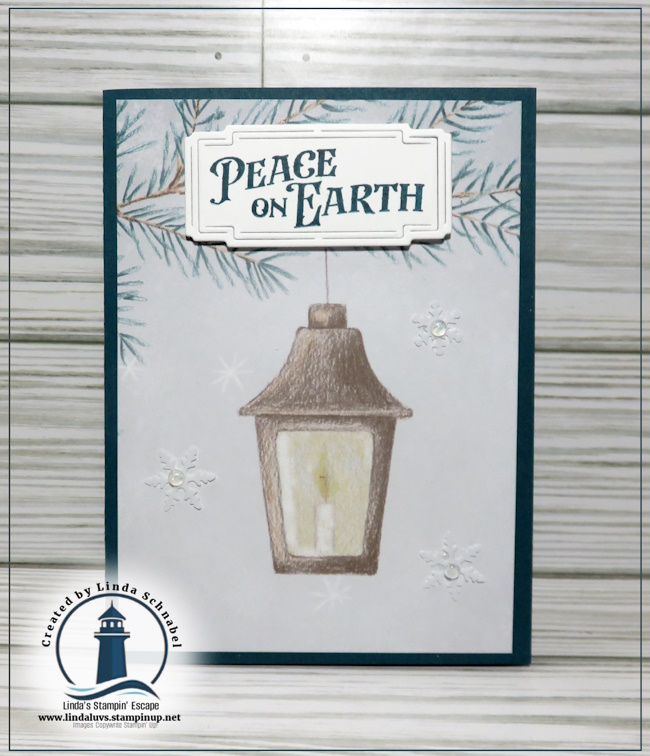
For today’s project, I’ve created a simple yet stunning card featuring the lantern design from the Sentimental Christmas paper. The lantern is so beautifully detailed that it becomes the star of the card. To complete the look, I added a bold “Peace on Earth” greeting using the rectangular die from the Christmas Labels Bundle.
Here’s how easy it is to make: 1️⃣ Cut a piece of the lantern-patterned paper; 4″ x 5 1/4″ to fit your card front. Pretty Peacock Card Base measures 8 1/2″ x 5 1/2″… then scored and folded at 4 1/4″. 2️⃣ Stamp “Peace on Earth” (or your favorite sentiment!) with Pretty Peacock Classic Ink and use the coordinating die to cut it out. The bundle makes it an easy choice! 3️⃣ Attach the greeting to the card with a few dimensionals for a polished look. Embellish!
That’s it! This card is a breeze to assemble and perfect for making multiples—ideal for spreading holiday cheer far and wide.
Join the Fun!
This is just the beginning of my 12 Days of Christmas series! Every day, I’ll showcase a new project to inspire your holiday creativity, featuring tips, techniques, and must-have products. Whether you’re a seasoned crafter or just starting out, there’s something here for everyone.
Be sure to stop by tomorrow for Day 2, where I’ll share another festive idea to spark your imagination. Let’s make this Christmas extra special with handmade touches!
Hope those of you from the US enjoyed a beautiful Thanksgiving day. Today, I’m excited to share two adorable cards I created using the Snow Day Scrapbook Kit! These kits are packed with coordinating elements that make crafting a breeze. What’s even better is the abundance of leftovers you’ll have after completing the scrapbook pages. With these extras, you can keep the creativity flowing by making additional pages or, like I did today, crafting charming cards!
This kit includes supplies to create three predesigned two-page scrapbook spreads. Each page is 12″ x 12″, allowing lots of space for photos and journaling. The whimsical color palette is a fresh take on classic winter patterns. Here is just one pages ….
I’ve put together a short video explaining how I created these cards, so be sure to check it out for all the details. Both cards showcase the Spotlight on Nature Dies, which add a unique touch and interest to the designs. Let me walk you through each card:
The first card features several die-cut circles, two of which are showcasing the kit’s beautiful patterned paper. I selected a combination of snowflakes and a cozy village scene. The houses became the focal point of the card, creating a warm and inviting winter vibe.
For the second card, I used the dies to expose the snowflake-patterned paper beneath, adding a layered dimension. Then, I fussy cut one of the snow globes from another sheet of the patterned paper to serve as the centerpiece. It was such a quick and easy way to bring the card to life while highlighting the kit’s charming details.
These cards are proof that scrapbook kits aren’t just for memory-keeping—they can be a fantastic resource for card-making, too! I hope these ideas inspire you to think outside the box and maximize your supplies. Don’t forget to watch the video for a closer look at how these cards came together. Just click on the video image below ….
Thank you for joining me on this Friday!! Happy crafting! ✂️
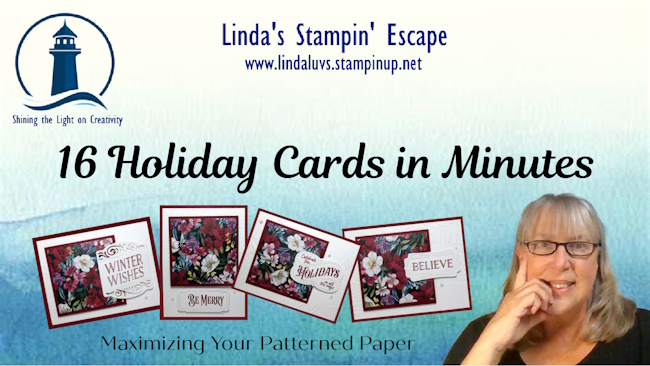
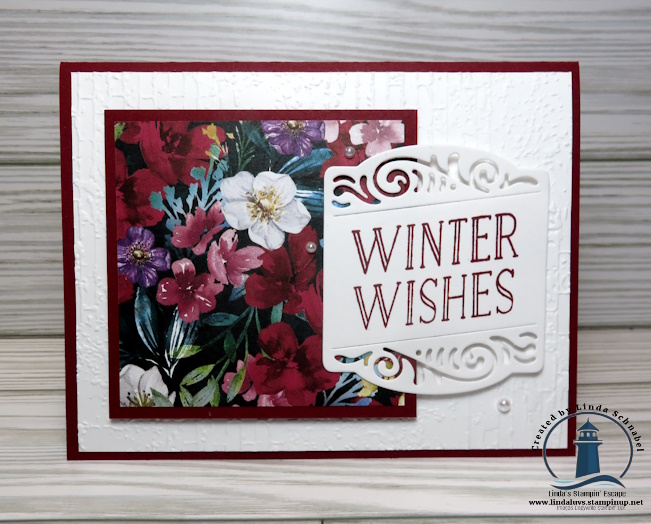
🎄 Today, I’m thrilled to share a simple yet incredibly elegant way to make your holiday card-making fast, fabulous, and fun! Imagine creating not just one, but 16 stunning holiday cards—all from a single sheet of the breathtaking Regal Winter Designer Series Paper (DSP). With its vibrant watercolor florals, hand-painted designs, and rich seasonal hues, this paper sets a heartwarming holiday tone that your friends and family will adore!
Let’s dive into this super-efficient design, perfect for anyone who loves beautiful, handmade cards without spending days on end making them. And the best part? We’re pairing it with the Christmas Labels Bundle, which is packed with gorgeous sentiments and die-cut frames that add a touch of class to each card. With this approach, you’ll have everything you need to make your holiday greetings truly special!
Step 1: Cut Your Paper—3 x 3 is the Magic Number!
To get started, take a 12 x 12 sheet of the Regal Winter Designer Paper and cut it down into 3 x 3-inch squares. This will give you 16 individual squares—the perfect size to build a gorgeous set of cards quickly. Each 3 x 3 piece showcases a unique section of the paper’s hand-painted design, meaning each card will have its own charm and character while still looking like part of a cohesive set.
Quick Tip: Feel free to mix and match paper patterns if you want an extra pop of variety! The Regal Winter DSP coordinates beautifully, so each card will have a harmonious holiday look.
Step 2: The Christmas Labels Bundle—Adding Elegance & Class
Now that we have our DSP squares ready, it’s time to bring in the Christmas Labels Bundle! The bundle includes beautifully crafted sentiments and label frames that add an instant touch of elegance to your cards. Here’s a closer look at what’s included:
Stamp Set Sentiments: Warm and festive sentiments that are perfect for holiday wishes. From classic “Merry Christmas” to heartfelt “Season’s Greetings,” these stamps have every message you need for your cards.
Label Frame Die Cuts: The die-cut frames are the stars of the show! They’re delicately designed to enhance your sentiment stamps and give each card a professional, polished look. Plus, they’re versatile enough to be used on tags, paper cup sleeves, and other Christmas crafts!
Simply choose a sentiment for each card, die-cut a frame to surround it, and you’ll be amazed at how refined and finished each card looks.
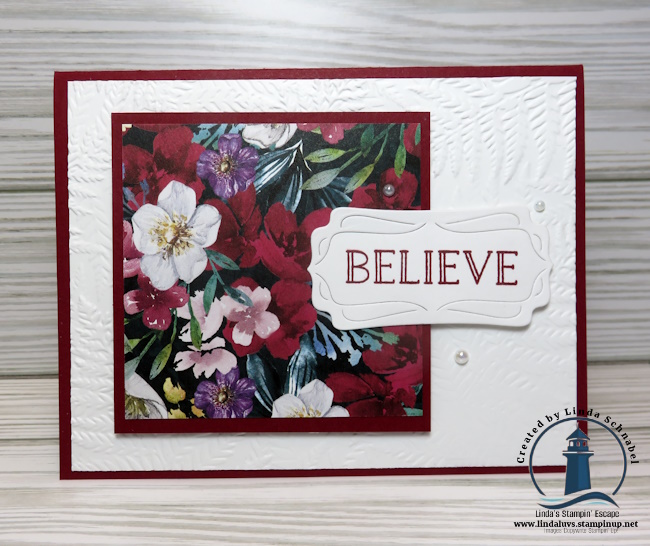
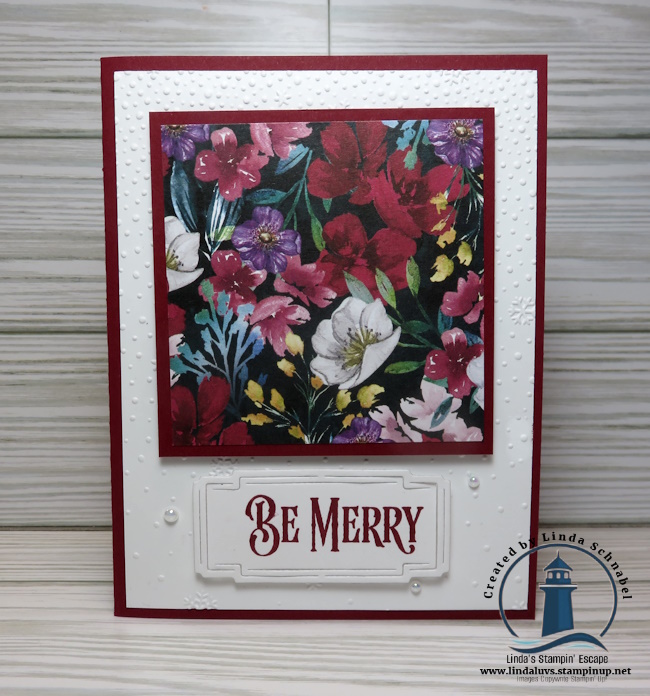
Step 3: Assemble & Adorn!
Now comes the fun part—assembling your cards! I’ve used a Basic White background to highlight the paper and add some texture… use your favorite embossing folder. Next, place a 3 x 3 square of the DSP onto a 3 1/4″ x 3 1/4″ mat in a coordinating color and center it onto the card front. Then layer on your label frames with the sentiment stamped inside. To make each card uniquely special, add a few embellishments like rhinestones, pearls, or a sprinkle of glitter.
And just like that, you’ve got 16 holiday cards that look as though they were designed by a professional!
Why Handmade Cards Make the Best Gifts
The joy of receiving a handmade card is truly something special. When your loved ones open their mailbox to find one of your beautiful creations, they’ll feel the warmth and care that went into making it. Every brushstroke of color, every carefully chosen sentiment, every loving touch—it all comes together to create a moment of joy and connection.
Sending handmade cards isn’t just about sharing holiday wishes; it’s about sharing a piece of your heart with those who matter most. Each card becomes a keepsake, a small token of love they can hold onto throughout the season and beyond. Even my landlord has saved each card I have made for them!!
Let’s Make This Holiday Season Extra Special
So, if you’re ready to create gorgeous holiday cards that will warm hearts and make spirits bright, be sure to add the Regal Winter Designer Series Paper and Christmas Labels Bundle to your crafting stash. Whether you’re a seasoned card maker or a newbie looking to try something special, this combo is perfect for you. With just one sheet of 12 x 12 DSP and this versatile bundle, you can make 16 cards quickly, beautifully, and with that touch of elegance every holiday card deserves! Each sheet creates 16 cards … and there are 12 sheets per package! Hmmm …. is that enough for your Christmas Card list?!
Shop today and start creating cards that your family and friends will treasure. Because nothing says “I’m thinking of you” like a handmade card made with love.