Glow of Harvest Meets Round About Messages: A Beautiful Beginning!

Hello Stampin’ Friends ~

If it seems like I’ve been a little quiet here lately, there’s a good reason… I’ve been partying! 🎉✂️

I’ve been busy hosting my September–December Catalog Kick-Off Party, an online event filled with new products, stamping inspiration, games, prizes, and, of course, lots of card making! We had seven stamping sessions, and now I’m excited to start sharing some of those projects with you here on my blog and over on my YouTube Channel.

And what better place to begin than Session 1, featuring one of the prettiest papers I’ve had the pleasure of creating with lately… Glow of Harvest Specialty Designer Series Paper!

This Paper Really Does GLOW!

Glow of Harvest was already a favorite of mine before I even started cutting into it. The soft fall colors, delicate florals, and beautiful shimmer give it such an elegant look. But once I started creating with it, I loved it even more!

For these cards, I paired the paper with the NEW Round About Messages Stamp Set. I love the way the circular sentiments become part of the design rather than simply being added at the end.

And as you can see, these two cards show just how versatile that combination can be.

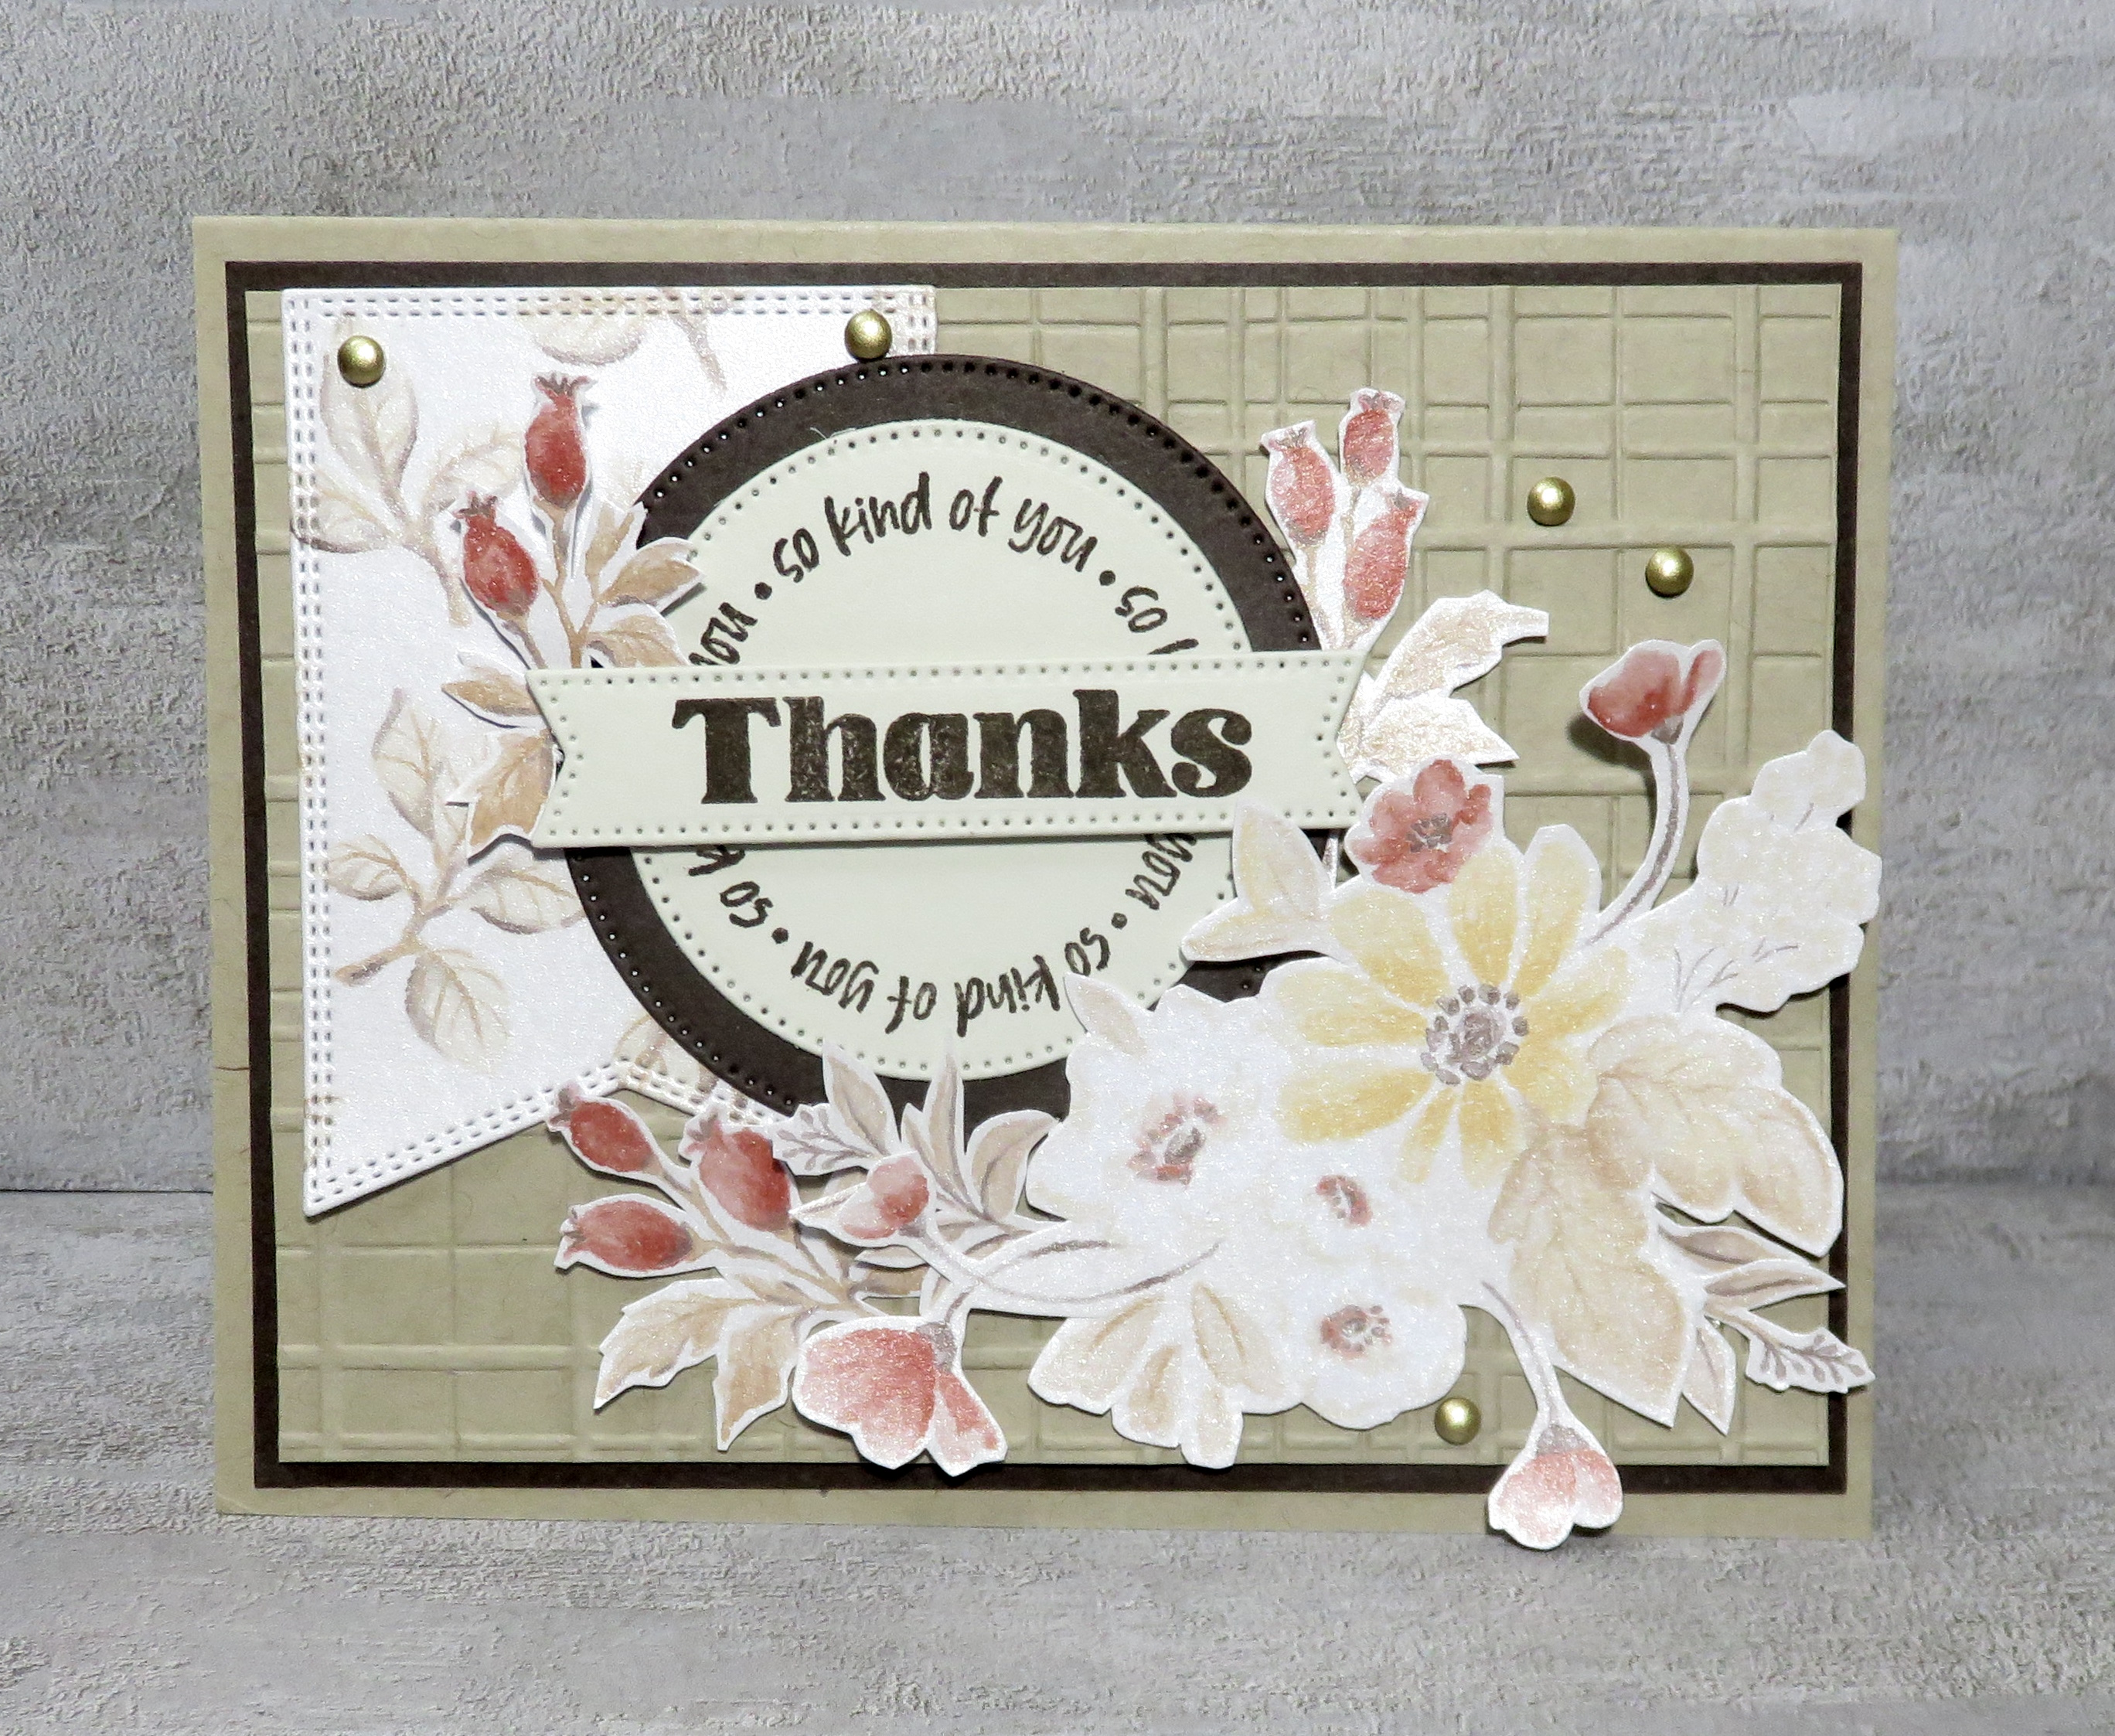
The first card is definitely my WOW card! I layered those beautiful florals around the circular “so kind of you” greeting and added the bold Thanks across the center. Between the texture, layers, florals, and shimmer of the paper, there’s so much to look at… but it all works together beautifully.
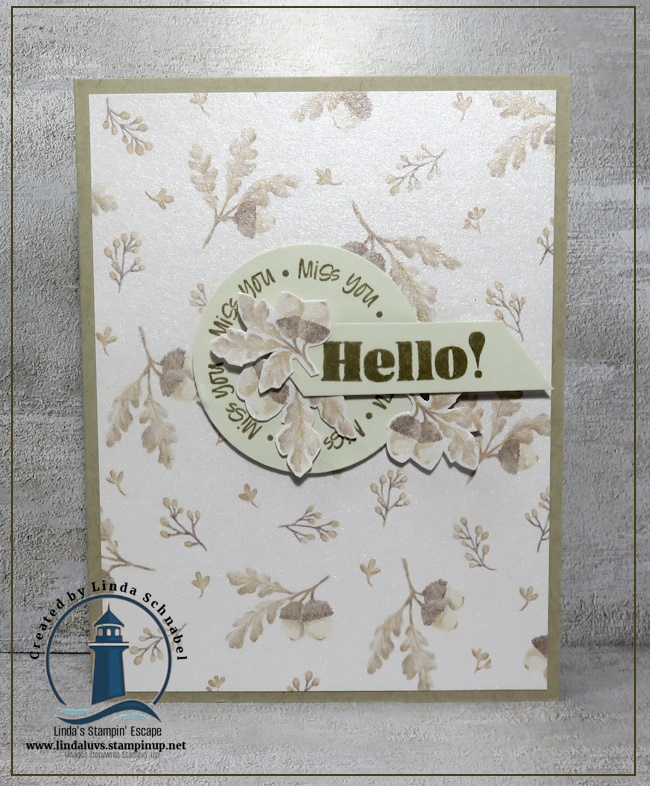
Then I went in a completely different direction with my second card. Simple can be beautiful, too!

I let that gorgeous Glow of Harvest paper do most of the work and added the Round About Messages greeting as the focal point. A few fussy-cut pieces from the Designer Series Paper were just enough to finish it off.

I love showing these two cards together because they’re such a great reminder that you don’t always need lots of layers and embellishments to make a beautiful handmade card. Sometimes we can step it up, and sometimes we can simply let the paper shine!
Watch Me Create!

I’m sharing these cards and lots of little tips in the video from Session 1 of my Catalog Kick-Off Party.

WATCH HERE ON YOUTUBE

If you missed the party, don’t worry! I’ll be sharing more of the projects from our seven sessions here on the blog, along with the coordinating videos on my YouTube Channel. There is LOTS more new-product inspiration coming your way!

I hope these first two cards inspire you to pull out some pretty paper, try a different way of using your sentiments, and spend a little time creating.

Now I have to know…

Which card is more YOUR stamping style?
The layered floral “Thanks” card, or the clean and simple “Hello!” card?

Happy Stampin’!
Linda
Linda’s Stampin’ Escape
Shining the Light on Creativity ❤️

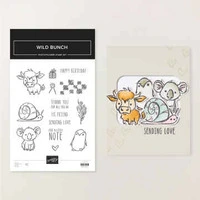
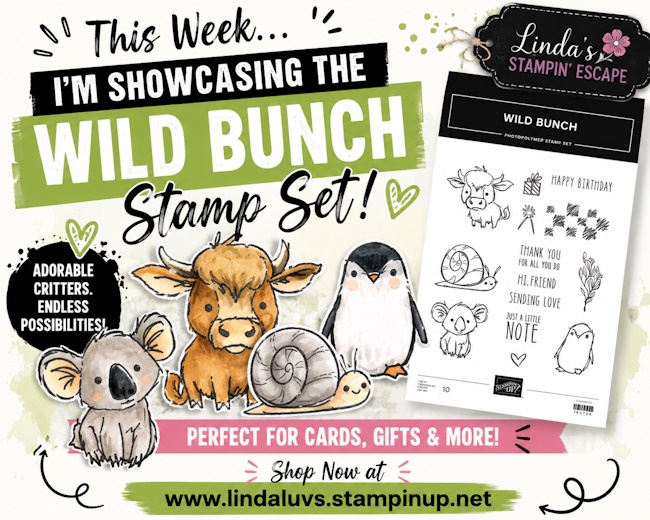
Wild Bunch: A Little Cow with Big Memories

Hello Stampin’ Friends,

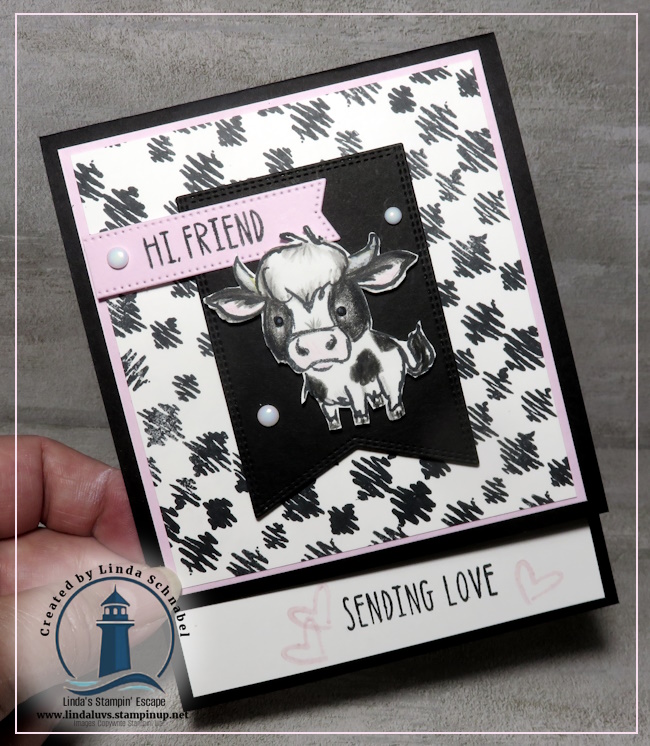
Today I’m sharing another adorable critter from the Wild Bunch Stamp Set, and this little cow completely stole my heart! As soon as I saw her, I knew she had to become a Holstein—the same kind of cows I remember from my Grandma and Grandpa’s dairy farm when I was growing up.

Those memories came rushing back while I was coloring. Early mornings, country roads, and fields dotted with black-and-white cows are all part of my childhood story. Then, of course, I started thinking about my daughter. When she was little, she was absolutely fascinated with cows! Every road trip included an excited announcement of, “Cows!” whenever she spotted them out the car window. It became such a habit that even years later, I had to stop myself from pointing them out every time I saw one! 😂

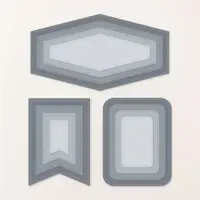
For this card, I kept the color palette simple—just black and white, just like my little Holstein, with a soft pop of pink for a sweet touch. The background was stamped with Memento Ink to create a fun, playful pattern that lets our star of the show take center stage. The black tag behind the cow was die cut using the Nested Essentials Dies, while the soft pink greeting banner was created with the Stylish Shapes Dies. Together, they add just the right amount of layering and help draw your eye directly to our adorable little friend.

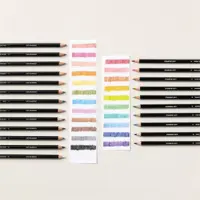
And speaking of coloring… don’t put those Watercolor Pencils away just yet!

That’s exactly what I used to bring this little cutie to life. One of the things I love most about watercolor pencils is how easy they are to use. They’re perfect for newer stampers who may be a little intimidated by coloring techniques, but they also offer plenty of possibilities for experienced crafters who already own “all the things” (or so they claim! 😉).

With just a little shading and blending, you can add depth, dimension, and personality to your stamped images without needing a huge collection of markers or specialty tools. They’re affordable, versatile, and honestly one of the most underrated products in my craft room.

They’re also a favorite when the grandkids come over. The watercolor pencils are easy for little hands to use, and these adorable animals from the Wild Bunch Stamp Set always bring smiles to their faces. Watching them color and create reminds me why I fell in love with stamping all those years ago—it’s not just about making cards; it’s about making memories.

This month’s Product of the Month is the Wild Bunch Stamp Set, and I can certainly see why. These sweet little critters have a way of bringing out stories, smiles, and a whole lot of creativity.

Thanks for stopping by today and sharing a little walk down memory lane with me. I hope this card inspires you to pull out those watercolor pencils, create something fun, and maybe even revisit a few happy memories of your own along the way.

Tone-on-Tone Elegance: A Fresh Look with the Autumn Toile Suite

Hello Stampin’ Friends,

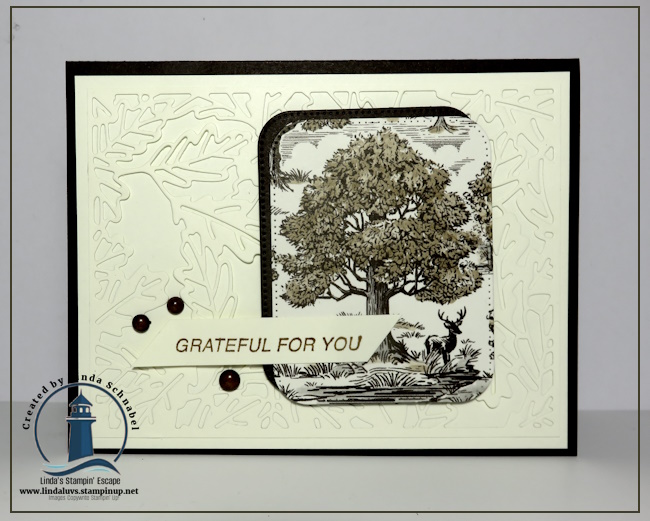
Are you ready for another way to showcase the Autumn Toile Suite? Today’s card is all about subtle elegance with just the right amount of detail. I love how the products in this suite give you the flexibility to create everything from bold and dramatic designs to soft and sophisticated layouts. This time, we’re letting texture take center stage with a leafy background that is both understated and beautiful.

For the front of my card, I cut the intricate leafy background die from Very Vanilla cardstock and adhered it directly onto a Very Vanilla layer. This tone-on-tone technique creates a soft, textured backdrop that looks rich without being overwhelming. I mounted this layer onto an Early Espresso card base for a striking frame.

Next, I die cut a piece of the Autumn Toile Designer Series Paper, along with an Early Espresso mat, using the Nested Essentials Dies. This creates the perfect focal point, balancing the detailed background with the warmth of patterned paper. For the greeting, I stamped in Early Espresso ink to keep the look cohesive and finished the card with a touch of sparkle from the Streaked Dots embellishments.

It’s amazing how the suite comes together—whether you want a bold metallic die cut, a patterned focal point, or a simple textured background like today’s card, the Amber Autumn Bundle and Autumn Toile Designer Paper give you endless options. By now, you’ve seen several styles of cards with this suite, and I hope you’re as inspired as I am! Imagine all the possibilities waiting in your stamp room when you add this suite to your collection—it’s a fall crafting essential.

Thanks for stopping by today.