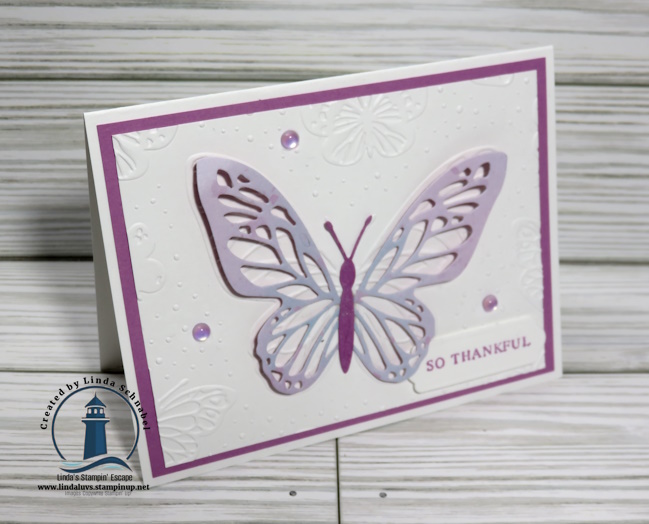
Hello Stampin’ Friends ~
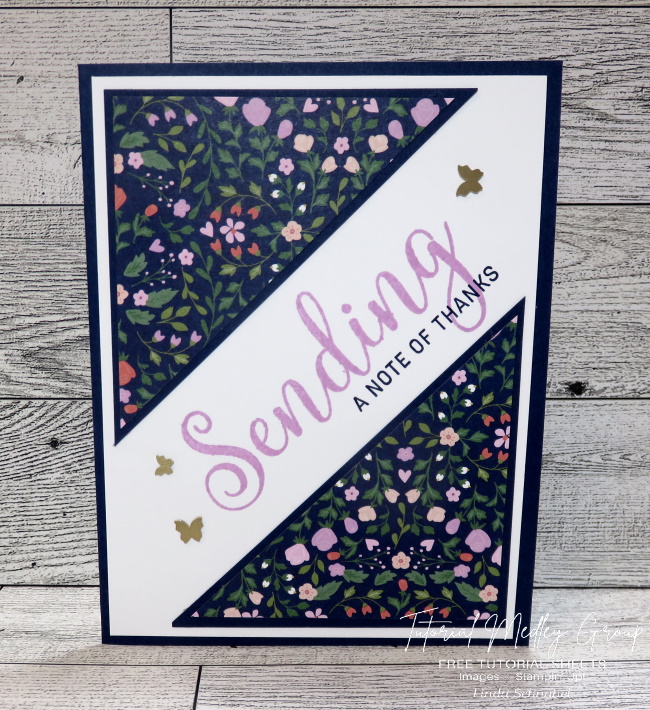
I hope you had a wonderful Easter / Spring Break! Have you ever had one of those moments where a simple shape turns into something beautiful? That’s exactly what happened when I saw a card made with the Everyday Arches Dies! Today’s card is one of those projects that came together so effortlessly, yet has such an elegant and eye-catching finish. If you love creating cards that feel both soft and sophisticated—with just a touch of “wow”—you’re going to fall in love with this one.

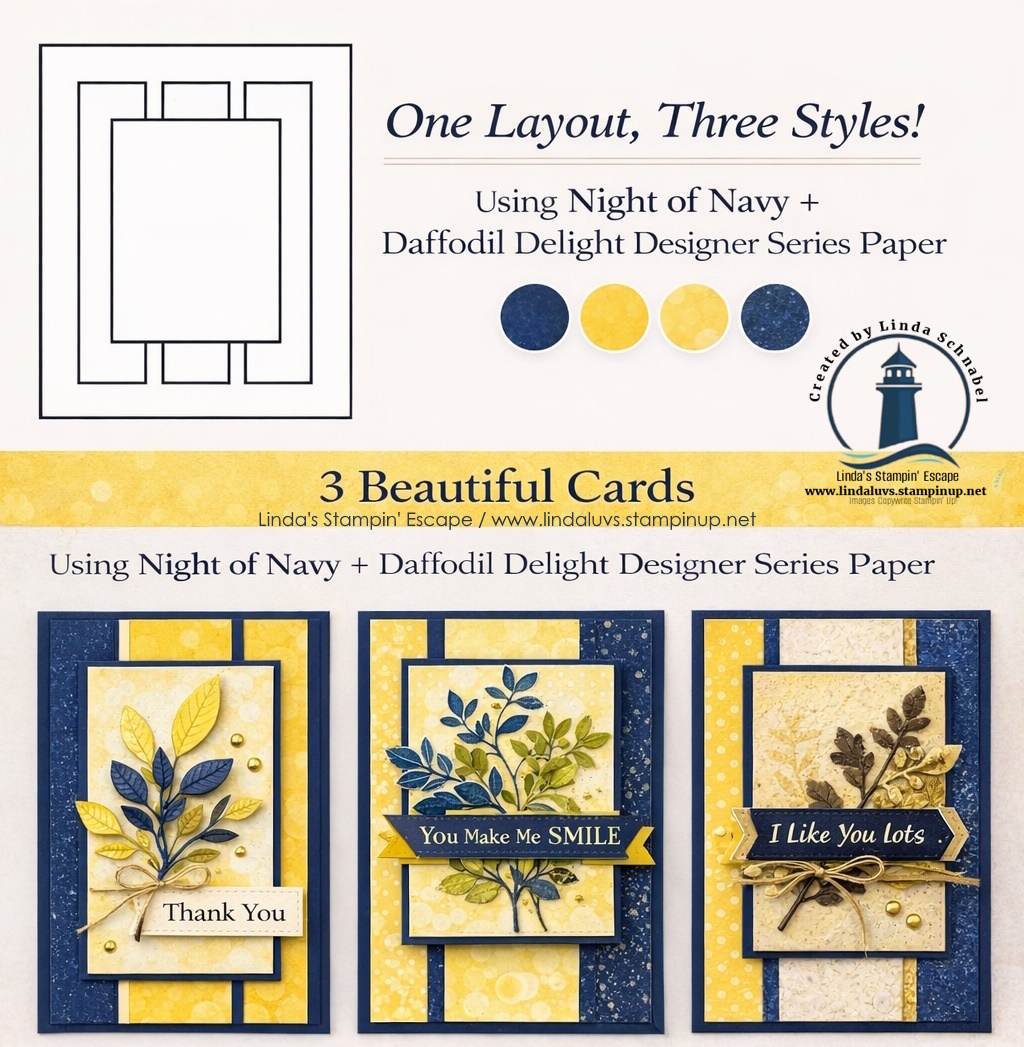
The Everyday Arches Dies are quickly becoming a go-to in my craft room. There’s something about those graceful curves that instantly elevate a design. Whether you’re layering, framing, or creating focal points, these arches add movement and interest without overwhelming your project. In today’s card, I paired them with the beautiful textures and rich tones from the Garden Poetry Suite—and oh my goodness… what a combination! The deep, vibrant background paired with delicate botanical elements creates a look that feels both bold and timeless.

What I especially love about the Garden Poetry Suite is how effortlessly everything coordinates. From the designer paper to the dies and embellishments, it takes the guesswork out of designing and lets you focus on the fun part—creating! Whether you’re making a quick card or something a little more detailed, this suite gives you endless possibilities while still keeping things simple and enjoyable.

I’ve included a replay of my Facebook LIVE below where I walk you step-by-step through creating this card. You’ll see just how easy it is to bring these elements together, and I’ll share a few little tips along the way to help you get the most out of your dies and paper.
✨ Be sure to watch the video and let me know—would you recreate this card, or would you switch up the colors and make it your own? Click HERE to view on YouTube!
As you’re watching, take a moment to imagine how you could use the Everyday Arches in your own crafting. They’re one of those tools that you’ll reach for again and again—perfect for everyday cards, special occasions, and even scrapbooking layouts. And when paired with a suite like Garden Poetry, it truly makes creating feel effortless and enjoyable.
If this card inspired you, I’ve included links below to the products I used so you can take a closer look and add them to your collection. Whether you’re crafting for relaxation, connection, or creativity… you deserve supplies that make you excited to sit down and create.
Thanks so much for stopping by today—I’m so glad you’re here 💕