Hello Stampin’ Friends ~
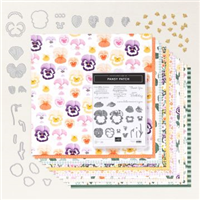
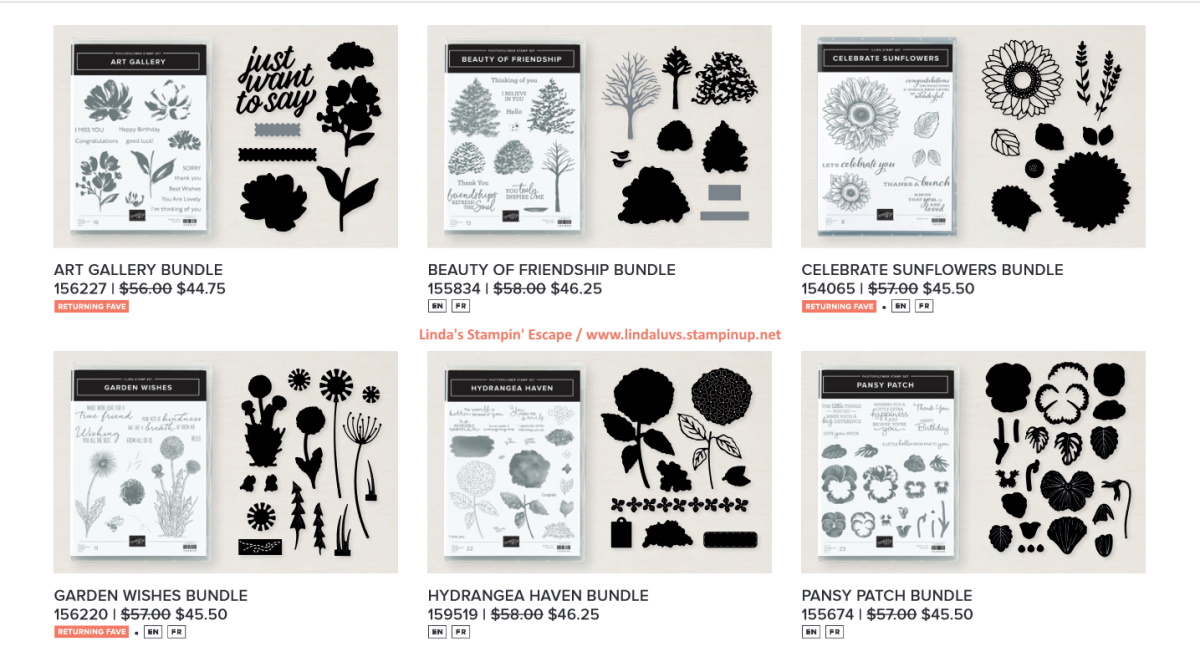
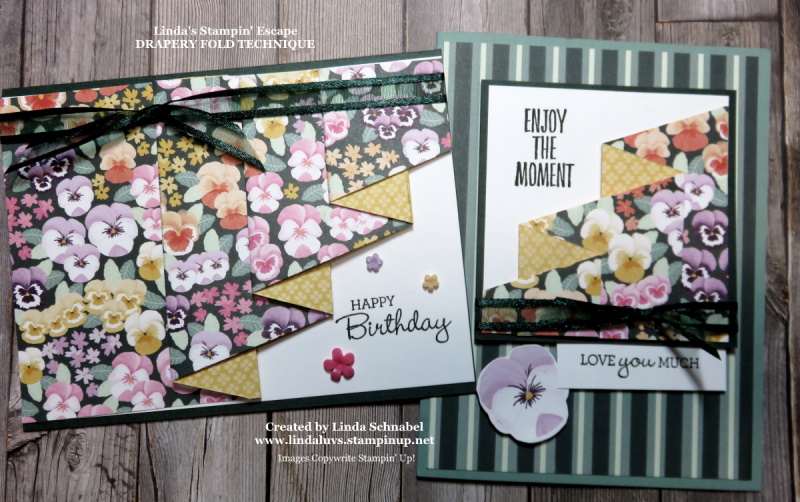
As new trends emerge in the world of crafting, it’s inevitable that we must bid farewell to some beloved classics. Today, I’m going to reminisce about one such gem: the Pansy Patch Stamp Set, and share several cards with you. With its elegant floral appeal and versatile design, this stamp set has been a staple in the repertoire of cardmakers and crafters alike.
For many, the Pansy Patch Stamp Set has been more than just a collection of stamps; it’s been a source of inspiration and creativity. Whether adorning handmade cards, embellishing gift tags, or adding a touch of charm to scrapbook pages, the possibilities with this set have been endless.

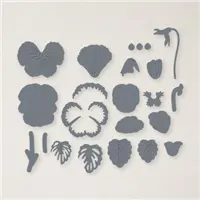
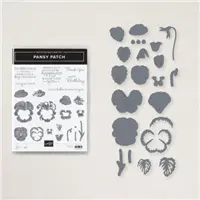
One of the standout features of the Pansy Patch Stamp Set is its versatility. You can choose to layer the stamps to create stunning floral arrangements, each petal coming to life with every inked impression. Alternatively, you could opt to use the coordinating dies to cut out intricate pansy shapes, adding dimension and depth to your creations. The beauty of this set was that it allows for endless experimentation and exploration, inviting you to let your creativity run wild.

One of the things that make the Pansy Patch Stamp Set truly special is its ability to effortlessly elevate any project. With a range of beautiful sentiments included, it becomes effortless to convey heartfelt messages and well wishes. From birthdays to weddings, sympathy cards to thank-you notes, the Pansy Patch Stamp Set has been there to help us express ourselves in style.

But as all good things must come to an end, so too must the reign of the Pansy Patch Stamp Set. With its retirement on the horizon, now is the time to pay tribute to this timeless classic and celebrate the joy it has brought to so many. The Pansy Patch Stamp Set has been a true workhorse in my stamping stash.

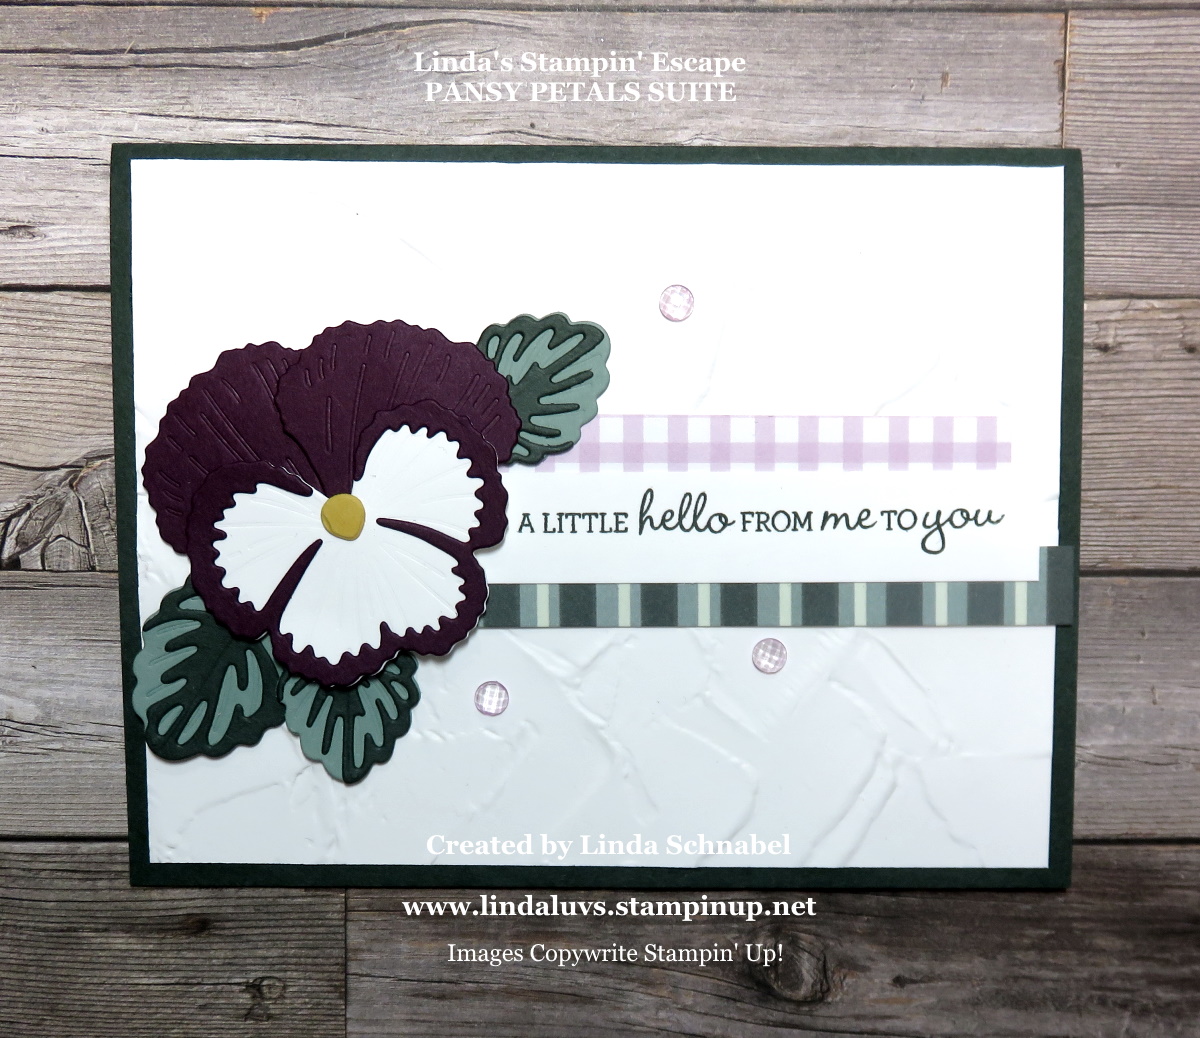
Ok … I have one more for you, and my favorite!!
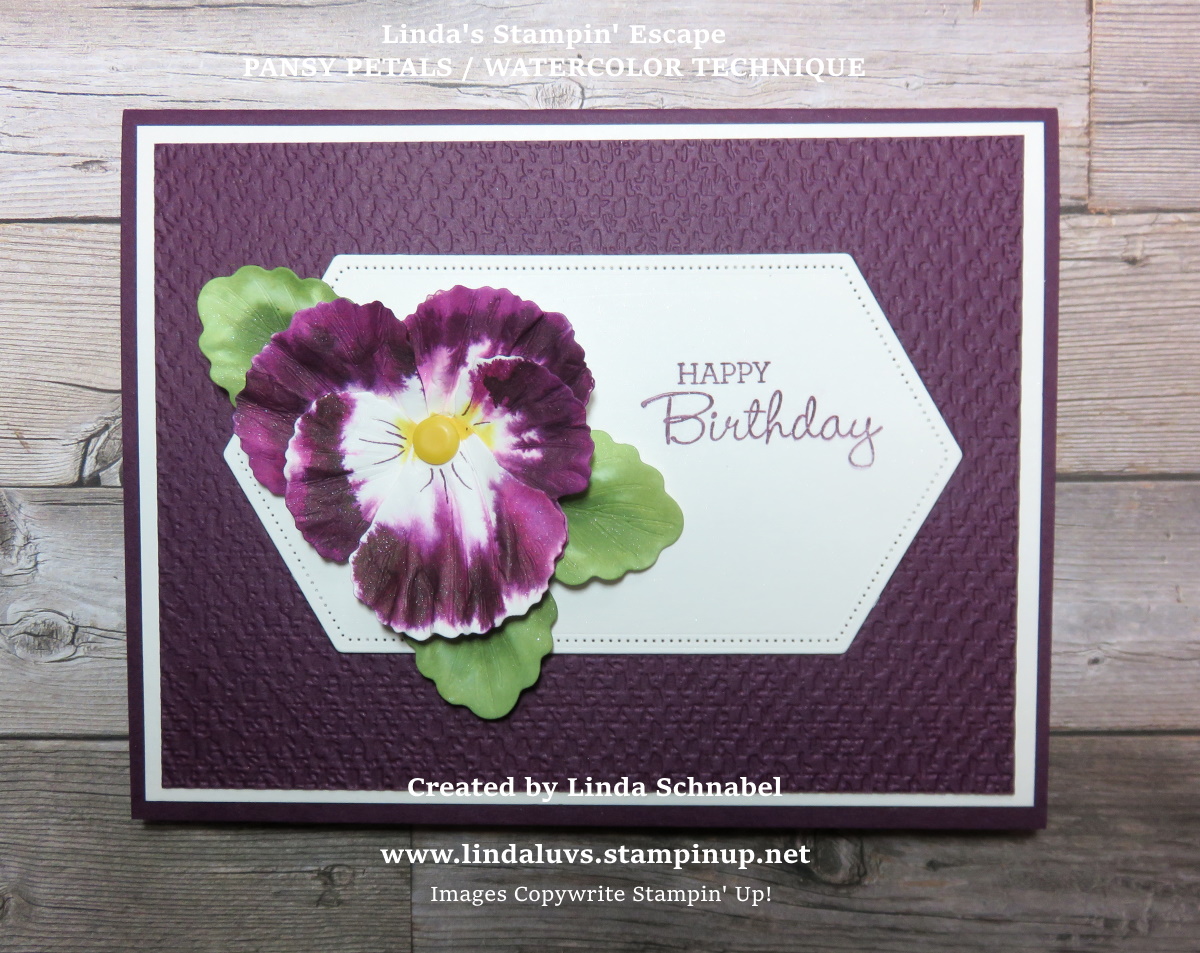
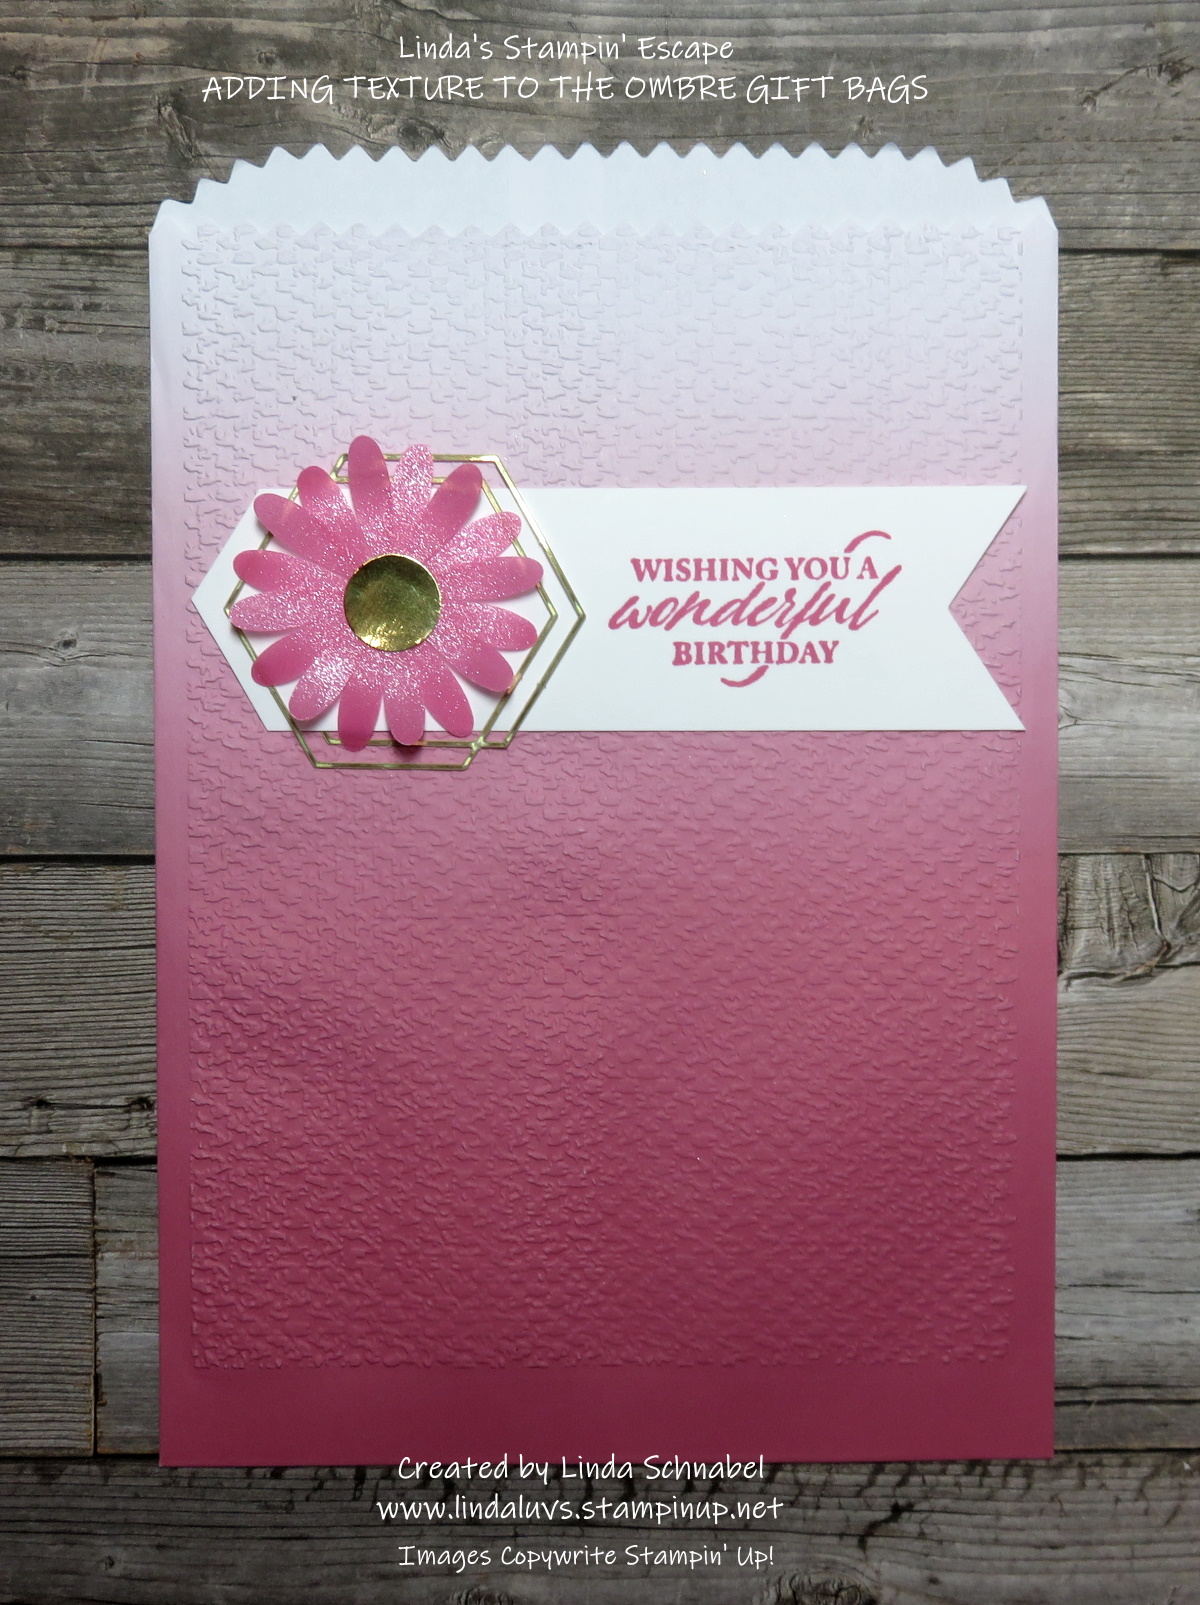
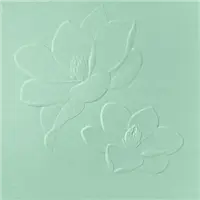
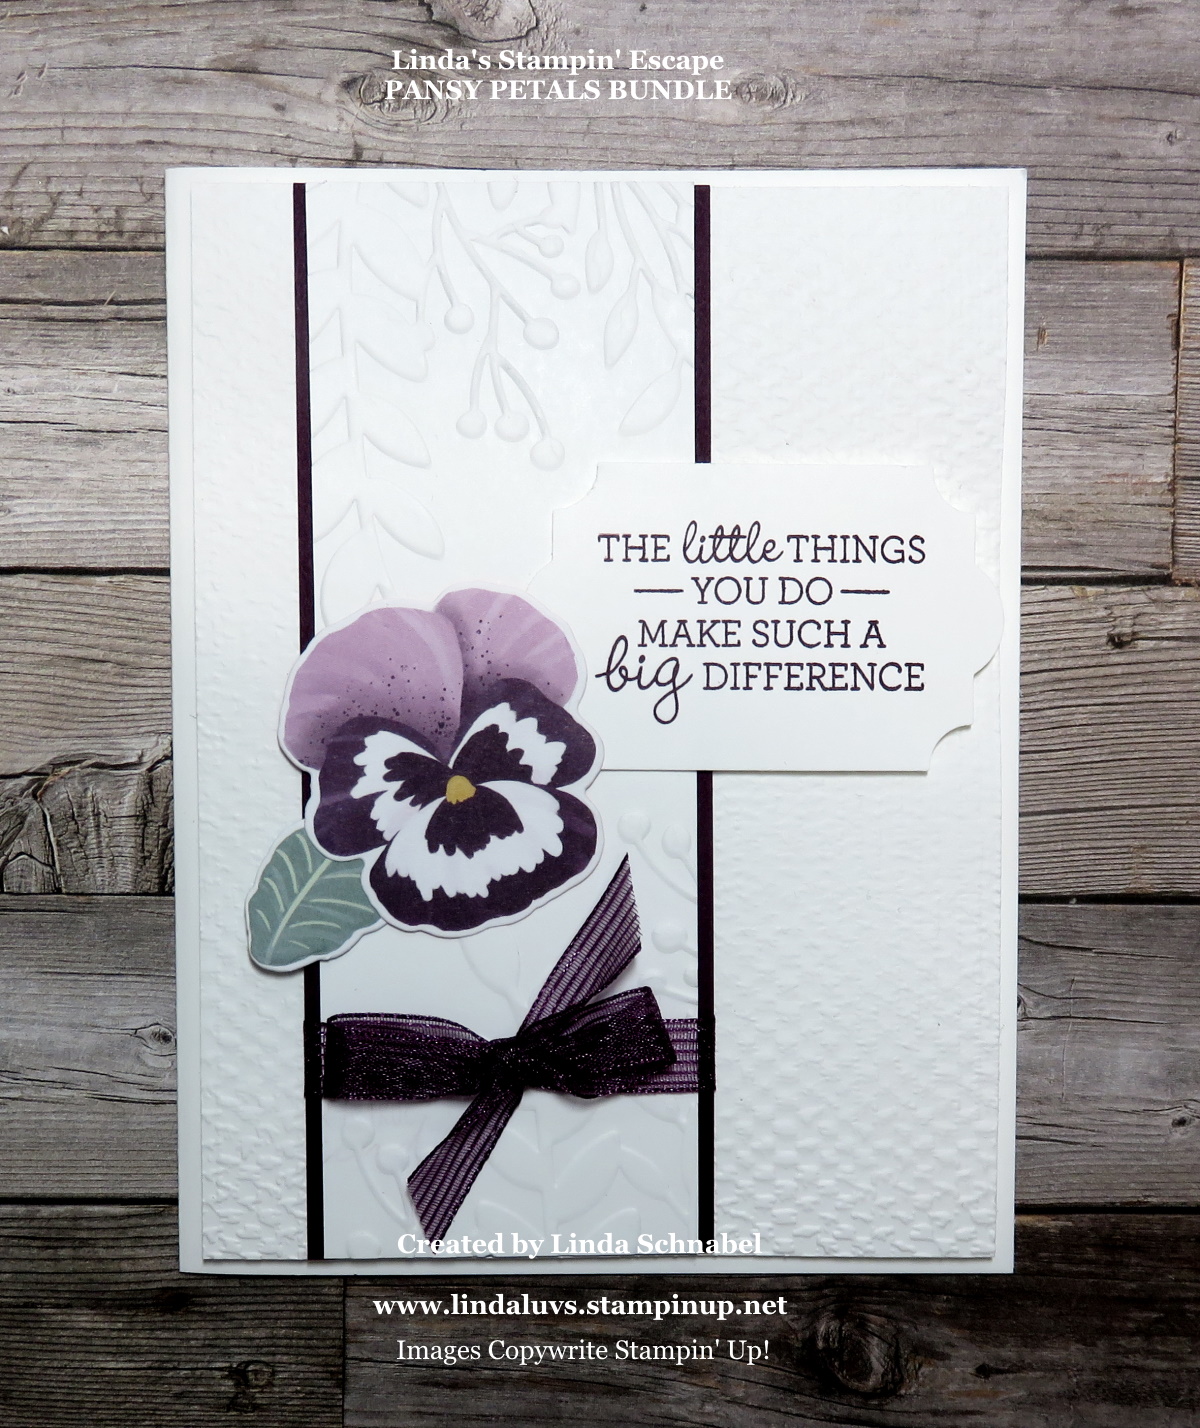
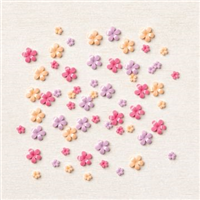
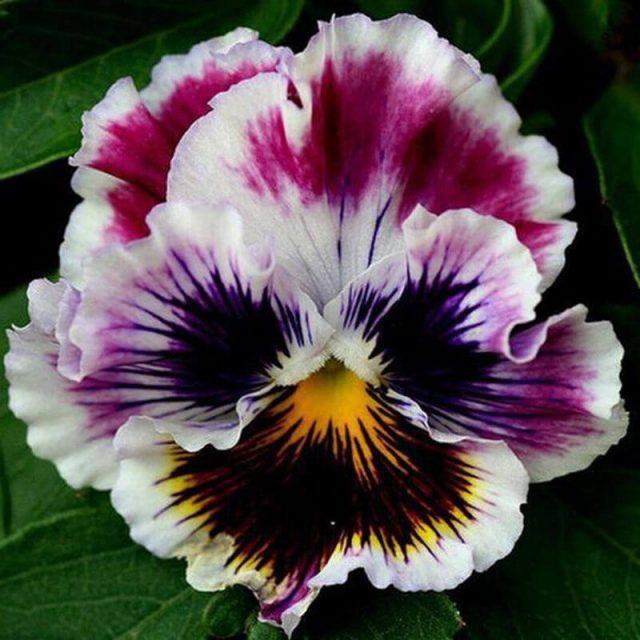
I have created a video for you from a past Facebook LIVE (CLICK HERE TO WATCH) so you can see step by step how I created these beautiful flowers and so you can recreate this too…. They almost look real don’t they?
Isn’t that cool … I am in love with this technique! I loved it when I made pansies from the butterfly punch but these are so much more realistic!! It creates so much texture and depth when you “scrunch” your petals.
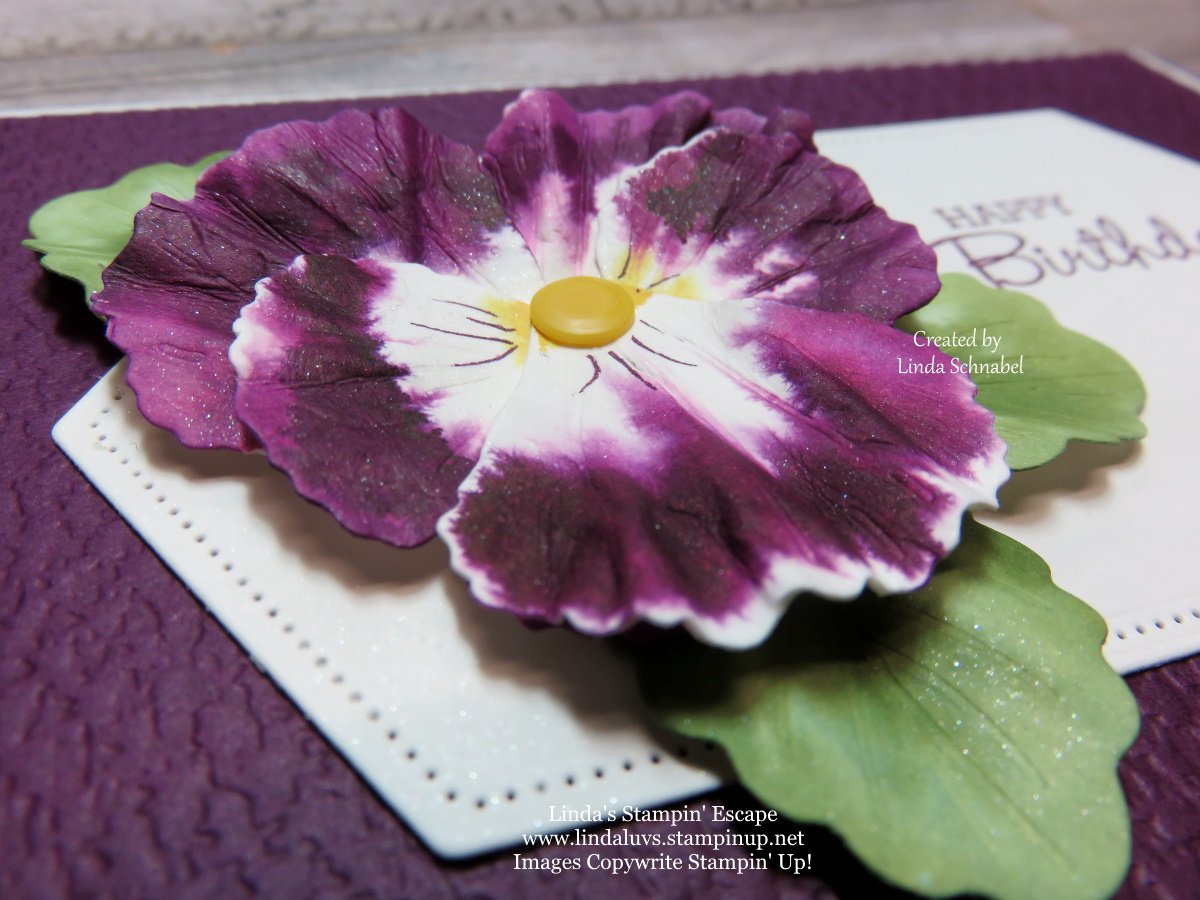
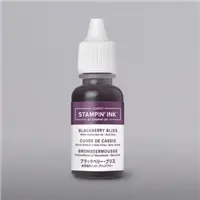
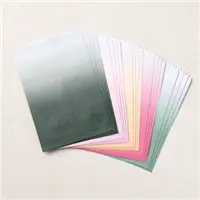
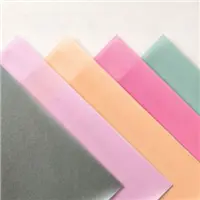
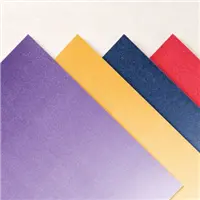
Those little white specs you see are actually the “shimmer” paper making a statement! It really is so pretty and you can do these in any color you’d like! Here is my inspiration to create these amazing pansies ….
Now because shimmer paper has since retired, I use the regular Basic White or you may also use the Thick White cardstock.
Did you enjoy the parade of cards today? I hope it truly showcases this stamp set and coordinating dies versatility. So, if you haven’t already, now is the perfect time to snag your own Pansy Patch Stamp Set before it’s gone for good. I’m sure these will become cherished staples in your creative arsenal. Don’t miss your chance to add a touch of elegance and charm to your handmade cards and gifts with the Pansy Patch Stamp Set. Get yours today and let your creativity blossom!
Thanks for stopping by today!

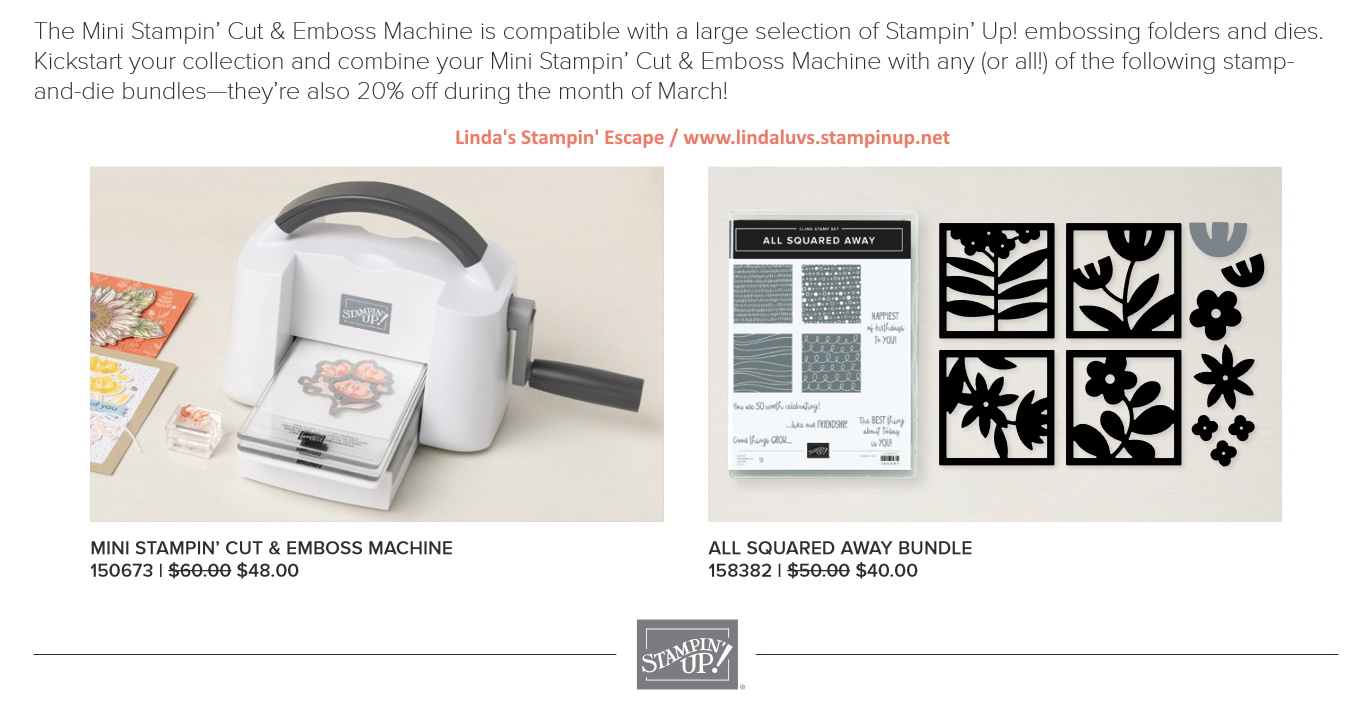
TODAY’S STAMPIN’ SUPPLY LIST … If you liked the products used in today’s projects, I have links for you below. Just click on the item you would like more information on, or to begin your shopping. It will take you directly to my website. Thank you ♥