Introducing the 2024-2026 Stampin’ Up! In Colors: A Card Showcase

Hello Stampin’ Friends ~

Today, I’m thrilled to introduce you to the stunning new 2024-2026 Stampin’ Up! In Colors. These fresh shades are sure to ignite your imagination and inspire countless crafting adventures. Are you ready to dive into a world of color and creativity?

In this blog post, we’ll be shining the spotlight on five gorgeous hues: Pretty in Pink, Peach Pie, Shy Shamrock, Summer Splash, and Petunia Pop. Each color brings its own unique charm and personality to the crafting table, and I can’t wait to show you how they can elevate your card-making projects.

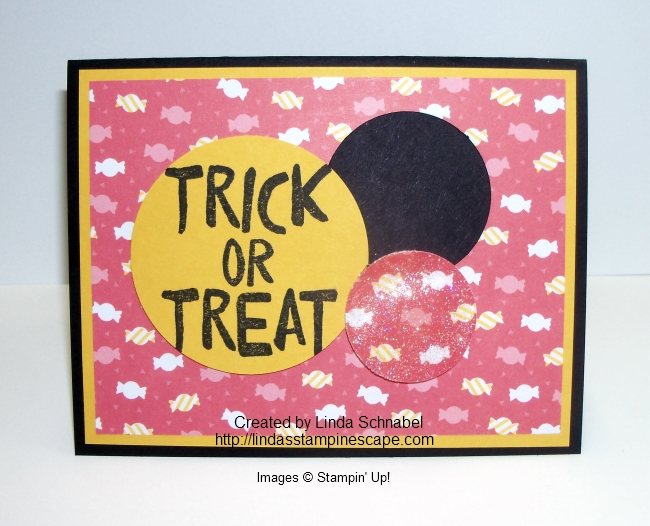
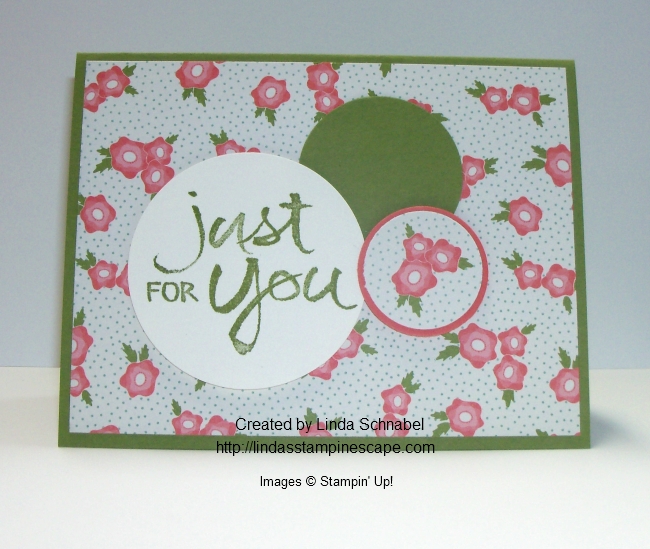
To give you a taste of the possibilities, I’ve prepared five simple yet stunning card samples, each featuring one of the new In Colors. What’s even more exciting is that all five cards use the same basic supplies: the Simply Zinnia stamp set & embossing folder, the coordinating In-Color Ribbon, shimmery gems, and Cardstock. With just a few key elements, you can create a collection of beautiful cards that are quick and easy to recreate.

Let’s take a closer look at each card and the delightful color it showcases:

Pretty in Pink: This soft and romantic shade sets the perfect tone for a heartfelt greeting. Add a touch of shimmer with coordinating gems and ribbon for a truly enchanting finish.

Peach Pie: Embrace the warmth of summer with this delightful peachy hue. Simple yet striking, this card is sure to brighten anyone’s day.

Shy Shamrock: Channel the tranquility of a lush meadow with this serene shade of green. The Zinnia embossing folder beautifully creates a sense of depth and dimension. Now you have a card that’s both soothing and sophisticated.

Summer Splash: Dive into a world of vibrant color with this energetic shade of blue. The Summer Splash ribbon brings a sense of movement and fun. This card is perfect for sending warm wishes and sunny smiles.

Petunia Pop: Let your creativity bloom with this bold and vibrant shade of purple. The Zinnia embossing folder adds a touch of whimsy, while the Petunia Pop ribbon ties everything together with its rich hue. This card is sure to make a statement and leave a lasting impression.

Each card features a different layout, showcasing the versatility of these new In Colors and providing you with plenty of inspiration for your own creations. And to top it all off, the greetings used on each card come from the Simply Zinnia stamp set, adding the perfect finishing touch to your heartfelt messages.

So there you have it, my friends: a glimpse into the wonderful world of the 2024-2026 Stampin’ Up! In Colors. With their vibrant hues and endless possibilities, these shades are sure to spark your creativity and take your crafting to new heights. I hope you feel inspired to create your own masterpiece using these delightful colors.

These beautiful colors will be available May 1st … Do you have your catalog? If you are one of my happy customers, contact me and let me put one in your hands!! Happy crafting!

Thanks for joining me today!

Moving Along …

Hello Stampin’ Friends ~

I picked today’s stamp set as a reflection of how our summers “used to be” and hoping we kick this virus and can travel again! I’m sharing several different layouts … Now you can wish your friends happy travels with this whimsical, transportation-themed stamp set. Great for children or adults.

Helicopter Card
No trimming needed! Stamp on the Whisper White Cardstock, use Stampin’ Seal to adhere the Designer Series Paper to the Smoky Slate card base, then attach the stamped cardstock using Stampin’ Dimensionals.

Car Card
Cut the Whisper White Cardstock into four squares measuring 1-7/8″ x 1-7/8″ (4.8 x 4.8 cm) and stamp. Attach the Designer Series Paper to the Smoky Slate card base with Stampin’ Seal, then adhere the squares to the Designer Series Paper using Stampin’ Dimensionals.

Train Card
Trim the Whisper White Cardstock into three strips measuring 3-3/4″ x 1-1/4″ (9.5 x 3.2 cm) and stamp. Attach the Designer Series Paper to the Smoky Slate cardstock with Stampin’ Seal, then adhere the stamped strips to the Designer Series Paper using Dimensionals.

The three simple layouts give you the perfect way to change things up when using the same stamp set!

Feel the need for speed? Step it up by creating depth and dimension with your images using Two-Step Stampin’, stamp the silhouette image in the lightest color of ink. Then stamp the detailed images in darker colors.

Now we have a lot of dimension by creating a background and tucking it behind your card front. You’re creating “windows” to the world by using the Stitched Rectangle Dies. Cutting out your images and mounting them to the cardfront gives you the 3-D effect.

Have fun playing with these simple layouts and get as creative as you want.

Thank you for joining me today. Hope you day is filled with fun and sunshine.

Just for you ….

Hello Stampin’ Friends,

Yesterday I shared a sneak peak at one of our Halloween stamp sets and one of the things I spoke of was the “layout” of the card.

Here is the card I shared with you yesterday …

000_2418

Here is today’s card with the same layout, just a new designer paper and stamp set! 

000_2427

I chose Pretty Petals designer series paper stack and teamed it up with the “Watercolor Words” stamp set. I stamped the greeting in Old Olive on Very Vanilla and punched it out using the 2-1/2″ Circle Punch. I followed up by punching out an Old Olive circle with the 1-3/4″ punch.

Then I highlighted the flowers by punching them out and adding a Calypso Coral mat behind it.  The layout is so fun and easy to use … think kids cards, Christmas, Birthday … anything really!

000_2428

I have added the stampin’ supply list below so you can begin making your cards today! If you need any of the items used today, just click on the link and begin shopping.

Thank you for stopping by today!

Have a great day ~

blog-closing-small

TODAY’S STAMPIN’ SUPPLY LIST …


Simply Sunday: Howl-o-ween Sneak Peak!

Hello Stampin’ Friends,

Yesterday I told you that I would share a cute card created with the Howl-o-ween stamp set that I won at Convention. It is a quick and easy card and they layout works for anything!

I started with my Howl-o-ween stamp set and teamed it up with the “Cherry on Top” designer series paper stack. I chose the little candies … how appropriate

000_2418

for Trick-or-Treat! I simply stamped the greeting on Crushed Curry and punched it out using the 2-1/2″ Circle Punch. I followed up by punching out a black circle with the 1-3/4″ punch.

For the highlight … I punched out a piece of the designer paper and covered it with Crystal Effects and Dazzling Diamonds!! It just adds a sweet touch of sparkle to the card.

Just think of all the different type of cards you can create using this layout… three simple punches, some pretty paper and a greeting!

000_2421

Look for the Howl-o-ween stamp set in the upcoming Holiday catalog. If you are a current customer of mine, yours will be arriving mid-August!! 

If you would like to have a catalog (and you don’t have a Stampin’ Up! demonstrator) and would like me to be your demonstrator – please e-mail me at lindaluvs2stamp@aol.com

Thank you for taking the top to stop in today … stop back and see what I have for you tomorrow!

Have a beautiful Sunday ~

blog-closing-small