Hello Stampin’ Friends!
And welcome to my blog. Are you ready? Ready to see the last of my watercoloring techniques? For the past 3 weeks I have been celebrating World Watercoloring Month. I began with a simple “Waterwash” background.
If you would like more information about this card CLICK HERE to view the original post.
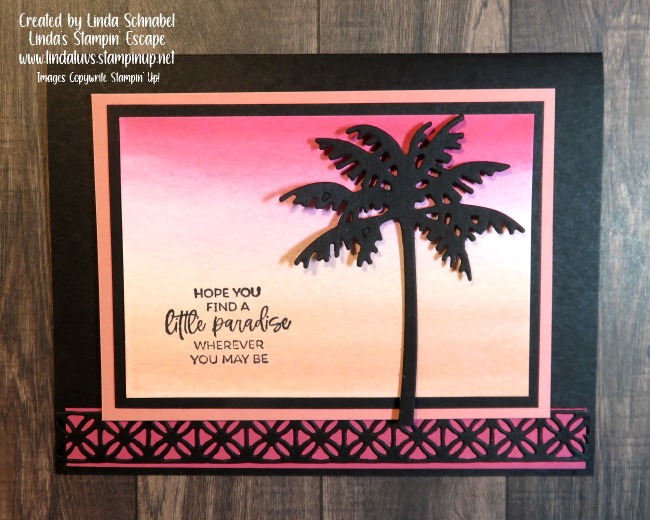
The second card highlights the dual color watercolor wash where you start one color from the top and the second from the bottom and let them meet in the middle … gives you a brand new color there!
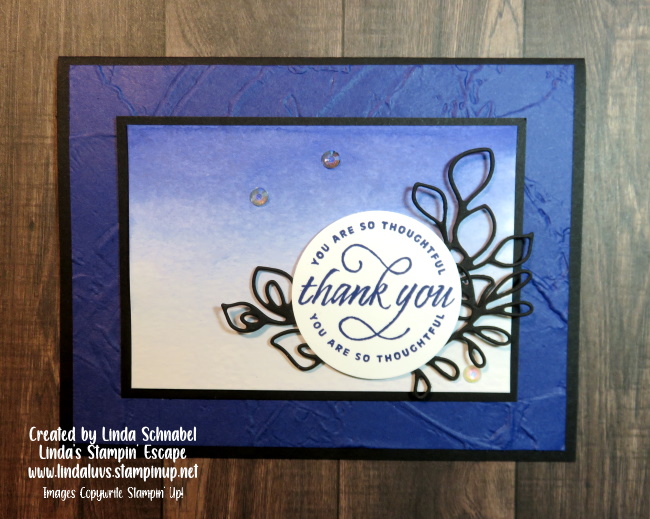
The next week we added the Emboss Resist technique to our watercolored background … this really looks so nice together with that fun surprise of the embossed image / greeting!
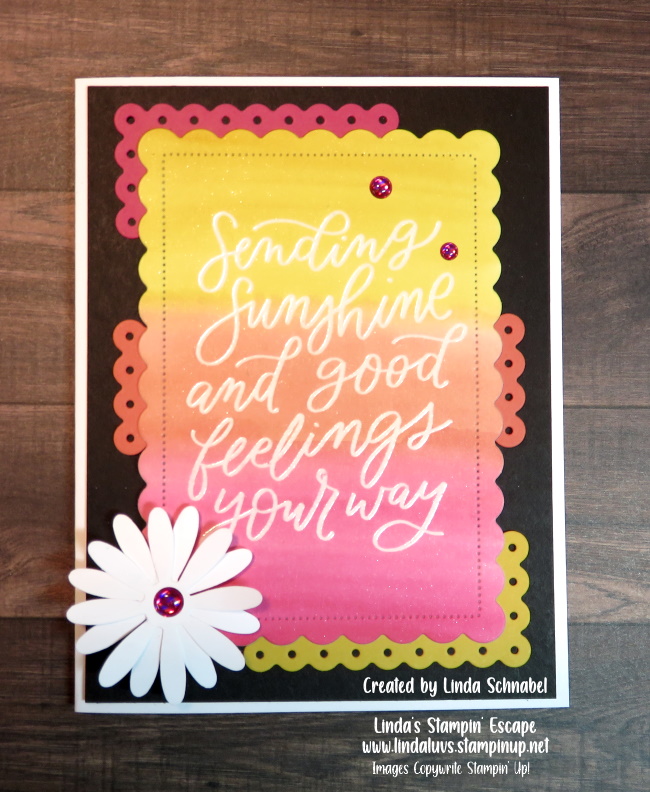
If you want to read more about this card CLICK HERE for more information.
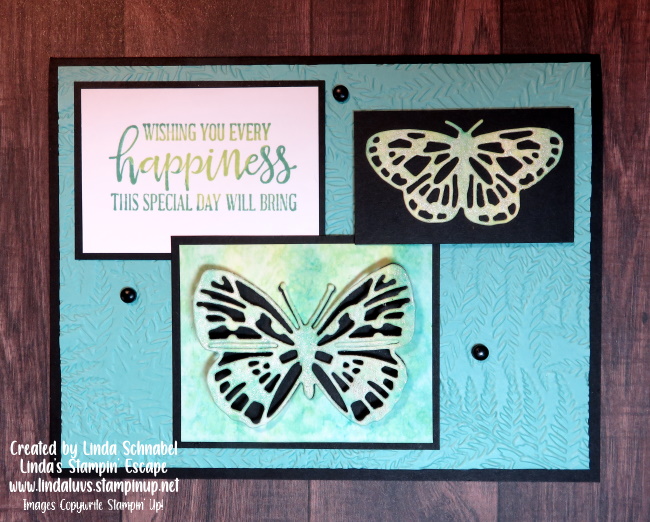
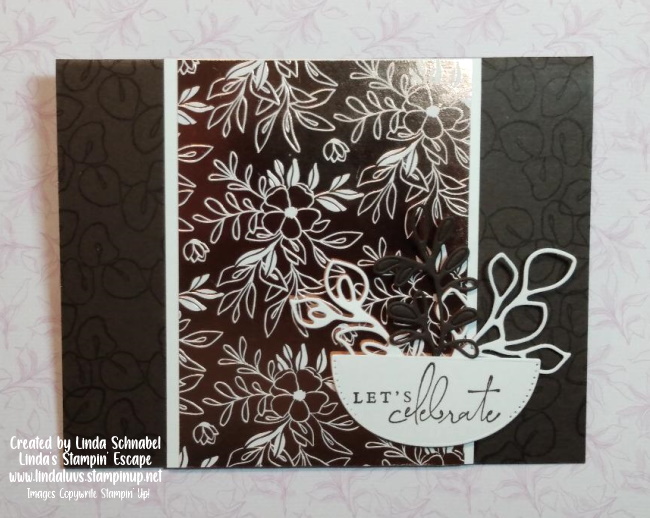
The fourth card takes the heat embossing in a bit of a different direction. Instead of resisting the watercolor like our card above … you use the embossed image more as a guide to help highlight your watercoloring.

I want to invite you to join me tonight for my Facebook LIVE where I will be showing you a beautiful watercoloring technique that is going to blow your mind … it creates a stunning image! You won’t want to miss this one, so ARE YOU READY??
Join me for the No Line Watercoloring Technique! I’ll be using one of your favorite stamp sets.

Thank you for hanging out with me … see you tonight!
Take good care ~

Here is a list of the ingredients that I used for one or both of the cards. Remember, every $50 purchased, is rewarded with a exclusive Sale-a-bration item.