Hello Stampin’ Friends … Fellow music enthusiasts, card makers, and everyone in between!
Today, we gather to bid a fond farewell to one of the most beloved stamp sets in the crafting community: the “Enjoy the Rhythm” stamp set. This set has been a source of joy, creativity, and endless possibilities for all who have had the pleasure of using it. As we reflect on its versatility, let’s dive into what made this stamp set truly special by showcasing 5 different cards.
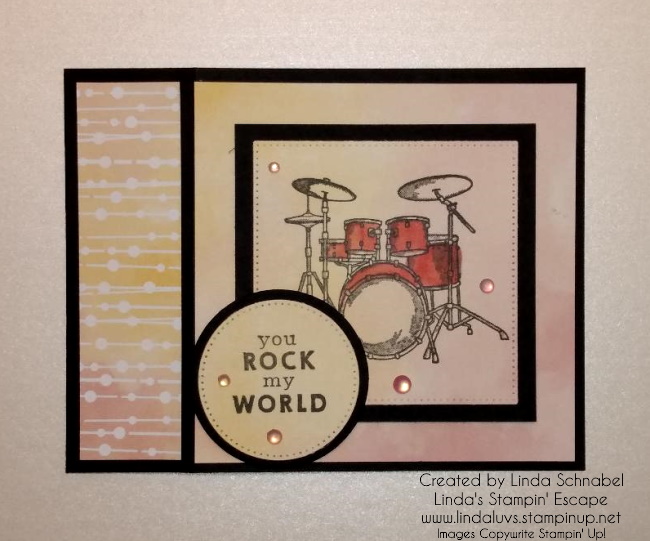
Begin with a Basic Black card base and front for a nice layered effect … Add some die cut circles for a great pop of color and to highlight your drummer using the Stylish Shapes and the Picture This Dies.

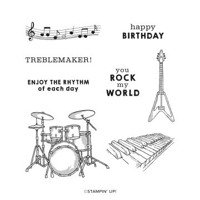
One of the standout features of the “Enjoy the Rhythm” stamp set is its versatility in conveying messages of celebration. Whether it’s birthdays, graduations, or simply cheering someone on, the set offers a delightful array of greetings to suit any occasion. From the classic “Happy Birthday” to the more whimsical “You Rock my World,” each stamp is crafted with care to add a touch of musical flair to your heartfelt messages.

What truly sets the “Enjoy the Rhythm” stamp set apart is its inclusion of iconic musical instruments. With stamps featuring a drum set, electric guitar, and keyboard, creators are invited to compose their own symphonies of creativity. Whether you’re a musician at heart or simply appreciate the power of melody, these stamps provide the perfect backdrop for your artistic endeavors.
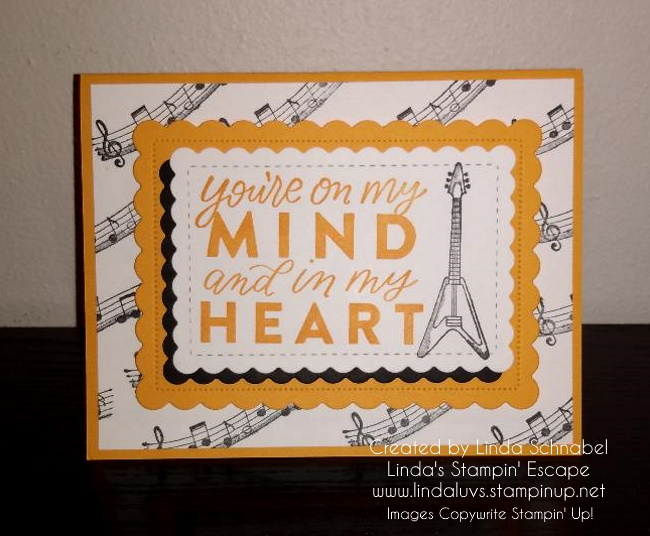
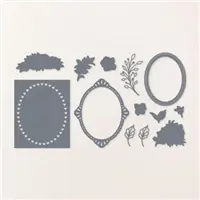
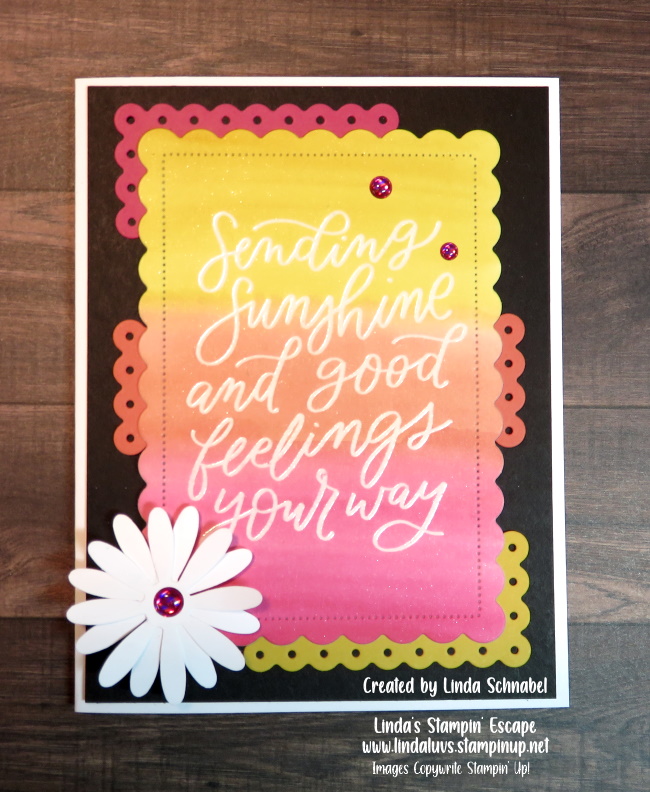
The musical notes pen the backdrop for this card as we highlight the many different stamps. Along with the Enjoy the Rhythm, I share two more retiring items; the Good Feelings Stamp set and the Scallop Contour Dies. Don’t you just love how everything coordinates.
One of the most beautiful aspects of the “Enjoy the Rhythm” stamp set is its ability to appeal to all ages and genders. Whether you’re a seasoned crafter looking to add a playful touch to your projects or a beginner eager to explore the world of stamping, this set welcomes you with open arms. Its universal themes of music and celebration know no bounds, transcending barriers and bringing people together through the joy of creativity.
As we bid adieu to the “Enjoy the Rhythm” stamp set, let us take a moment to cherish the memories created and the countless masterpieces crafted, with one more card.

So here’s to you, “Enjoy the Rhythm” stamp set – thank you for the melodies, the memories, and the magic. Though you may no longer grace our crafting tables, your legacy will live on in every card sent, every gift wrapped, and every smile shared.
Thank you for checking in with me today!! Have a wonderful day and a great weekend.