Two Cute & Easy Cards Featuring the Sweetly Scripted Stamp Set

Hello Stampin’ Friends!

I’m back … finally. I’m on week number four of this cold/flu thing that was going around, but finally feeling more like myself, only coughing a few times a day (I’ll take it!) If you love quick and easy card-making techniques, you’re going to love today’s featured cards!

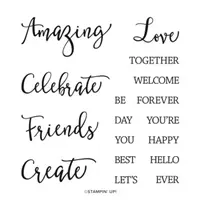
Today, I’m showcasing two adorable designs that highlight the Sweetly Scripted stamp set and some fun, beginner-friendly techniques. Plus, I’ve included a step-by-step video to guide you through the process of creating both cards. These techniques are simple, yet they add a creative touch to your handmade projects!

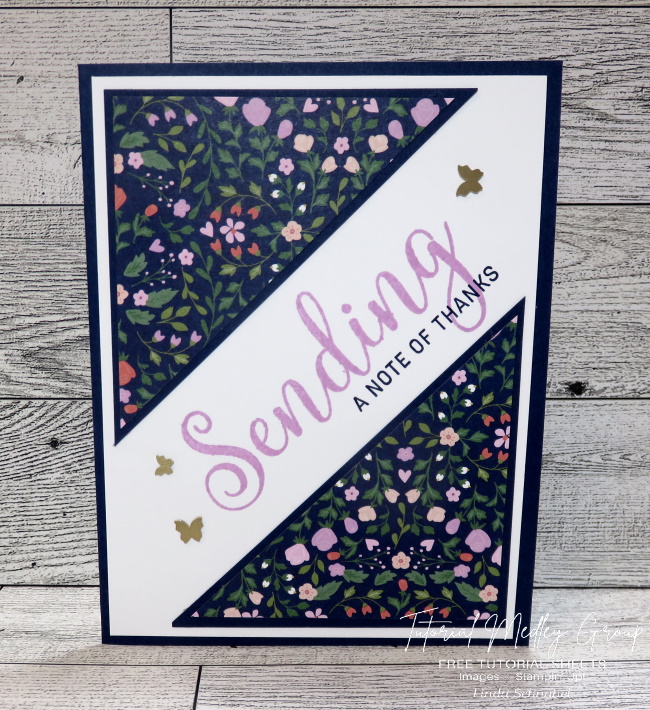
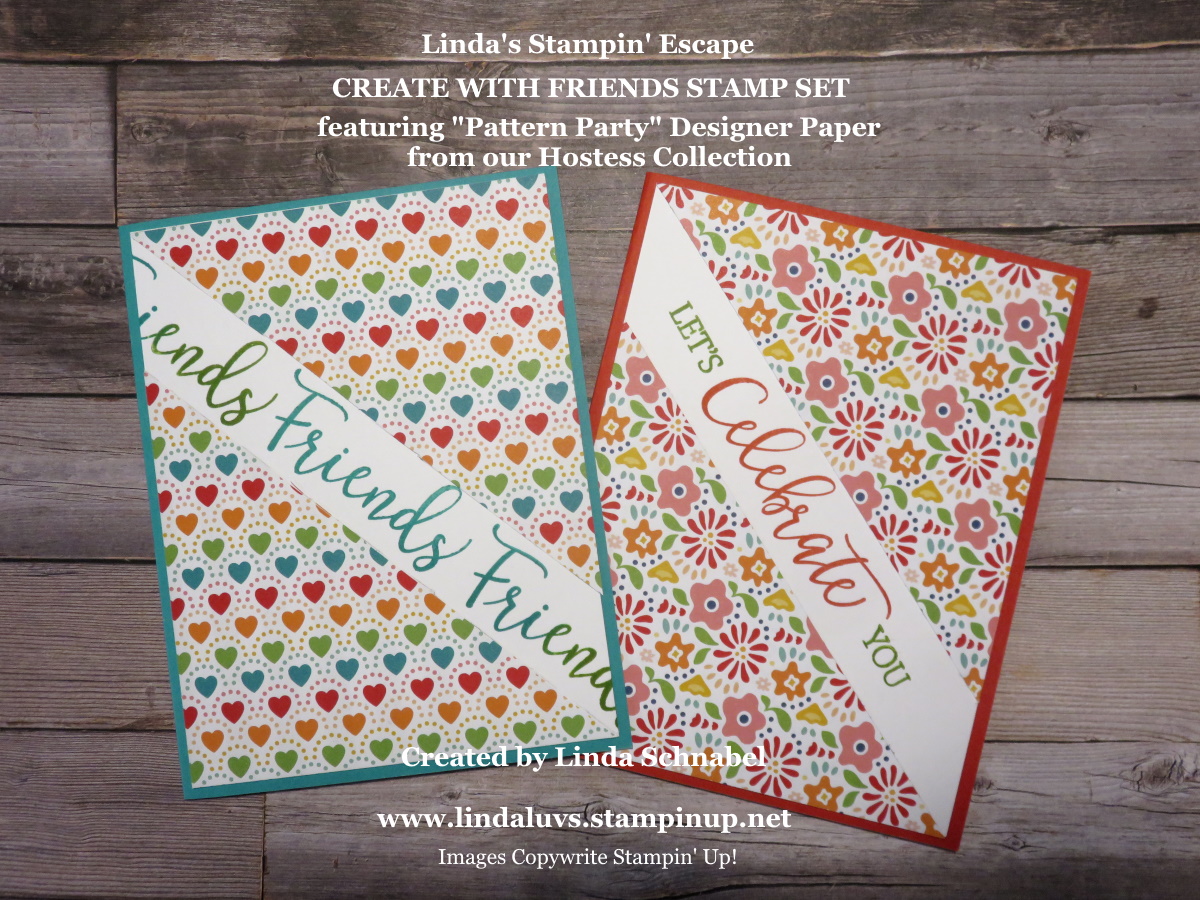
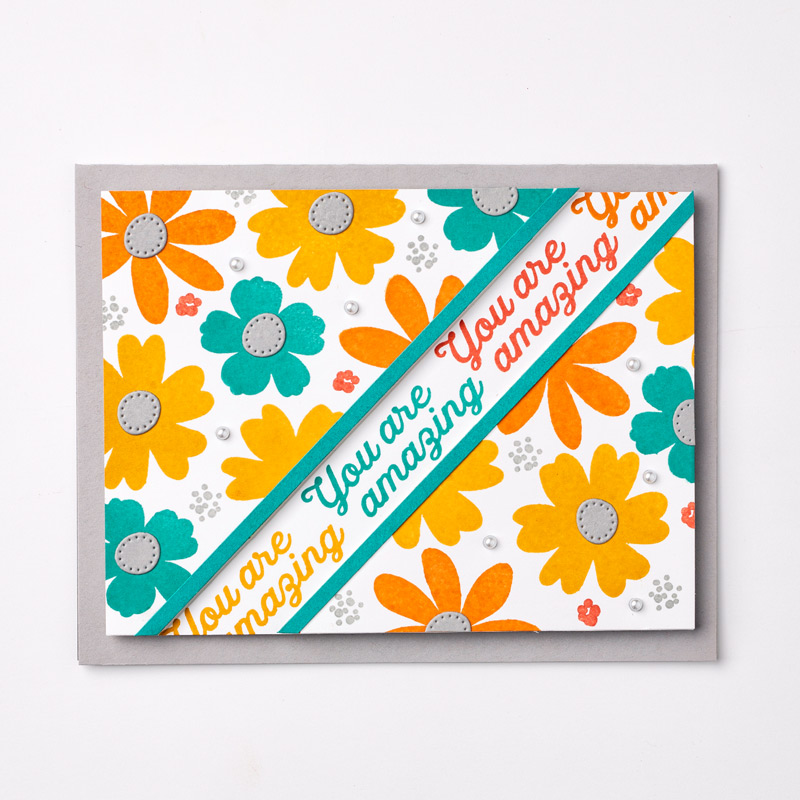
The first card is super simple yet so effective. This Split Card technique is a great way to showcase your favorite Designer Series Paper while making space for a beautiful sentiment. To create this look, start with a 4″ x 4″ piece of DSP and cut it diagonally from corner to corner. Adhere each piece to opposite sides of your card base, leaving a space in the middle. Stamp your sentiment from the Sweetly Scripted set right in that open space. Add embellishments if desired, and your card is complete! This technique is perfect for using up those extra designer paper scraps while creating a polished, professional-looking card.

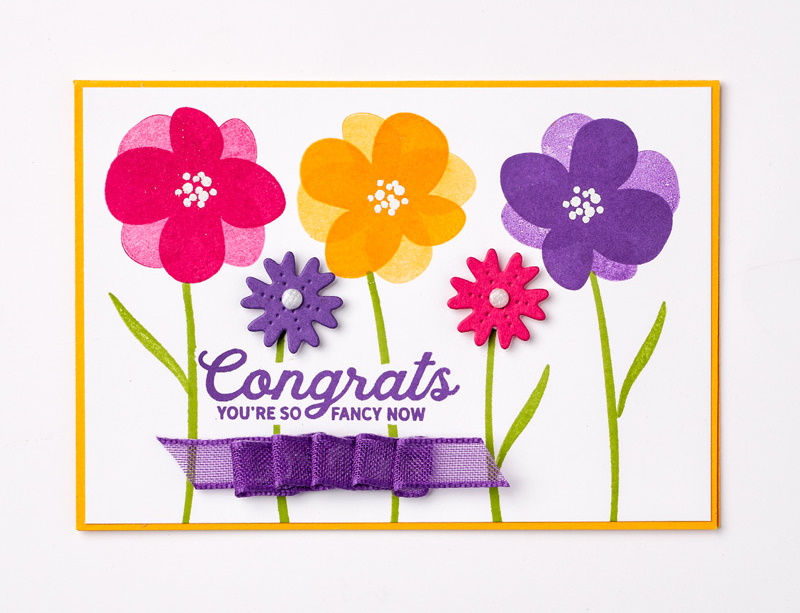
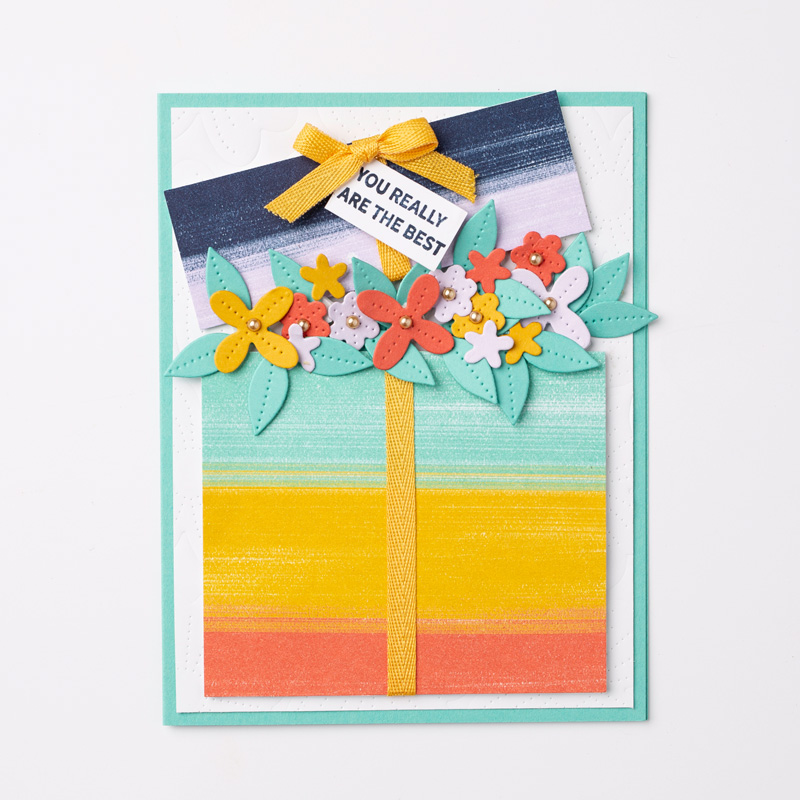
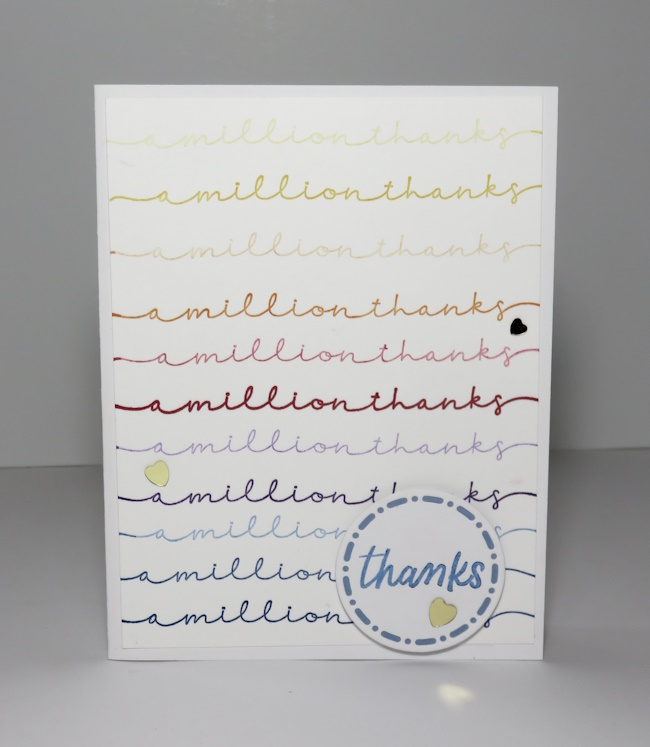
The second card is all about color and repetition! This simple repeat stamping technique creates a fun, custom background. Choose a sentiment from the Sweetly Scripted stamp set and stamp it multiple times in different ink colors across your cardstock. Using bright, coordinating colors makes the design pop! Add a focal point or embellishments to complete the card. This technique is a great way to get more use out of your sentiment stamps while making a unique, eye-catching design.

I was completely shocked to learn that the Sweetly Scripted stamp set has SOLD OUT! I just demonstrated it, and within a few days, it was gone. This is a perfect reminder that if there’s anything on the Last Chance list that you’ve been eyeing, grab it before it disappears! Even though this stamp set is no longer available, you can still use these simple techniques with any stamps you have in your collection.

Be sure to check out the video tutorial below for step-by-step instructions, and don’t forget to let me know which technique is your favorite!

I hope you enjoy these card ideas and find inspiration to try them yourself.

Keep stamping, keep creating, and most of all, have fun!

Happy Stamping! Linda

#cardtechniques #cardmaking #papercrafting

Simply Sunday: A Note of Thanks Card /Split Card Tutorial

Hello Stampin’ Friends, 

Today I’m sharing with you my Note of Thanks card that I created for my Tutorial Artist’s Group. I did the split card technique so I will include step by step directions to create this card.

Measurements:

  • Night of Navy:  8 ½” x 5 ½” and 3 ¼” x 3 ¼”
  • Basic White: 2 – 5 ¼” x 4” (One for inside)
  • Delightfully Eclectic:  3” x 3”

Instructions:

  • Cut designer paper and Night of Navy square diagonally from corner to corner
  • Glue the cut designer paper onto cut Night of Navy leaving a border around edges
  • Glue the diagonally cut pieces onto white cardfront in opposite corners.
  • Stamp the (Sending) sentiment in Fresh Freesia into the center of your “split”
  • Stamp (thanks) sentiment with Night of Navy in alignment with the Freesia Greeting
  • Attach card front onto Night of Navy cardbase.

Split cards are so easy and fun to make … and they look cool. So grab your supplies and get creative! Enjoy your Sunday. 

Thank you for joining me today.

Creating with Friends

Hello Stampin’ Friends ~

Happy Friday!! I have two cards to share with you today featuring the “Pattern Party” Designer Series paper from our Hostess Collection and the fun and fabulous “Creating with Friends” stamp set! Well … I think it’s fun and fabulous!!

This stamp set has playful fonts and great sentiments to help you celebrate friendships in many ways and when it’s paired up with the Pattern Party designer paper, well … you have a winning combination!! Let’s begin …

I used my “split” technique for my cards today ~ super simple and a paper saver. Here is my video to show you how this technique works …

I love this technique, it is quick and simple yet can really make your card fun, plus it’s saves your designer paper because you are using 4″ x 4″ squares of paper … so no waste!!

My next card is using the same technique, with the same paper pack, just a different design. It comes with 48 sheets of designer paper, 4 each of 12 double-sided designer papers, so … 24 different patterns!!

Here’s the card …

So fun and so colorful, yet with 24 different patterns in this paper pack you’ll also find subtle designs, great textures and fun patterns! When it comes to the Create with Friends stamp set, you will find the same creative variety and ways to express your feelings … I simply had to have it! I love my greeting / sentiment sets!

I’ll be sharing more samples using these two products at my Catalog Launch Party … I hope you join me!! I’ll begin sharing on Tuesday and leading up to the LIVE events Friday & Saturday May 21st & 22nd. If you’re in need of a demonstrator and some fun, CLICK HERE & join us!!

Thank you for joining me today, please let me know if you have any questions on my cards, technique or the NEW Catalog Launch Party … I’d be happy to answer them.

Have a good day, and a wonderful weekend.

TODAY’S STAMPIN’ SUPPLY LIST … If you liked the products used in today’s projects, I have links for you below. Just click on the item you would like more information on, or to begin your shopping. It will take you directly to my website. Thank you

In Bloom Cards …

Hello Stampin’ Friends,

I’m back!! I wish I could say I was on vacation someplace nice and warm but that is not the case, it has just been very busy at the store and as manager, I have to do, what I have to do. So today I thought I would share a couple of fun cards from our home office. Last week I shared this colorful beauty with you, and today I have two more from the In Bloom Bundle …

Here is the second of three cards that should have a familar technique to you … This card is using the SPLIT CARD Technique. I used this technique with Designer Paper, but you can stamp your own background and use this fun technique. You will want to stamp the flowers on the cardstock before cutting into two pieces

Colors used are … Paper: Basic White, Smoky Slate, Bermuda Bay Cardstock & Ink: Bermuda Bay, Pumpkin Pie, Smoky Slate,
Bumblebee, and Terracotta Tile ink pads! How bright and colorful, the perfect card to Thank, Congratulate or Cheer someone up with. The Pierced Blooms Dies were used to create the centers to our bold flowers.

The third card is this creative card filled with flowers and fun! The Playing with Patterns Designer Series Paper was used to create a gift box bursting with flowers …

Your friends and family will burst with joy when they receive this cute card!! The colors were picked to coordinate with the designer paper (so that way easy) and are; Coastal Cabana, Purple Posy, Calypso Coral, and Crushed Curry cardstock. The Pierced Blooms Dies were used to create the flowers.

I hope you enjoyed these creatively fun cards that you can easily recreate and send off to your friends and family. I have a list of ingredients below to help you out with your shopping, but please, if you have any questions feel free to message me in the comment section below. Remember, your question may be the one that someone else is afraid to ask, so you’ll be helping them out too.

Thank you for joining me today ~

Have an amazing day, and I’ll be back tomorrow to share another project with you!

TODAY’S STAMPIN’ SUPPLY LIST … If you liked the products used in today’s projects, I have links for you below. Just click on the item you would like more information on, or to begin your shopping. It will take you directly to my website. Thank you ♥