Hello Stampin’ Friends,
Today I’m sharing with you my Note of Thanks card that I created for my Tutorial Artist’s Group. I did the split card technique so I will include step by step directions to create this card.
Measurements:
- Night of Navy: 8 ½” x 5 ½” and 3 ¼” x 3 ¼”
- Basic White: 2 – 5 ¼” x 4” (One for inside)
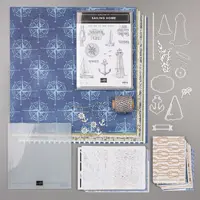
- Delightfully Eclectic: 3” x 3”
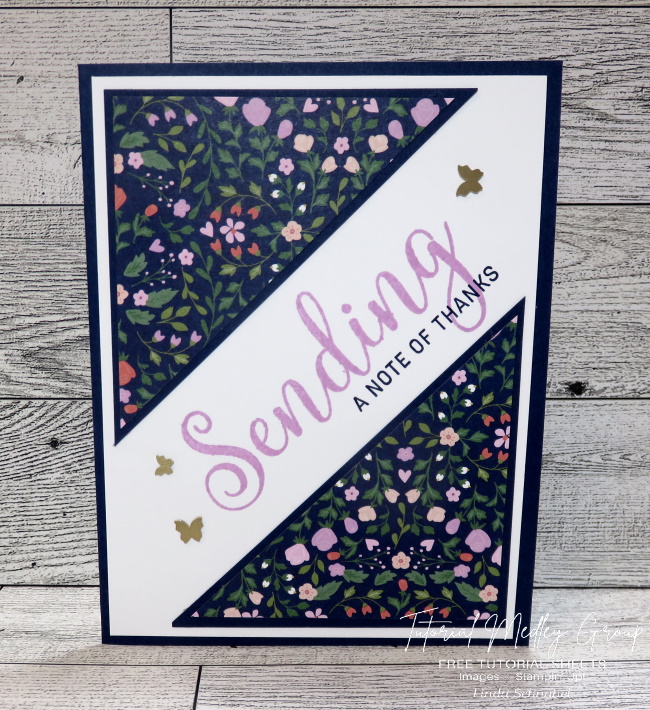
Instructions:
- Cut designer paper and Night of Navy square diagonally from corner to corner
- Glue the cut designer paper onto cut Night of Navy leaving a border around edges
- Glue the diagonally cut pieces onto white cardfront in opposite corners.
- Stamp the (Sending) sentiment in Fresh Freesia into the center of your “split”
- Stamp (thanks) sentiment with Night of Navy in alignment with the Freesia Greeting
- Attach card front onto Night of Navy cardbase.
Split cards are so easy and fun to make … and they look cool. So grab your supplies and get creative! Enjoy your Sunday.
Thank you for joining me today.