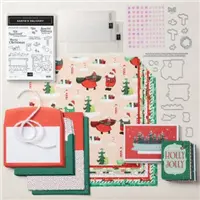
From poinsettia’s to candy canes … I’m love sharing Christmas cards, and you can take a walk down candy cane lane with the Sweetest Christmas Suite! Use the playful variations of the candy cane stripe patterns to create delightful Christmas cards and tags for you family and friends.
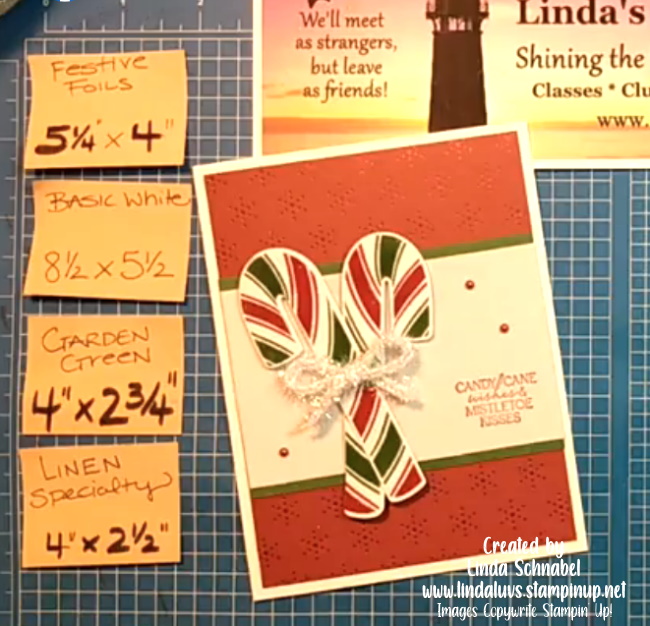
I’ve actually used three different patterns from the designer paper … you’ll enjoy having the ability to die cut your candy canes from one of the patterns!! My cardbase is Real Red. I slipped a snowflake behind my candy cane to highlight it … then tied a pretty little bow using the Real Red and Garden Green Ribbon Combo pack. How sweet it is!
Thanks for popping in to check out my card today … Enjoy your week ahead.
Today I’m sharing the replay of last nights Facebook LIVE; a quick tip for Heat embossing your designer paper and taking it to another level … amazing! For those who watched last night, you will see a change to my card!!
Here is the video replay ….
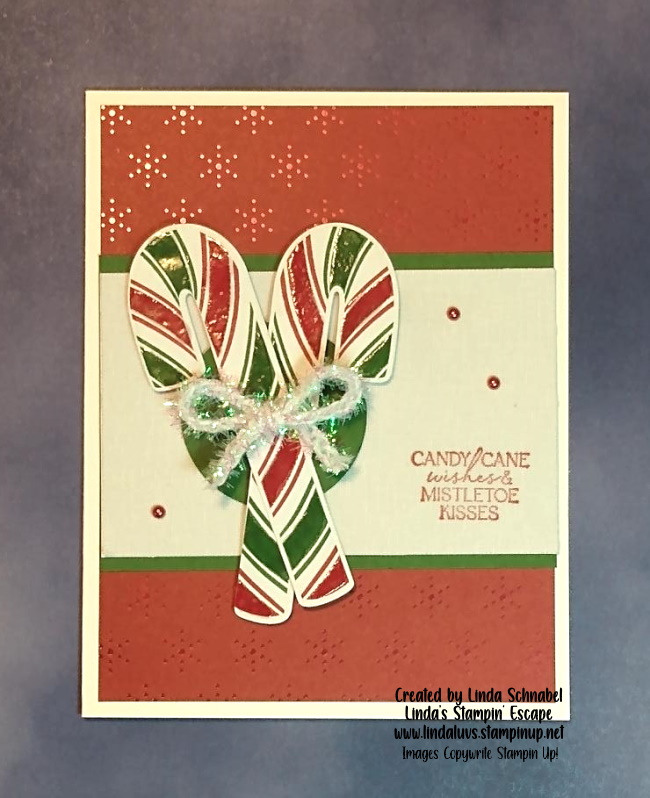
Don’t those candy canes just look YUMMY!! Here is the original version of the card ….
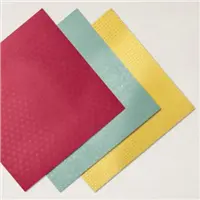
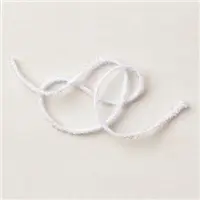
I did put the dimensions for the card in the video but here they are again (above) for quick reference . I will list the ingredients for the card below … the Festive Foils Specialty paper and the Iridescent Trim are both on the Weekly Deals through midnight September 28th.
Now lets take a little peek at what I did to the card after the camera was turned off. Remember the punched circles I had as back up??
I used the Garden Green circle behind the candy canes to make them pop even more! It also really highlights our Iridescent bow. Even though the parts to my card belong with other “suites” doesn’t mean that they don’t look good together.
The quick tip to embossing our candy canes was made easy with the use of the “Embossing Additions Tool Kit’ … very handy!! You’ll want to add that to your wish list ❤ I think this is just a fun way to embellish your designer paper and take it to the next level.
Give this technique a try … enjoy your day!
Thank you for hanging out with me.
Here is a list of ingredients used to today’s card ….
I’m back!! I’ll admit, I got caught up in my cardmaking for my upcoming retreat, World Cardmaking Day, Stamp Club and Gnome class!! Whew … but what fun I was having … I hope you join me on World Cardmaking day …
BUT …. I do have the cutest card for you today!
You’ve seen my Book Binder Fold card just recently (Click Here to see Full Post). So today I’m sharing the same layout but sharing the magic of Christmas with the Santa Express Suite. Hop aboard and join me on this fun ride You’ll see I used the Sweetest Christmas Designer paper from my last card but added SANTA from the Santa Express Designer paper.
I love that Stampin’ Up! has dies that cut out elements from our designer papers because they are just sooo cute! The Santa comes from all over the world. I also used the dies for the train tracks … they thought of everything!!
Did you notice the smoke puffs coming out of the train?? Hmmm … I’m going to be sharing how I made them during my LIVE presentation on World Cardmaking Day. I’ll be sharing a lot of fun tricks & tips to jazz up your Holiday Stamping!!
This card is full of texture and dimension, yet so quick and easy to make. Using designer paper in your cardmaking gives you a great pop of color without having to “color” and makes creating as simple as adhering it to the cardstock.
I hope you enjoyed today’s card and add my World Cardmaking Day event to your calendar this Saturday.
Take time to enjoy your day, and thank you for the visit!!
Here are the core products used to create today’s card ….