Hello Stampin’ Friends ~
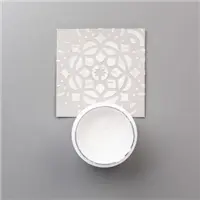
Have you tried the Emboss and Sand technique yet? Today I’m excited to walk you through this simple but stunning technique using products from the Floral Impressions Suite—specifically the Impressions Abloom Bundle and the Pressed Flowers 3D Embossing Folder. This card showcases the kind of beautiful texture and detail you can achieve when you pair the right tools with the gorgeous Two-Tone cardstock—currently on sale!
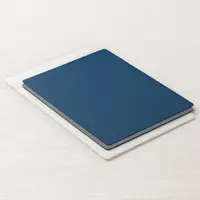
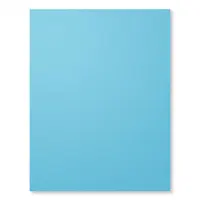
For this project, I used the Bubble Bath Two-Tone Cardstock from the Meant to Be Two-Tone cardstock pack. I chose the darker side of the cardstock to run through the Stampin’ Cut & Emboss Machine with the Pressed Flowers folder. This particular folder is packed with delicate detail, and when paired with Two-Tone cardstock, the results are instantly elevated. Once embossed, I gently sanded the raised areas using a sanding block—though a piece of fine-grit sandpaper would work just as well. The sanding reveals the white inner core of the cardstock, creating a beautiful contrast and allowing the embossed floral design to pop right off the page.

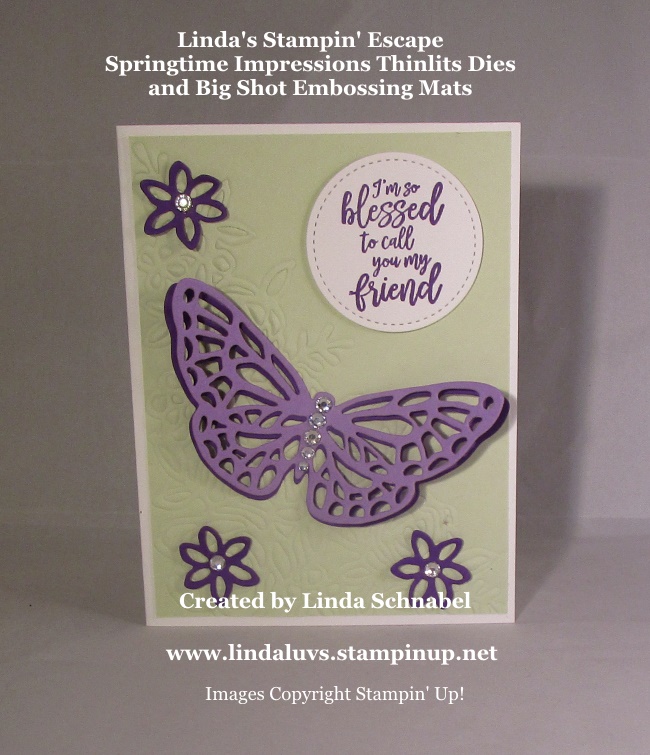
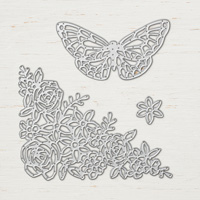
To give the card extra texture and softness, I wrapped the embossed piece with White and Smoky Slate Baker’s Twine. This adds just the right touch of dimension without taking away from the focal elements. I used the coordinating dies from the Impressions Abloom Bundle to cut out several flowers. Three of the smaller flowers were finished off with a tiny sparkle from the Strawberry Slush & Pretty in Pink Gems, tying the entire palette together beautifully.
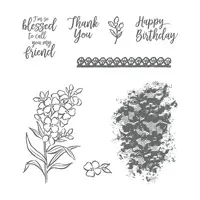
For the sentiment, I stamped a heartfelt thank you from the Impressions Abloom Stamp Set, which is filled with warm, encouraging sayings and lovely floral accents. I then die-cut it using the Stylish Shapes Dies, which gave it that clean, polished look I love.

The finished card feels soft, dainty, and full of charm—perfect for sending a thoughtful thank-you to a friend or loved one. And while the card may look intricate, it’s really all about letting the tools and materials do the work for you. The Emboss and Sand technique truly shines when paired with the Two-Tone cardstock, and right now is the perfect time to stock up while it’s on sale.

If you’ve been curious about Two-Tone cardstock or looking for new ways to make your embossing folders stand out, give this technique a try. It’s a wonderful way to add texture, depth, and a custom finish to your handmade cards—and it’s easier than you might think. Let your creativity bloom!
Thank you for stopping by ~