Hello Stampin’ Friends ~
Oh my, it’s always hard to say goodbye to awesome products, but the True Love Designer Paper has been a staple in my stamping supplies for the past 6 months. Today I’m going to share all the different ways we have used the True Love Designer Series paper!
Let’s begin with a simple background ….

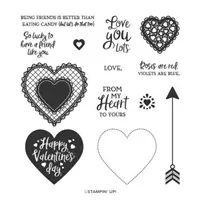
These beautiful papers in Black & White lend themselves to be used with many other techniques … it allows them to shine.
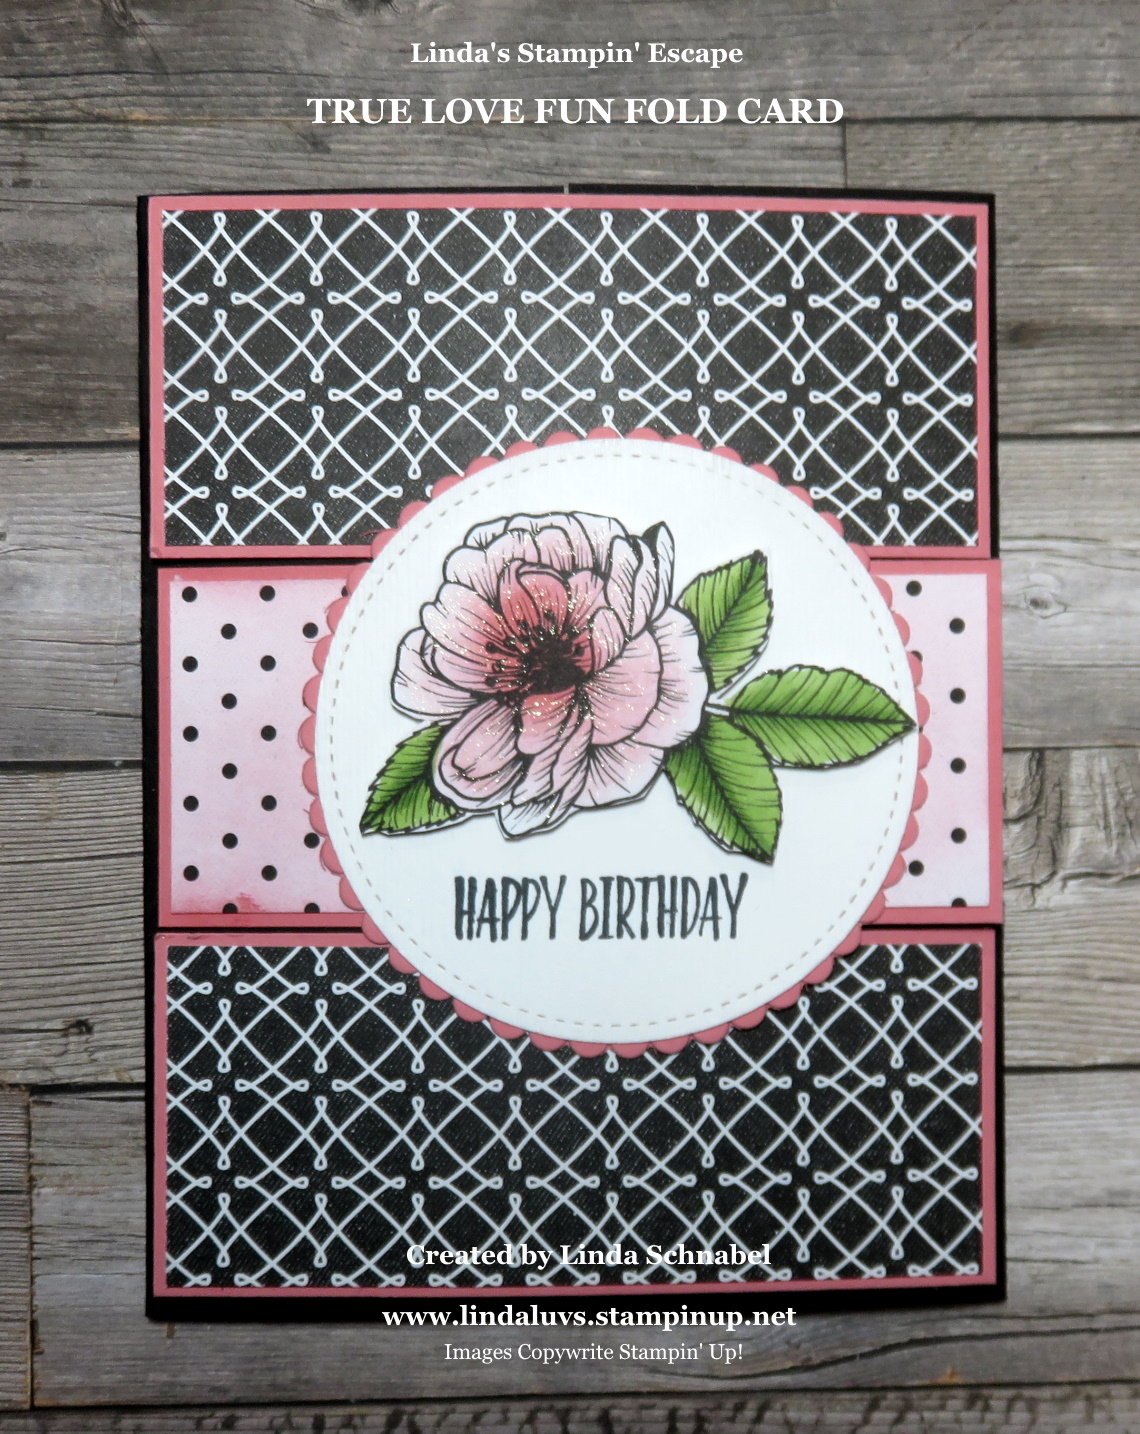
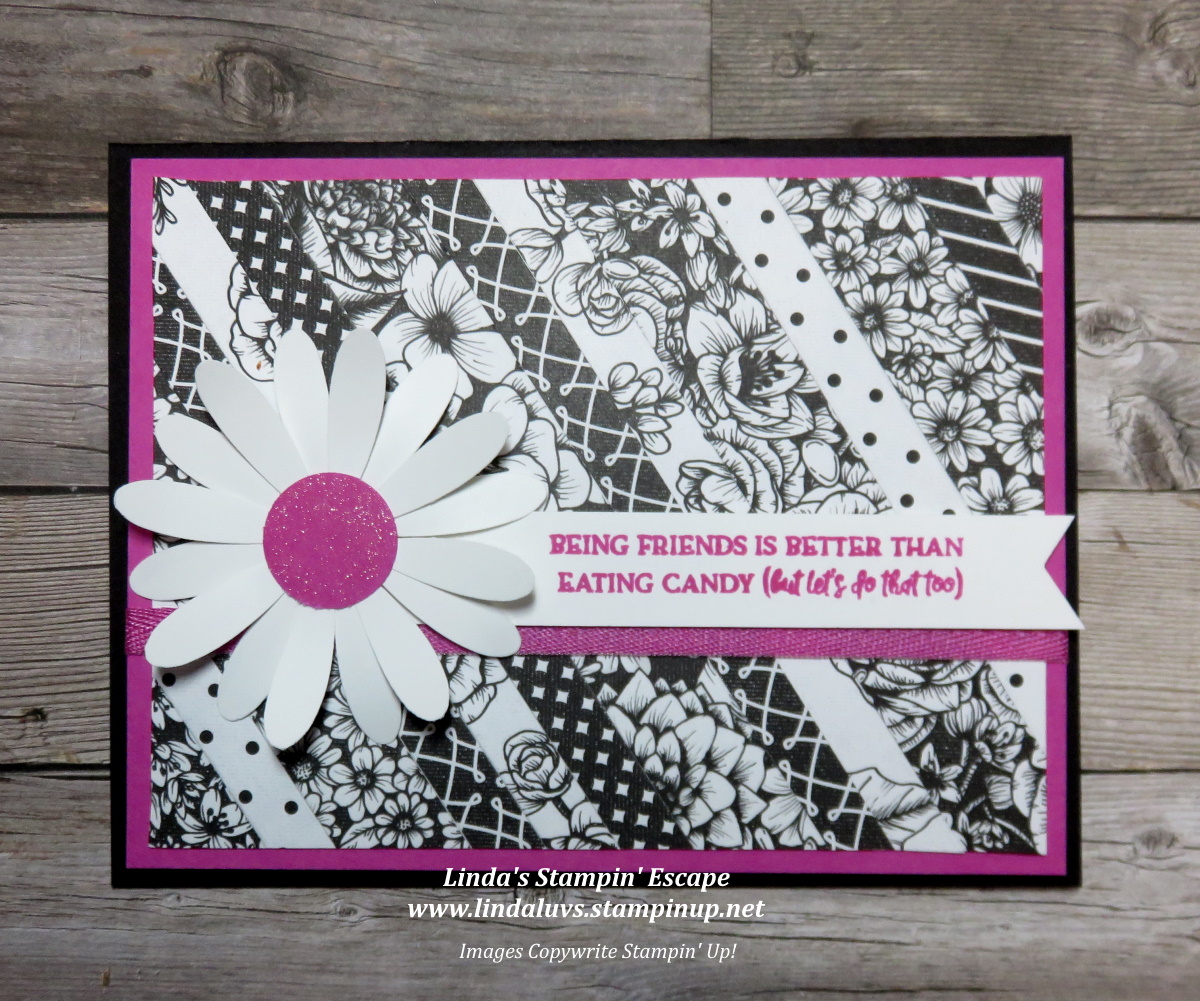
Here’s one you may have forgot about; Using Scraps to Create a beautiful card. This super simple technique creates a fun pattern …. and a great way for you to use up your scraps! All you need to do is add a greeting! I embellished it with a daisy and added some ribbon for a touch of texture!
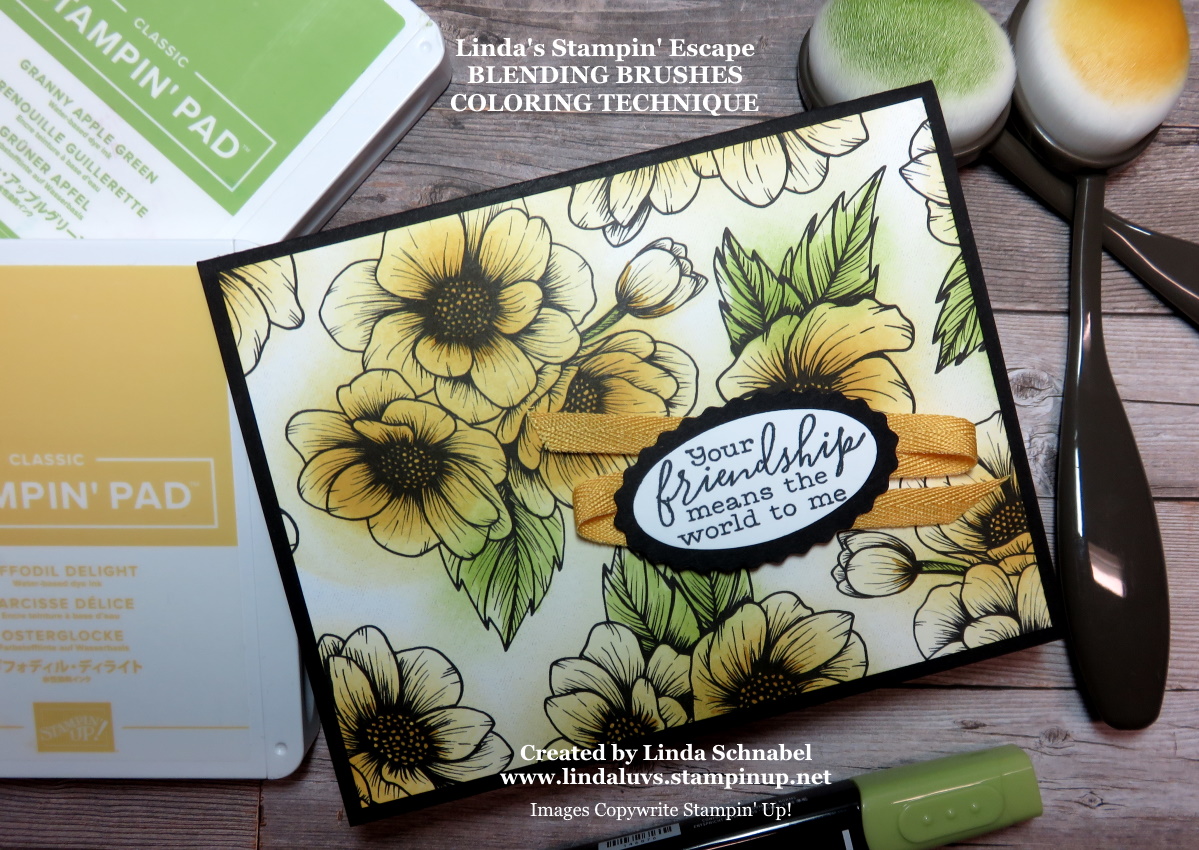
The next up is the soft and pretty effect you get when you use your blending brushes to color the black and white images. I did add a little color from my Stampin’ Blends for the leaves, but I love how the brushed on color “goes out of the lines” to create a beautiful softness to the True Love Designer Paper.
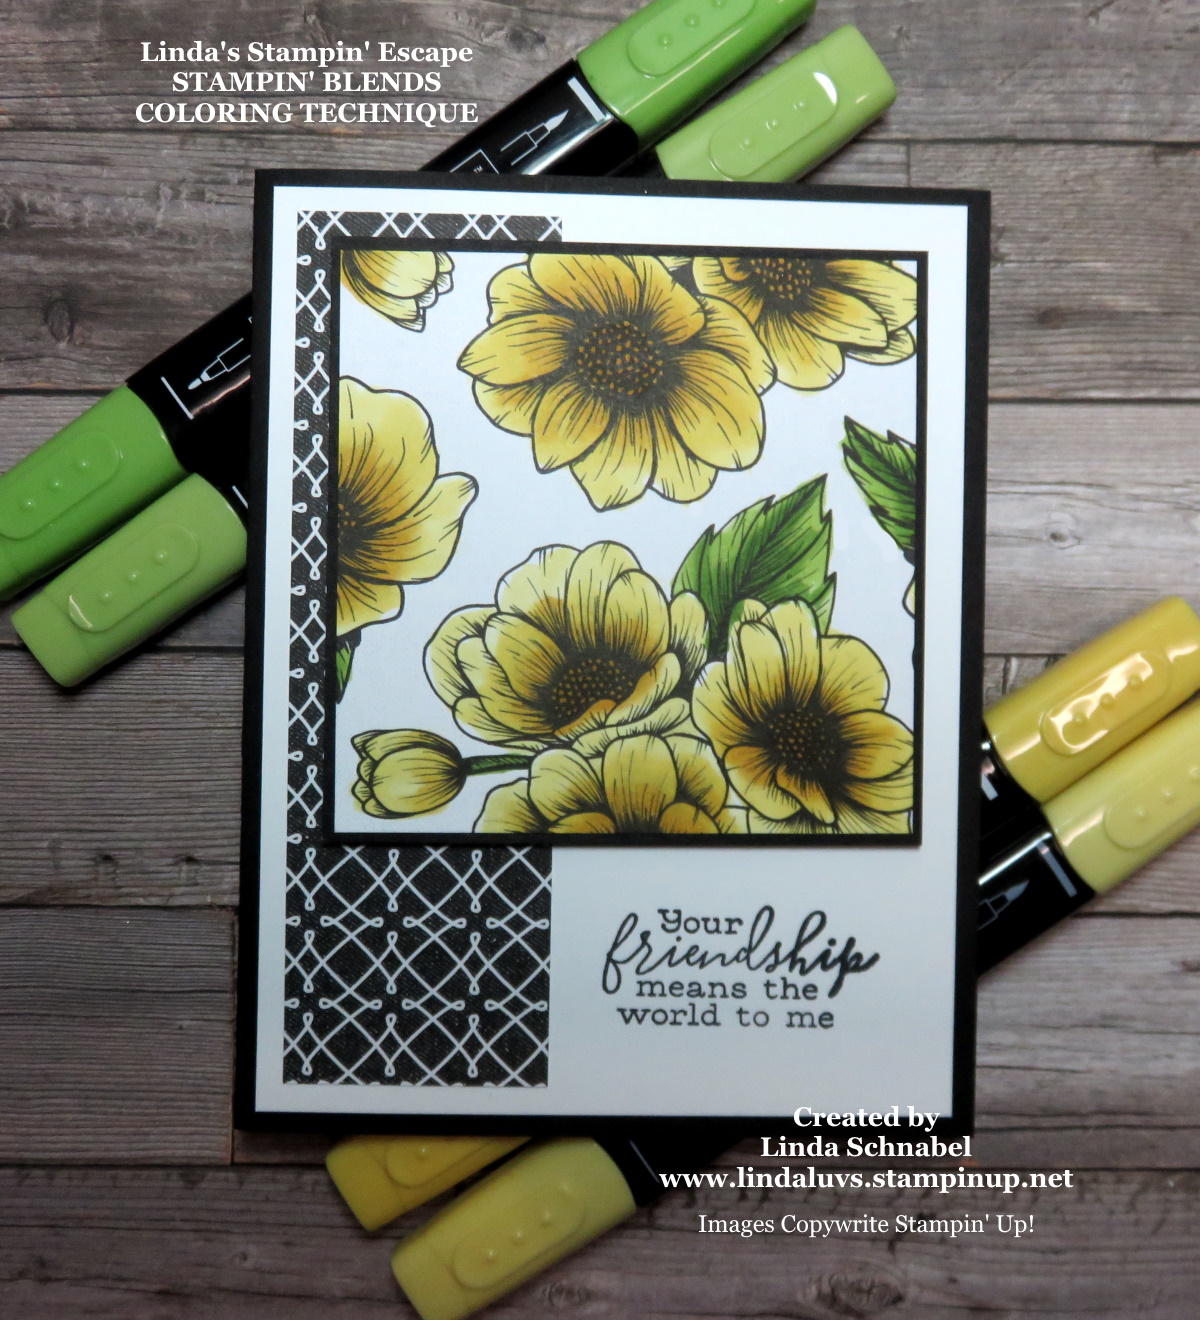
If you prefer the “clean” look … I have the pattern colored strickly with the Stampin’ Blend Markers. Same pattern … Same color … I just wanted to show how different these two techniques look on your designer paper.
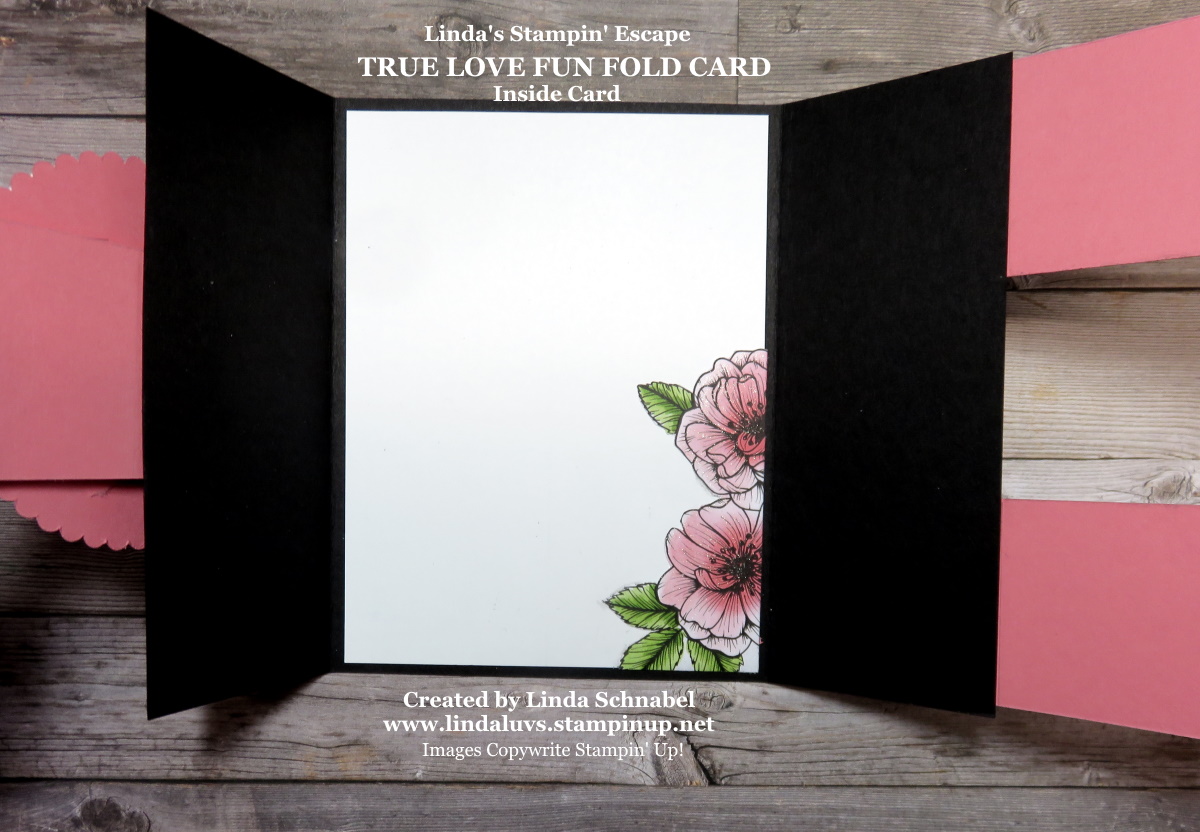
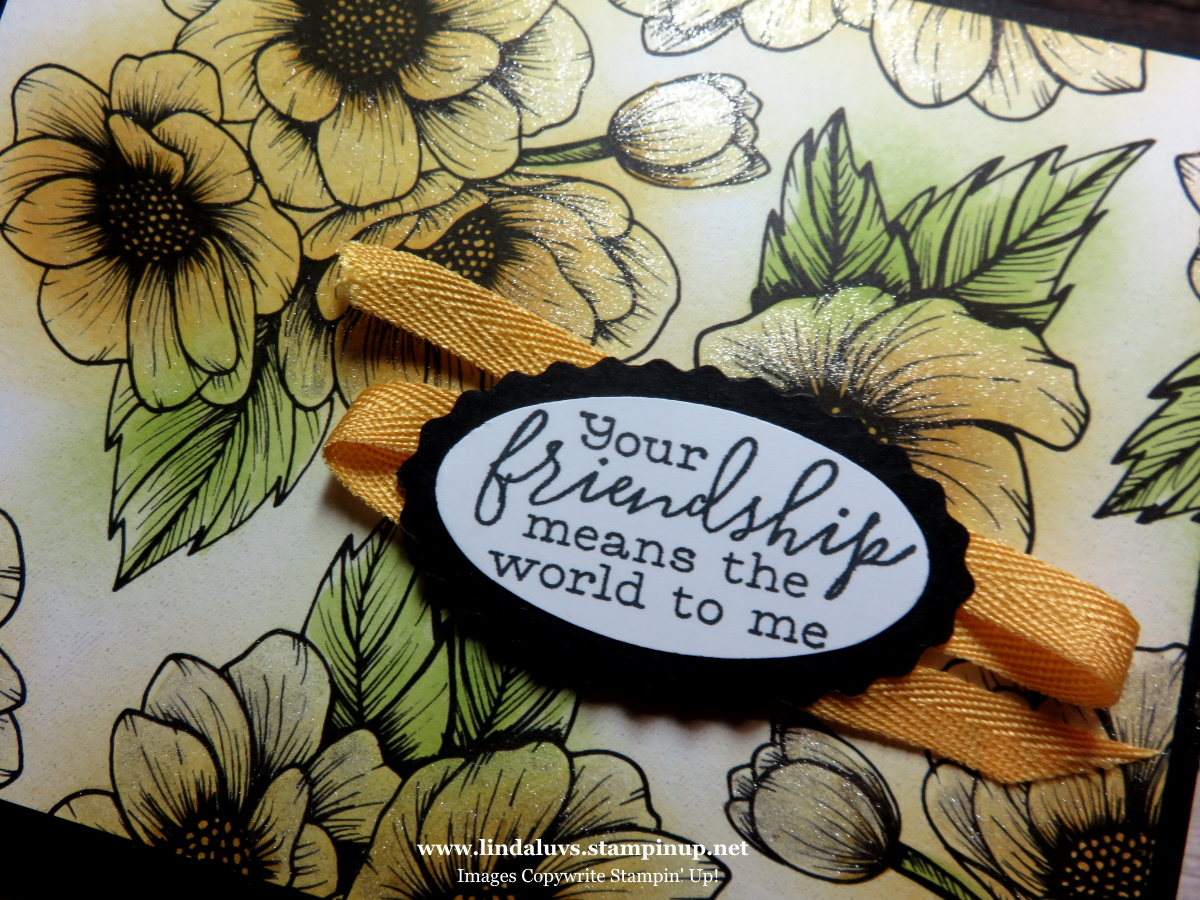
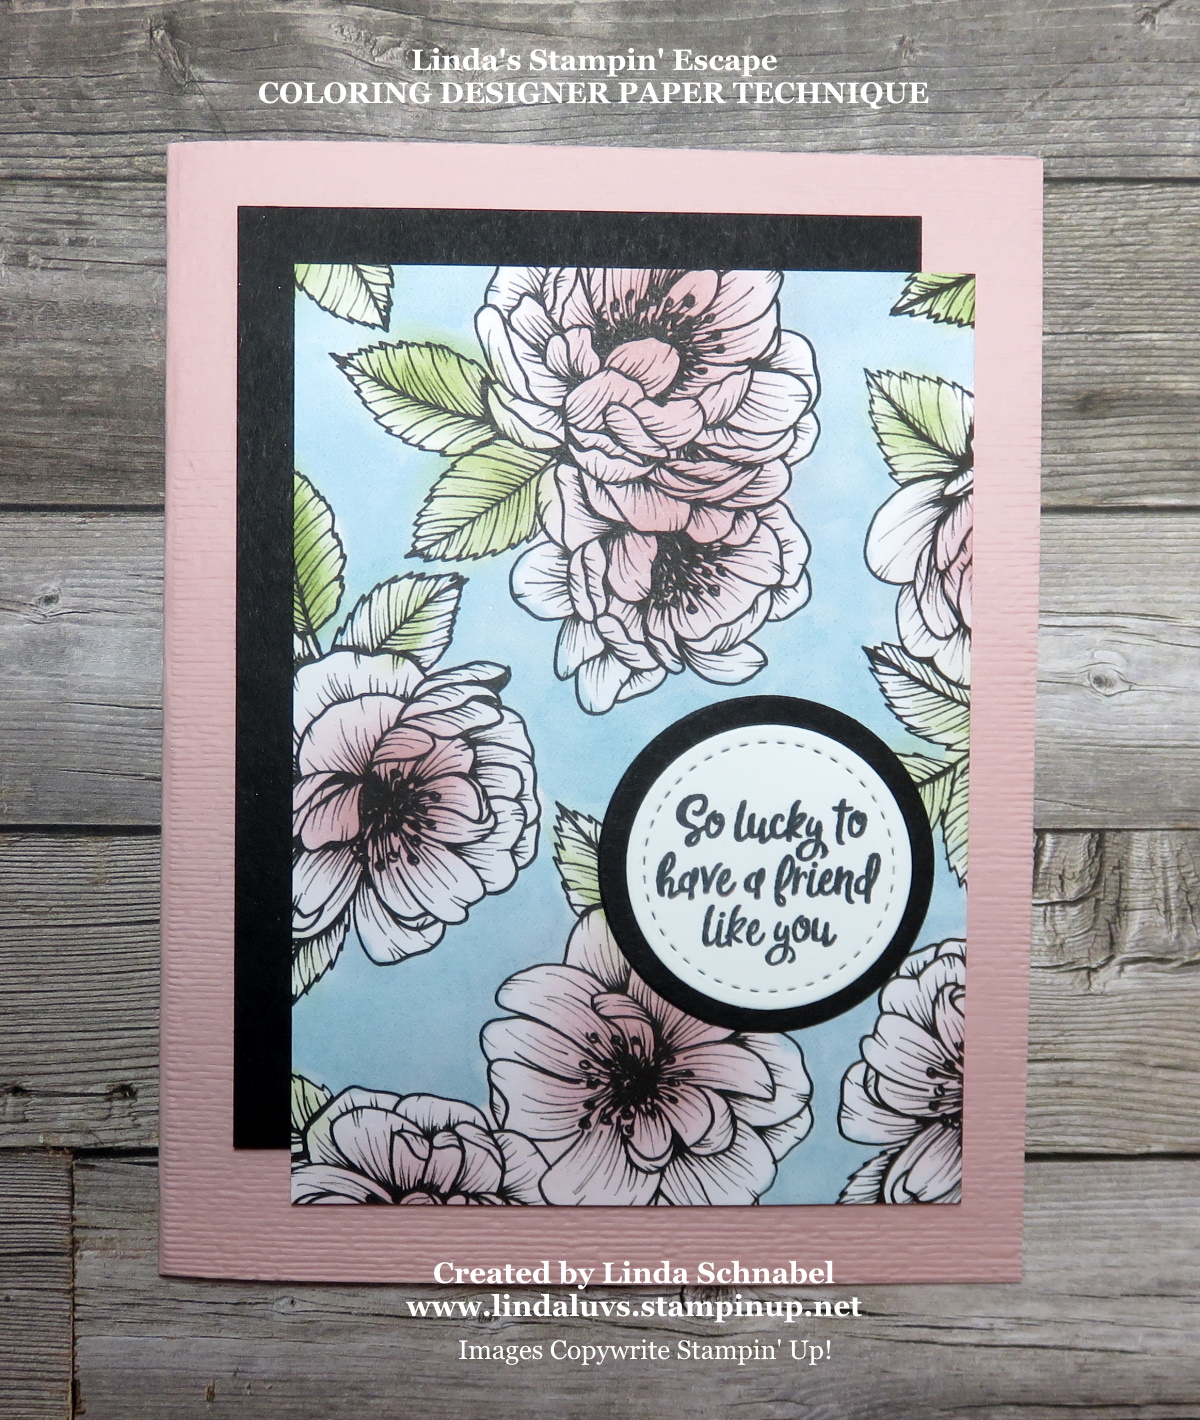
One of my favorites, and not something we normally don’t think to do: COLOR THE BACKGROUND. I was amazed the first time I saw someone do this technique … who would have thought!? I’m just glad they did, and shared it. Coloring the background just really made our pretty flowers pop off the page.

I have some fun with this one! Not only did I color the back ground, I did the flowers as well. This time though, I used my “Sponge Daubers” to add color to my flowers. They are smaller that the brush heads so you can get a little more precise with your ink placement. Both techniques add soft color your paper.
One of my favorite techniques to do on “any” black & white designer paper is to create an Ombre effect, shown below. I love all the options you have when working with a designer paper in Black and White … and your color pallet is limitless!! You can create “any” color designer paper now … and it’s FUN!!

I know there are more techniques we can do … how about a soft watercoloring, or bring out your Watercolor Pencils and Blender pen!! The possibilities are endless. The True Love Designer Paper “IS” on the Retiring List … so if you like it, don’t wait … it here only while supplies last.
Thanks for hanging out with me as we revisited some of the great techniques you can do with this special paper!
Have yourself a fun & creative day ~