Color Inspiration: Flower & Field Designer Paper

Hello Stampin’ Friends,

Are you ready to add some Springtime cheer to your days with flowers and fun bright colors? I sure am! The January-June Mini Catalogue is packed with beautiful florals, beachy seashells, and whimsical animals perfect for adding brightness and cheer to your crafting.

This month’s Color Inspiration projects plays off the bold, bright colors in the Flower & Field Designer Series Paper that you can earn as a reward during Sale-a-Bration. Remember, Sale-a-Bration ends February 28th, so order today so you don’t miss your chance to earn great rewards!

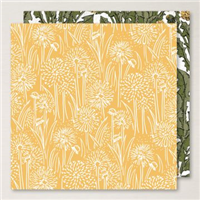
Color influences mood and is an proven way to lighten your mood, or bring some cheer to a friend is to craft with bright, fun colors. The Flower & Fields Designer Series Paper, that you can earn as a reward during Sale-a-Bration, is a great example of bold, bright, cheerful color that just makes you happy to look at.

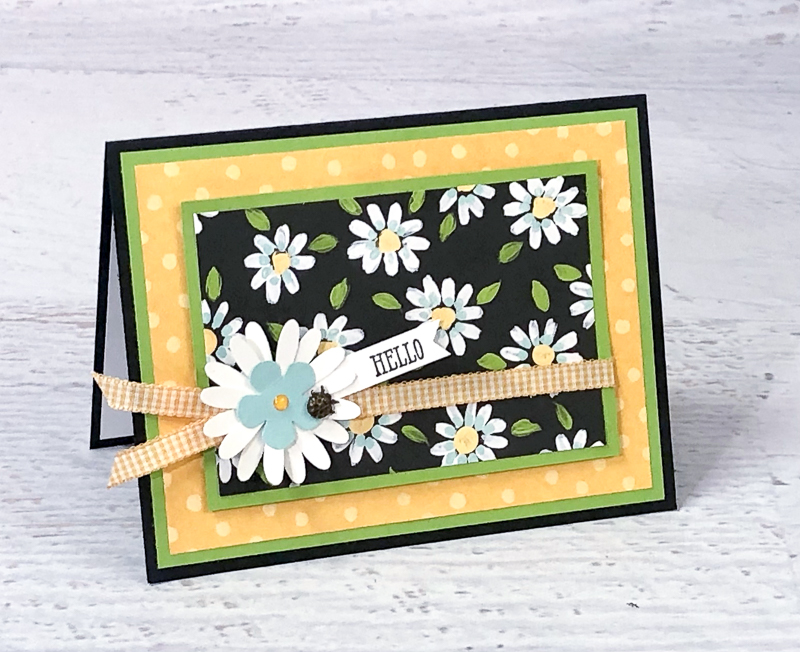
Granny Apple Green, Bumblebee, and Pool Party can be bright, or even a bit soft. When contrasted with the always on-trend duo of Black and White, they create a really bold pop of color.

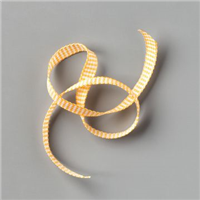
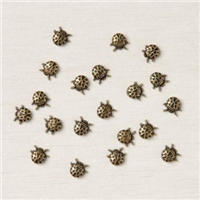
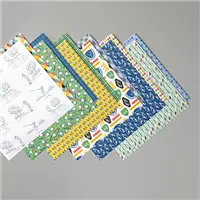
The first card features the Flower & Fields Designer Series Paper (#155223) and Well Said stamp set (#148796). Fun details are added with the Medium Daisy Punch (#149517), Small Bloom Punch (#152316), Bumblebee 1/4″ Gingham Ribbon (#153658), Ladybug Trinkets (#154299), and 2020-2022 In Color Enamel Dots (#152480).

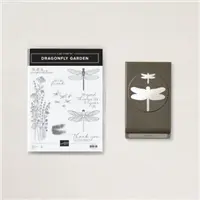
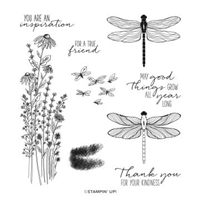
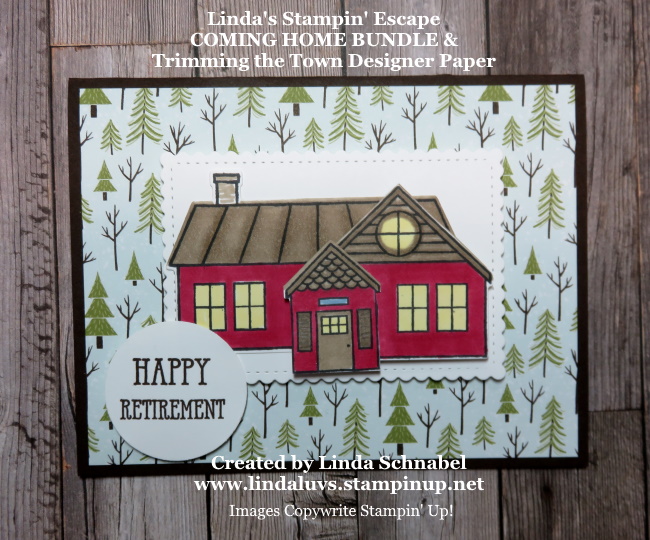
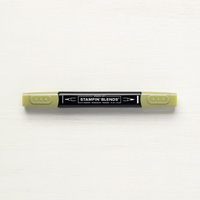
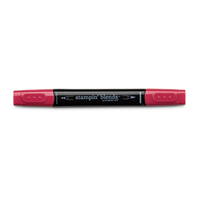
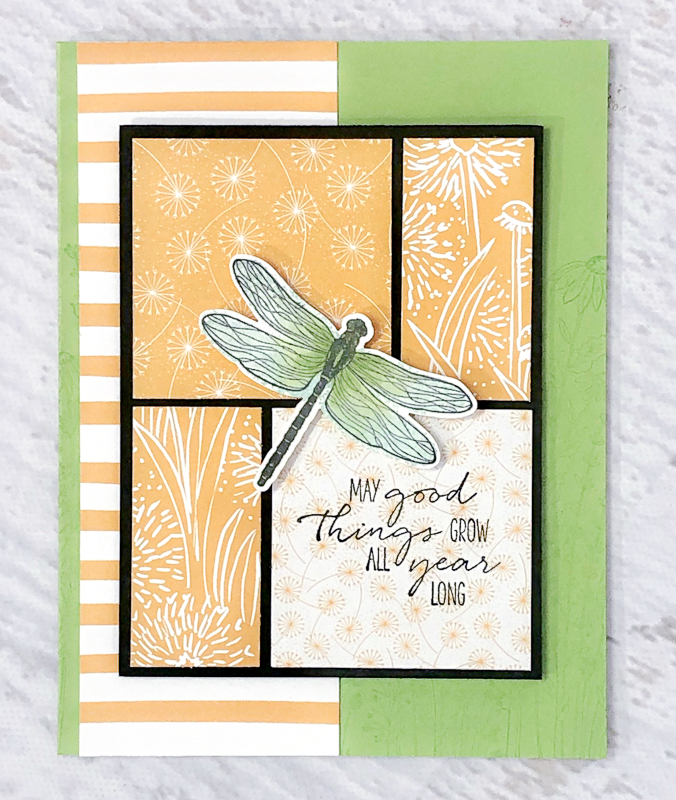
The second card showcases the Dandy Garden Suite (#155981) that is a mega suite featuring two stamps sets, dies, and a punch in addition to coordinating papers and embellishments. The Dragonfly Garden Bundle (#156224) includes the Dragonfly Garden stamp set (#154411) and Dragonflies Punch (#154240) at a 10% savings. The Dandy Garden 6″ x 6″ Designer Series Paper (#154297) is perfect for the Color Blocking technique. The dragonfly is stamped with Tuxedo Black Memento ink (#132708) and colored with Pool Party (#154894) and Granny Apple Green Stampin’ Blends (#154885).

Please let me know if you have any questions or if I can help you with an order. Remember, Sale-a-Bration ends February 28th, so order today so you don’t miss your chance to earn great rewards!

Thank you for joining me today, hope yours is a happy one!

TODAY’S STAMPIN’ SUPPLY LIST … If you liked the products used in today’s projects, I have links for you below. Just click on the item you would like more information on, or to begin your shopping. It will take you directly to my website. Thank you ♥ 

Happy New Year! Sharing 2 Cards today …

Hello Stampin’ Friends ~

Happy New Year to you and your families. I think we are all looking forward to a happier and healthier New Year! I have 2 cards I’d like to share with you today, and a video I recorded while making them … explains my train of thought while creating.

I am using the COMING HOME Bundle which retires in 3 days 😦 The Holiday Mini catalog ends on January 4th, 2021 so if you are interested in anything in the catalog, you will want to get it before then! Let’s take a peek at what I was up to …

I had to chuckle when I discovered you could “layer” the houses!! Sometimes we just miss the obvious … lol. For me, it just created more excitement as do even MORE with this bundle than I thought. One thing I didn’t mention in the video is “why” I colored my building red … I wanted it to look like a big lodge in the middle of a beautiful … calm … forest. The perfect spot for my Retreat House!!

Of course … it’s also a perfect place to retire (for other people) lol. I dream of owning my own retreat house so we could gather and stamp whenever we wanted to!!

My next card highlights the new Blending Brushes and Foam Adhesive Sheets ….

The Blending Brushes created a soft glow around my die cut circle as to highlight it, and the Foam Adhesive Sheets turns anything into a dimensional sticker!! I am having a ball playing with them. Think what you could do on your scrapbook pages!! Mind blown!

I also shared a great little tip on how you can still stamp your cardstock if you put your dimensionals on first! I’ve said it a million times … there are no mistakes in stamping, just opportunities to embellish (or get creative!).

Hope you enjoyed my little video and cards today. Thank you so much for spending the first day of the New Year with me!!

HAPPY NEW YEAR ~

TODAY’S STAMPIN’ SUPPLY LIST … If you liked the products used in today’s projects, I have links for you below. Just click on the item you would like more information on, or to begin your shopping. It will take you directly to my website. Thank you ♥ 

Well Dressed or Best Dressed … Celebrating Cards!

Hello Stampin’ Friends ~

Today I’d like to share two cards with you featuring Sale-a-bration items, some really cool designer paper and a sneak peek into how I create a layout and design a card.  Both cards also highlight the “Well Said” stamp set!

Let’s begin with the layout … My first decision is which stamp set I’m going to use and today I wanted to share the “Well Dressed” stamp set. Only two more days and this one will be gone, because it is an item you can earn FREE with a qualifying Sale-A-Bration order.

I chose the Stitched Rectangle dies as the stamps from the “Well Dressed” stamp set fit so nicely. I laid them out the way I wanted them on my card, then stamped them in Gray onto Whisper White and matted them with Basic Black.

My thought behind this “retirement” card was that it was time to let go of the tie and items normally associated with going to your job including ditching the watch as you’ll see on the inside of the card …

The designer paper I used here is from a sampler set that comes with the cute little paper cutter, both of which are FREE and tucked into your Starter Kit.  You also get an extra FREE stamp set …

You’ll get all of this for $99 plus you will choose $125 more products!  It’s a great time to explore the benefits and opportunity of joining my Stars by Design team and the Stampin’ Up! family.  If you’re thinking about it … Give me a call 262-334-1009 or email me at lindaluvs2stamp@aol.com

Back to my card! The designer paper is from the Country Club suite of products and really highlights the Well Dressed stamp set. Nice classy look … Don’t you love the way the stitching in the die cuts coordinates with the design on the tie, which looks great with the designer paper!!

Here is a list of supplies for both cards … Our “Well Dressed” Masculine and the “Best Dressed” feminine card …

My second card does a 180 from the masculine to a more feminine card.  This card highlights the So Very Vellum Designer paper and is teamed up with the “Best Dressed” Designer Series paper …

As I stated earlier, both cards used the “Well Said” stamp set for my sentiments.  This card reflects a special thank you “for everything” you do … I’m here for you as well.  The cute little handbags were fussy cut from the designer paper which you see in the foreground.

The sentiments were stamped in gray onto Whisper White and then die cut using the Stitched so Sweetly dies…

I popped up the greeting which highlights the bags as well and then to finish off this sweet card, a few rhinestones because what girl doesn’t like a little bit of bling!

I was so excited to share these two card with you, I’ve got so many ideas with all of the Sale-a-bration items but time is running out. We only have today and tomorrow and then it’s gone for another year.  I understand that during these uncertain times getting everything you want may be difficult, maybe the starter kit with all it’s FREEBIES is an option. Let me know if you want to talk about the options.

Meanwhile, I’ll be stamping and will return tomorrow with the last of my Sale-a-bration projects.

Thank you for spending time with me today! This is a great way for us to gather … when we can’t gather.

Enjoy your day ~


A Well Dressed Retirement Fun Fold Card …

Hello Stampin’ Friends ~

Today I have another great masculine card for you from the Well Dressed stamp set, and I have paired it with the Flowering Foils Designer Series paper.  There is one pattern I have not shared with you yet, and it pairs perfectly with today’s card which also has a fun fold … layout (you decide).

It wasn’t hard to choose a color pattern since I knew I was going to use the last pattern from the Flowering Foils Specialty Designer Paper, I love the way it looks with Early Espresso so I was set.  I also wanted to create another card using the Well Dressed stamp set and a fun fold / card layout!

You begin with a half sheet of Early Espresso cardstock (8-1/2″ x 5-1/2″) … Score at 4-1/4″ and then cut at 5-3/4″.  With the piece that you cut cut off, cut off 1-1/2″ so you have a 1-1/2″ x 5-1/2″ piece.  Now you will cut two strips of the Designer paper 1-1/4″ x 5-1/4″ … these will get adhered to the flap on your card base and the extra piece (panel)  you cut. For the inside cut a 4″ x 5-1/4″ piece of Whisper White.

For the “tie” which is the piece that will actually tie your card together you will need a 3″ x 1-1/2″ piece of Whisper White and 3-1/4″ x 1-3/4″ piece of Early Espresso … the tie is stamped with Early Espresso ink.  When attaching the the tie … align the extra piece you cut with the bottom of your card base, now you can secure the tie piece to the top flap and bottom panel of your card … make sure you only use adhesive on the top and back of the cardstock.

When it came to stamping the inside of my card, I aligned my stamps on the grid paper and then placed my block over the top.  I made sure that it would fit between the two panels of my card.  I used the Well Said stamp set which can be found in our Annual Catalog. Here is a list of the supplies I used for today’s card …

This is really a simple card to create and now that you have all the dimensions and stampin’ tips on the assembly, you can create this fun layout with you next card. The Well Dressed stamp set really worked nicely with this pattern in the Flowering Foils Specialty Designer Paper. Let me know if you have any questions on this card, supplies or placing an order.

I appreciate the visit today! Enjoy your day. Linda