Hello Stampin’ Friends ~
Today I’d like to share my collection of cards that I created using the Coming Home Bundle / Trimming the Tree Product Suite. The “SUITE” includes …

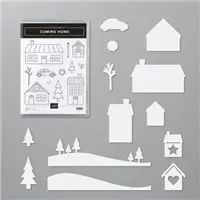
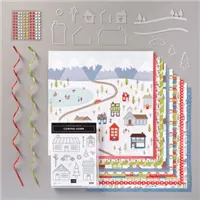
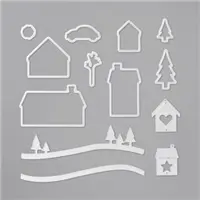
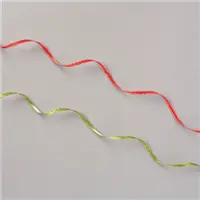
the “bundle” at a 10% savings, the designer paper, ribbons, and embellishments. The bundle includes the stamp set and dies … 10% savings! Lets take a look at all you can do with this product suite!

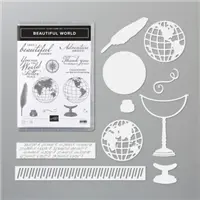
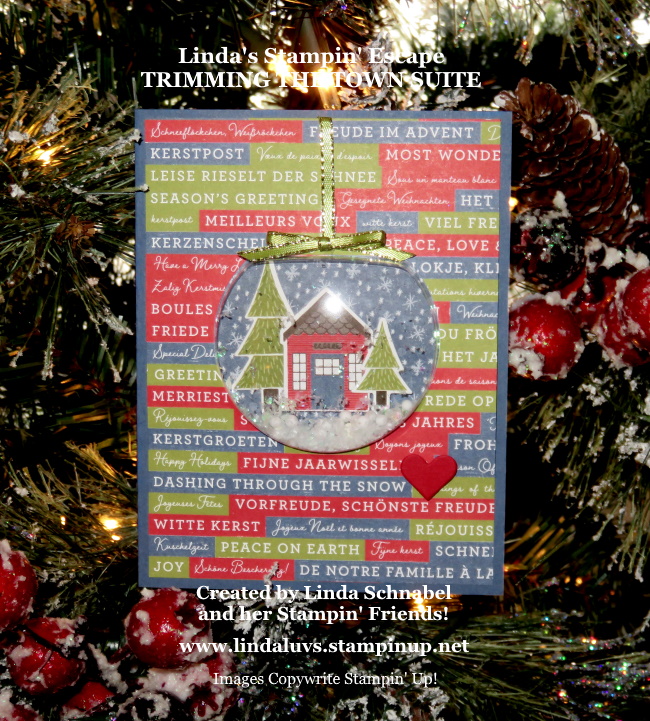
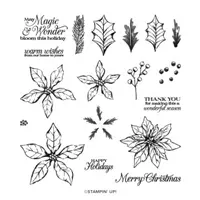
My first card highlights two of the patterns in the beautiful Trimming the Town Designer Series paper. I complimented this with the Beautiful World Bundle. The designer paper says holiday greetings in many languages … thus the world! Stampin’ Up! makes it easy to mix and create with several bundles.
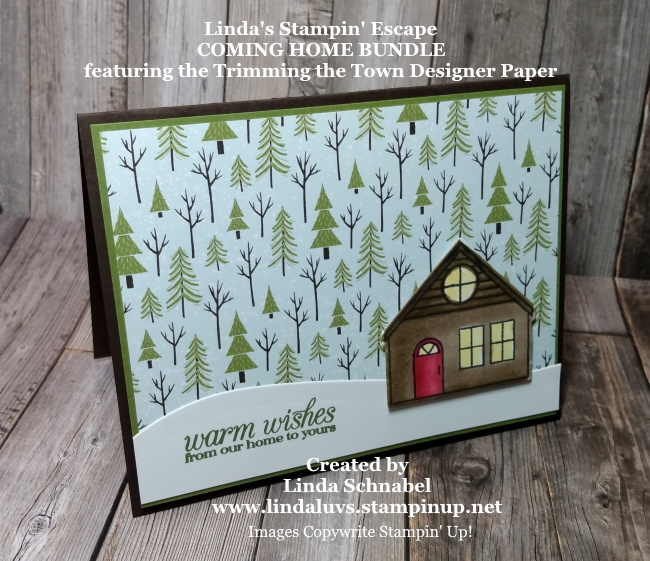
My next card is a pretty quick -n- easy card to create. The background is our designer paper, the snow is cut with the dies, and then I hand stamped and colored a cozy cabin in the woods. This would also make a cute birthday card!

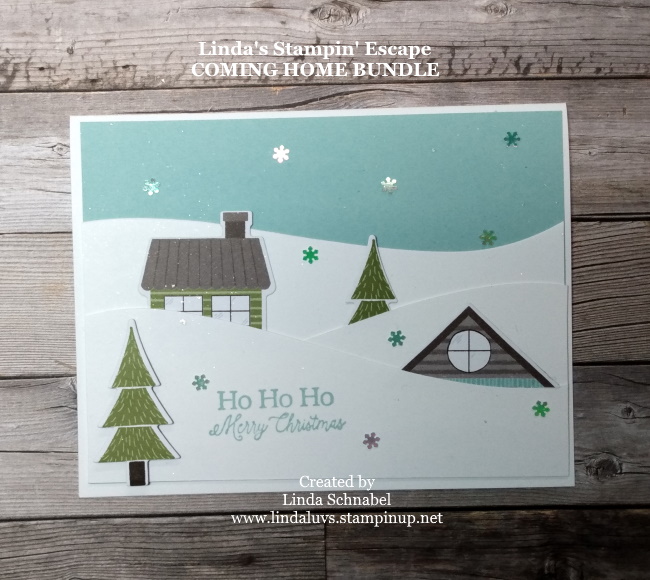
Ready for fun and a “waste not” card? The snow scene was created with the die and I flipped the middle one over so the curve was opposite of the others. Then because the dies actually cut out images from the designer paper … I cut out the ones on the bottom that were “not” full houses and buried them in the snow!!
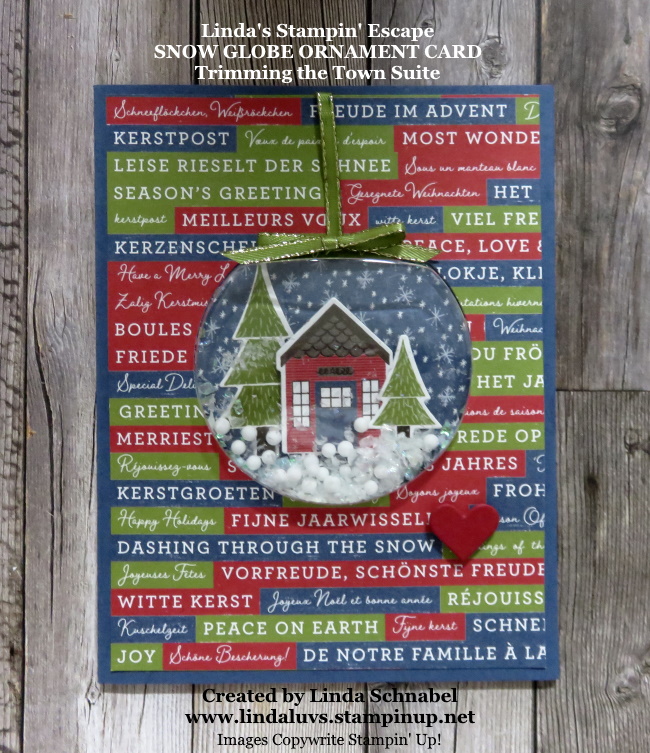
I used the designer paper with the multi-language greetings again to highlight my Snow Globe Ornament. This was actually very easy to create and makes for a FUN card for the recipient!!

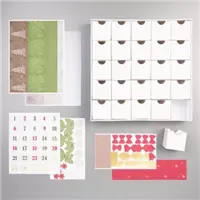
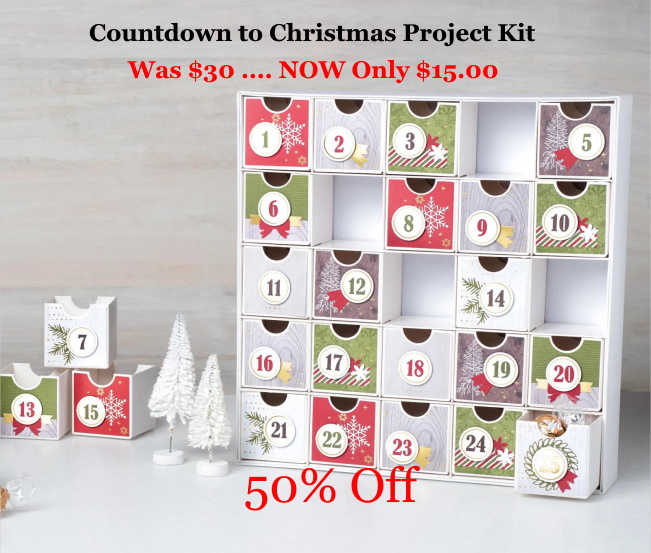
I loved using the Trimming the Town Designer paper to decorate the “other side” of the Christmas Countdown kit! The kit comes with everything you need to create a Christmas Countdown calendar, so … when they took out the candy and flipped the little boxes around … the created a cute winter scene!!
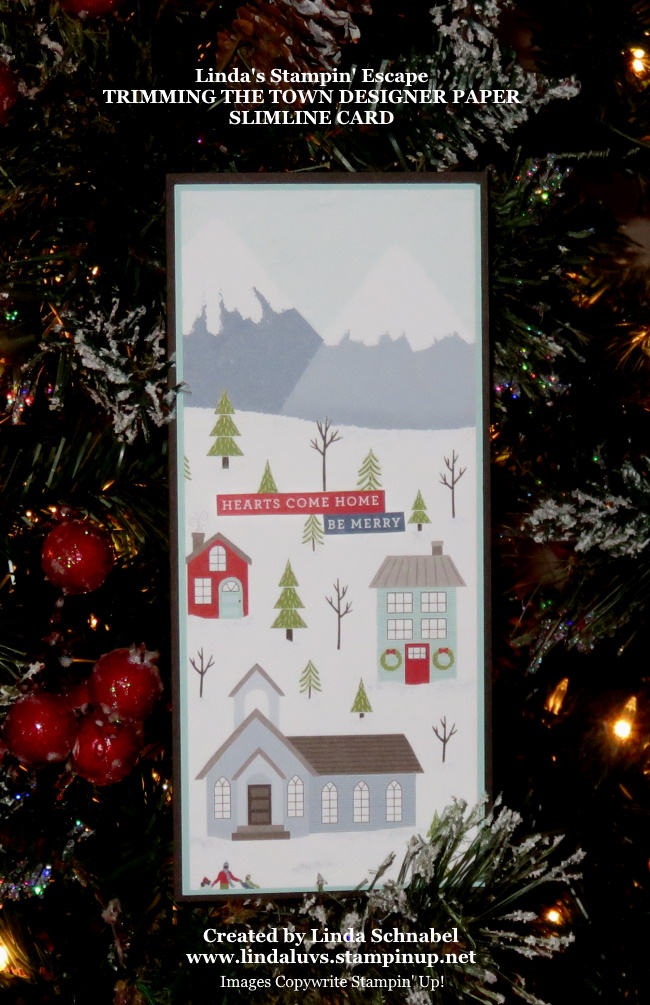
Here is my version of the “Slimline” Card … so easy to create when you are working with a designer paper that already has the perfect scene on it!!

This card highlights the designer paper … the background, tree and “layered” house are all cut from the designer paper. This card also features the “Foam Adhesive Sheets” … these are so cool to create with, it’s a double sided adhesive sheet that you can die cut!!

Here (above) is my “Shaker Card” created with an envelope … You heard that right, a clear envelope! It is FUN … Easy and you can Learn How when you CLICK HERE and watch my video! More of that amazing designer paper!! Here is another that would work perfectly as a snowy Birthday card!!
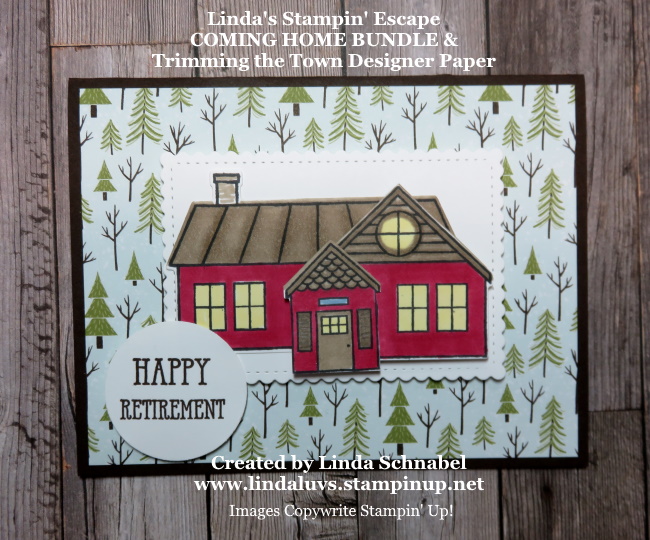
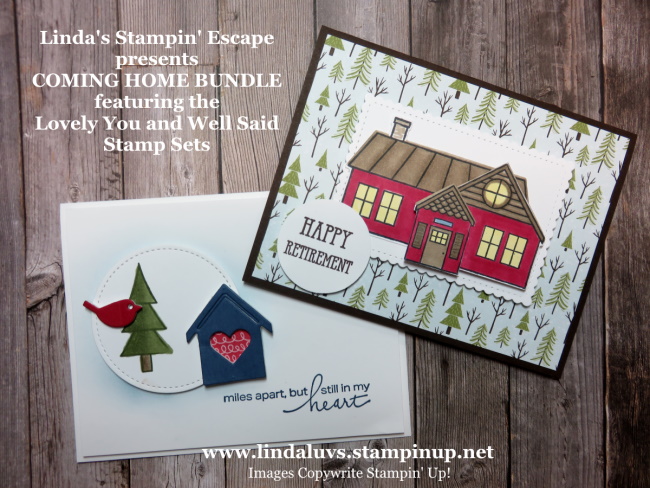
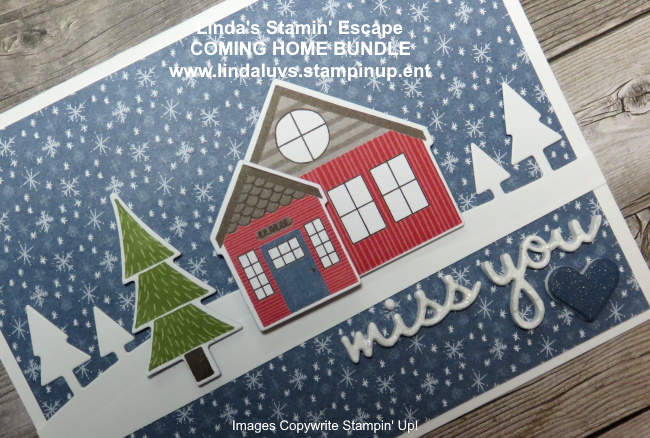
Ahhh … yes, my hand built retreat house!! This card shows how you can layer the houses to build on as big as you would like. I wanted a nice big one so I could invite you all to stamp with me!!

Last but not least is my simply pretty card that showed you how the new Blending Brushes can create a background to highlight your focal point. This card was showcased on yesterdays blog post.
I hope you enjoyed going through all of my “Coming Home” cards … this suite / bundle is fun and easy to create with. You still have two more days before it is gone forever. I listed the supplies below.
Thanks for hanging with me today ~

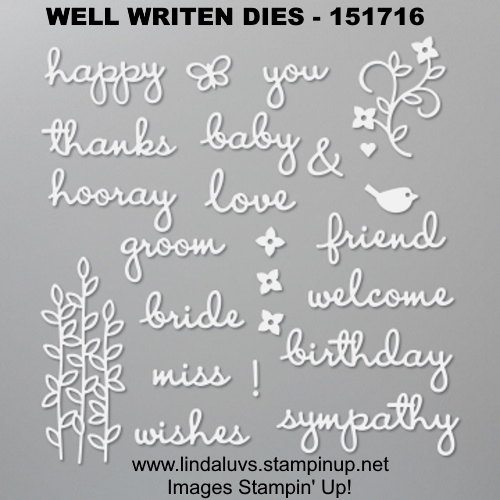
TODAY’S STAMPIN’ SUPPLY LIST … If you liked the products used in today’s projects, I have links for you below. Just click on the item you would like more information on, or to begin your shopping. It will take you directly to my website. Thank you ♥