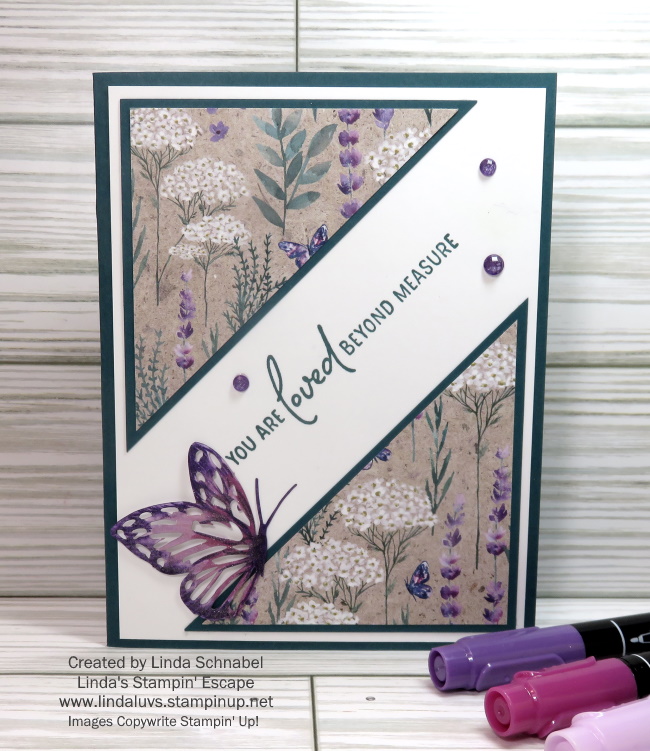
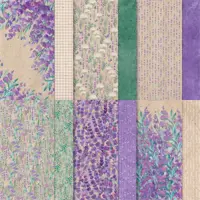
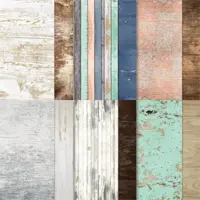
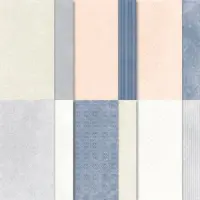
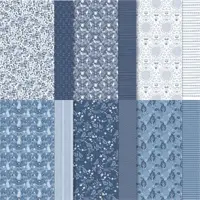
Introducing Winter Meadows Designer Paper for Father’s Day and more!

Hello Stampin’ Friends,

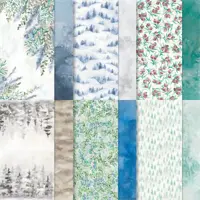
Today I’m sharing 6 cards using the Winter Meadows Designer Series Paper from Stampin’ Up! This collection isn’t just a celebration of the season; it’s a canvas of versatility waiting to unfold and brings the beauty of nature right to your fingertips. Each design of this exquisite paper was hand-painted making it perfect for your creative projects.

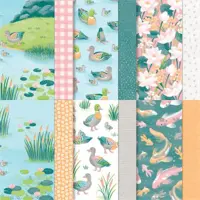
One standout feature is the deer page, meticulously crafted to perfectly fit onto a card front. The repeating pattern allows you to effortlessly cut each sheet into six pieces, providing a seamless background for your cards. Making this paper perfect for Fathers Day or a Birthday!

Let’s delve into the magic of quick and effortless card-making! Here are six simple yet stunning card ideas utilizing the Winter Meadows Designer Series Paper, promising to spark creativity …

  1. Classic Christmas Charm: Layer the grey tone pretty paper with a Pretty Peacock, add a simple ‘Let it Snow’ sentiment for a simple and pretty holiday card. I know many of you create your holiday cards “way” before the snow flies!

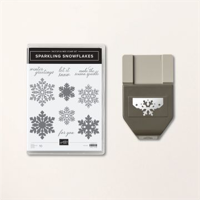
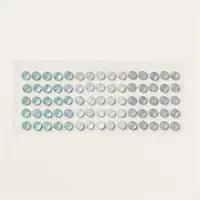
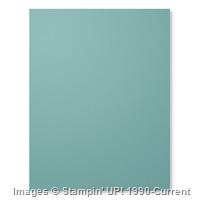
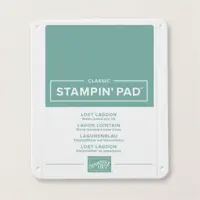
2. Winter Wonderland: And a sentiment of ‘Make the Season Sparkle’, pair it with Lost Lagoon cardstock, add a touch of Wink of Stella and adorn with Iridescent Rhinestone embellishments for a serene winter scene.

3. Father’s Day Sophistication: I cut the designer paper to 3 3/4″ x 5″, this card I used the Misty Moonlight to mat it, it’s earthy tone and wrap one corner with Bakers Twine for some texture. You’ll stamp with a ‘Happy Father’s Day’ sentiment to create a refined touch.

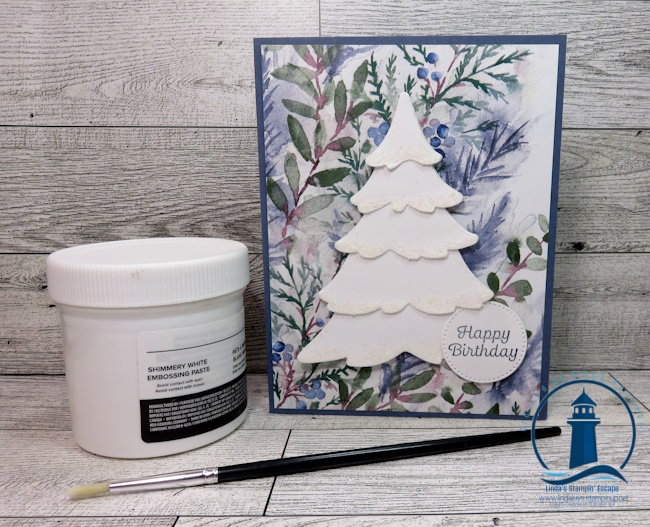
4. Birthday Bliss: Next I used the Blueberry Bliss as a backdrop for a colorful birthday card, surrounded by coordinating bakers twine and embellishments. The greeting was created from the Curved Occasions Bundle

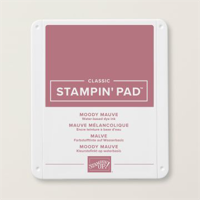
5. Holiday Elegance: Trim the designer paper as the others, layer it on the soft Moody Mauve cardstock, add some Wink of Stella and stamp a ‘Happy Holidays’ sentiment. Time to embellish it with Festive Pearls.

6. Sending Warmth: Create a layered look with your designer paper with the Snowflake Magic on the Smoky Slate card base, adding a versatile sentiment that suits any occasion. Plus we’re adding a few Festive Pearls to complete our look.

The Winter Meadows Designer Series Paper isn’t just a seasonal delight; it’s a crafting essential that transcends boundaries. Its adaptability and charm make it an invaluable addition to any crafter’s arsenal. With just a few creative tweaks, it effortlessly transitions from Christmas to birthdays to Father’s Day and beyond, promising endless possibilities for beautiful creations.

As a friendly reminder, while this paper is one of only two designer papers being carried over into the new catalog, there will be a slight increase in price. But trust us, the unparalleled beauty and quality of Winter Meadows Designer paper are worth every penny.

Thank you for hanging out with me today. Enjoy your day.

Crafting Magic: Yesterday’s Thoughtful Expressions Leftover into a Stunning Card

Hello Stampin’ Friend ~

Yesterday, I unveiled the delightful Thoughtful Expressions bundle, showcasing its versatility and charm. Today, I invite you to embark on a creative journey with me as we explore the art of repurposing a leftover die cut into captivating card.

Sometimes, it’s the remnants—the leftover pieces—that spark the most inspired creations. Today’s card exemplifies this notion, breathing new life into a discarded die cut piece from the Thoughtful Expressions bundle.

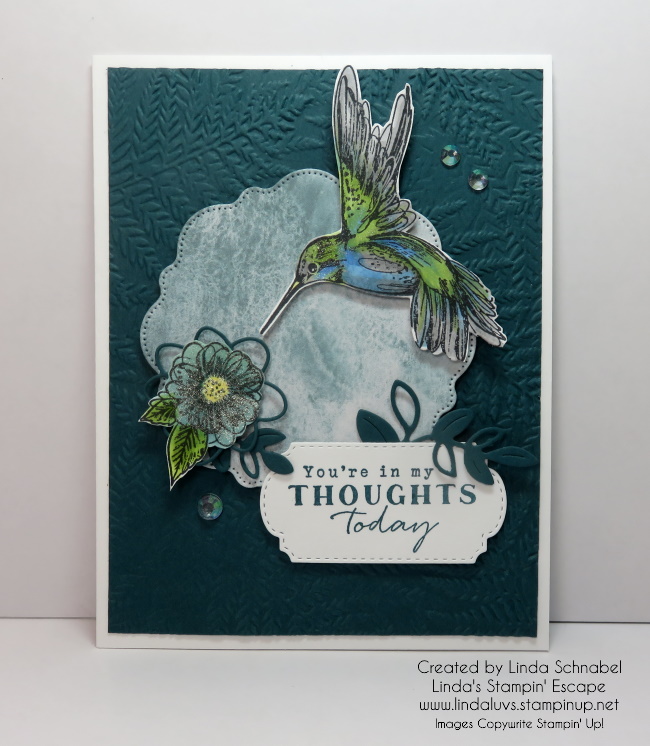
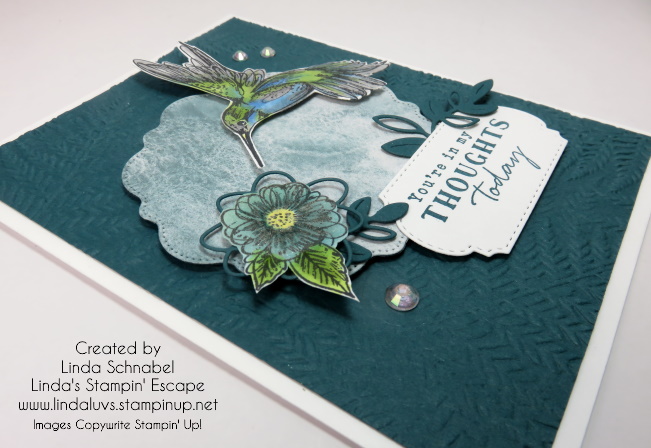
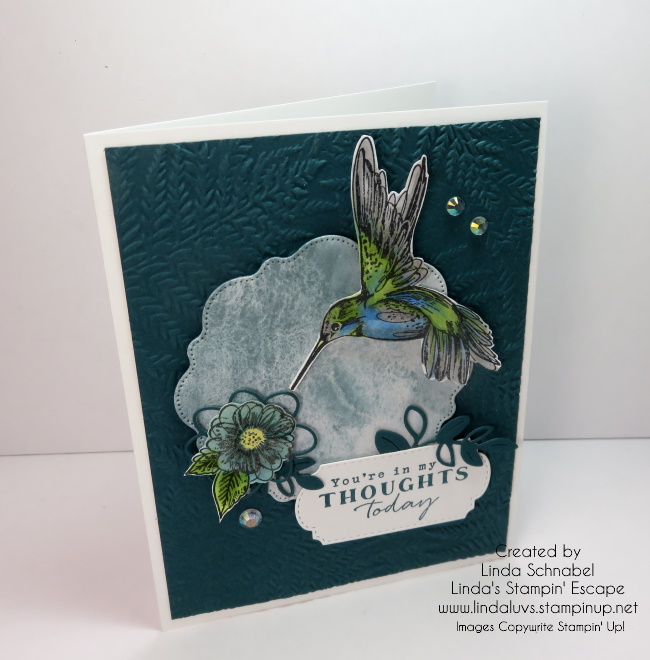
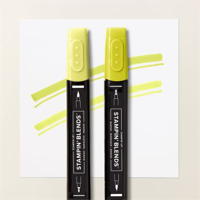
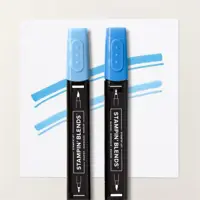
At the heart of this design lies a the focal point: the left over die cut piece. Then I crafted my hummingbird, stamped and brought to life with vibrant hues of Lemon Lime Twist, Azure Afternoon and Smoky Slate Stampin’ Blends. This enchanting hummingbird really catches your eye, commanding attention and evoking a sense of wonder.

But the magic doesn’t stop there. Surrounding our feathered friend are intricate layers of die-cut foliage and a charming flower, each meticulously chosen to complement the hummingbird’s grace. These elements add depth and dimension to the composition, inviting the viewer to immerse themselves in its beauty.

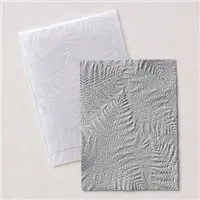
To provide a striking backdrop, I used Pretty Peacock cardstock to serve as my canvas, and embossed it with a mesmerizing 3-D fern embossing folder. This subtle yet sophisticated texture adds a touch of elegance, elevating the overall design.

The sentiment, carefully stamped and die-cut with rectangular shaped dies, serves as the perfect finishing touch. With its heartfelt message, it imbues the card with warmth and sentiment, making it not just a piece of art, but a heartfelt gesture to be cherished.

Layered onto crisp white cardstock, the ensemble comes together seamlessly, each element harmonizing with the next to create a masterpiece of paper and ink. What was once a leftover die cut piece has been transformed into something truly remarkable—a testament to the endless possibilities of creativity.

In the world of crafting, there are no limits—only boundless opportunities to let your imagination soar. And who knows? Your next masterpiece may be just a discarded scrap away.

Thank you so much for taking time out of your Sunday and visit my blog. I have all the ingredients listed below if you need anything.

Have a wonderful day.

Discovering the Delightful Thoughtful Expressions Bundle

Hello Stampin’ Friends ~

As I flip through a Stampin’ Up! Catalog, I tend to seek stamp sets and tools/dies that not only inspire but also offer versatility and beauty. Today, I’m diving into a remarkable bundle that encapsulates precisely that essence—the Thoughtful Expressions bundle. As a demonstrator and crafting enthusiast just like you, I’ve found myself drawn to its charms, particularly the exquisite dies that adorn this bundle.

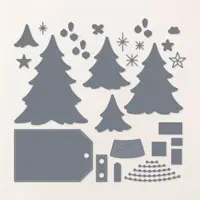
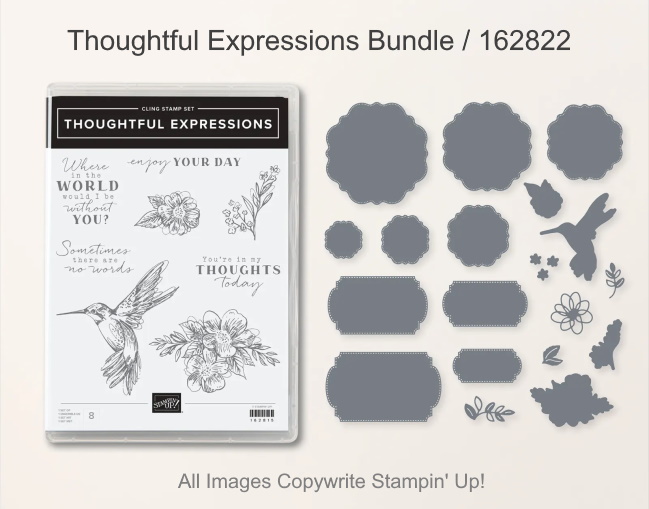
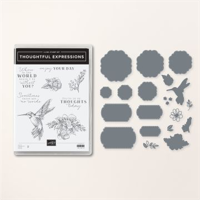
One of the most captivating features of the Thoughtful Expressions bundle is undoubtedly its array of dies. These dies come in various shapes and sizes, offering endless possibilities for crafting projects. Whether you’re aiming to create a striking focal point or showcase heartfelt sentiments, these dies are your perfect companions. (The gray images represent the dies).

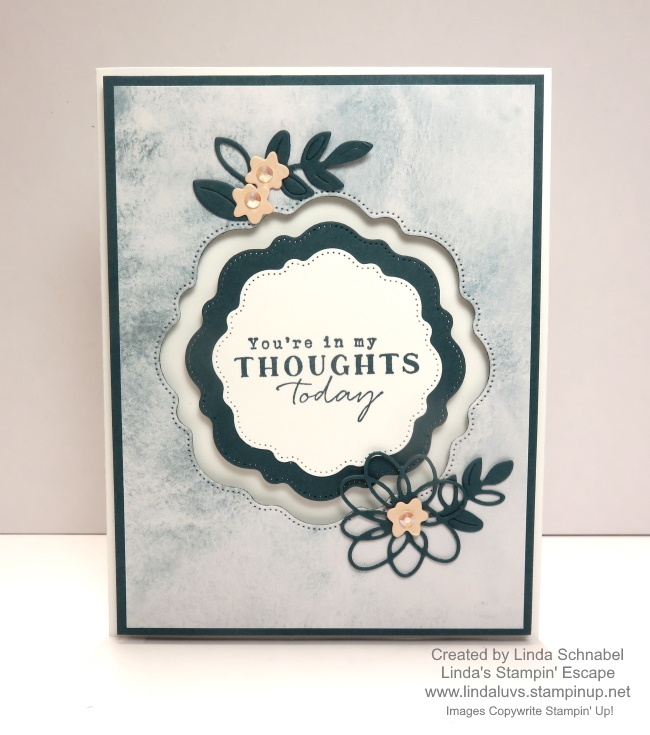
Speaking of sentiments, the Thoughtful Expressions bundle doesn’t disappoint in this regard either. The sentiments included in the stamp set are not only heartfelt but also versatile, catering to a myriad of occasions. From expressing solidarity with a simple “You’re in my thoughts” to wishing someone a bright and joyful day, the sentiments in this bundle cover a wide spectrum of emotions. I stamped mine in Pretty Peacock before cutting them out with the dies.

I can’t overlook the dies designed to cut out intricate shapes, including a graceful hummingbird and delicate florals from the coordinating stamp set. The level of detail achieved with these dies is truly impressive, allowing you to add dimension and elegance to your creations effortlessly. I’ll be sharing the Hummingbird with you tomorrow!

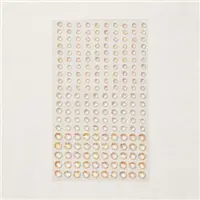
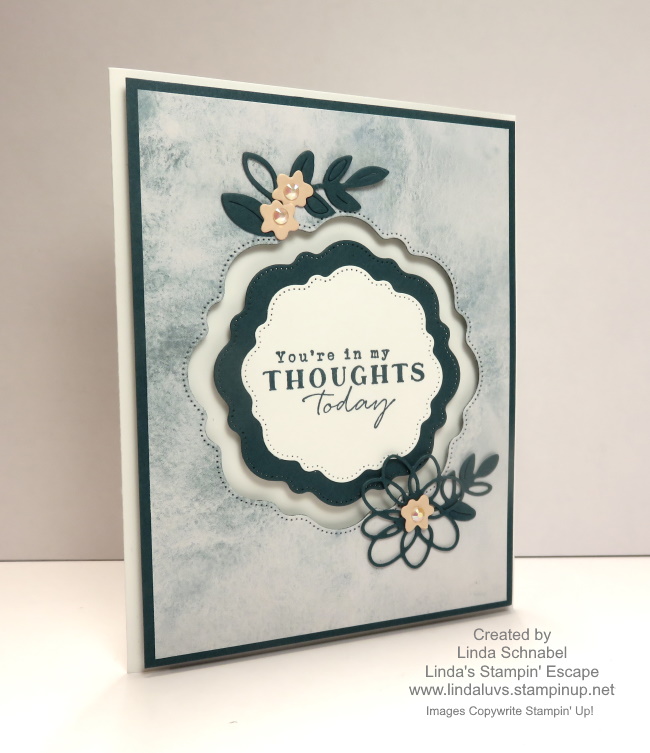
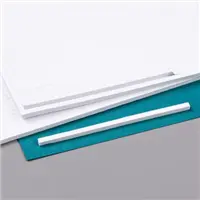
Today I’m showcasing one of the layering shaped dies, along with the floral dies. I used the Adhesive Strips to pop up my card front and my greeting … the texture and dimension this adds to your card is so much fun when you leave a gap in between them. The floral pieces were attached with the Glue Dots and embellished with the Iridescent Rhinestones. Simple … Pretty … and a beautiful way to tell someone you’re thinking of them.

If you’re eager to explore the wonders of the Thoughtful Expressions bundle, you can find it showcased on page 61 of our Spring Mini Catalog, with the bundle itself featured on page 62. Trust me; once you get your hands on this bundle, you’ll discover a world of creativity waiting to be unleashed. You will find the “Winter Meadow” Designer paper that I used on today’s card, in the Online Exclusives!

I’m sure it’ will become an indispensable part of your crafting arsenal. So why wait? Dive in and let your imagination soar with the Thoughtful Expressions bundle!

Thank you for visiting my blog today. I hope you have a beautiful Saturday!

Endlessly Grateful …

Hello Stampin’ Friends, Today I have a quick post sharing a simple yet beautiful post highlighting the Winter Meadow Designer Series paper.

Measurements:

  • Basic White: 4 ¼ by 11 score at 5 ½
  • Winter Meadow 4 x 5 ½ and a scrap 1 ½ by 3 for punch out
  • Night of Navy and Gold Ribbon approx 6 inches
  • Night of Navy Scrap 3 x 3 for punch out

Instructions:

  • Attach the ribbon to the Winter Meadow DSP
  • Fold the Basic White card base
  • Glue the Winter Meadow DSP to the Basic White Cardbase
  • Stamp the sentiment with Night of Navy on the DSP scrap and punch with smaller of the oval punch
  • Punch the Night of Navy with the scallop oval punch
  • Glue the sentiment to the Night of Navy punch out
  • Attach the sentiment piece with the dimensionals over the ribbon
  • Mail this pretty card to a friend of family member

Winter Meadows Designer Series Paper: Create 6 Quick / Beautiful All Occasion cards.

Hello Stampin’ Friends,

Winter brings with it a magical aura, and there’s no better way to capture its essence than with the Winter Meadows Designer Series Paper from Stampin’ Up! This collection isn’t just a celebration of the season; it’s a canvas of versatility waiting to unfold.

Today I’m sharing my video replay of my Facebook LIVE where I create 6 quick & simple cards from one beautiful sheet of the designer paper. Grab a cup of coffee, sit back and relax as I go through how I created these 6 cards.

One of the most striking features of the Winter Meadows Designer Series Paper is its adaptability. The gorgeous grey tone design serves as a perfect backdrop for a myriad of occasions. Its neutral yet captivating pattern allows for a versatile approach in crafting, making it a staple for a variety of celebrations.

Let’s delve into the magic of quick and effortless card-making! Here are six simple yet stunning card ideas utilizing the Winter Meadows Designer Series Paper, promising to spark creativity …

  1. Classic Christmas Charm: Layer the grey tone pretty paper with a Pretty Peacock, add a simple ‘Let it Snow’ sentiment for a simple and pretty holiday card.

2. Winter Wonderland: And a sentiment of ‘Make the Season Sparkle’, pair it with Lost Lagoon cardstock, add a touch of Wink of Stella and adorn with Iridescent Rhinestone embellishments for a serene winter scene.

3. Father’s Day Sophistication: I cut the designer paper to 3 3/4″ x 5″, this card I used the Misty Moonlight to mat it, it’s earthy tone and wrap one corner with Bakers Twine for some texture. You’ll stamp with a ‘Happy Father’s Day’ sentiment to create a refined touch.

4. Birthday Bliss: Next I used the Blueberry Bliss as a backdrop for a colorful birthday card, surrounded by coordinating bakers twine and embellishments. The greeting was created from the Curved Occasions Bundle

5. Holiday Elegance: Trim the designer paper as the others, layer it on the soft Moody Mauve cardstock, add some Wink of Stella and stamp a ‘Happy Holidays’ sentiment. Time to embellish it with Festive Pearls.

6. Winter Season Beauty: Create a layered look with your designer paper with the Snowflake Magic on the Smoky Slate card base, adding a versatile sentiment that suits any occasion. Plus we’re adding a few Festive Pearls to complete our look.

The Winter Meadows Designer Series Paper isn’t just a seasonal delight; it’s a crafting essential that transcends boundaries. Its adaptability and charm make it an invaluable addition to any crafter’s arsenal. With just a few creative tweaks, it effortlessly transitions from Christmas to birthdays to Father’s Day and beyond, promising endless possibilities for beautiful creations.

Thank you for hanging out with me today. If you’ve enjoyed the video / cards, then please press the LIKE button or leave me a comment. Enjoy your day.

Twelve Weeks of Christmas: Week 8 / Shutter Card Technique

Hello Stampin’ Friends ~

Today I will be sharing the LIVE presentation I did for my Twelve Weeks of Christmas. This is Week 8 and I’m sharing how to create the Shutter Card Technique … it is fun and easy! You won’t think that looking at the card, but when I show you how quickly it goes together … you’ll be heading into your craft room to get your stampin’ groove on!!

Check out the card first, and then the video ….

The first two cards are created with the Winter Meadow Designer Series paper …

Just to recap … I used the second (smaller) square die to create the “anchor” to my Shutter Card, then you can layer it as desired. Don’t forget that Wink of Stella on the berries of our Moody Mauve card because it really adds that touch of Christmas glimmer to your card.

What I did not realize is that the Snowflake Foil Specialty paper has already SOLD OUT from the Retiring List, but use this quick and easy technique I shared with “any” designer paper that has a pattern the can be used in any direction.

The two pattern option is really fun and gives your card a wonderful twist. I hope you try out this technique, it really is much simpler than it looks, and I think my demonstration showed that to you.

Thank you so much for stopping by my blog today. I appreciate that.
Have a wonderful day !