Hello Stampin’ Friends ~
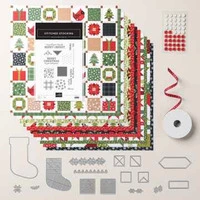
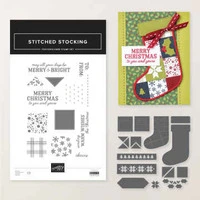
Yesterday I shared a simple fun fold featuring the A Stitched Season Suite, and today I’m back with another way to use the Stitched Stocking Bundle. This time, we’re making a classic red-and-white Christmas stocking with a little patchwork flair. See that row of quilt stars running down the side? The die cuts only four at a time, so let me show you how I made them run the full length of the card!
I started with an A2 Real Red card base and a 5¼″ × 4″ Old Olive mat embossed with the Softly Woven Embossing Folder. I love how the woven texture peeks through the openings in the quilt border.
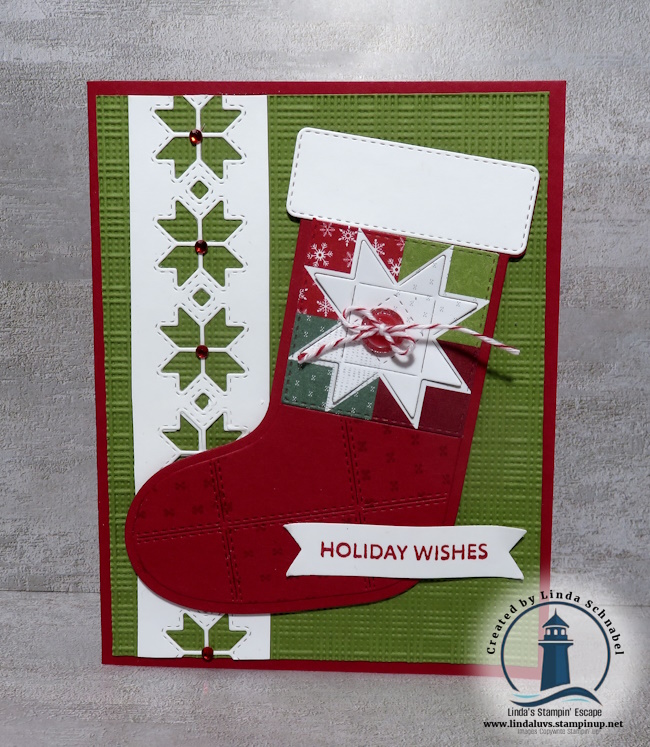
For the border, I cut a 5¼″ × 1¼″ strip of Basic White and ran it through with the quilt design die. To extend the pattern, I shifted the die down the strip, lining it up with the design I’d already cut before running it through again. Take a moment to check that the spacing matches where the two cuts meet. That’s what makes the border look like one continuous design!
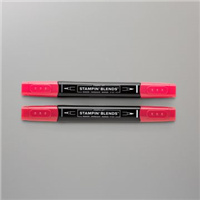
I added a little sparkle to the quilt stars with rhinestones colored with my Real Red Stampin’ Blends. Here’s my tip! Use the blunt tip when coloring rhinestones. The hard edges of the gems can wear down the fibers on your brush tip.
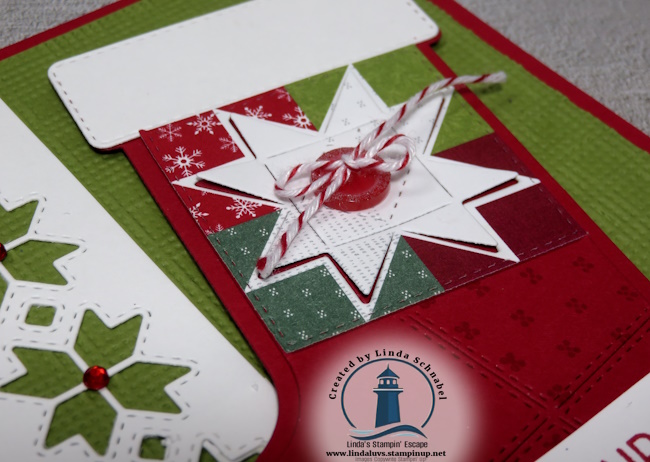
The stocking is made with two dies. One cuts the full stocking shape, and the other adds the scored patchwork detail. I stamped small texture designs in a few of the sections to give the stocking the look of pieces stitched together.
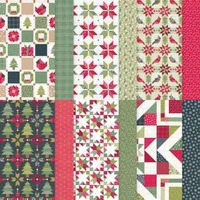
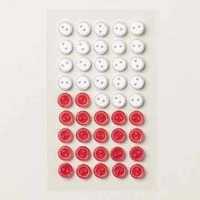
I die cut the section just below the cuff from the suite’s Designer Series Paper. Those little pops of red and green are what inspired the Real Red and Old Olive color combination for the whole card. A Basic White cuff gives it that classic Christmas stocking look, and I finished off the quilt star with a red Adhesive-Backed Mini Christmas Button and a bow tied with Red & White Baker’s Twine.
The “Holiday Wishes” greeting comes from Soiree Salutations. I used the Three Banner Punch to shape the ends and gently curled them to give the banner a little movement.
Now tell me, Stampin’ Friends, what colors would you use for your stocking? Would you go classic red and white, match the stockings hanging at your house, or let a favorite piece of Designer Series Paper pick your colors? I’d love to hear what you’d choose!
If you’d like to make a stocking card of your own, you’ll find the supplies I used listed below. It’s a fun one to personalize, and that little patchwork section is a sweet spot to use a favorite scrap of Christmas paper.
Thanks for stopping by for a little creative escape!