Hello Stampin’ Friends ~
Welcome back to Christmas in July and Week 3 of our A Stitched Season series!
Have you ever saved the little scraps and leftover pieces from a project because they were simply too pretty to throw away? This week, we’re putting some of those pieces to good use as we create a charming patchwork stocking with the leftovers from earlier projects.
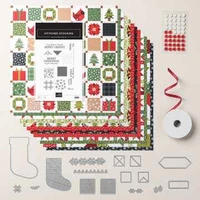
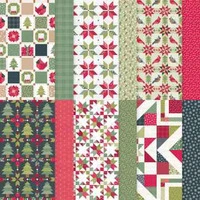
The A Stitched Season Suite Collection was inspired by the warmth and nostalgia of handmade Christmas quilts. The coordinated collection includes festive images such as stockings, presents, pine trees and holly, along with patterned paper, embellishments and stitched accents that make it easy to create projects with a cozy, handmade appearance.
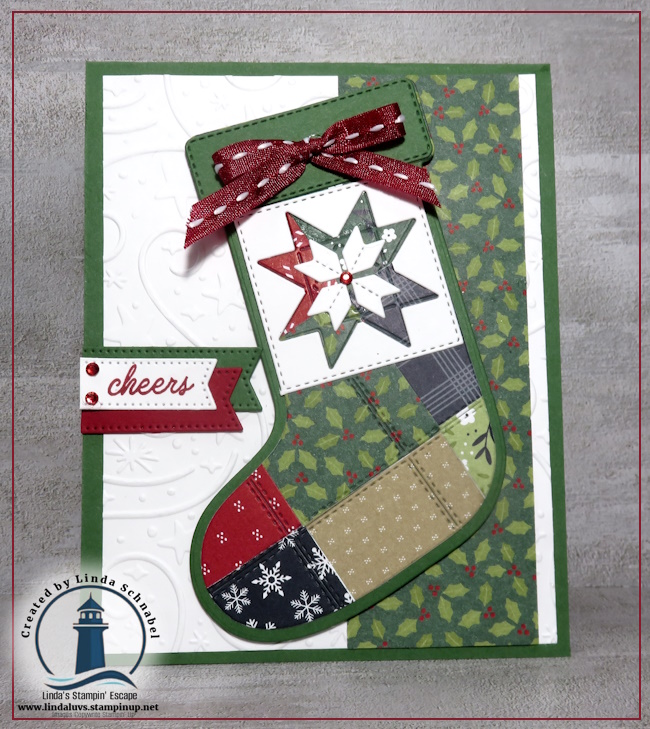
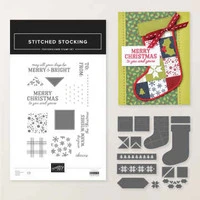
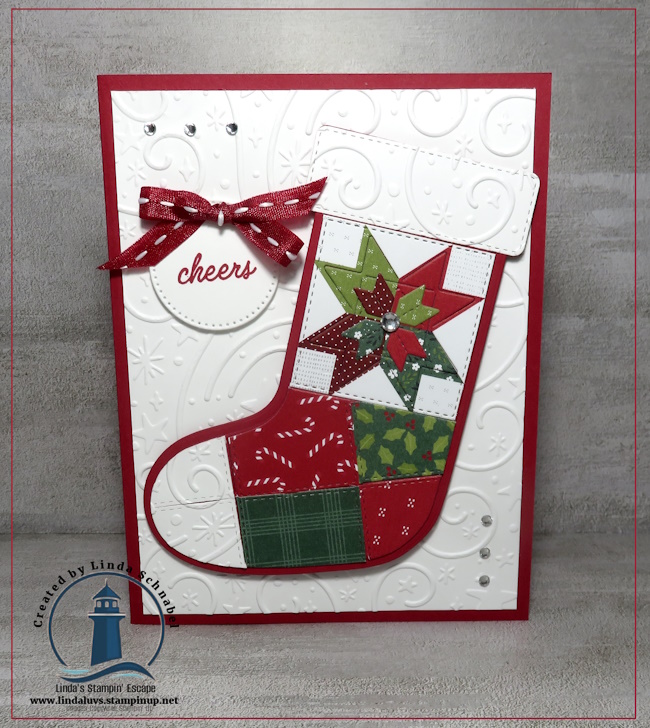
For today’s card, I used leftover squares from some of my other A Stitched Season projects to create the colorful patchwork … This is one of my favorite ways to stretch my crafting supplies. Instead of letting those smaller pieces collect on the corner of my table—or tossing them away—we can combine them into a fun pallet of magic. Each little pattern adds its own color and personality, giving the finished stocking the look of a treasured Christmas quilt.
Once the pieces are arranged, the stocking die brings everything together with its detailed stitched edges. It creates an impressive focal point without requiring you to sew or individually piece an entire quilt pattern. The video below is a replay of my Facebook LIVE, and it really is the heart of today’s post.
Grab your favorite beverage, pull up a seat and join me as I guide you through the process step by step. I’ll show you how I arranged the leftover paper pieces, transformed them into the patchwork stocking and finished the card with layers, texture and festive details.
I’ll also share a few extra tips along the way to help you get the most from the die and create a stocking that looks beautifully finished.
CLICK HERE TO WATCH ON YOUTUBE
If you haven’t fallen in love with this stocking yet, I hope this project changed that. It is so easy and versatile to work with. You can create a traditional Christmas stocking in reds and greens, use soft neutrals for a vintage quilted look or choose completely different colors to match the personality of the person receiving your card.
You can fill the stocking with patchwork pieces as I did today, use one favorite designer-paper pattern or create your own combination from the scraps already sitting on your craft table. That makes every stocking a little different—and every card feel especially handmade.
While the suite is naturally perfect for Christmas cards, its quilt-inspired elements can also be used for gift tags, scrapbook pages, treat packaging and other holiday projects. Stampin’ Up! describes the collection as a coordinated assortment designed to bring cozy, nostalgic charm to cards and other handmade creations. You’ll find the shopping links below so you can add the A Stitched Season Suite Collection—or your favorite individual pieces—to your own crafting collection.
I hope you enjoy today’s video and feel inspired to look through your leftover designer paper pieces before throwing any of them away. You may already have the makings of your next beautiful patchwork stocking sitting right on your craft table!
Thanks so much for joining me for Week 3 of Christmas in July. I can’t wait to share another festive project with you soon.
Happy Stamping,
Linda