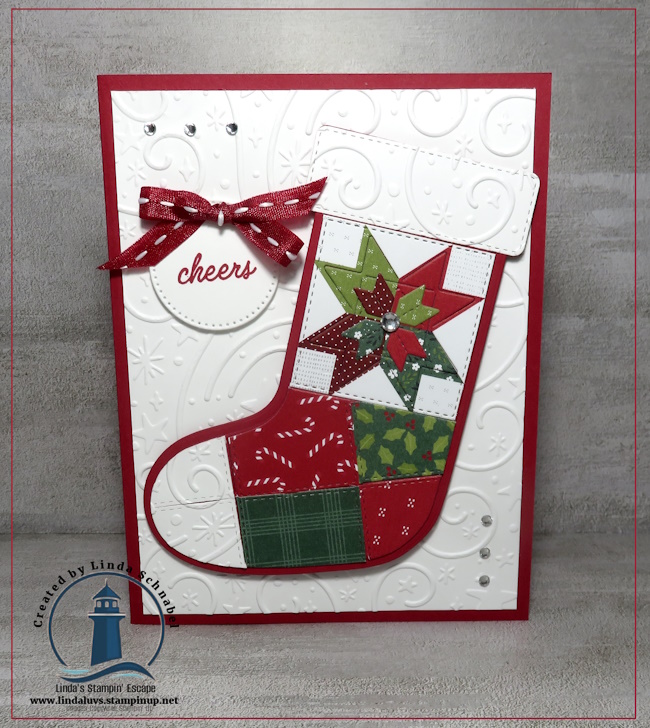
Christmas in July continues, and this week we’re taking the A Stitched Season Suite to the next level! If you loved last week’s stitched stocking, you’re going to have even more fun with this one. Today we’re creating a beautiful quilt-inspired stocking that looks like it took hours to piece together—but I’ll show you how easy it really is.
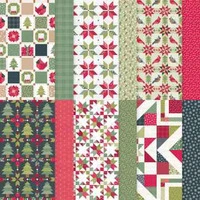
One of the things I love most about the A Stitched Season Suite is how it combines the warmth of handmade quilts with the timeless charm of Christmas. The stitched dies create beautiful detail, while the coordinating designer paper does much of the work for you. The result is a card that’s rich in texture and color, yet surprisingly simple to create.
In this week’s video, I’ll guide you step-by-step through creating the quilted stocking, sharing tips for getting those stitched pieces lined up perfectly and achieving a polished, professional finish. If you’ve ever admired this style of card and thought it looked too complicated, I think you’ll be pleasantly surprised by just how approachable it is.
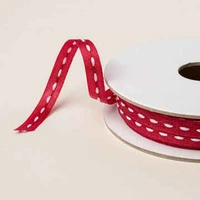
To complement the stocking, I paired it with an embossed background for added texture, a festive stitched ribbon, and a simple “Cheers” greeting. Together, these details create a card that’s elegant enough to display throughout the holiday season while still being easy enough to recreate for your own Christmas card collection.
If you’re ready to add another beautiful design to your Christmas card stash, be sure to watch the video above. I’ll walk you through each step, share a few helpful tips along the way, and hopefully inspire you to pull out your paper and start creating right along with me. Click the YOUTUBE link and see more inspiration!
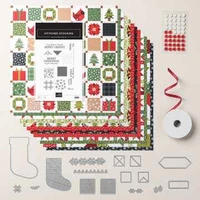
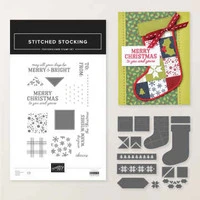
As always, you’ll find a complete supply list below. If you don’t already own the A Stitched Season Suite, I think you’ll quickly see why it’s becoming one of my favorite collections for holiday crafting. The versatility of the dies and designer paper makes it easy to create cards that look detailed and impressive without spending hours at your craft table.
Thank you so much for stopping by my little corner of creativity. If you enjoy today’s project, I’d love to have you subscribe to my YouTube channel and follow along as we continue our Christmas in July series. There are plenty more festive ideas still to come, and I can’t wait to share them with you!
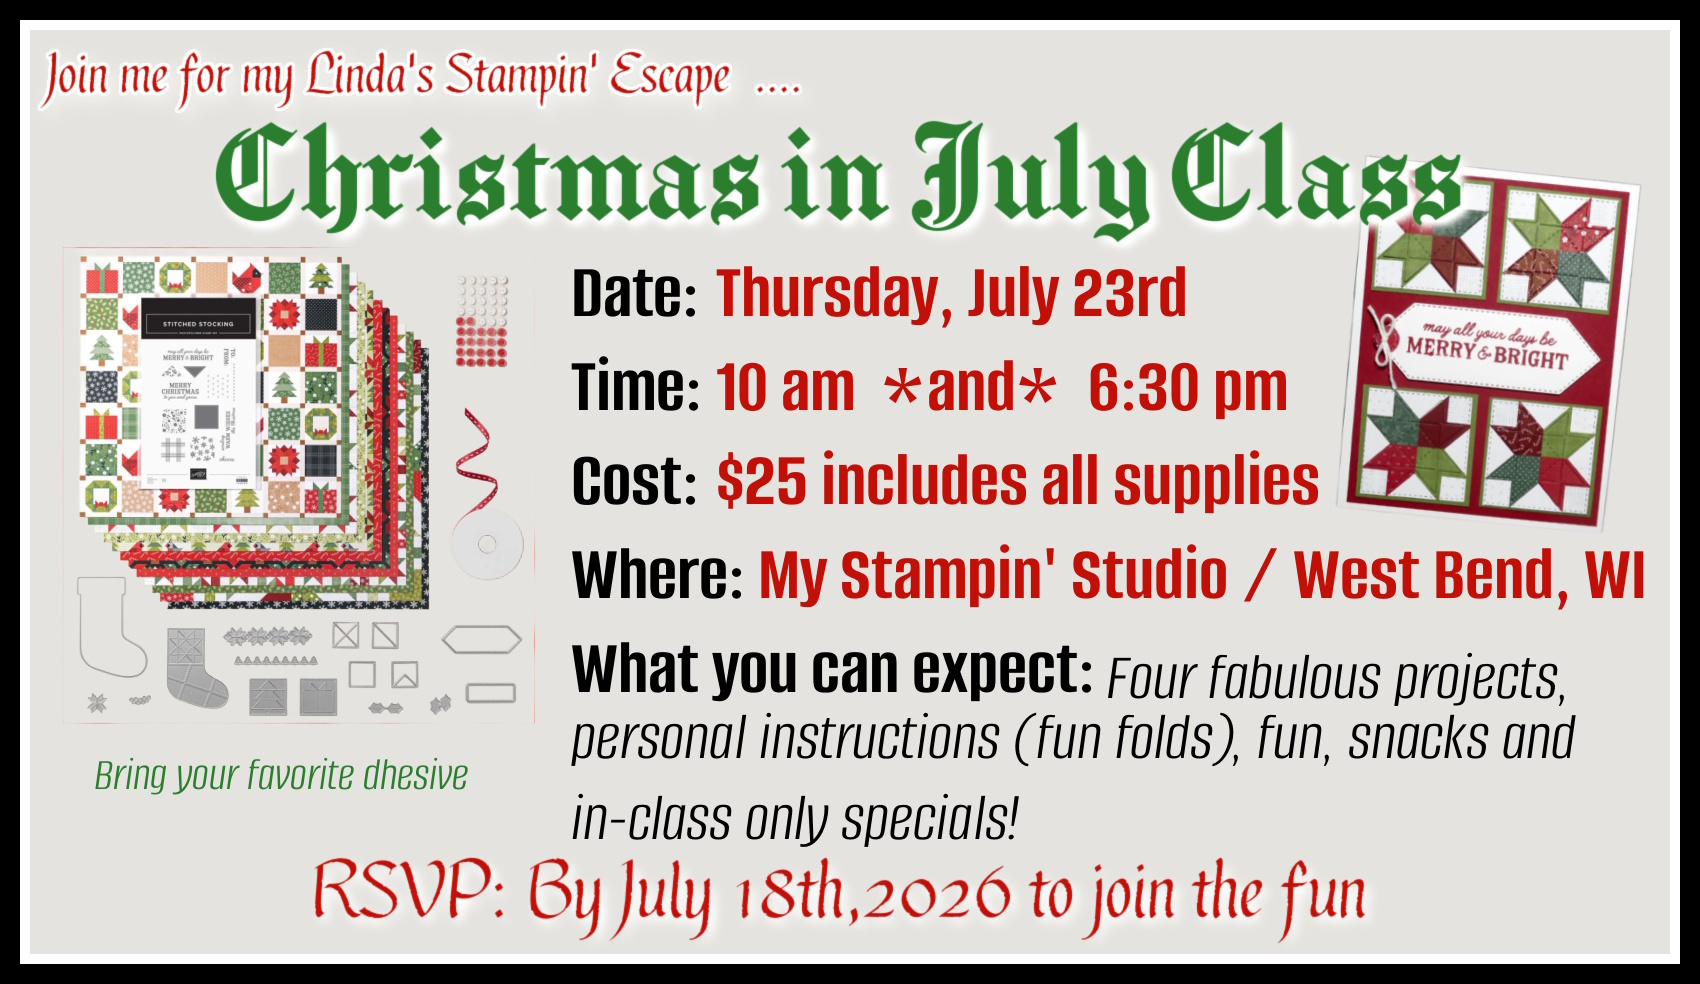
I’ve been in my stamp room creating for my upcoming class. The morning session is full, but I do have a few spots left in the evening if you’d like to join us!! The class highlights the “A Stitched Season” Suite.
One of the things I love most about the A Stitched Season Suite Collection is how effortlessly it transforms simple supplies into beautiful Christmas cards. The quilt-inspired patterns, cozy colors, charming embellishments, and heartfelt greetings all work together to create cards that feel warm, nostalgic, and handmade.
Today’s card is proof that you don’t have to use an entire sheet of Designer Series Paper exactly as it comes. Sometimes all it takes is looking at it a little differently.
Instead of keeping one of the quilt designs intact, I cut out a section of four individual quilt blocks from the patterned paper. They will create our focal point that looks like a miniature Christmas quilt. It’s such an easy technique, and once you start cutting with different sections of the paper, you’ll discover dozens of creative possibilities.
I layered my quilt block onto a 3½” x 3½” piece of Cherry Cobbler Cardstock to frame the design. If you’d like a little more of that rich Cherry Cobbler showing around the edges, simply increase your layer to 3⅝” x 3⅝” for a slightly wider border.
Now for my favorite part…
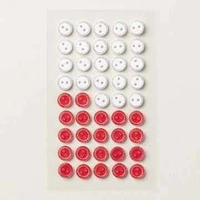
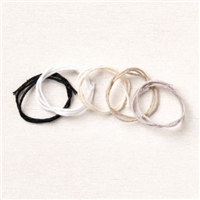
Each quilt square is finished with one of the adorable Adhesive-Backed Mini Christmas Buttons. Stampin’ Up! added just a touch of sparkle around each button, and it’s those little details that make me smile. I tied tiny bows from the Baker’s Twine Essentials Pack and secured one on each button using the Mini Glue Dots, giving the card the cozy feeling of a handmade quilt fresh from Grandma’s sewing room. It’s a small detail, but it adds so much warmth and charm.
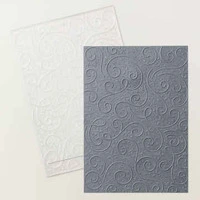
Once my focal point was finished, I mounted it onto a 4″ x 5¼” piece of Basic White Cardstock embossed with the enchanting Swirls of Magic Embossing Folder. Although this embossing folder was introduced in the Frightfully Fun Suite, one of the things I love about Stampin’ Up! is that any suite product can also be purchased individually. That means you can mix and match your favorites to create cards for every season. The soft swirls add wonderful texture and movement while allowing the quilt blocks to remain the star of the show.
Everything is layered onto a standard Cherry Cobbler A2 card base, cut to 8½” x 5½” and scored at 4¼”.
For the greeting, I stamped one of the beautiful sentiments from the A Stitched Season Bundle in Cherry Cobbler ink, then fussy cut it before layering it onto another piece of Cherry Cobbler cardstock and fussy cutting again to create a custom mat. Of course, if fussy cutting isn’t your favorite pastime, the coordinating die included in the bundle make this step quick and easy. I simply chose to cut it by hand because I wanted as much of that beautiful quilt design to remain visible as possible.
Since one end of the greeting extends beyond the quilt square, just tuck a couple of Stampin’ Dimensionals underneath the overhanging edge for support, and your card is complete.
What really excites me about this project is just how much you can create from one sheet of Designer Series Paper. One 12″ x 12″ sheet will make the focal point for nine beautiful Christmas cards… and you’ll still have leftover quilt blocks! Those extra pieces are much too pretty to throw away.
In fact, I used them on another project! I used the adorable stockings dies from the suite with the leftover quilt squares, and I absolutely love how it turned out. Be sure to watch my YouTube video (Click Here) to see how those little leftovers became another festive project. It’s one more way to stretch your supplies while creating something truly special.
The A Stitched Season Suite Collection is filled with nostalgic quilt patterns, stockings, pine trees, holiday greenery, coordinating dies, beautiful sentiments, and delightful embellishments that make Christmas crafting both relaxing and rewarding. Whether you’re making a handful of cards or an entire stack to send this holiday season, this suite offers endless opportunities to create something your family and friends will treasure.
You’ll find all of the product links waiting for you below so you can explore everything included in this beautiful collection.
And don’t forget to stop back tomorrow! I’ll be sharing a special way to save, and on Tuesday we’re trading Christmas for sunshine as we head to the beach for a fun summertime project that I can’t wait to show you.
Thank you so much for spending part of your day with me. I always enjoy sharing new ideas and helping you discover just how fun and relaxing card making can be.
Hey Stampin’ Friends, here is the information on my class … please message me below or send me an email at lindaluvs2stamp@aol.com to RSVP. The morning class is already filled, I do have spots in the 6:30 pm evening class.