Simply Sunday: I Made a Wish

Hello Stampin’ Friends ~

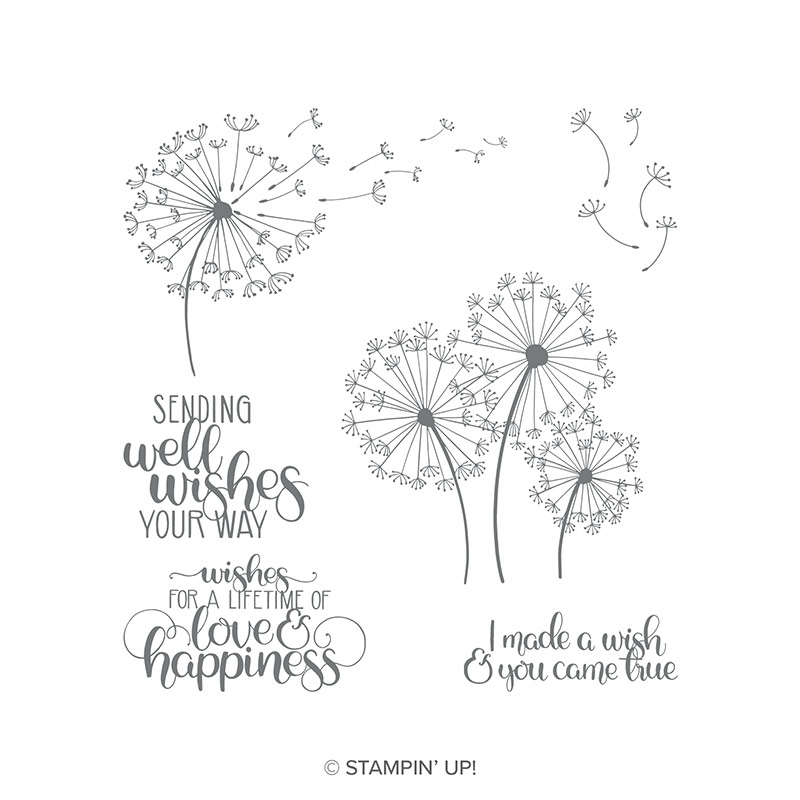
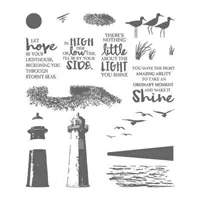
I am so excited to share another card I created using the Dandelion Wishes stamp set! Not only am I sharing the card but a great stampin’ tip that I used in creating this card. Again, today’s card is not included in the card class, so if you are coming … you’ll have additional ideas!

As of last night, there are only 3 spots left. If you would like to join us … give me a call at the number listed above.  If there is more interest, I will open another date!

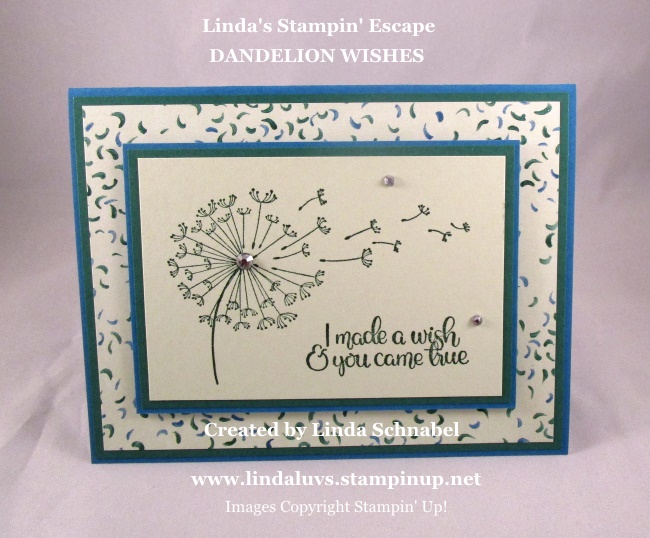
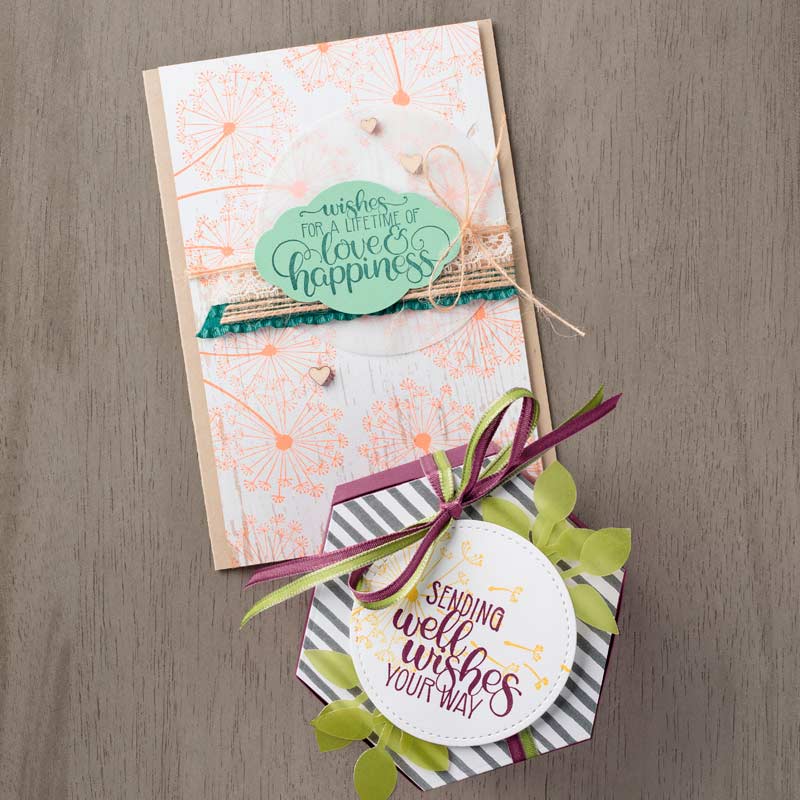
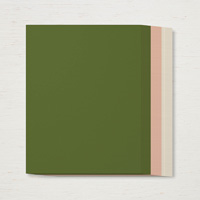
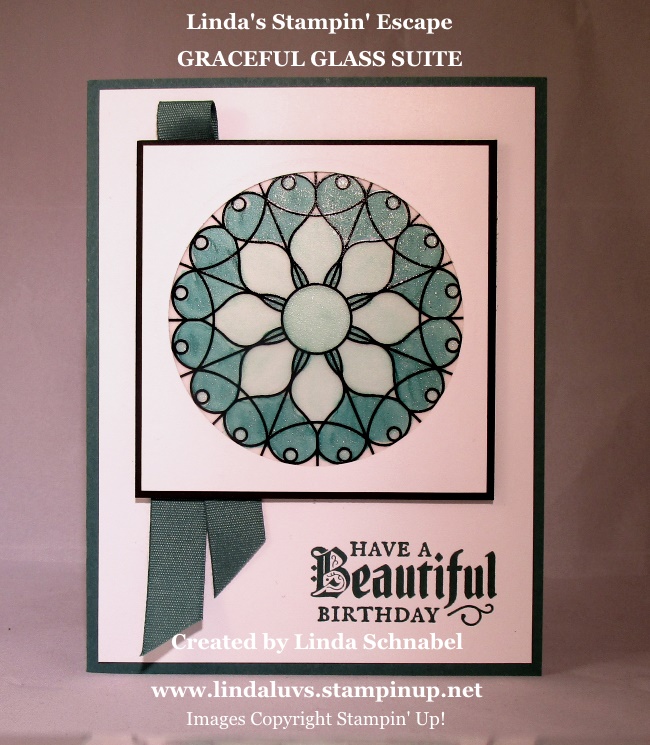
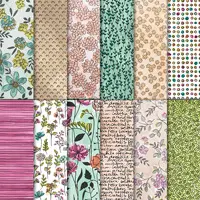
Today’s layout is simple to recreate, fun and colorful.  My color pallet consists of the new Soft Sea Foam and Shaded Spruce teamed up with the Pacific Point.  Not sure I would have put these colors together by myself, but when you put them all together … it looks nice.  And it is the basis of the designer paper.

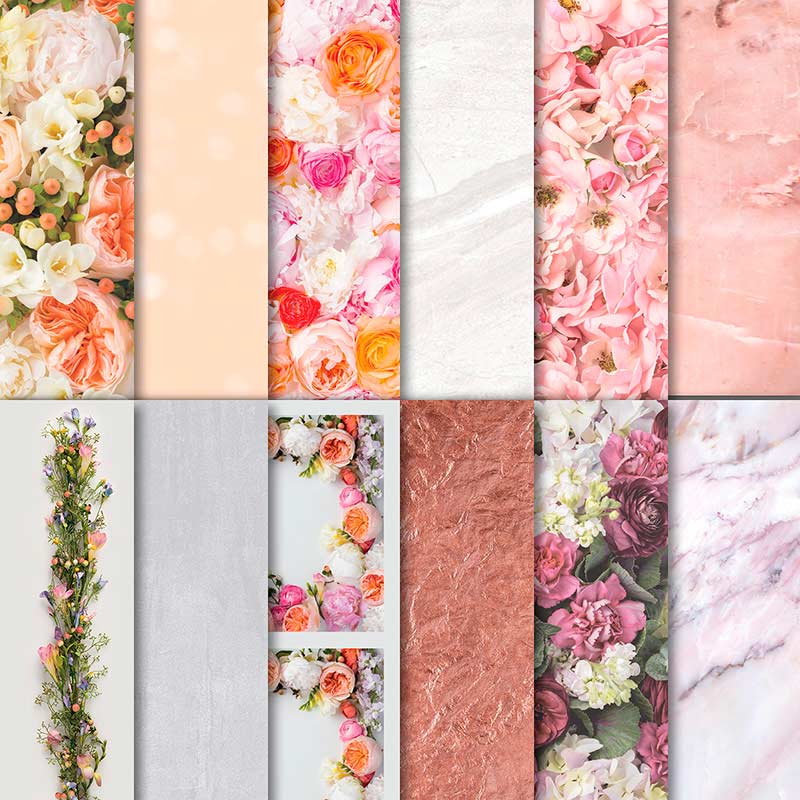
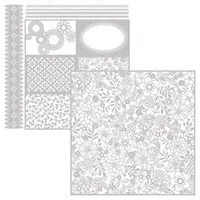
The designer paper I used is the 6 x 6 Garden Impressions Designer Paper stack … there are so many cute designs in this stack. It’s fun and colorful!!  Today’s pattern seemed to match with the Dandelion Wishes.

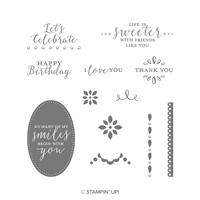
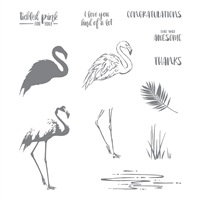
The greeting and images were both stamped in the Shaded spruce, in fact … they were both put on the same clear block!!

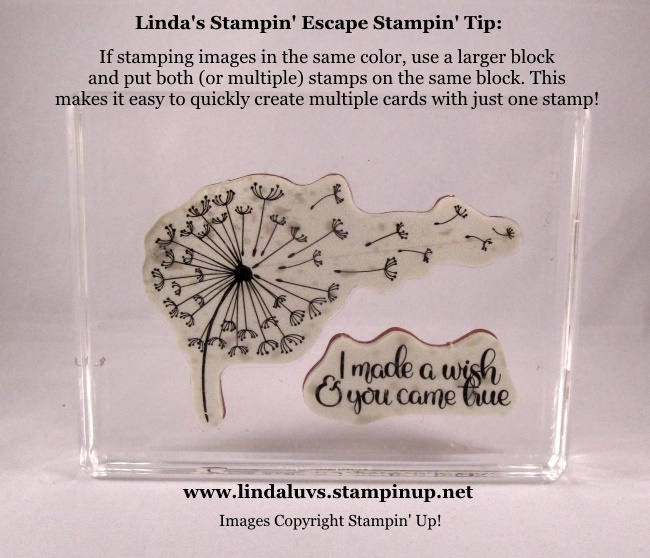
Putting multiple stamps on one block makes stamping easy! If you are doing several cards … you may want to consider purchasing the Stamparatus (Click Here to View)

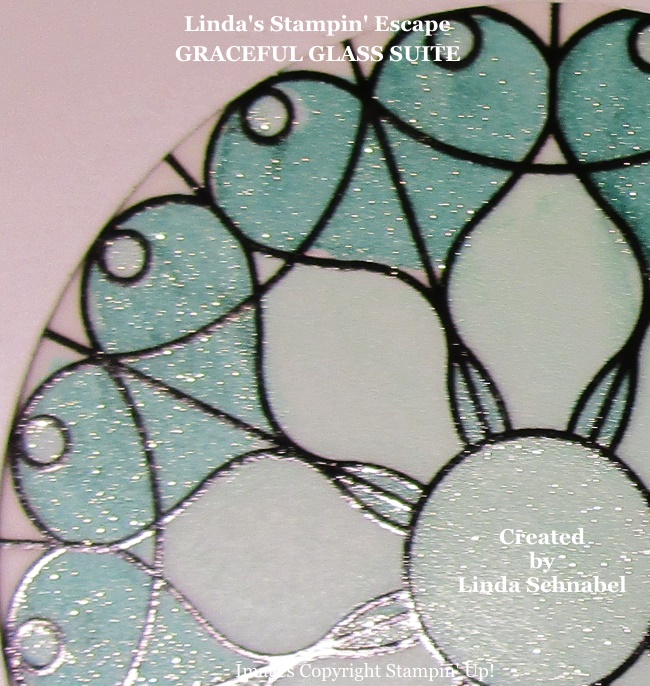
The Soft Sea Foam is so “soft” and pretty and really seams to works well with this stamp set and the patterned paper I found in the Garden Impressions pack. All the layering on this quick -n- easy card takes it a step up.

Hope you enjoyed today’s Simply Sunday share.  I appreciate you taking the time out of your weekend to check in with me.

Thank you, and I’ll see you tomorrow with another Dandelion Wishes card!!

Have a great day ~


TODAY’S STAMPIN’ SUPPLY LIST …


Dandelion Wishes Card Class …

Hello Stampin’ Friends ~

I am excited to let you know that I am hosting a stamp class featuring the Dandelion Wishes stamp set.  I fell in love with this set the moment I saw it and if you love it too … you’ll want to attend this class!!

We will be combining this beautiful stamp set with some great stamping techniques that will truly highlight it’s beauty.

I will be holding this class in my stamping studio (in my home). I can give you directions when you RSVP.

Date: Wednesday, June 27th

Time: 6:00 pm

We’ll be making a minimum of 4 cards with coordinating envelopes!

COST: $15.00

Club Members: $10.50

Star Members: $8.00

RSVP Required by Monday, June 25th

Call me to reserve your spot at [262-334-1009]

If you think this is cute … wait till you see what we’re making in the class … Don’t miss it! Contact me by Monday the 25th to reserve your spot!

See you there ~

HOORAY … It’s Your Day!!

Hi Stampers ~

So what did you think of yesterday’s project … cute right! OMGosh today’s project had me tickled pink! Or should I say Lovely Lipstick!!

Yesterday was an interesting day … I’ve been training new employees for the past two weeks so setting up for the weeks events (at work) have been challenging to say the least, however the events started at home! I spilled the coffee grounds, the sugar … oh my, but I wasn’t going to let this start dampen my day! Life is short and is meant to be celebrated so I brushed off those bad vibes and let out a big HOORAY!!

Like I said … this card has me tickled pink!

Again, everything on this card is included in this months kit and I did not add anything outside the kit!! The base kicks off the party and then I added the block of Lovely Lipstick to the center (I’ve loved red and black since the ’80’s!!)

I love the little accent that looks like a marquee so that will be my focal point and will broadcast the HOORAY to announce the celebration!! Too cute!! But I was not done yet!  I added the little green pieces on the sides of the center square to act like moving blinkers calling you to pay attention!! lol  Can you visualize these moving??

Those little green pieces are actually the left over piece from the banners in the kit!! Again, waste not, want not (or so they say) I just thought they looked cool 🙂

I added the two balloons to keep the party going and to create some fun coordination of color! And the sequins added a touch of bling and would highlight/coordinate with the greeting. Overall, I love it!!

I thank you for joining me today, and I hope you enjoyed this card … if so, please leave me a note below.

Have yourself an awesome day ~ HOORAY!!

Today’s Stampin’ Supply List …


Broadway Star!!

Hi Stampers ~

I am really excited to share an alternative project to this months Paper Pumpkin kit! This kit is so cute and it coordinates with a stamp set in the new catalog!!

June’s Broadway Star kit is stealing the show this summer! Check out the unboxing video and get started creating these show-stopping birthday cards today! And stay tuned after the unboxing to learn about the coordinating Broadway Bound product suite, full of products that coordinate with your Broadway Star Paper Pumpkin kit!

Oh wow … I think that coordinating the Paper Pumpkin and a product suite is the catalog is genius!!  I have just ordered the Broadway Birthday suite and can’t wait till it arrives … love the colors and the specialty paper is like a party itself … so much fun!!

I created my alternative card with only the ingredients from the June / Broadway Star kit! The two strips of Lovely Lipstick came from the left over areas of the banner!! Don’t want anything to go to waste … besides, the width was perfect, I only needed to trim off the ends after attaching it to the white banner.  Many of the die cuts already have adhesive on it … easy breezy!!

You can see by this angle the shine from the die cut greeting in gold foil … now that’s one way to get someones attention! lol

If you think this card is cute, then stop back tomorrow because I have another alternative project that will knock your socks off … it will really catch their attention.

Thank you for stopping by today and I hope to see you tomorrow.

Have a happy day ~

Today’s Stampin’ Supply List …


Technique Tuesday: Glitter Designer Paper

Hello Stampin’ Friends ~

If you are a glitter addict then I have the perfect technique for you… Glitter Designer Paper!  I have been doing this for years … the only thing that has changed is the adhesive that I used.  Today I’m using the fabulous Multipurpose adhesive sheets! Quick * Clean * Glitter perfect!!  Pictures do not do it justice!

I’m using the beautiful Petal Promenade Designer Paper. If you love fresh flowers, you will love this paper, the patterns are so pretty and look like they are ready to be picked with the photographic floral designs ❤

I begin with the choice of designer papers … that will set you up for a perfect color pallet (the colors are already listed on the designer paper packaged – Thanks Stampin’ Up!). I chose the returning Mossy Meadow and new Petal Pink, and Whisper White for my greeting.

Using the Multipurpose Adhesive Sheets makes this technique so easy. I cut the adhesive sheet slightly larger than my designer paper, then I trim off the extra.  This ensures I have full coverage of adhesive on my designer paper … don’t want any spots that don’t have glitter!!

Once I have the covering removed … I put the sheet into my glitter tub and sprinkle it with the Dazzling Diamonds glitter.  I made sure to cover it fully and then tap off the excess glitter.  Then I use a scrap piece of paper and cover the glittered paper. My next step is to firmly press the glitter into the adhesive – I use one of my clear blocks.  Remove scrap paper and tap off any excess glitter. WOW! Just beautiful!!

I matted the glitter paper onto the Mossy Meadow cardstock and then onto the card base in Petal Pink.  I used the Label Me Pretty stamp set and stamped the lined decor in Petal Pink and the greeting in Mossy Meadow… then it was punched with Pretty Label punch.  I punched out another label in Mossy Meadow, cut it in half and then attached it to the back … this allows you to mat the label 🙂

I added a touch of Wink of Stella to the filigree lines on the label and the rhinestones to add a touch of bling to my blinged out card!! I used the Stampin’ Dimensionals to pop up the greeting which added a little dimension to the card. Again, the camera does not capture the full beauty of this card.

I thank you for spending a part of your day with me. I encourage you to try this beautiful and fun technique. It really is quite easy as well.  I have listed the supplies I used on today’s card below.

You’re the Best! Have a beautiful day ~

TODAY’S STAMPING SUPPLY LIST … Click on any image for more information on the product or to begin your shopping experience. The link will take you to my On-Line Store.  Thank You for your purchase.


Dandelion Wishes

Hello Stampin’ Friends ~

I hope you had a wonderful weekend!! I am happy to say I got some stamping done this weekend, it was so fun to play with all the new items so I chose the Dandelion Wishes.  I love this stamp set (there are so many great new sets in this catalog!!)

I began with the background using a waterwash watercolor technique. In a small dish I put a drop of the new Balmy Blue ink, a little water and I squeezed a couple drops of the Wink of Stella in the mix!  Using the Aqua Painter … I brushed a little water onto my cardstock and then I picked up some “color” from my mixture and brushed it onto the cardstock.

Not a project I could do in a class because it was pretty wet and took a while to drive however I also could have used the Watercolor paper!! lol  I do however love the shimmer from the Wink of Stella.  Once dry I simply stamped the images onto the cardstock using my StazOn.

I finished off my card with the new Faceted Dot by placing them in the center of my dandelions – so nice to have all the new embellishments!  It is a simple layout but I love these stamps and the font on the greetings … so pretty!!

So many possibilities with this stamp set! Hope you enjoyed this one.

Thank you for checking out my blog post today …

Have yourself a great Monday.

Today’s Stampin’ Supply List …


Simply Sunday: Simple Petals

Hello Stampin’ Friends ~

Whew … it’s a bit hot -n- sticky outside!!  Great time to hide out in my stampin’ studio and play with my new stamps and stuff.

Today I decided to play with the new designer papers, my choice for the day is Petal Promenade!

The photographs in our Petal Promenade Designer Series Paper is more than just a look—real flowers were used! See how our talented Product Designer and Specialist, Kaitlyn Zumbach, used floral arrangements with technology to design this paper. You’ll be blown away be the entire process!

The flower patterns are so pretty … Here is the card I made using one patterns and the “Thank You” thinlets.  Talk about an easy card to make, this is one of them 🙂

My base is Smoky Slate cardstock and the mat and greeting are cut from the new Highland Heather cardstock … oooo – so pretty! I think it highlights nice against the pink contrast of the flowers.

I adhered the greeting with the Stampin’ Dots… it just lifted then enough to give it some dimension.

These pretty petals will compliment any occasion and today we made it simple by adding the Thank You Thinlit die.

Hope you enjoyed today’s card, and I thank you for joining me this Sunday.

Have a wonderful day ~

TODAY’S STAMPING SUPPLY LIST …


I’M BACK!! With the Graceful Glass Suite!!

Hello Stampin’ Friends ~

I am back and bustin’ at the seams with idea’s to share with you!! I’ve finally figured out what was wrong with my computer and got it fixed … and meanwhile my new stamping goodies came in and I’ve been playing like crazy!!

Today I’d like to share one of the cards that my club members got to make this month. We were using the new Graceful Glass Suite.  I am totally in love with this suite and if you like to color this one will satisfy your needs!!

I began with this cute circle pattern and colored it in with the Bermuda Bay duo, which paired well with the Tranquil Tide cardstock. I highlighted the design, creating a focal point by encasing it within the white frame. The circle was cut out with the Layering Circles Framelits and then added a black mat behind it.

To make our beautiful coloring job “pop” … we added the Wink of Stella to add some sparkle. It’s a little hard to capture with the camera but the eye is not disappointed when looking at this card.

The greeting was stamped in the lower right-hand corner of the card in the coordinating Tranquil Tide ink.  The ribbon accent is from last years ribbon (not available anymore) but you could easily substitute the new Tranquil Tide ribbon or even some cardstock!

I’m so glad to be back and sharing my creations with you! Thanks for stopping by today.

I’ll be back tomorrow with my Simply Sunday creations.

TODAY’S STAMPIN’ SUPPLY LIST …

Alphabet Edgelits?

Hello Stampin’ Friends ~

I hope you got a chance to see the cute card I shared yesterday!! I love how simple it was to make … and the color scheme, however you can use any color combination you like.

Today I want to share the video …

Have you seen the Layering Alphabet Edgelits? Watch as Tanner demonstrates the use of the Edgelits.

Aren’t these amazing? I think you could really have fun and get totally creative with this bundle.

Thanks for checking out this video, I hope you have a great day!

Delightfully Detailed = Delightfully FUN!!

Hello Stampin’ Friends ~

I hope you had a wonderful weekend!! Mine was good, spent time with family and even got out for a mini road trip with my sister Eileen. We went out for a nice country drive … both of us were thinking that it would be much prettier in the fall 🙂

Today I’m sharing another FUN card I created with the Delightfully Detailed Specialty Designer Paper! I had as much fun making it as it will be fun to receive. I just think it turned out so cute … OK, enough …

Here is the card …

I used the whimsical circle pattern from the Delightfully Detailed Specialty Designer Paper. You’ve got to love it when the fun is already packed into the pattern. I used Coastal Cabana for the base of my card and added pops of color from Bermuda  Bay and Soft Sea Foam.

I pulled out the Detailed with Love Stamp set which is part of this  product suite and has it’s own bundle (with the punch) to do the stamping on this card.  Just a few stamped designs and the greeting to add a touch more color and then the Faceted Dots for texture. Oh yes, and I even popped up one of those stamped designs!!

This is really a fun bundle and the specialty designer paper is a must have … it make the card making so easy!!

Hope this Birthday card added a little fun to your day!

Have a Happy Monday ~

TODAY’S STAMPIN’ SUPPLY LIST …  Below is a list of ingredients I used to create today’s card … click on any one of them for more information or to begin your shopping now.  Thank you very much! 🙂


Simply Sunday: Graduation Card

Hello Stampin’ Friends ~

Yesterday I shared a “generic” style Graduation Card, meaning it could be sent to anyone attending any school … today, I’m being a little more specific as I am using the “school colors”!!  I have a young lady who works for me that goes to West Bend East High School (my former high school … we have 2) and their colors are maroon and gold so today’s card will feature Cherry Cobbler and Crushed Curry!!

This card also features the new Delightfully Detailed Laser Cut Specialty Paper ….

This amazing paper has 2 sides … One Whisper White and the other is Very Vanilla!! I love the fact that you can use this with all your color combinations now!!

Today’s graduation card is simple to put together since the Delightfully Detailed paper highlights the greeting!! The greeting comes from the “High Tide” stamp set and was cut out with the Layering Ovals Thinlits, as was the Crushed Curry mat behind it.

Don’t you just love the dimension and layers of this card … makes it look like you worked soooo hard but it really only took minutes to create!!

The “Congratulations” comes from the “Fabulous Flamingo” stamp set (got that for FREE from an Stampin’ Up! OnStage event!!) and I think the two fonts look pretty good together.  To finish off the Congratulations, I added a layer of contrast with the Cherry Cobbler and then punched both colors with the Triple Banner Punch.

Just think of the possibilities … You get four sheets with this laser cut paper so you can make quick and easy graduation cards in “any” school colors!!  How fun would that be!!  You already have the layout now … so have some fun and celebrate your school and congratulations to your graduate!!  There really is nothing little about the light they shine!!

Thank you for joining me this Sunday!!

Have a wonderful week~

TODAY’S STAMPIN’ SUPPLY LIST … Below are the items I used to create today’s card. If you liked what you saw and need to purchase any of the items, you can begin by clicking any image below. It will take you to my store and give you more details on the product.  Thank you!!

Life’s a Journey …

Hello Stampin’ Friends ~

I believe school is out for most students after this past week … and with that, I received 5 invitations to graduation parties!!  I’m so excited for these young people – some are the girls that work for me, family, neighbors and friends, they have their whole life ahead of them.

Of course I have to make cards to send them off on their new journey so I chose the “One Wild Ride” stamp set.  You and I both know it  can be a little wild once in a while but it’s also a journey to be embraced so …

I used the “Share What you Love” Designer Specialty paper and I picked two patterns that I thought were fun and youthful like my recipients. I paired it with Rich Razzleberry, Whisper White and Basic Black.

I wanted to make my “greeting” the focal point so I popped it up on the two banners which really pull your eye to the center of the card. It’s simple and fun because … Life is a journey, and I’d like them to enjoy the ride!

Hope you enjoyed the card today and you’ve kicked off your weekend on a good note.

Have a great day ~

TODAY’S STAMPIN’ SUPPLY LIST … You can begin your shopping by clicking on any of the items listed.  Thank you!


Check out the new bundles …

Hello Stampin’ Friends ~

I thought it would be fun to share all the new bundles in the Annual Catalog!!  Then over the next few weeks or so, I’ll be sharing my creations with some of these bundles and even classes in the next 2 months!

You’ve seen me use a couple of these already … can’t wait to show you more!!

Thanks for dropping in, have a good day!

Sitting Pretty Stamp Set by Stampin’ Up!

Hello Stampin’ Friends ~

Today I’d like to share with you a really cute bundle that you can find on page 25 of the new Annual Catalog! I know that some of you were really excited to see this, so I’m going to share a video with you as well.

You can make the most adorable park bench with the Sitting Pretty Stamp Set by Stampin’ Up! Brandi Barnard shows other ways of using the Thinlits, Framelits, and stamps.

I love the tips that Brandi shares with us in this video.  I don’t have this bundle yet but I’m not sure how long I can hold out. I just love those pretty little benches.

Thanks for stopping by and checking out the video. I thought about doing a Throwback Thursday, but I thought you would enjoy seeing the new product more.

Have yourself a beautiful day ~

Today’s Stampin’ Supply List …