Today I thought we’d take a look through some of our Halloween inspiration …
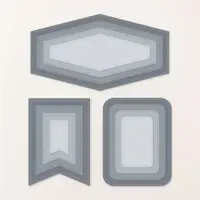
I’ve summoned not one, but four hauntingly amazing products to create this wickedly wonderful design: the Halloween Spells Designer Paper, the Playful Ghosts stamp set, the Halloween Memories stamp set, and the versatile Take a Bow Dies.
For this hauntingly cute card, we’re showcasing the eerie charm of the Halloween Memories Scrapbooking Kit and its oh-so-versatile two-tone cardstock. One side is the full-strength color, while the flip side is a lighter, spookier version—perfect for creating dimensional depth. I chose to use the “tearing” technique to give this card an extra ghostly touch by revealing the white core of the cardstock.
My pencil holders are a bewitching way to share the fun of Halloween without adding more sugar to the night. Created with the hauntingly beautiful Halloween Spells Designer Paper, these cute little pouches are a cinch to make. Whether you tuck in three Halloween-themed pencils or a ghoulishly delightful pen, these treats are sure to cast a spell on whoever receives them!
These cards have it all: spooky fun, creative techniques, and of course, lots of Halloween spirit. Whether you’re crafting for a party or just want to send a frightfully fun greeting, these projects are sure to cast a spell on your recipients!
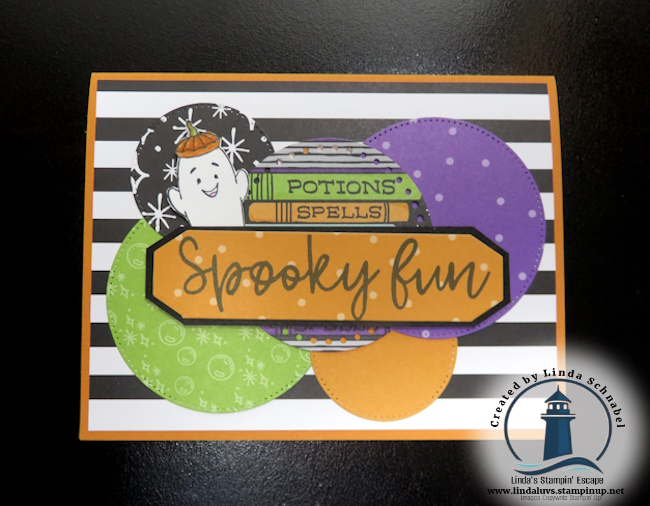
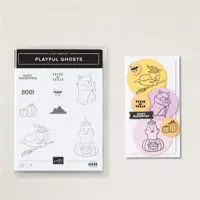
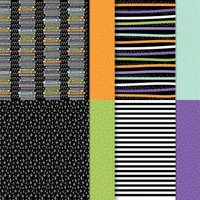
Hope you’ve been having a spooktacular time during Halloween week! But, beware, today is our final day to share some crafty Halloween magic with you. No need to be too frightened, though—today’s card is brewing up all kinds of spooky fun! We’ve summoned not one, but four hauntingly amazing products to create this wickedly wonderful design: the Halloween Spells Designer Paper, the Playful Ghosts stamp set, the Halloween Memories stamp set, and the versatile Take a Bow Dies.
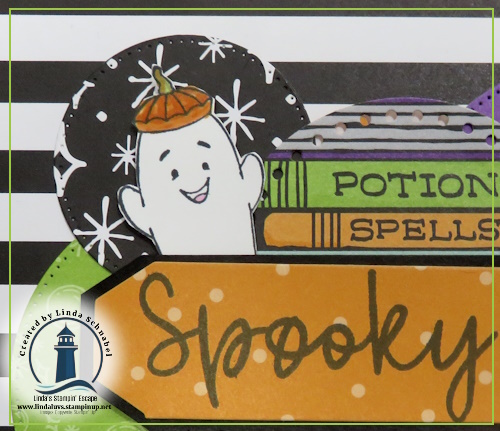
Let’s start with the backdrop, which sets the eerie stage for our card. Might bring your thoughts to Beetlejuice!! The Halloween Spells Designer Paper is featured prominently here, not just as the background but also transformed into spooky orbs floating across the card like enchanted bubbles. But wait—what’s that peeking out? Tucked between those orbs is none other than our mischievous little ghost from the Playful Ghosts stamp set! He may look like he’s up to some spooky antics, but he adds just the right amount of playful charm to balance the eerie with a little bit of cute.
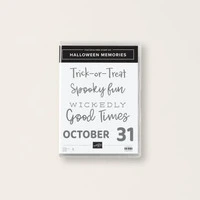
And what’s Halloween without a chilling message? The “Spooky Fun” greeting, perfectly fitting for this card, comes from the Halloween Memories stamp set. We’ve stamped it onto more of the Halloween Spells Designer Paper because, let’s be honest, you can never have too much of this enchanting design! The message is framed using the Take a Bow Dies, which, like a spell-casting wand, create that perfect shape to highlight your greeting. Pro tip: Keep these dies handy all year long, because they’re not just for Halloween. They’re perfect for making bows and framing sentiments on cards, scrapbook pages, and more for any occasion.
So, as the witching hour of Halloween week comes to a close, don’t let the crafting fun stop here. These hauntingly versatile products are a great addition to your creative stash all year round! Keep casting those crafty spells and conjuring up creations that will delight and inspire.
Happy haunting, and keep those crafting cauldrons bubbling!
Boo to you, stampers! We’re nearing the end of our spook-tacular Halloween Week celebration, and today’s card is bringing all the playful, spooky vibes! 👻🎃 If you love a little mischief with your Halloween creations, this card is going to be right up your haunted alley!
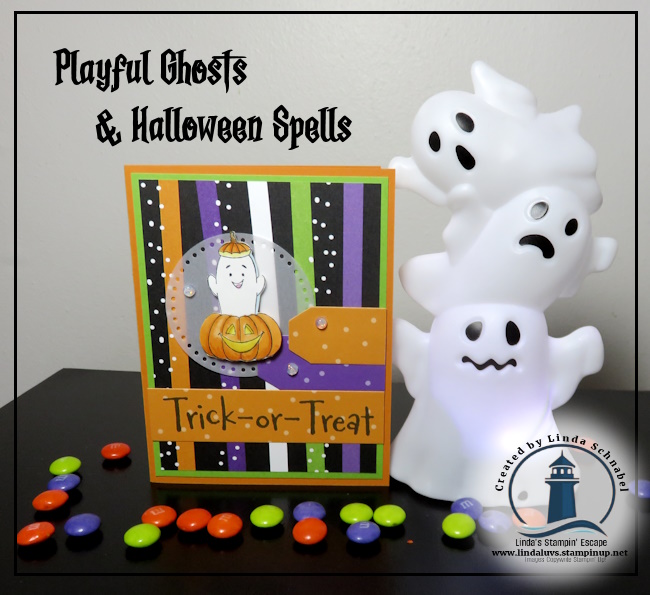
Picture this: a ghost, too cute to be scary, popping right out of a jack-o’-lantern! 🎃👻 Our background is a fun splash of classic Halloween colors – think deep oranges, haunting purples, and ghoulish greens. And, of course, the star of the show, our ghost, is cheekily peeking out of the pumpkin like they’ve been caught mid-trick (or maybe treat? 👀).
The Trick or Treat greeting from the Halloween Memories stamp set dares your recipient to take their chances—will they be tricked, or will they get a treat? Only time will tell! But one thing’s for sure, this card is loaded with Halloween spirit, ready to spread smiles (and maybe a few little scares)!
Whether you’re crafting this card for a friend or sending it out to your favorite trick-or-treater, this project is sure to spread some playful Halloween magic! 🎃 Ready to recreate this adorable design? Don’t forget to grab your Halloween Memories stamp set and Playful Ghosts while they’re still in stock!. 👻 Oh yes, and the Take a Bow dies I used for our banners.
Let’s keep the Halloween fun going! What’s been your favorite project so far this week? Drop a comment below, and let’s chat all things spooky! 🎃🕸️
Until tomorrow, happy haunting and happy stamping!
Welcome back, crafty friends! It’s Day 3 of our Halloween Week, and today I’m bringing a bit of spooky fun into the mix with the Playful Ghosts stamp set. If you’ve been following along, you know we’re keeping the Halloween vibes going strong with the Halloween Spells Designer Paper, and today’s project is no different! Let’s dive into how this charming ghostly creation came together, step by step.
To start, I used the starry pattern from the Halloween Spells Designer Paper as the backdrop for our spooky scene. Measuring 3 7/8″ x 5 1/8″, this piece sets the perfect Halloween night tone when mounted onto a 4″ x 5 1/4″ piece of Pumpkin Pie cardstock. This pairing really makes those stars pop! The card base is Granny Apple Green—a must for our Halloween color palette, adding a playful and eerie contrast to the deeper tones of the card.
Now, for a bit of layering fun! I die-cut two banners using the Take a Bow dies: one in Pumpkin Pie and another in the Gorgeous Grape polka dot pattern from the same designer series paper. These playful colors work together to create a whimsical, spooky feel.
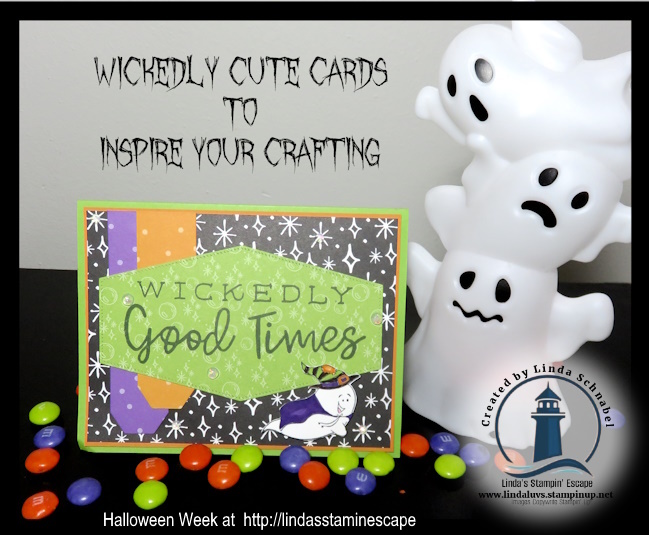
Next, I reached for the Granny Apple Green “bubbly” pattern from the designer paper and stamped the greeting “Wickedly Good Times” in bold black ink. I love how the pop of green brings this sentiment to life! To give it that finishing touch, I die-cut the greeting with the Nested Essentials Dies, giving it a sharp and clean look.
And now for the star of the show—our Playful Ghost! I stamped the adorable little “witch” ghost using Memento ink and brought her to life with markers. You can really have fun with this one by adding bright pops of color to her hat or gown. She’s spooky, but let’s face it, she’s way too cute to scare anyone!
By layering all of these elements together, you’ve got a fun, playful card that perfectly captures the Halloween spirit! Whether you’re sending this card to a friend or adding it to your stash of handmade holiday creations, it’s sure to bring a smile to their face.
All the supplies used in this project are available in my Stampin’ Up! store, so if you’re loving this card as much as I am, be sure to grab your Playful Ghosts stamp set, Halloween Spells Designer Paper, and coordinating dies before they vanish like a ghost in the night! Stay tuned for more Halloween fun coming your way tomorrow—there’s plenty more tricks and treats to come this week! 🎃
Happy stamping, and don’t forget to add these must-have Halloween supplies to your crafting stash! Until tomorrow, keep crafting wickedly good times! ✨👻 OR … You join me LIVE tonight on my Linda’s Stampin’ Escape Facebook page; I’ll be showing you how to make some cute “Trick or Treat” gifts.
Welcome back to Day 2 of Halloween Week! 🎃 Today, we’re conjuring up some wickedly fun vibes with a spooky, yet playful, card that’s perfect for this haunting season. Grab your crafting gear, because this project is not only thrilling but full of creative twists!
We’re starting with a basic black card base, a classic Halloween must! The dark backdrop sets the perfect stage for what’s to come. I added a strip of the Halloween Spells Designer Paper—the one with the mysterious Spells & Potions books. Doesn’t it just feel like we’re about to dive into a witch’s spellbook? 🧙♀️ This element adds intrigue and sets the scene for our magical masterpiece.
Now, let’s talk about the Take a Bow Dies—but with a twist! Instead of using them for a bow, I decided to think outside the cauldron. I used the dies to highlight the greeting on this card in a fun and quirky way. Isn’t it great when you can use your dies for more than one thing? It’s like finding a secret spell hidden in your stash!
To make things even more spellbinding, I pulled out the Halloween Memories Stamp Set. Who says it’s just for scrapbooking? I’m all about getting the most from my stamping supplies, and I love sharing creative ways to stretch your tools. That’s why I used the “omitting technique” for the greeting! I covered the part of the words I didn’t need, only inking the ones I wanted to use.
For the greeting, I stamped “Wickedly” on a larger piece from the bow die set and “Fun” on the smallest piece. I trimmed the larger die to fit the card perfectly and then layered the smaller “Fun” underneath for a wickedly fun effect! 🧛♀️
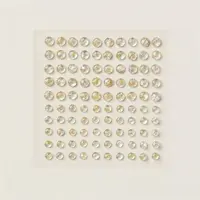
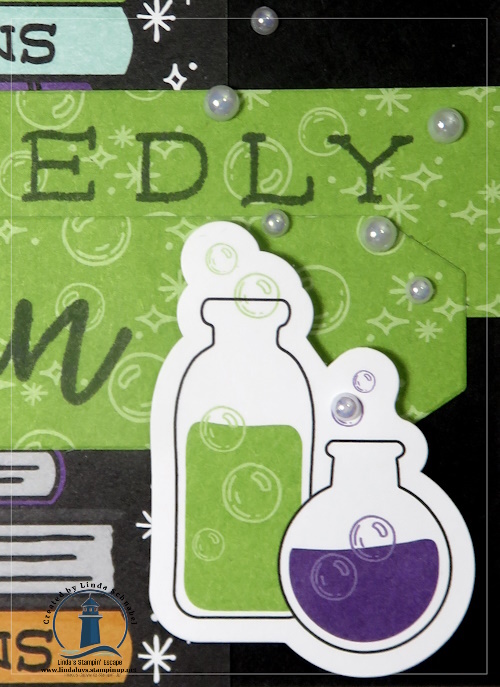
But we’re not done yet—this card is bubbling with more magic! ✨ I added the cute little potion bottles from the Halloween Spells Kit. These adorable die-cut stickers are just waiting to be used! I popped them up with dimensionals for some extra depth and drama. And for a final spooky touch, I sprinkled on some iridescent pearls to give the illusion of bubbles rising from the potion—totally magical and mysterious, don’t you think?
This card has it all: spooky fun, creative techniques, and of course, lots of Halloween spirit. Whether you’re crafting for a party or just want to send a frightfully fun greeting, this project is sure to cast a spell on your recipients! 👻
Happy crafting, and stay tuned for more spooky surprises as Halloween Week continues!
Welcome, ghouls and goblins, to the first day of our Halloween Week on the blog! I’m beyond excited to kick things off with a frightfully fun card that will send shivers down your crafting spine. Today, we’re keeping it simple by revisiting some basic techniques that add a magical twist to your projects. Let’s dive into the cauldron and stir up some spooky creativity using the Halloween Spells Designer Paper and Sticker Kit. Join me for a wicked night of crafting delight!
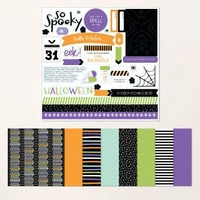
For this hauntingly cute card, we’re showcasing the eerie charm of the Halloween Memories Scrapbooking Kit and its oh-so-versatile two-tone cardstock. One side is the full-strength color, while the flip side is a lighter, spookier version—perfect for creating dimensional depth. I chose to use the “tearing” technique to give this card an extra ghostly touch by revealing the white core of the cardstock. Here’s how it all came together:
Start by tearing a strip off your cardstock – this technique gives an organic, ragged edge, just like a witch’s spellbook. Then, cut it in half and flip one half upside down, so you can see both the deep, dark side and the lighter shadowed side of the cardstock. It creates an eerie effect that’s perfect for Halloween!
Layer your torn pieces onto the polka-dotted sheet from the Halloween Spells Designer Paper. The playful dots add a whimsical balance to the spooky torn edges, creating a haunted contrast. All of these are layered onto a Basic Black base.
To add some fun and depth, I took a scrap piece of black designer paper and attached it to the left side… This little trick gives the card more balance and frames the torn edges perfectly.
No Halloween card is complete without some creepy critters! I grabbed 3 bats from the sticker sheet and once placed, I tucked a dimensional under one of the wings on each bat. This simple technique makes them look like they’re flying right off the card!
The greeting (also from the sticker sheet) was trimmed down, and I popped it up for extra dimension. It’s like a message straight from the ghoul herself!
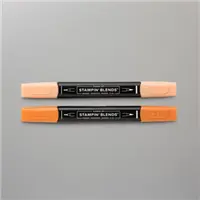
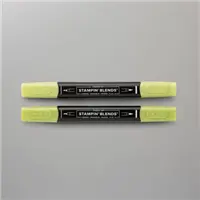
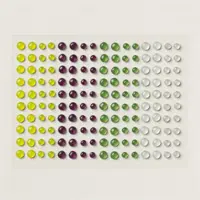
But wait, there’s more magic… 🧙♀️ To give this card some extra sparkle, I added a few Iridescent Foil Gems. Of course, I couldn’t resist taking my Pumpkin Pie Stampin’ Blends and coloring them to match the Halloween theme. It’s a quick and easy way to transform your gems into perfect, pumpkin-colored accents!
This card was an absolute scream to create, and it’s just the beginning of our Halloween Week on the blog. I can’t wait for you to try out these fun techniques with the Halloween Memories Scrapbooking Kit. Stay tuned for more wickedly creative projects that will leave you howling for more!
Don’t miss tomorrow’s post, where we’ll dive even deeper into the Halloween crafting cauldron. Until then, happy haunting and happy crafting! 👻🖤
Get ready for a spooktacular week of thrills and chills right here on my blog! Starting tomorrow, Sunday, September 22nd, through the 28th, I’ll be your guide down the haunted path of creativity. It’s time to gather your ghoulfriends and goblins because Halloween Week is here, and it’s going to be one wickedly fun celebration!
We’re diving into one of the most exciting holidays of the year—Halloween! 🎃 From creative costumes to eerie decorations, it’s all about embracing the spooky spirit and sharing it with everyone around. And I’ve brewed up some extra special projects for you to enjoy each day of this haunted adventure!
The first two days will kick off with a scream-worthy showcase of the brand-new Halloween Spells Scrapbook Kit 🕸️—packed with bewitching designs, to show you that it can be used for much more than scrapbooking! Then, we’ll creep into the eerie delights of the Halloween Spells Designer Paper, unveiling enchanting projects that will inspire your inner witch or wizard!
But wait… there’s more! 👻 We’ll welcome the Playful Ghosts and Halloween Memories stamp sets to the party. These stamps are hauntingly adorable, perfect for all your cards and crafts! And I’m pulling out the Take a Bow Dies—but don’t be fooled, there won’t be any bows involved. Instead, expect something frightfully creative that will leave you howling with delight!
Hang out with me (like a vampire hanging upside down 🧛♂️) for a full week of Halloween inspiration. Every day will bring new tricks and treats, so make sure to check in and don’t miss a single spooky post. By the time we’re done, you’ll be ready to haunt your craft room and create eerie-sistible projects!
Mark your calendars—Halloween Week kicks off tomorrow! 👻 Let’s make this holiday the most fang-tastic one yet!
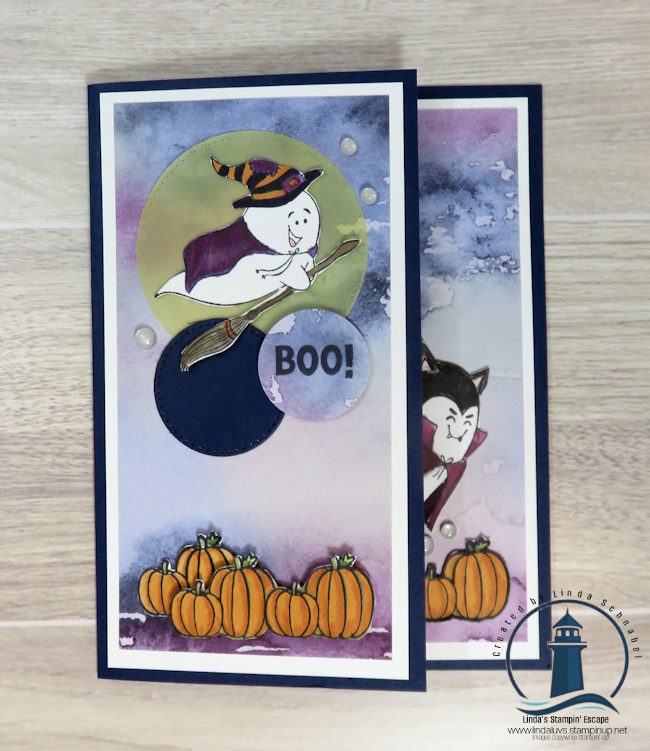
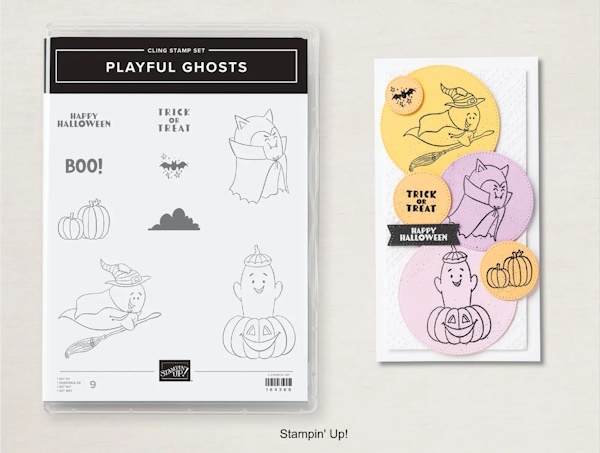
Yesterday, I shared a delightful Fun Fold Card and Video featuring the gorgeous Perennial Lavender designer paper. Today, I’m thrilled to show you how you can take that same fun fold layout and brew up some Halloween magic using the Playful Ghosts stamp set from our Online Exclusives.
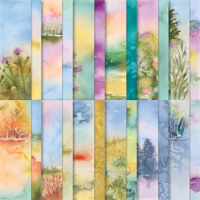
To start, I switched up the designer paper, using the Thoughtful Journey collection as my background. You might think of this paper for travel-themed projects, but guess what? It works perfectly as a spooky backdrop too! The watercolor design gives just the right eerie touch to set the scene for some Halloween fun.
Next, I stamped my pumpkins, flying ghost, and Dracula ghost, bringing them to life with our vibrant Stampin’ Blends. These markers make it so easy to add depth and dimension to your images. I even used them to color in the moon, which I die cut with the Everyday Details Dies. Creating layers, I die cut a smaller Night of Navy circle for that extra pop of color.
For the sentiment, I went with a simple yet bold “BOO,” stamped directly onto the designer paper and then punched out. This little detail adds just the right amount of Halloween flair without overpowering the rest of the card.
I thought it would be cute to have the Dracula Ghost peeking out from the inside of the card. And to finish up, I embellished with some spooky little orbs, also known as Transparent Adhesive Backed Dots. These subtle, glossy dots add a perfect hint of mystery and shine to your card.
The Playful Ghosts stamp set is such a joy to work with. Whether you’re creating cards, treat bags, or other Halloween projects, this set is full of possibilities. And who knew that the Thoughtful Journey designer paper could be so versatile? Using it as a spooky background showcases the simplicity and creativity that makes crafting so much fun.
I hope this card inspires you to pick up the Playful Ghosts stamp set and create a Halloween masterpiece of your own. The possibilities are endless, and I can’t wait to see what you come up with!
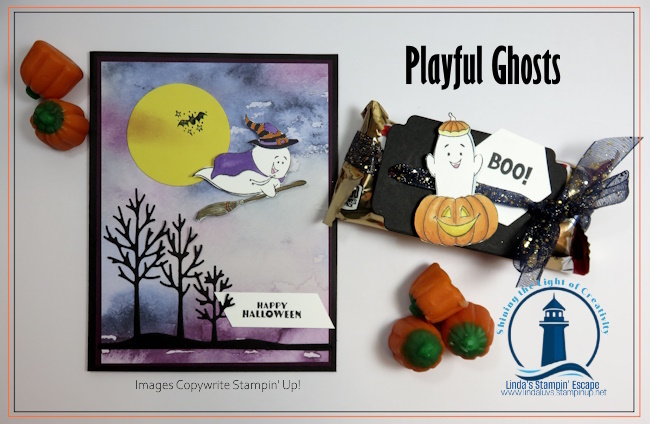
As Halloween creeps closer, it’s the perfect time to dive into some ghostly crafting fun. Today, we’re exploring the enchanting Playful Ghosts stamp set from our Online Exclusives. Not only will I share a delightful card design, but I’ll also show you a quick and easy way to make Trick-or-Treat candies hauntingly cute for your special little ghouls and goblins. 🍬👻
Cute Card Inspiration
First, let’s talk about the adorable card I created using the Playful Ghosts stamp set. This set is packed with whimsical ghost designs that are perfect for Halloween and beyond. Whether you’re sending a spooky greeting or just spreading some Halloween cheer, this stamp set has you covered. The card features a playful scene with our friendly ghosts floating around, complemented by vibrant colors and fun embellishments. It’s a great way to bring a smile to anyone’s face this spooky season!
Hauntingly Cute Candy Treats
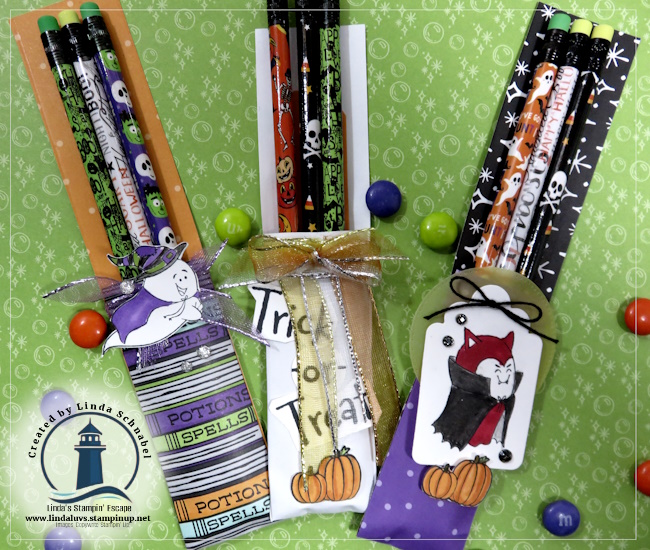
Now, onto the treats! 🍭👻 Halloween is all about the goodies, and I’ve got a super simple way to make your Trick-or-Treat candies extra special. Using the Playful Ghosts stamp set, I decorated some treats with spooky cute ghost stamps and a dash of glitter (on my ribbon). These decorated treats are perfect for handing out to your favorite trick-or-treaters or as party favors. They’re a delightful way to add a personal touch to your Halloween celebrations.
Watch the Magic Unfold!
For those of you who love step-by-step instructions, I’ve got you covered! Check out the replay of my Facebook LIVE where I walk you through the entire process of creating the card and treat bags. In the video, I share tips, tricks, and some crafting secrets that will make your Halloween projects a breeze. 🎥👩🎨
While the promotions mentioned in the LIVE have now passed, you can still enjoy the crafting inspiration and create these fun projects at your own pace. I hope this post inspires you to get crafty and make your Halloween extra special with the Playful Ghosts stamp set. 👻
Happy crafting and haunting! 🎃👻🕷️
Don’t forget to share your creations with me on my Facebook page, ‘Linda’s Stampin’ Escape,’ and use the hashtag #StampinEscape to show off your spooky projects! Happy Halloween! 🎃
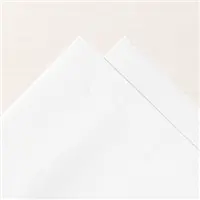
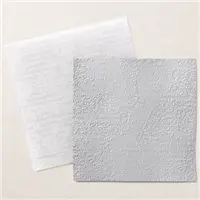
Are you ready to get into the Halloween spirit without breaking the bank? Look no further! Our clearance rack is brimming with a fabulous deal just in time for spooky season. For a mere $2.40, you can grab a pack of high-quality linen paper that’s perfect for crafting some eerie and adorable Halloween mummy cards.
These mummy cards are a breeze to make. With some simple materials and a little creativity, you can have a stack of charming, handcrafted cards in no time. Better yet … you can watch my video. Feel free to use any designer paper and greeting you have on hand!
In a world where store-bought cards can be expensive and lack that personal touch, crafting your own mummy cards is a great way to spread the Halloween spirit without emptying your wallet.
Don’t miss out on this incredible clearance deal. Hurry to my store or click on the link below and grab your linen paper for $2.40 before it vanishes into thin air. Create memorable mummy cards and celebrate Halloween in a budget-friendly and creative way.
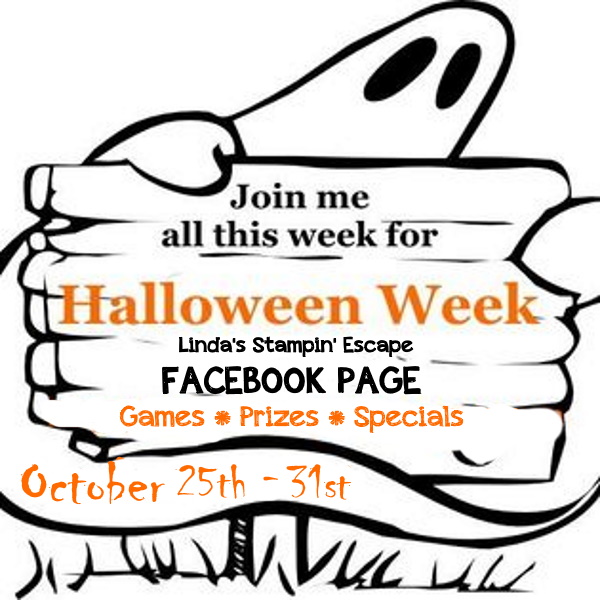
Halloween Week on my Facebook page (Click Here to Join in) and don’t forget to hit the notifications button so you don’t miss out on any Samples / Tips / Specials and FUN!
Today I’ll be sharing the cards we made last night during the LIVE, the Video replay, the measurement sheets and two extra cards!! I have an action packed day for you today. Let’s begin with the video with the measurements and cards to follow.
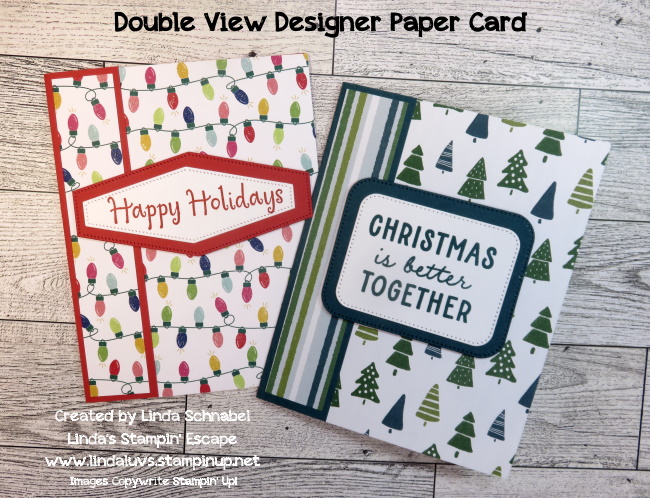
Here is the measurements for our Double View Designer Paper card that highlights your designer paper showing both sides .. Our pretty papers make these easy to assemble cards with the message and feelings you intend.
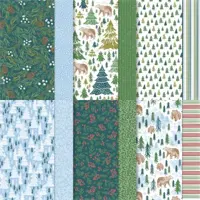
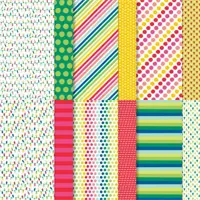
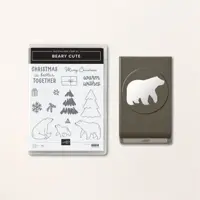
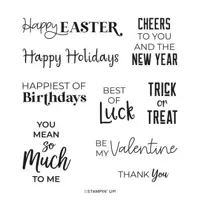
On today’s cards I used the Merry & Bright and the Walk in the Woods Designer Series papers, with the Poppy Parade and Pretty Peacock cardstocks. The “Christmas is Better Together” greeting comes from the Beary Cute Bundle and the “Happy Holidays” came from the Throughout the Year stamp set. Both greetings were die cut from the Nested Essentials Dies.
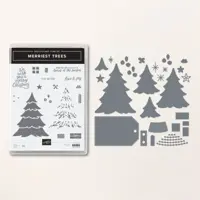
For the fun fold I used the same designer paper and cardstock. On the Poppy Parade card I again used the Throughout the Year stamp set and the 2 3/8″ punch for our greeting, and then embellished with the Iridescent Rhinestones. The greeting, the tag & tree dies all come from the Merriest Tree Bundle.
Now let’s take a look at some alternatives for our Quick & Easy Double View card ….
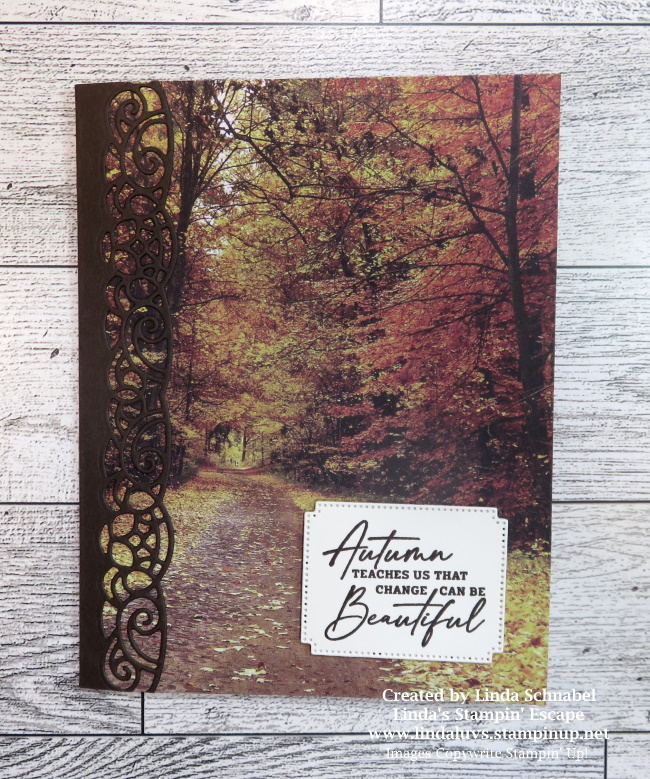
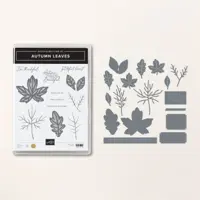
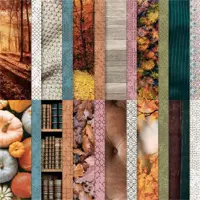
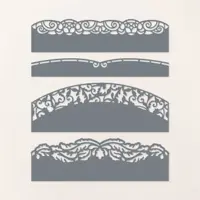
On this card I used the designer paper, greeting and die all from the All About Autumn suite of products and the Elegant Borders Dies. This adds a beautiful touch to the stunning designer paper. This just shows that you can change up the 1 1/4″ section of our cardstock.
Our second card was designed to celebrate Halloween …
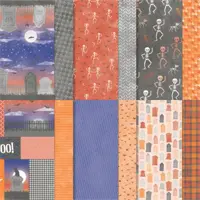
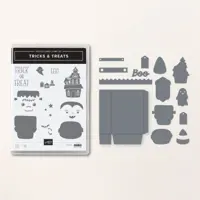
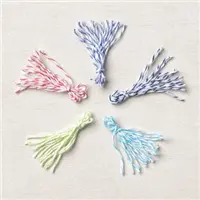
This little cutie screams fun! The Elegant Borders dies were also used on our Halloween card to enhance and create a fun border. A strip of designer paper and bakers twine were also used to embellish our card and tie in all the colors. I used the “Them Bones” Designer paper for our last card, along with the die cuts from the “Tricks and Treats” bundle.
And this brings me into more Halloween FUN on my Facebook page …. Be sure to head on over and join in the fun, games and specials!
Yesterday’s “Stamp with Me” video and card layout featuring the Joy of Christmas Suite/Collection were an absolute delight, weren’t they? It’s always a pleasure to explore new creative avenues and share our crafting joys.
The clean and straightforward card layout demonstrated in the video is not only visually appealing but also easy to recreate. It allows room for creativity and personalization, making it a go-to design for card makers. You don’t need “what I have” … use the measurements with the goodies YOU have.
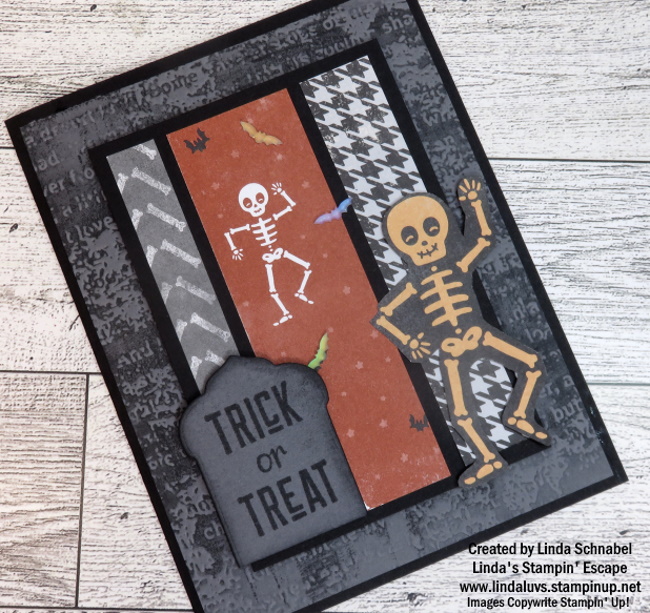
But today, we’re shifting gears and getting into the Halloween spirit! We’re all set to embark on a spine-tingling crafting adventure with the “Them Bones” Designer Paper and the “Tricks and Treats” bundle. Get ready for some frightful fun!
The “Them Bones” Designer Paper is a spooktacular choice for crafting during the Halloween season. With its hauntingly fun skeletons, bats, and other creepy critters, this paper pack is bound to add an extra dose of Halloween spirit to your creations.
Pair this paper with the “Tricks and Treats” bundle, and you’re in for a wickedly good time. This bundle offers a delightful stamp set and coordinating dies, perfect for crafting spooky cards, treat bags, and more.
I used the Timeworn Typed Embossing Folder to create the look of an old headstone to add an added touch of spookiness… on that note, I created a headstone from the die which highlights our greeting. We’ve got skeletons dancing in the graveyard with our Glow in Dark bats lighting up the way!
Stay tuned for more exciting crafting adventures, and remember, it’s not just about the destination; it’s the joy we find in the journey.
Happy crafting, and have a spine-tingling Halloween season!
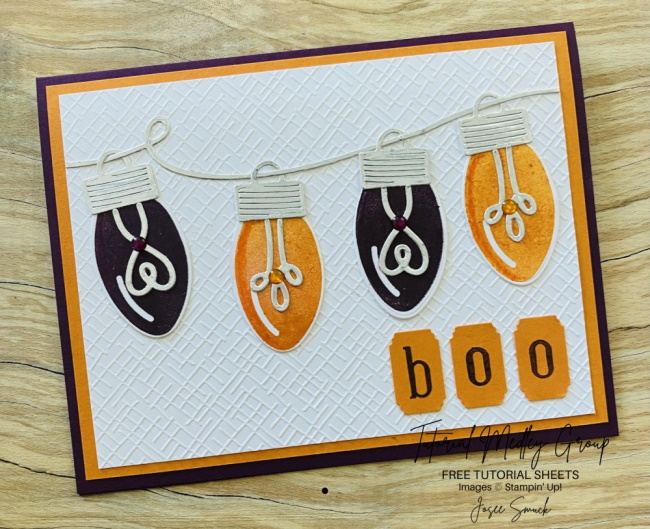
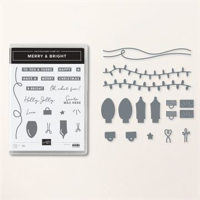
Happy October 1st! 🎃🧙♀️ Abracadabra! ✨ Get ready to add a spooktacular twist to the Merry & Bright Bundle! 💌🕸️ We’re conjuring up some Halloween magic to transform the Merry & Bright Bundle into the cutest Halloween card that your ghouls and goblins will adore. 🦇👻 And I have all the dimensions and instructions for you!!
Measurements:
Rich Razzleberry: 5 ½” x 8 ½”
Pumpkin Pie: 4” x 5 ¼”
Basic White: 3 ¾” x 5”
Instructions:
Adhere the Pumpkin Pie cardstock to the folded card.
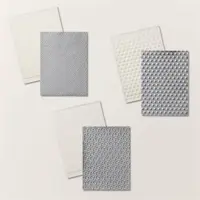
Place the Basic White in the Embossing Folder and roll it through the Cut & Emboss Machine.
Stamp the light bulbs on scrap Basic White cardstock using Pumpkin Pie and Rich Razzleberry ink. Cut out using the coordinating dies.
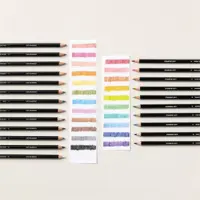
Optional: Color the left side of the bulb using the coordinating Watercolor Pencil to add a bit of dimension.
Cut out the Silver Foil using the appropriate dies. Adhere all pieces together, then adhere them all on the card.
Color the Glossy Dots using the Dark Rich Razzleberry and the Dark Pumpkin Pie Stampin’ Blends markers. Let dry and place on the light bulbs.
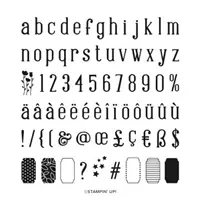
Stamp the letters on scrap Pumpkin Pie cardstock using the Rich Razzleberry ink pad then cut out each letter using the coordinating punch. Adhere them to the card.
It’s so exciting that you can create enchanting Halloween cards from the Merry & Bright Bundle made to sparkle and sprinkle the holiday cheer. 🌟🎃 Get the bundle today and let the crafting magic begin! 🌠🍁
Thank you for spending a bit of your Sunday with me!
If you’re as batty about Halloween as I am, you’re in for a treat today. I recently had a fangtastic time at our Halloween class on Wednesday night, where we brewed up some spooky-cute fun with the Them Bones Designer Paper and the Tricks and Treats Bundle.
Today I’ll share my adorable Halloween card featuring candy corn die cuts and the spook-tacular Z-Fold … a super simple fun fold! Start with an 4-1/4″ x 11″ piece of cardstock then score at 2-3/4″ and 5-1/2″ … that simple.
Picture this: a room filled with fellow Halloween aficionados, a cauldron of stamping supplies, a dash of creativity, and a sprinkle of eerie ambiance. That’s exactly what our Halloween class was all about!
Our bewitching adventure began with the Them Bones Designer Paper. 🦇🦴This paper pack is a Halloween dream come true, featuring quirky skulls, spooky spiders, and haunted houses. It’s a perfect backdrop for all your Halloween crafting endeavors, and it set the mood for our ghoulishly delightful evening.
To cast our crafting spell, we enlisted the help of the Tricks and Treats Bundle. 🎃 This bundle is chock-full of charming Halloween-themed stamps and coordinating dies that make crafting a breeze. But the true star of the night? The candy corn die cuts!
So, as you prepare for Halloween this year, don’t forget the magic of crafting. The Them Bones Designer Paper and Tricks and Treats Bundle are your partners in Halloween crafting crime. Give it a try, and who knows, you might just conjure up some Halloween magic of your own!
Until next time, may your cauldron be bubbling and your Halloween crafting be absolutely spook-tacular! 🎃🕷️🌙
As the leaves change color and the air turns crisp, we know that Halloween is just around the corner. It’s that time of the year when creativity and spookiness collide to bring out the inner child in all of us. And what better way to celebrate the season than with the Stampin’ Up! Tricks and Treats Bundle?
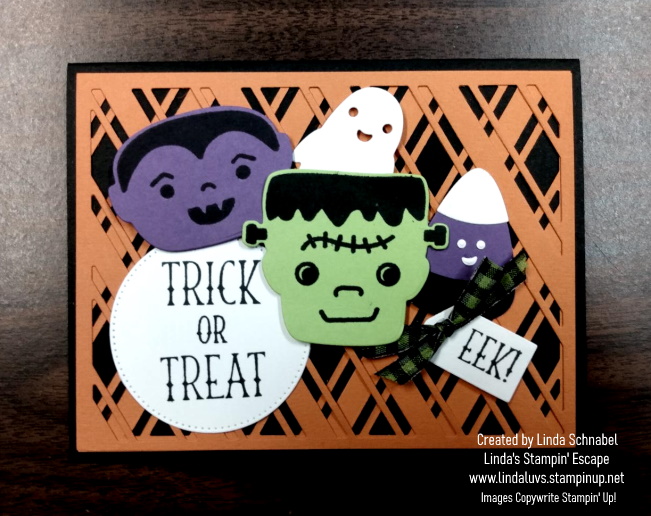
This bewitching bundle brings together the magic of Halloween with timeless classic movie monsters; Dracula and Frankenstein, a friendly ghost, and a candy corn that will sweeten up your crafting projects. Whether you’re an avid paper crafter or just looking to add a touch of spookiness to your holiday decor, this bundle is sure to cast a spell on you.
Nothing says Halloween like a “Trick or Treat” greeting, and with the Stampin’ Up! Tricks and Treats Bundle, you can easily create your own. Using the Stylish Shapes Die makes crafting a breeze. Simply stamp your greeting, die cut it, and you’re ready to go. It’s a quick and easy way to add a festive touch to your projects.
What’s Halloween without a little “EEK!”? This bundle includes a fun and quirky “EEK” tag that adds a playful element to your creations. Use it as a tag on a treat bag, a spooky accent on your cards, or even as a cute decoration for your home. It’s these little details that make the Stampin’ Up! Tricks and Treats Bundle a must-have for Halloween crafting.
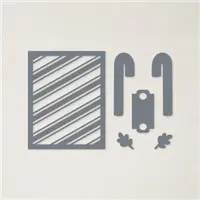
To truly elevate your Halloween projects, add in the Candycane Background Dies that are now in the Clearance Rack. These dies allow you to create intricate and eye-catching backgrounds that will make your creations stand out. With the Candycane Background Dies, there’s no shortage of dimension, texture, and fun. They’re perfect for adding a touch of spookiness to your cards, or any Halloween-themed project.
Time to grab your crafting supplies, embrace the Halloween spirit, and get ready to have a hauntingly good time with the Stampin’ Up! Tricks and Treats Bundle.