Hello Stampin’ Friends ~
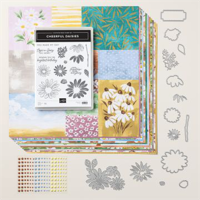
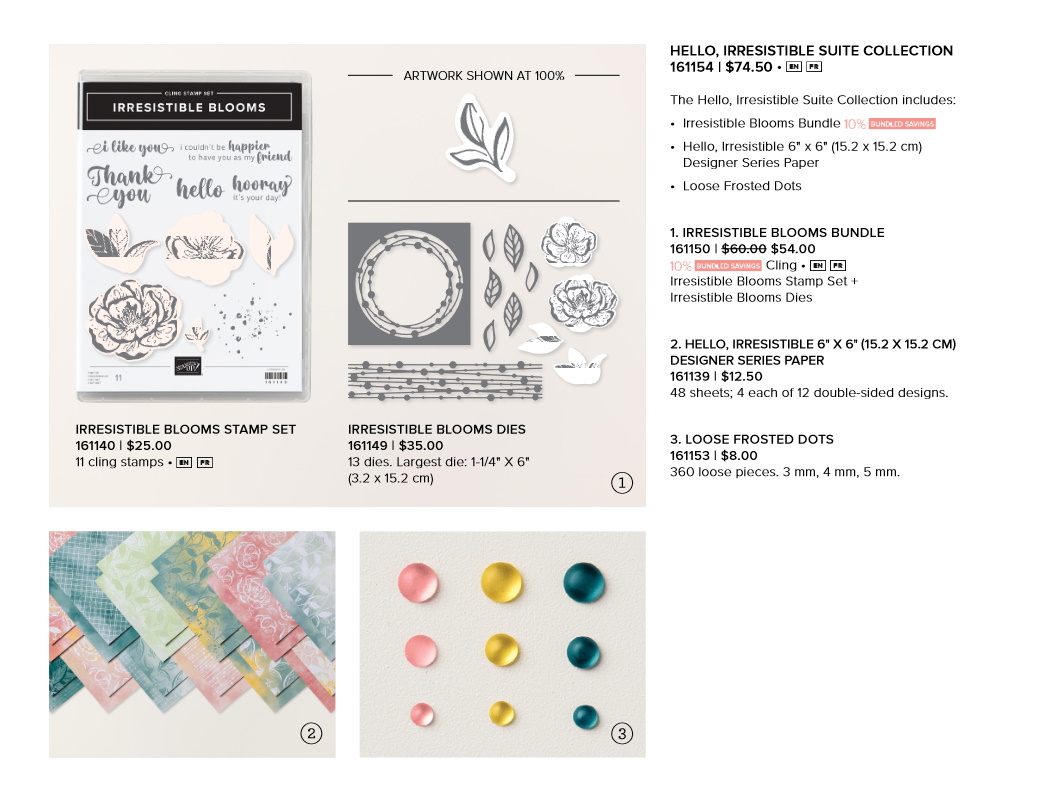
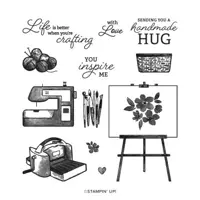
I’m excited to share the cards from my Facebook LIVE last night and the bonus card I promised. You’ll see simple / fun techniques that will enhance the Gorgeous Garden Dies and take your cards to the next level. Layering, Sponging and Blending Brushes Oh My!
Let’s watch the video first and then I’ll highlight the cards ….
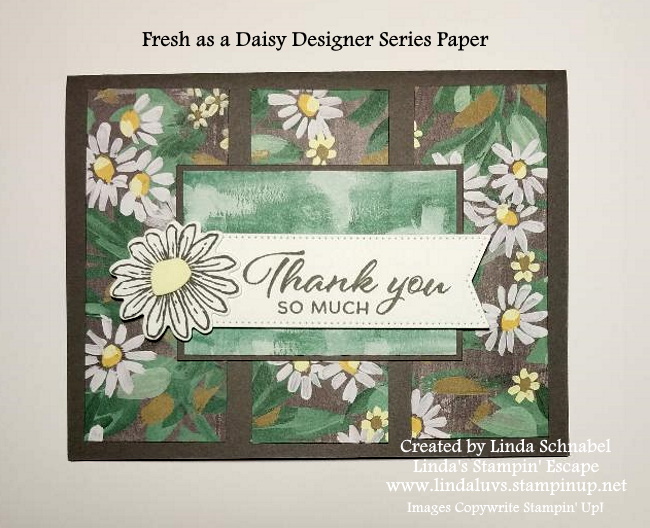
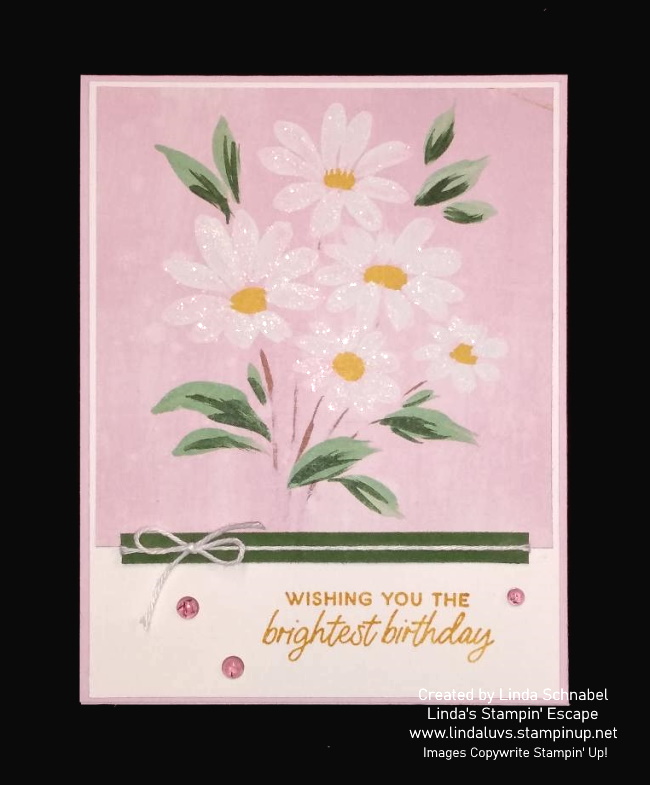
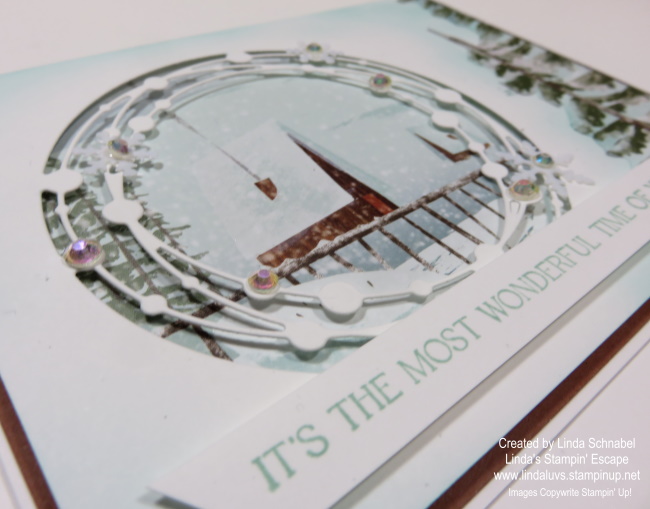
So what do you think? So pretty … right!! Let’s start with my first card. Layers of color on color, or should I say white. The Basic White card base is 8-1/2″ x 5-1/2″ then scored and folded at 4-1/4″. Each of the white die cut pieces are 4-1/8″ x 5-7/8″ … be sure to center your die before cutting so they line up nicely.

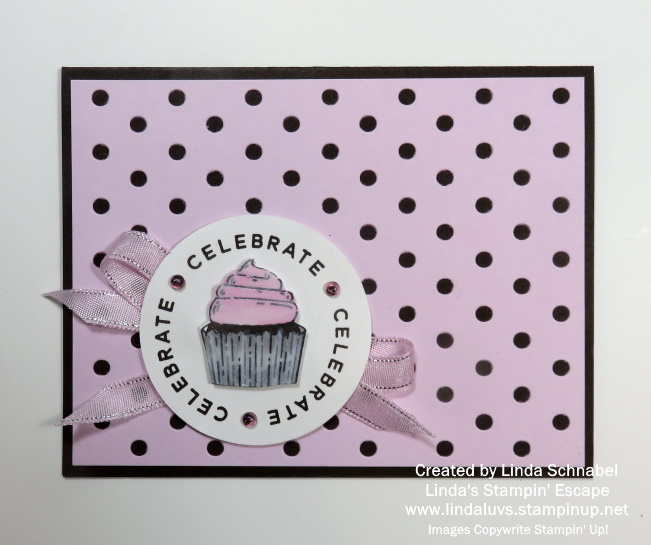
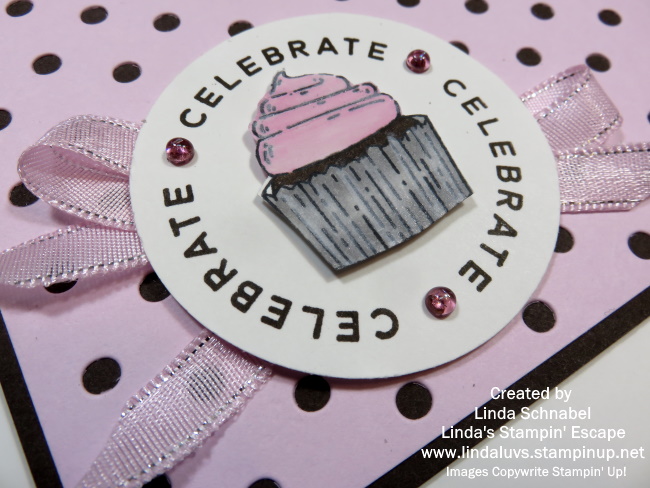
I will share details on the pink card tomorrow ….
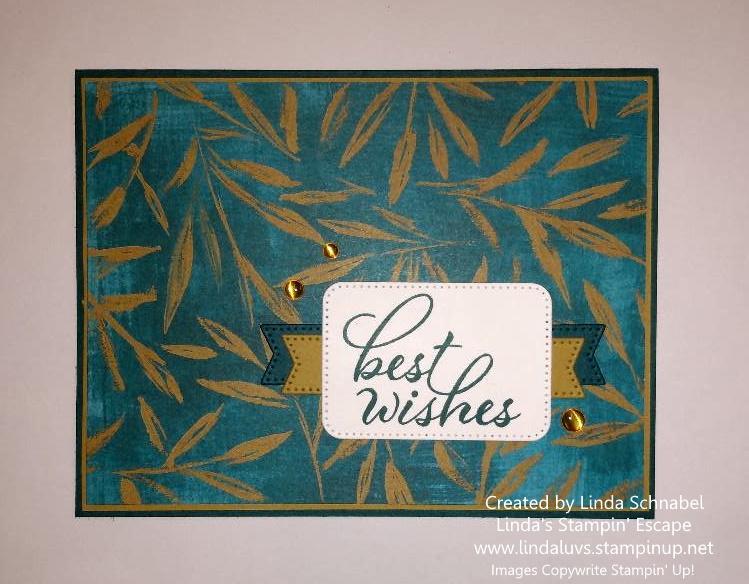
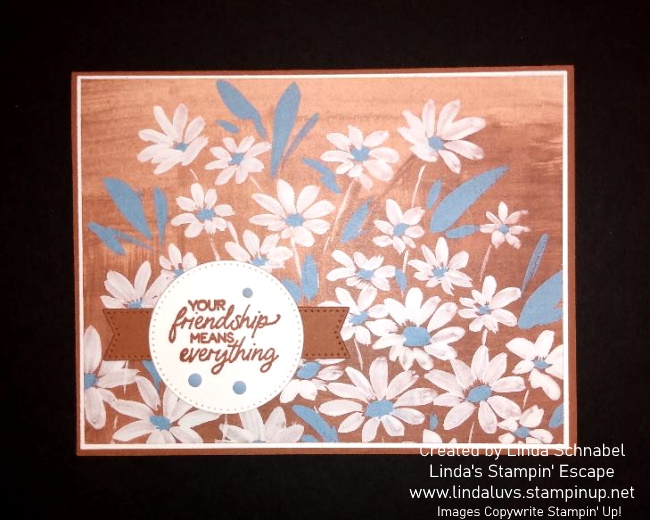
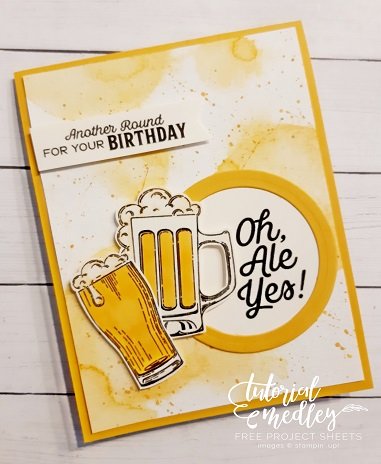
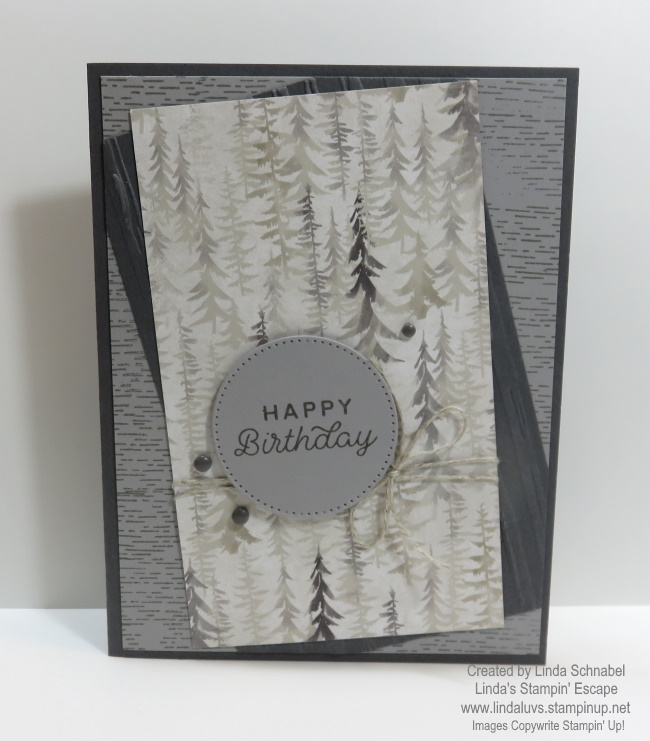
Our next card has an Basic Black 8-1/2″ x 5-1/2″ then scored and folded at 4-1/4″. Then you will need one Basic Black and one Basic White piece cut at 4-1/8″ x 5-7/8″. The black piece is die cut and the white piece will be colored with Daffodil Delight, Pumpkin Pie, Old Olive, Cajun Craze and Cherry Cobbler and the use of Blending Brushes.

Ok … now we are going to use up the items we had left for the Facebook LIVE. Please note that we will be using the same dimensions on this card as we did on the last, and then I’ll let you in on a few changes.
Let’s begin with the white piece we colored with the blending brushes … this is the piece we will die cut. Then attach it to the Basic Black piece of cardstock using your glue as shown in the video.

NOW … we are going to trim or die cut piece down to 5″ x 3-3/4″. You can use your paper cutter or a guillotine cutter that works great. Once trimmed down, layer the card front onto a piece of 5-1/4″ x 4″ Old Olive cardstock, then layer onto your Basic Black cardbase.
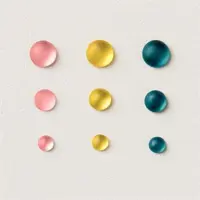
We’ll mount our greeting onto a piece of vellum cardstock and pop it up using Stampin’ Dimensionals, and then embellish it with the In-Color gems. As I stated in the video, you can use some of the left over colored paper for the inside of your.

I’m not sure which one I prefer … the black die cut layered over the color or the colored die cut layered over the black. Either way they both look cool and I love they layered white … it’s so delicate and subtle.
Thank you for joining me today, it’s appreciated.
Enjoy your day,